If you have ever wanted to have a go at making a Sock Monkey, but weren’t sure where to start, this is the post for you!
Sock monkeys are easy, quick and inexpensive to make, you just need a pair of socks, stuffing, needle, thread and a few spare buttons. Even better they are great fun and each seems to take on its own personality. Before you know it you will be making sock bunnies, bears,elephants, pigs and other creatures too!
One of the earliest sock monkey patterns was produced by The Nelson Knitting Mills in Rockford Illinois in the 1920s and was sent to their customers each time a pair of Rockford Red Heeled socks was sold.
Although my sock monkey instructions are based on a few features of this original pattern, such as using the heel of the sock for the monkey’s butt, these instructions are not the same. If you would like a copy of the original you should be able to find it on the internet.
Ok – let’s get started:
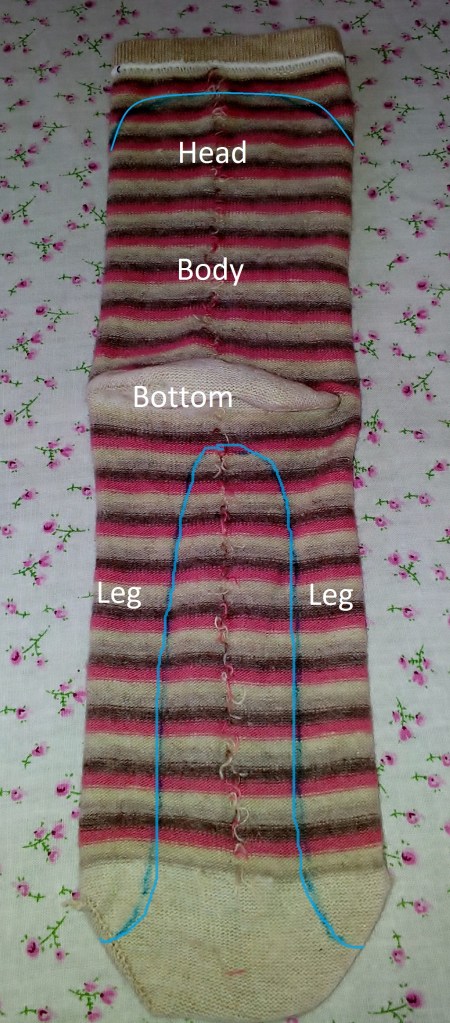
1. Firstly, turn both socks inside out and lay the first sock down as below. Top tip: the socks you choose will affect your monkey’s pattern / design and the amount of stretch there is in the arms and legs.
Use a fabric marker to draw on the shape of your monkey’s head / body and legs onto your first sock.
2. Sew over your markings by hand or machine (I would only use the sewing machine if you are confident at sewing stretch fabrics) leaving a small gap between the monkey’s legs for stuffing.
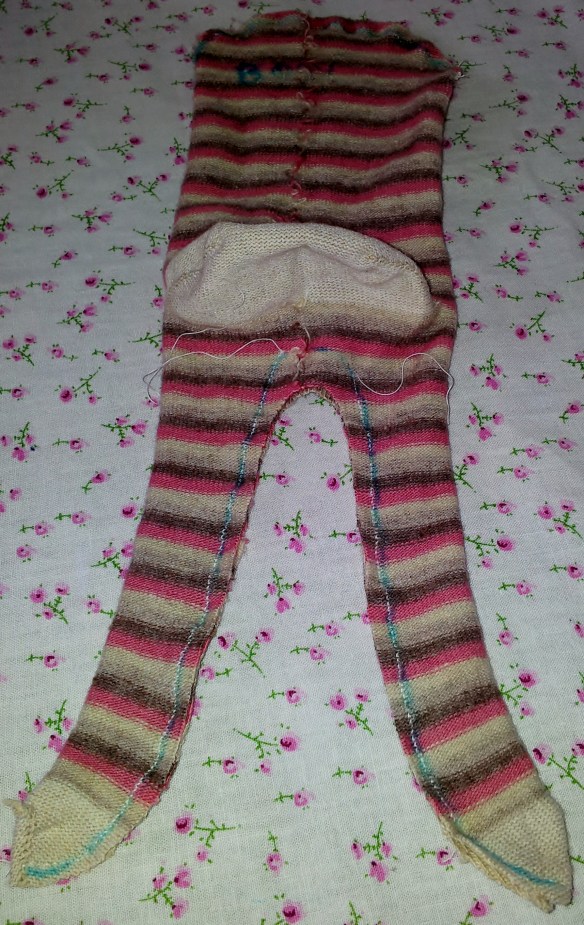
3. Leaving a small (around 1cm) seam allowance, cut away the spare material to leave a shape similar to below. Top tip: you will find it much easier if you stitch before you cut.
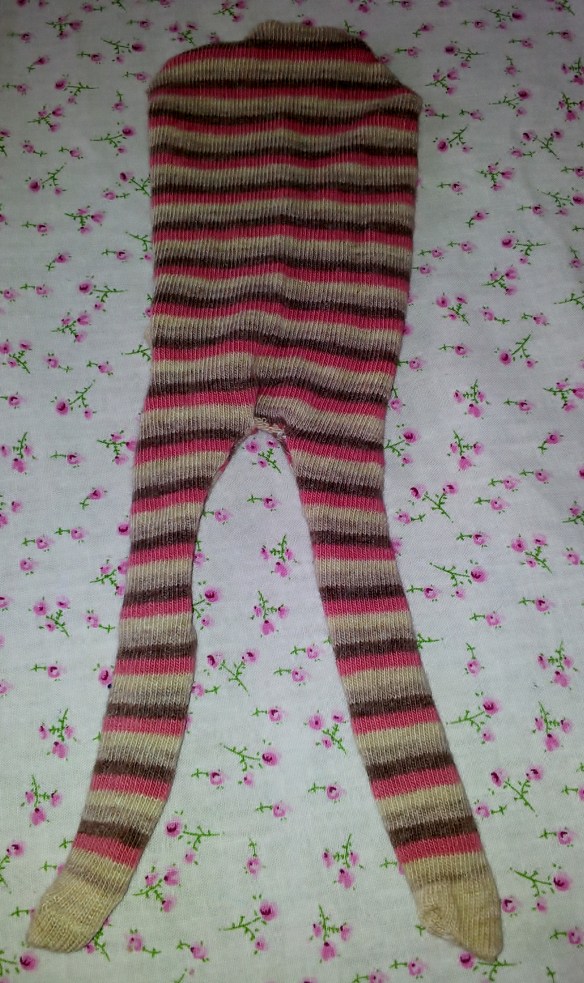
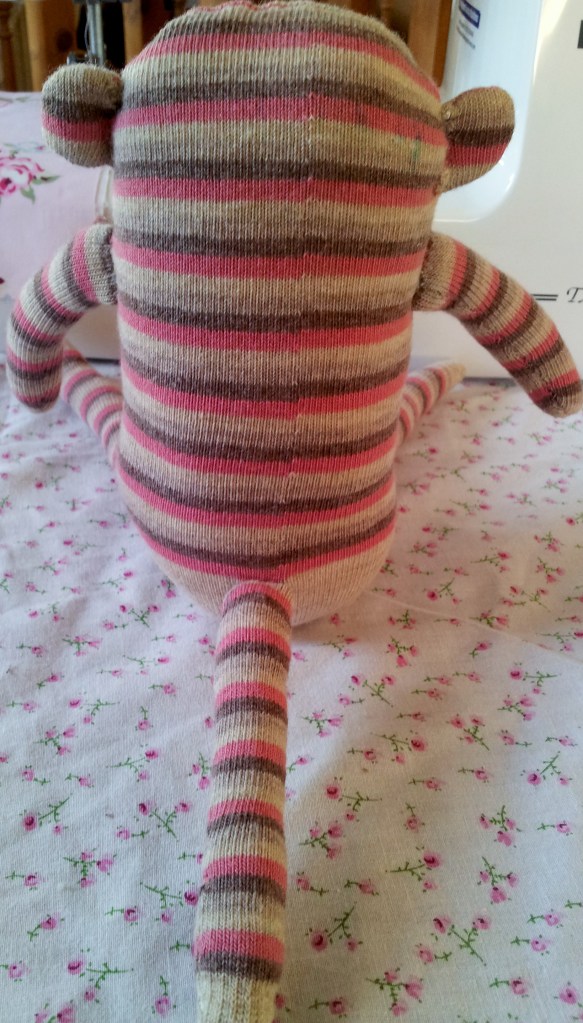
4. Turn your sock monkey the right way out – the handle of a wooden spoon can help make this easier. The back of your sock should look like this:
and front like this:
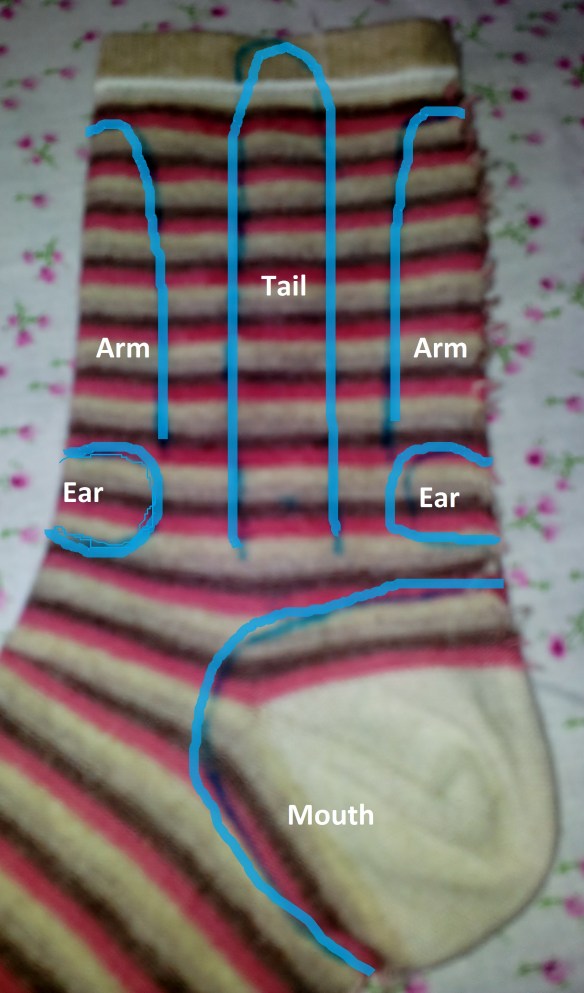
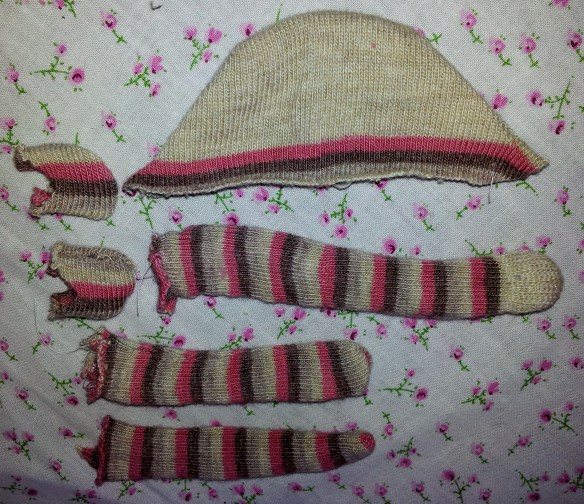
5. Fill your monkey’s body with toy stuffing. When you are happy with your monkey’s shape and there is enough stuffing in its butt so it is stable when it sits up, sew up its gusset. I find a small ladder or whip stitch works well. 5. Take your second sock and lay it out as below – this one will be used for your monkey’s arms, ears, face, hat and tail.
6. With your fabric maker, draw on your monkey’s parts, sew over your markings and cut them out (remember to leave a small seam allowance).
7. Turn your pieces so they are the right side out and stuff. You will need to make a small slit into the base of each ear so you can get the stuffing in. Once you have tucked the raw edge of each piece in on itself you are ready to sew them onto your monkey.
8. Take your monkey’s ears and sew them on – I find a good place is around the base of the head’s stitching line.
9. Take the heel of your second sock (monkey’s face) and place it on front of your monkeys head – the top of the mouth should align with the base of your monkey’s new-found ears. Turn the edges of the face under as you pin it on – add extra stuffing if you need it. Once you are happy with your monkey’s face shape, sew it on will small stitches.
10. Sew on your monkey’s arms – again a ladder or whip stitch works well..
 11. Add on the tail – a good place for this is at the top of the heel (monkey’s butt!).
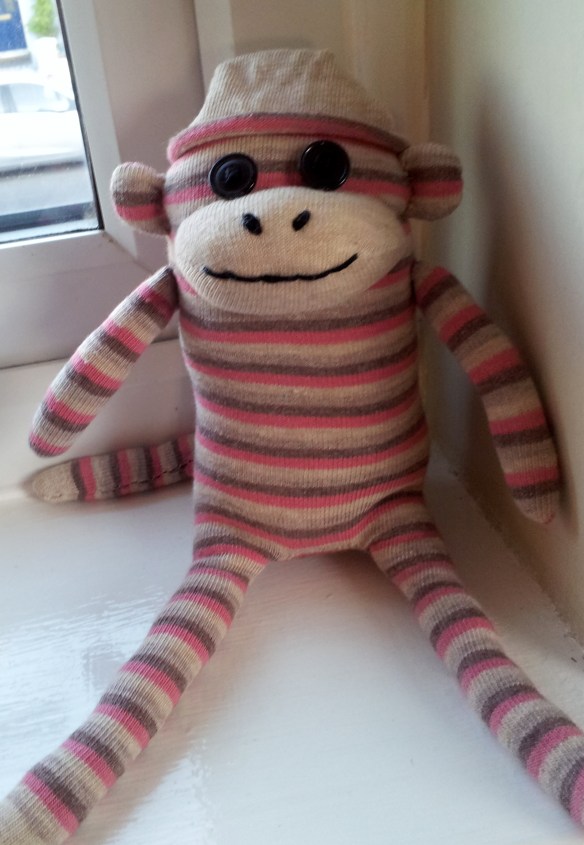
12. Add on 2 buttons for eyes and sew on a mouth and nose – I used some cotton embroidery thread for this.
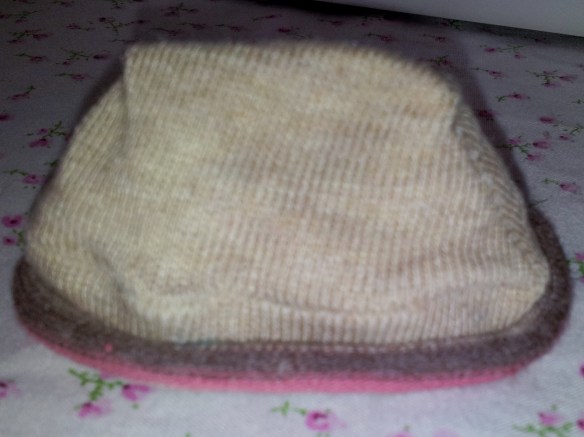
13. The hat is made from the toes of the second sock – no need to sew as the beanies brim self rolls.
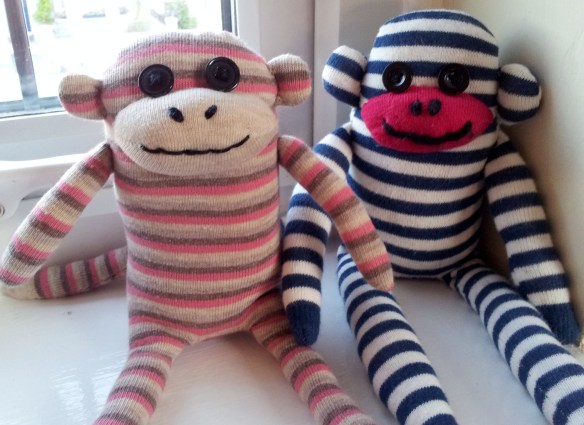
Voila! A finished sock monkey! Just need to name her….any suggestions?





Pingback: How To Make Easy Sock Monkeys | Information
Pingback: How To Make A Sock Monkey - Crafts To Do With Kids
My daughter loves sock monkeys. All kinds of stuffed monkeys. actually. She wanted to make a sock monkey. Wait till I tell her.
Your daughter will have great fun making one – they are so adorable!
Pingback: Sock monkeying around! | WPL Kids
Lovely making one now!
Reblogged this on Faber's Blog! and commented:
Love this ❤
Love these!
Thank you. X
OMG CUUUUTTTTTEEEE
OMG soooo pretty
Thank you. X
thanks I have got to try this my grandma used to make these for us
You’re welcome. They are great fun to make. X
my is soooooo adorable i just have to stuff it and sew it. 🙂
Thank you. X
that’s amazing! I’ve reblogged this on http://happiies.wordpress.com/2013/01/18/tutorial-come-creare-una-scimmietta-da-un-calzino/
Thank you x
Pingback: [Tutorial] Come creare una scimmietta da un calzino « happiies
supper cute thanks for the tutorial!
Your welcome. x
Hi
they are so cute! I need to get some stuffing, then I’m going to make some.
Thank you. Have fun making yours.
Thanks! They are so cute! I’m looking for things to do for my niece and nephews, this might be it ^^
Thank you. x
What a brilliant explanation. Thank you!
You’re welcome. x
They are so cute! For some reason I thought you had to knit the whole thing, it never occurred to me that you could just cut and sew socks, duh! 🙂
I know what you mean – when I saw my first sock monkey, I couldn’t believe how they were made. x