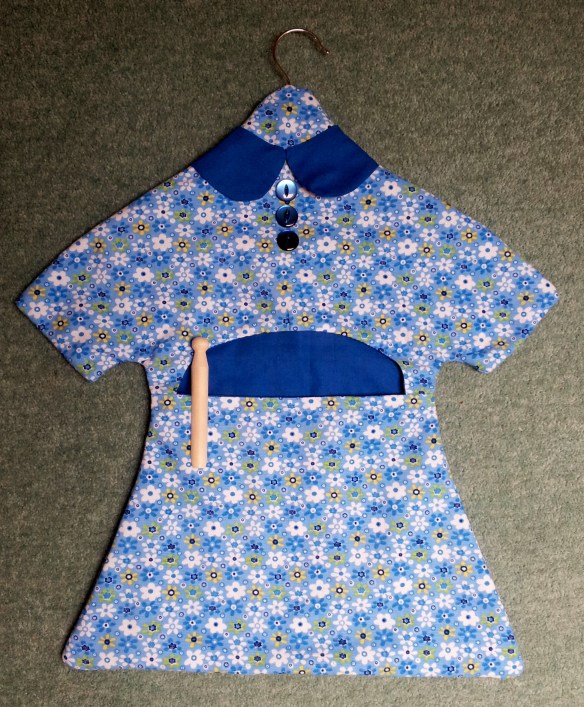
To make my cute dress style peg bag I used 2 pieces of 112cm x 50cm fabric (one for the lining and the other for the main outer), a children’s wooden coat hanger and 3 buttons. As it was great fun to make I thought it would be good to share my pattern with you. 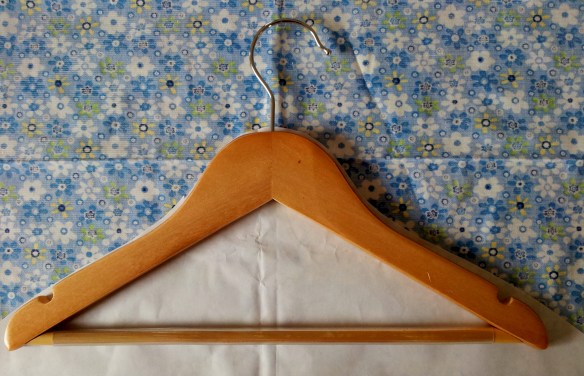
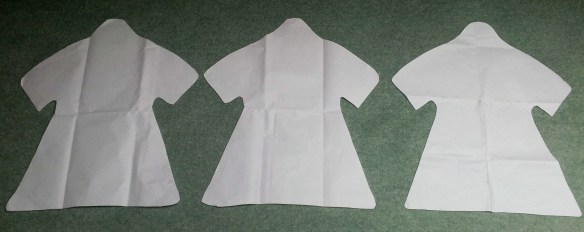
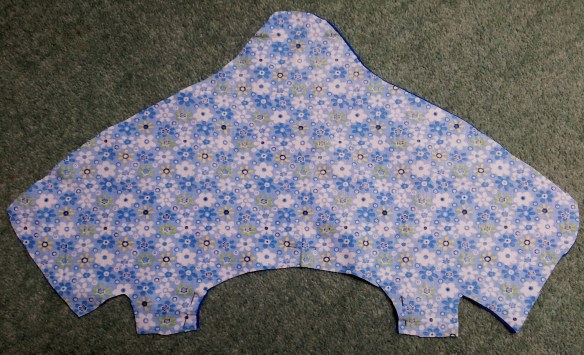
1. Firstly, draw around the outside of your coat hanger to make the shape for the top of your peg bag pattern pieced. Continue drawing the lines down to form a dress outline. Once you are happy with your shape,cut it out and make 2 further paper templates.
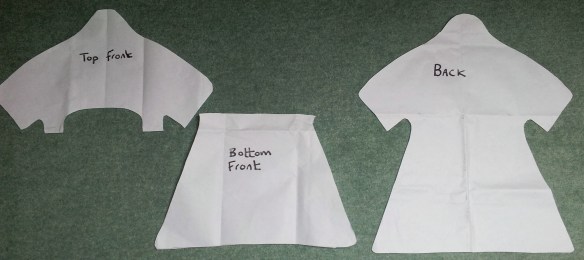
2. One template is for the back of your peg bag. To create the front top pattern piece, take another template and draw a concave shape approx one third of the way down – this will allow you to gain easy access to your pegs. Take your last template and draw a straight line approx one third down to form your front bottom piece. The sides of your front pieces should overlap when they are placed together. Cut your pieces out – they are now ready.
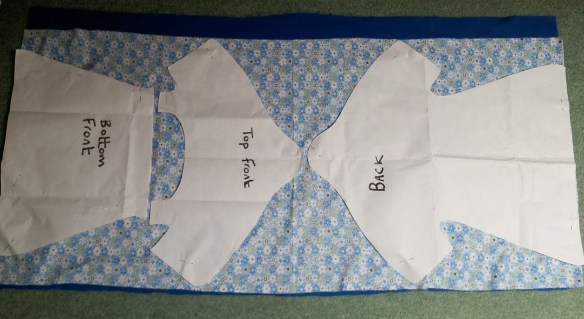
3. Lay your pattern pieces on top of your fabrics. Cut out a back, top front and top bottom from your lining and main material.
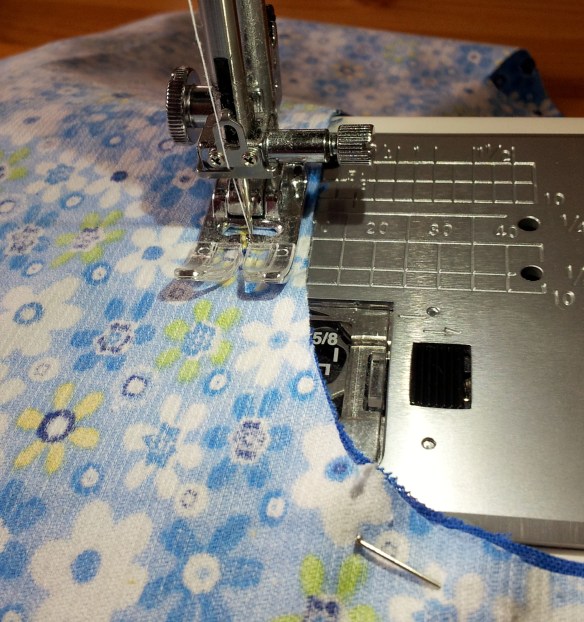
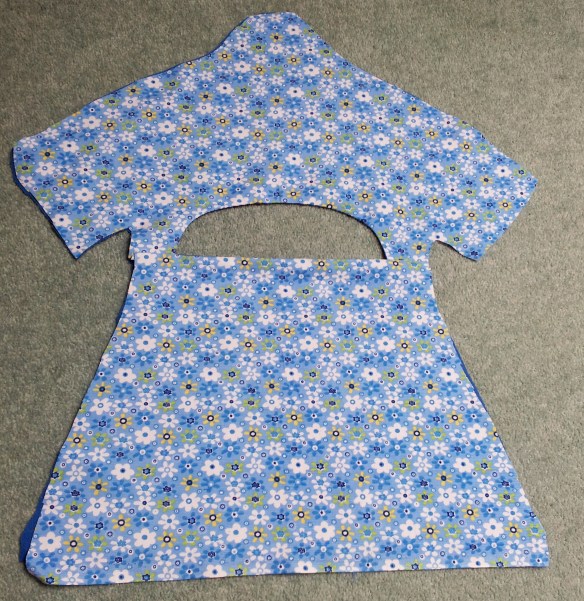
4. Take your top front lining and main fabric pieces and lay them right sides together. Pin and then sew around the curved line. I made my seam 1cm in from the edge. Trim off any access material, turn your pieces the right way out and press flat.
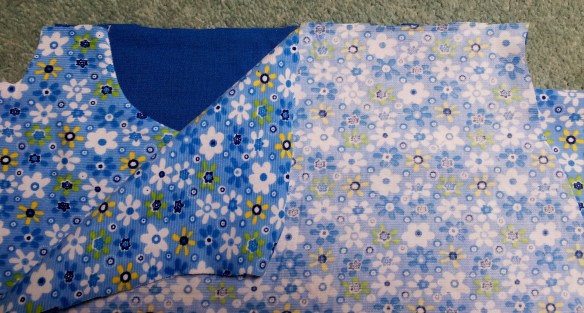
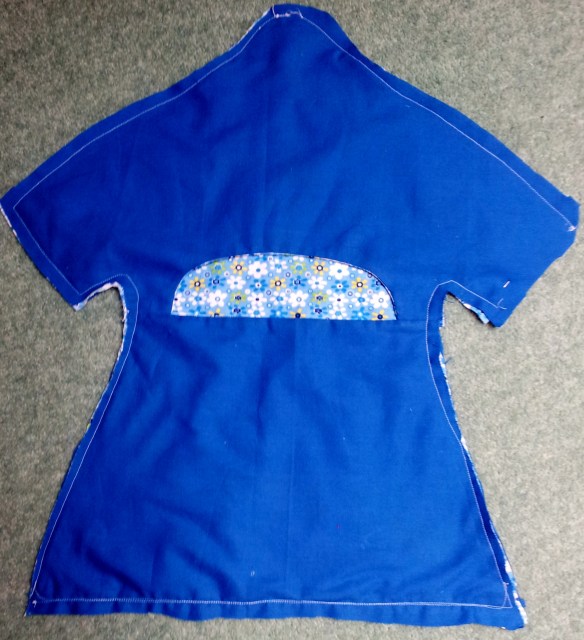
5. Place your front bottom lining piece right side up, then place the top front of your peg bag (right side out with the lining fabric faced down) on top. Place your front bottom main fabric piece over this right side down. Sew through all layers where the opening will be. Trim off any excess, turn and press.
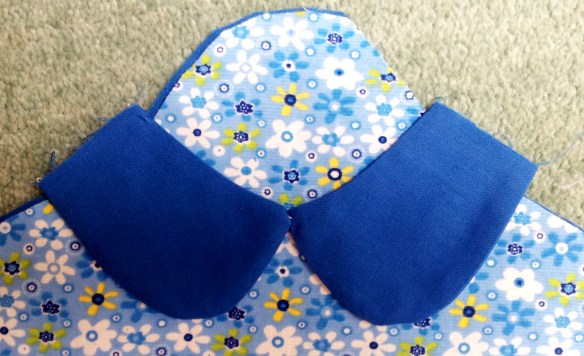
6. As you will see from the photo I have added some Peter Pan collars to my peg bag. To do this I cut out 4 collar shaped pieces, stitched 2 together per collar, turned them the right way out and placed them on top of the front piece of my peg bag. I joined them together in the centre with a small stitch.
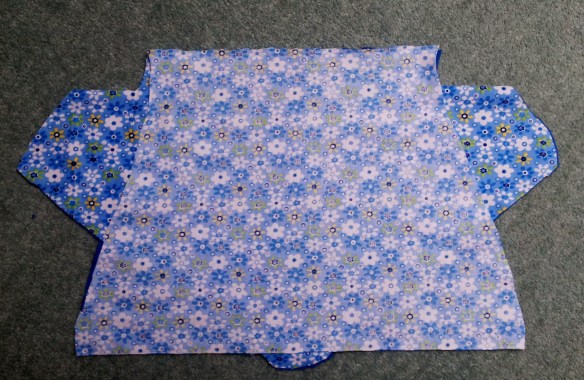
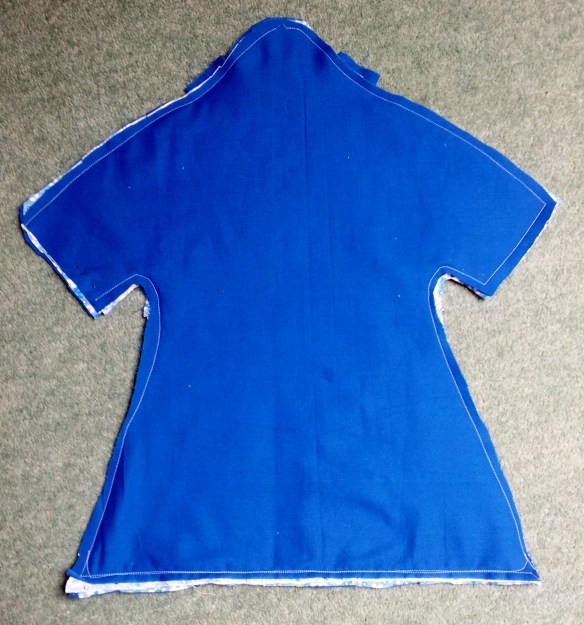
7. The next step is to place your main fabric back piece right side down on top of your front (which is right side up) then lay over your back lining, right side up. Stitch around your peg back sides, bottom and top leaving a small (approx 1 cm gap) at the top for your coat hanger to pop through.
Front of Peg Bag – sewing almost finished!
Back of Peg Bag
8. Turn your peg bag inside out through the opening and press. Insert the hanger through the opening and push its hook through the gap you left at the top. Add some buttons and your cute peg bag is ready for use!
What’s great about this design is the longer the dress the more pegs it will hold.


Pingback: Sneakpeak i tvättstugan | tygochgarn
Really helpful, I’m wanting to make some as Christmas pressies ✂️😃✂️
What a lovely idea. Peg bags are great as you can personalise them sooooo easily. X
Pingback: Peg Bags and Gnomes Galore | thestitchsharer
I’ve been looking for a pattern to make a peg bag for a while now and you’ve given me the kick up the bum I’ve been waiting for to get on and do one! Thank you for sharing your pattern 🙂
Your welcome. Hope you enjoy making it. x
This is such a cute peg bag! I really love the fabric too!
Thank you so much. The fabric is like a mini cord so it’s really strong. x
Hi Bell! my darling sister in law! this has got to be one of your best inventions yet! I am going to try this out but with my sewing you may have to help me!
Go girl! XXX
Hello my lovely – welcome to the world of blogging! Loving your posts – you’ll be tweeting next too!
Love your work, I have an Award waiting for you in my blog, hope you like it, you definitely deserve it! Take care, Drikka
Thank you so much Drikka. I’ve put a link to your blog on my About Me page so people can find your lovely blog too. x
Very cute and, once again, nice job on the instructions! I could see some other good uses for this bag too. 🙂
Thank you.x