
With the “40th anniversary” Rocky Horror Picture Show tour tickets ready my last few evenings have been a Rocky Horror Picture Sew-time!
If you haven’t seen the show or film, Magenta is one of the servants who spends quite a bit of her time dressed as a maid. Thanks to some excellent web info from dedicated Rocky Horror fans such as that found on the Rocky Horror Costume List, Columbia’s Closet and Angel Fire the costume was easy to make (as you will see the instructions below are based on the info I found on these websites). As it would also make a great Halloween costume, ‘French Maid’ or even a child’s Victorian maid outfit I thought it would be worth writing a post incase you wanted to have a go too.
How to make a French Maid Hat
1. Cut a circle of fabric from some white cotton. I used a saucer to draw around which has a diameter of just over 5.5 inches.

2. Make 3 small folds at the rear of the circle. Stitch the folds in place.

3. Add some lace to the edge of your cap – I used 1 inch ruffled scalloped (which was £1.20 a metre). Start the lace where your folds are so that the join will be hidden later by the bow. Lay the lace so the right sides are together and stitch around the outside edge.
Press the lace so it fans out over the edge and lays flat.
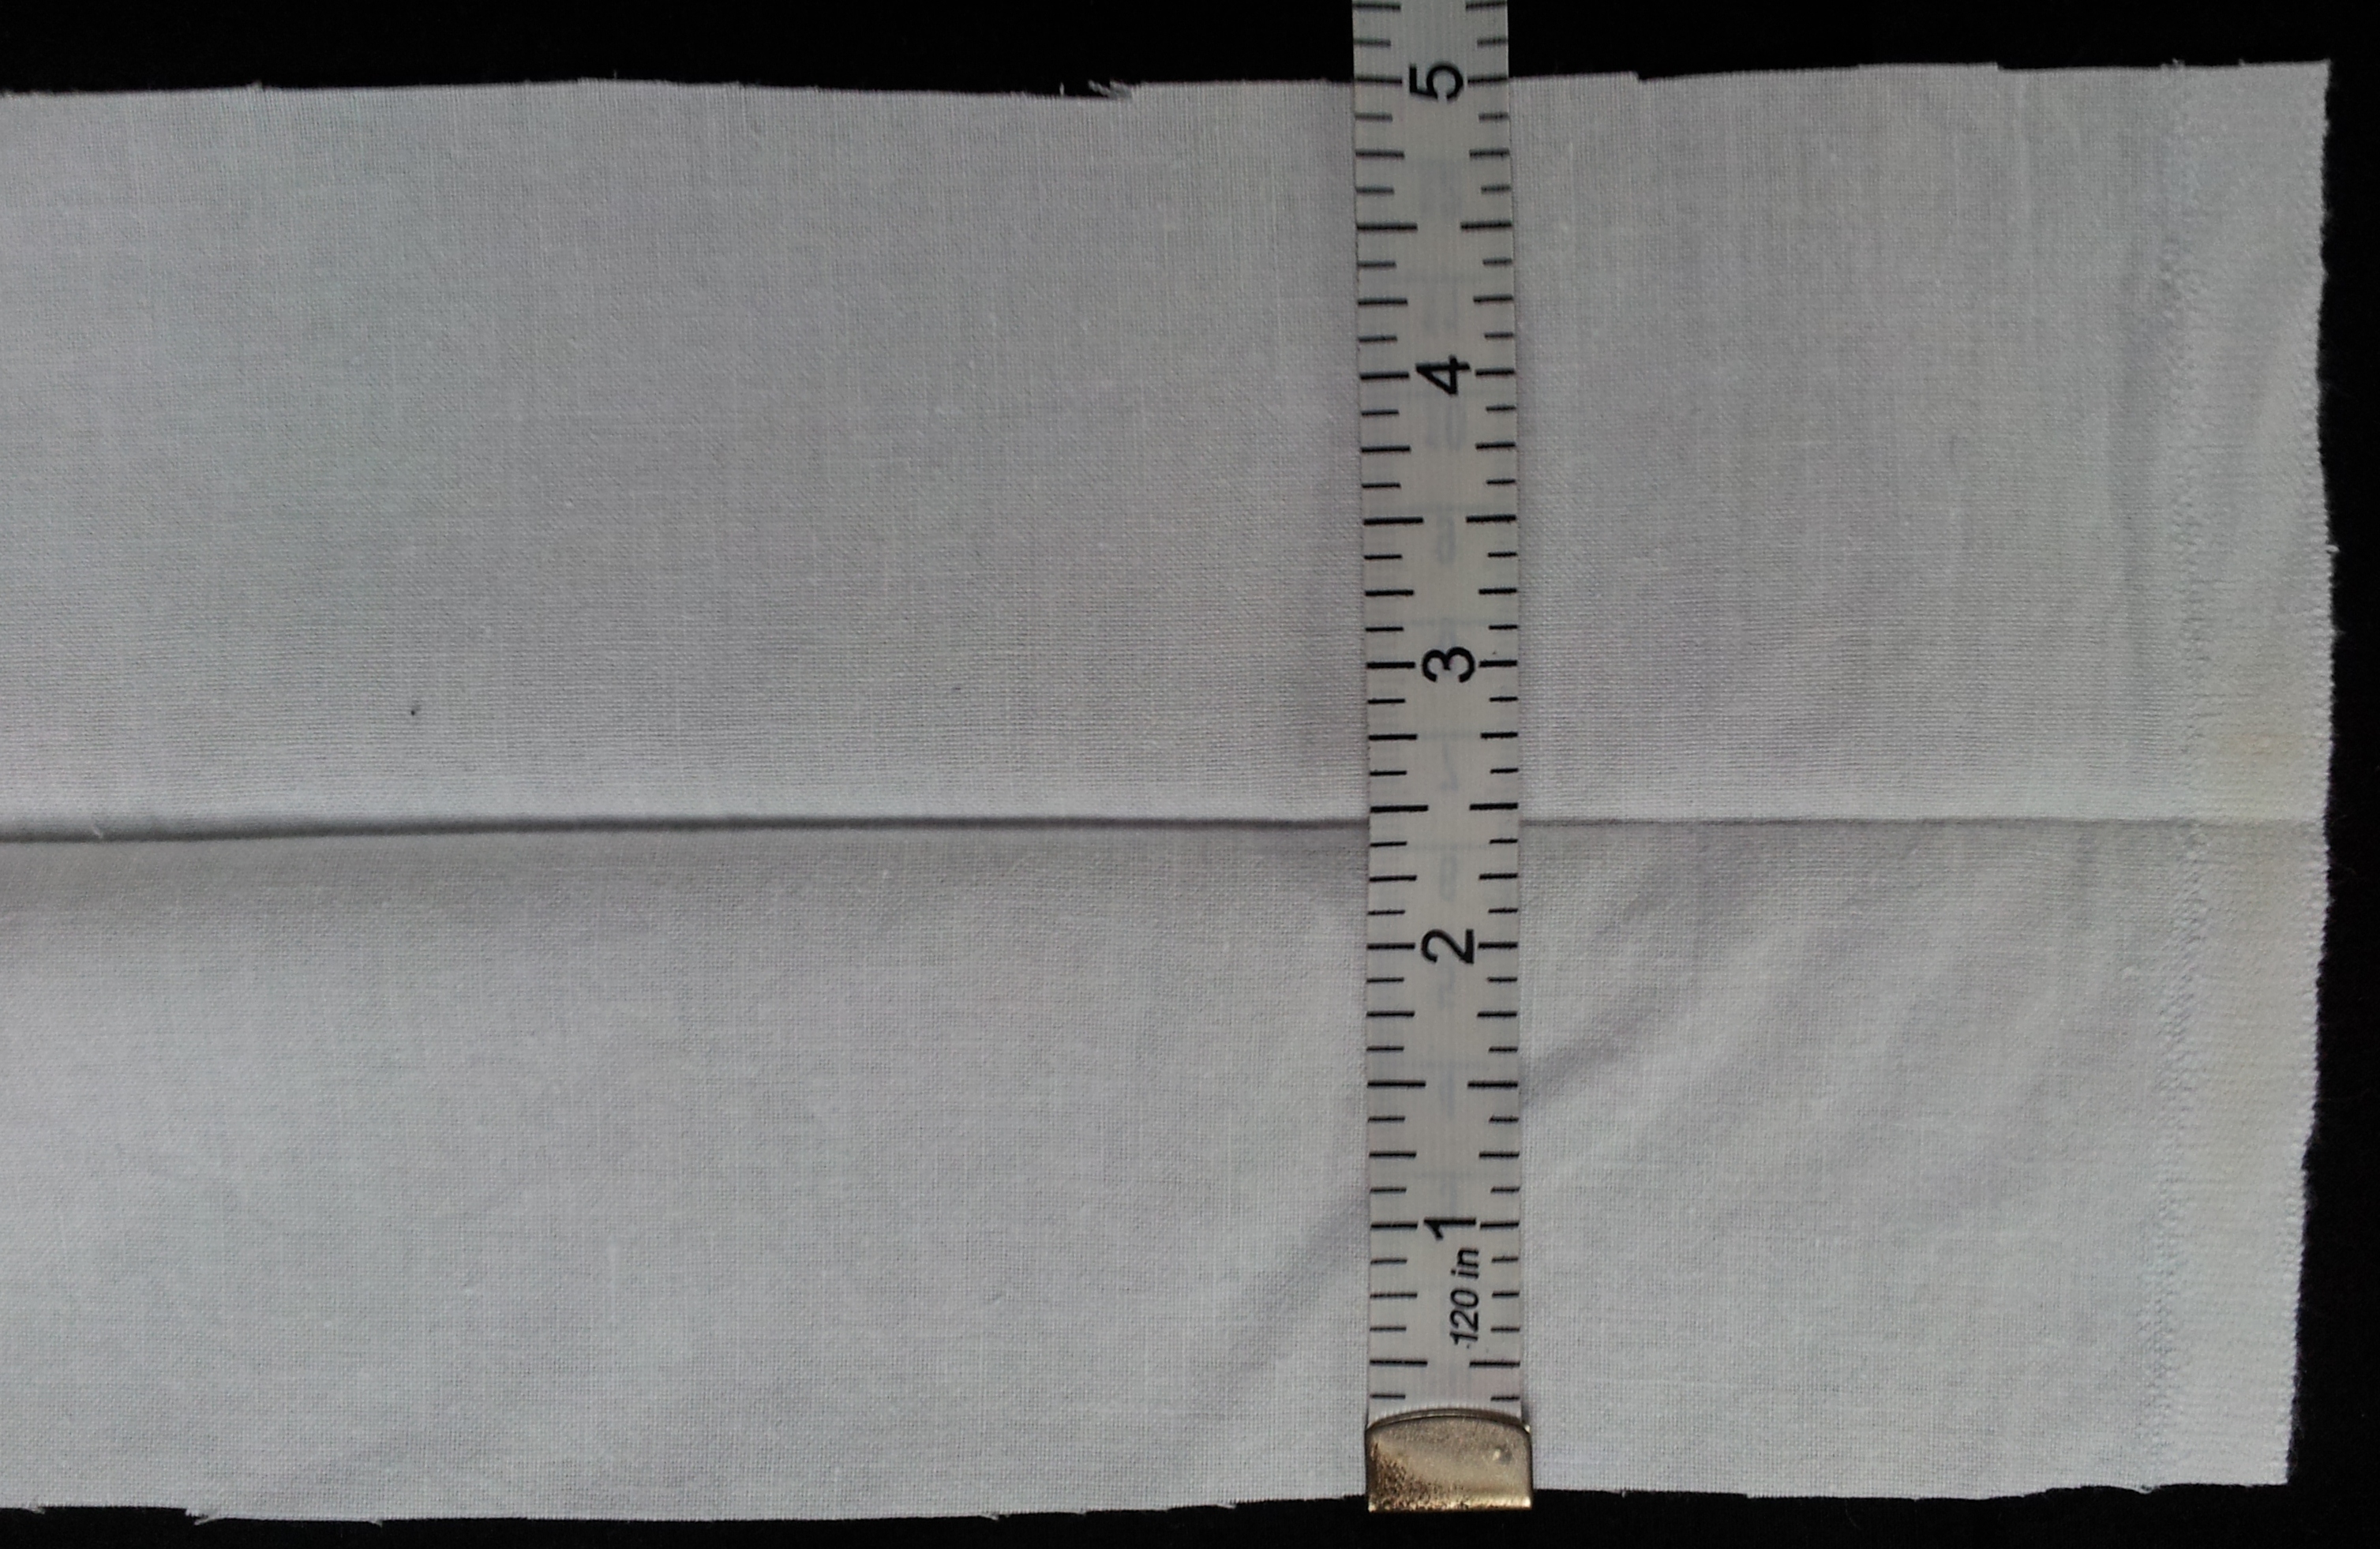
5. Cut a rectangle of fabric approx 4 inches wide x 22 inches long. Fold it in half lengthways so right sides are together. Stitch the long edges together. Sew a diagonal line across one end and trim.
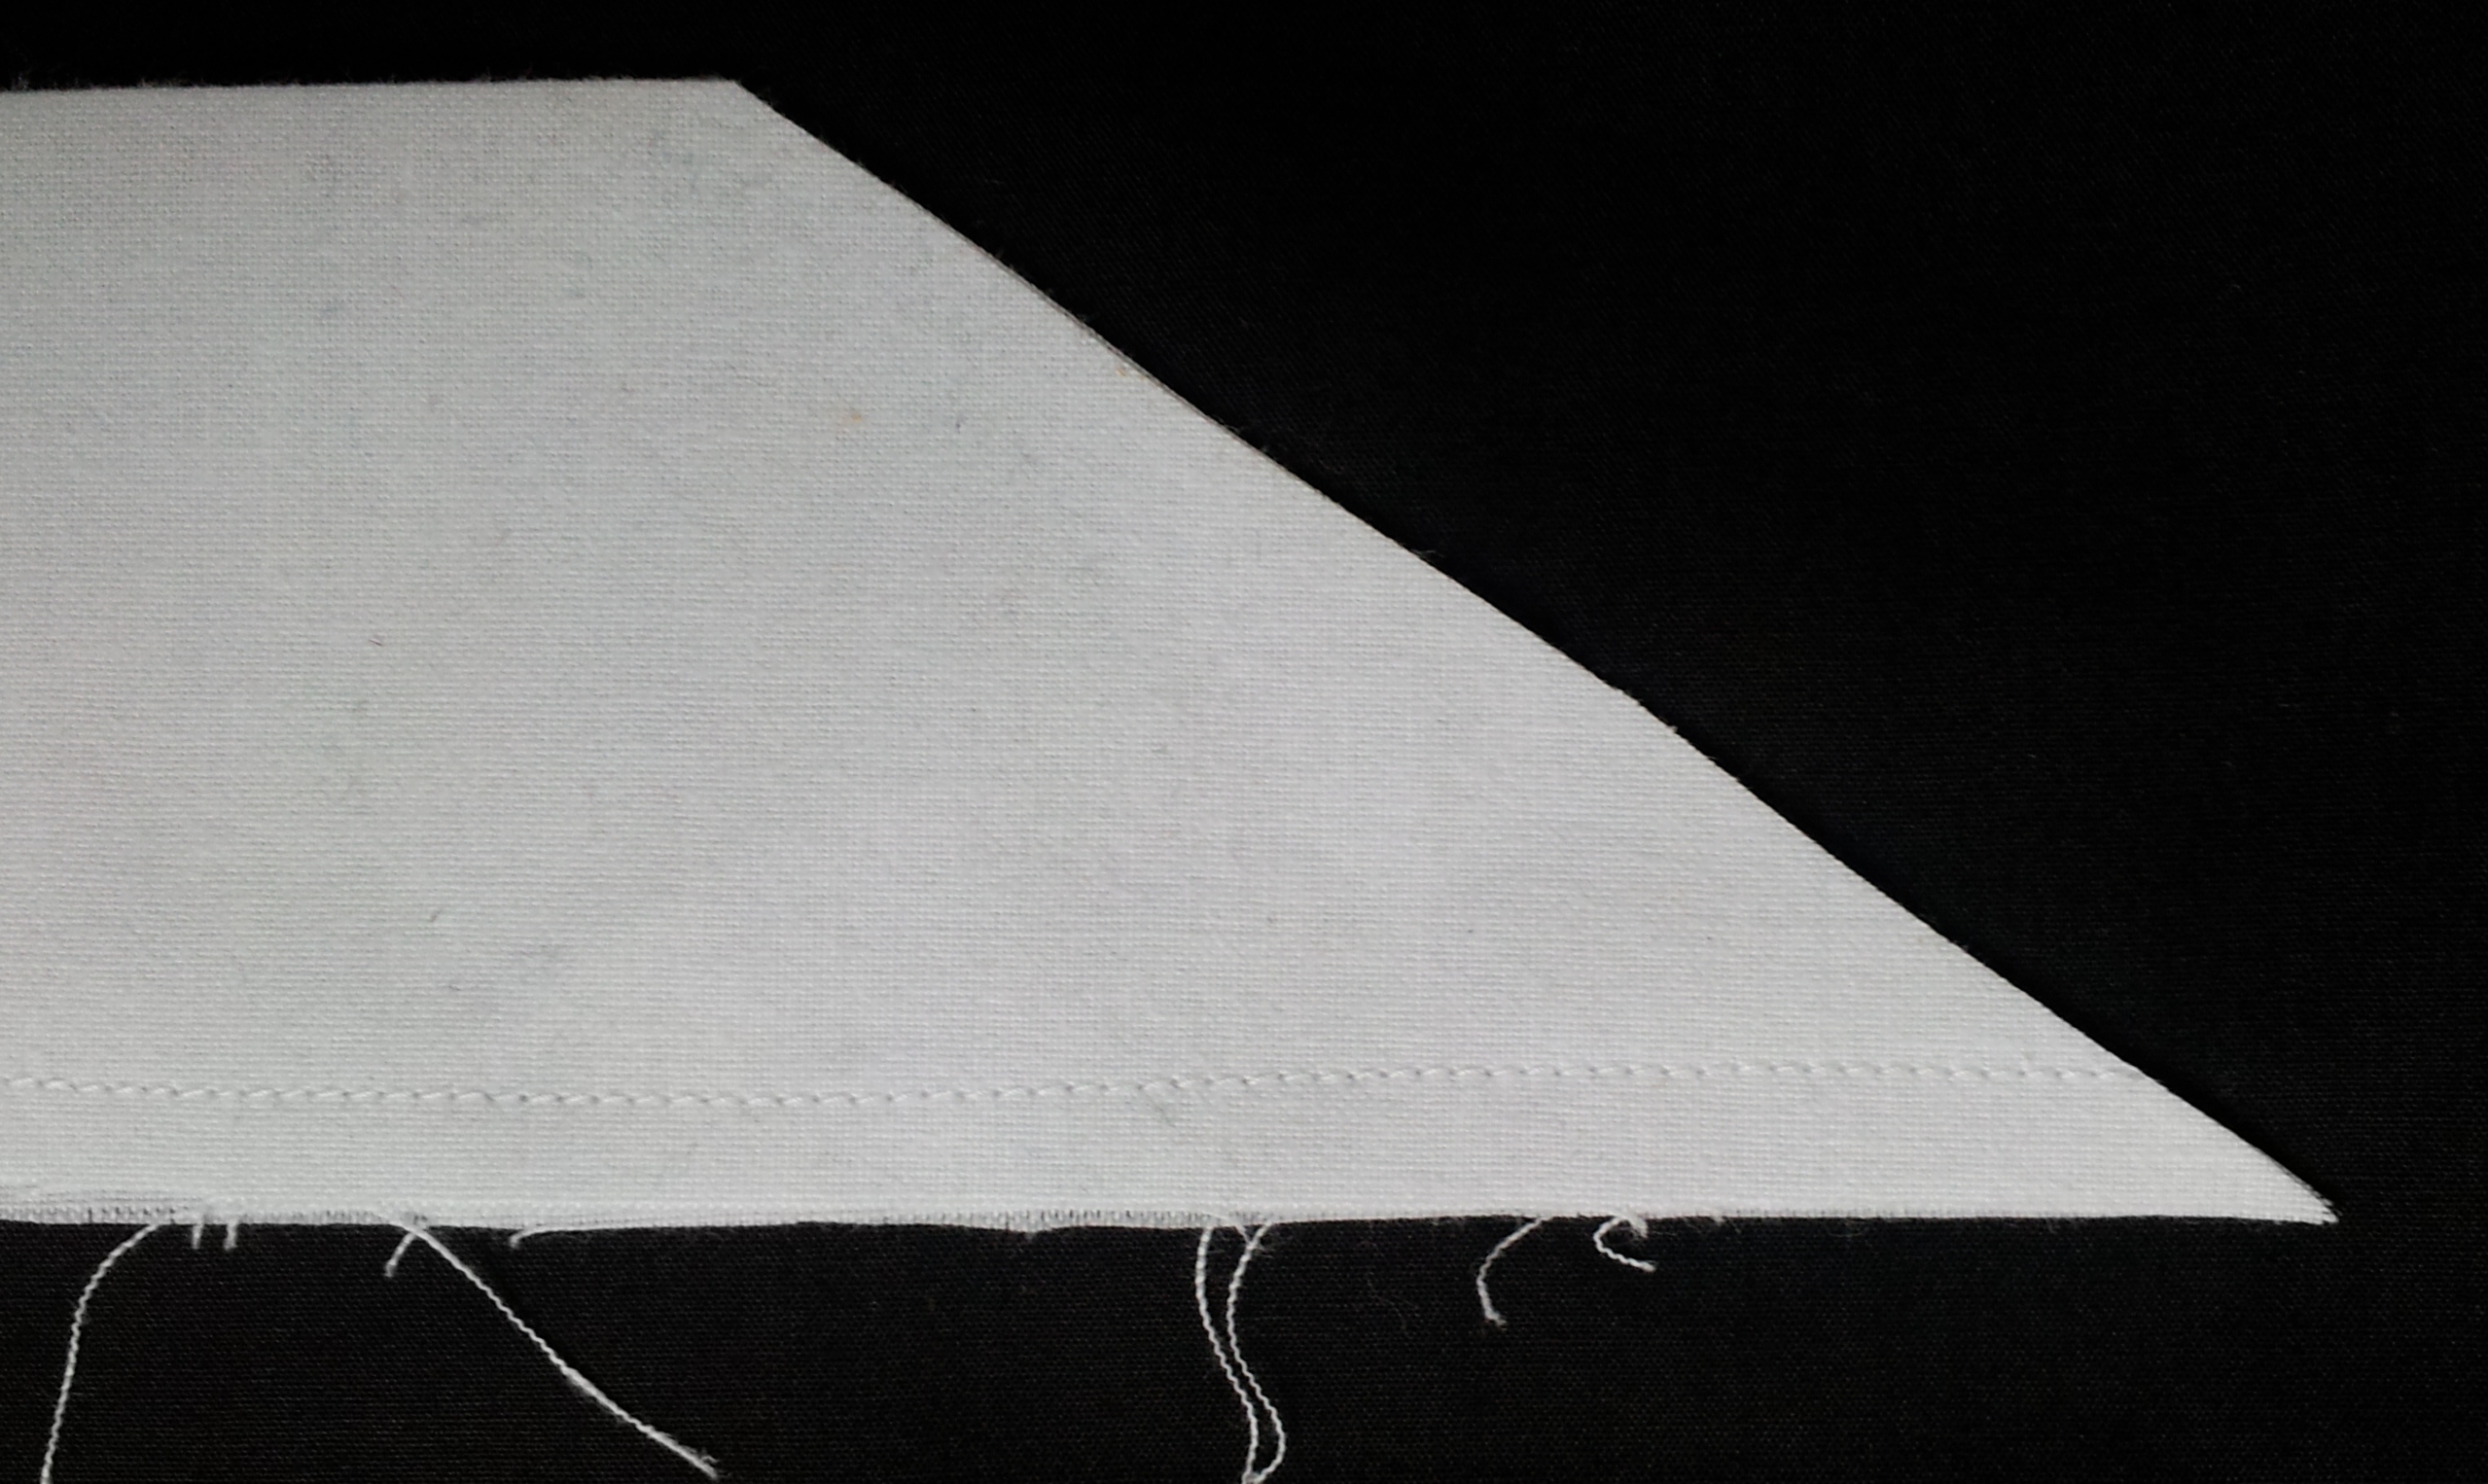
6. Turn the tube inside out so the right sides are on the outside.
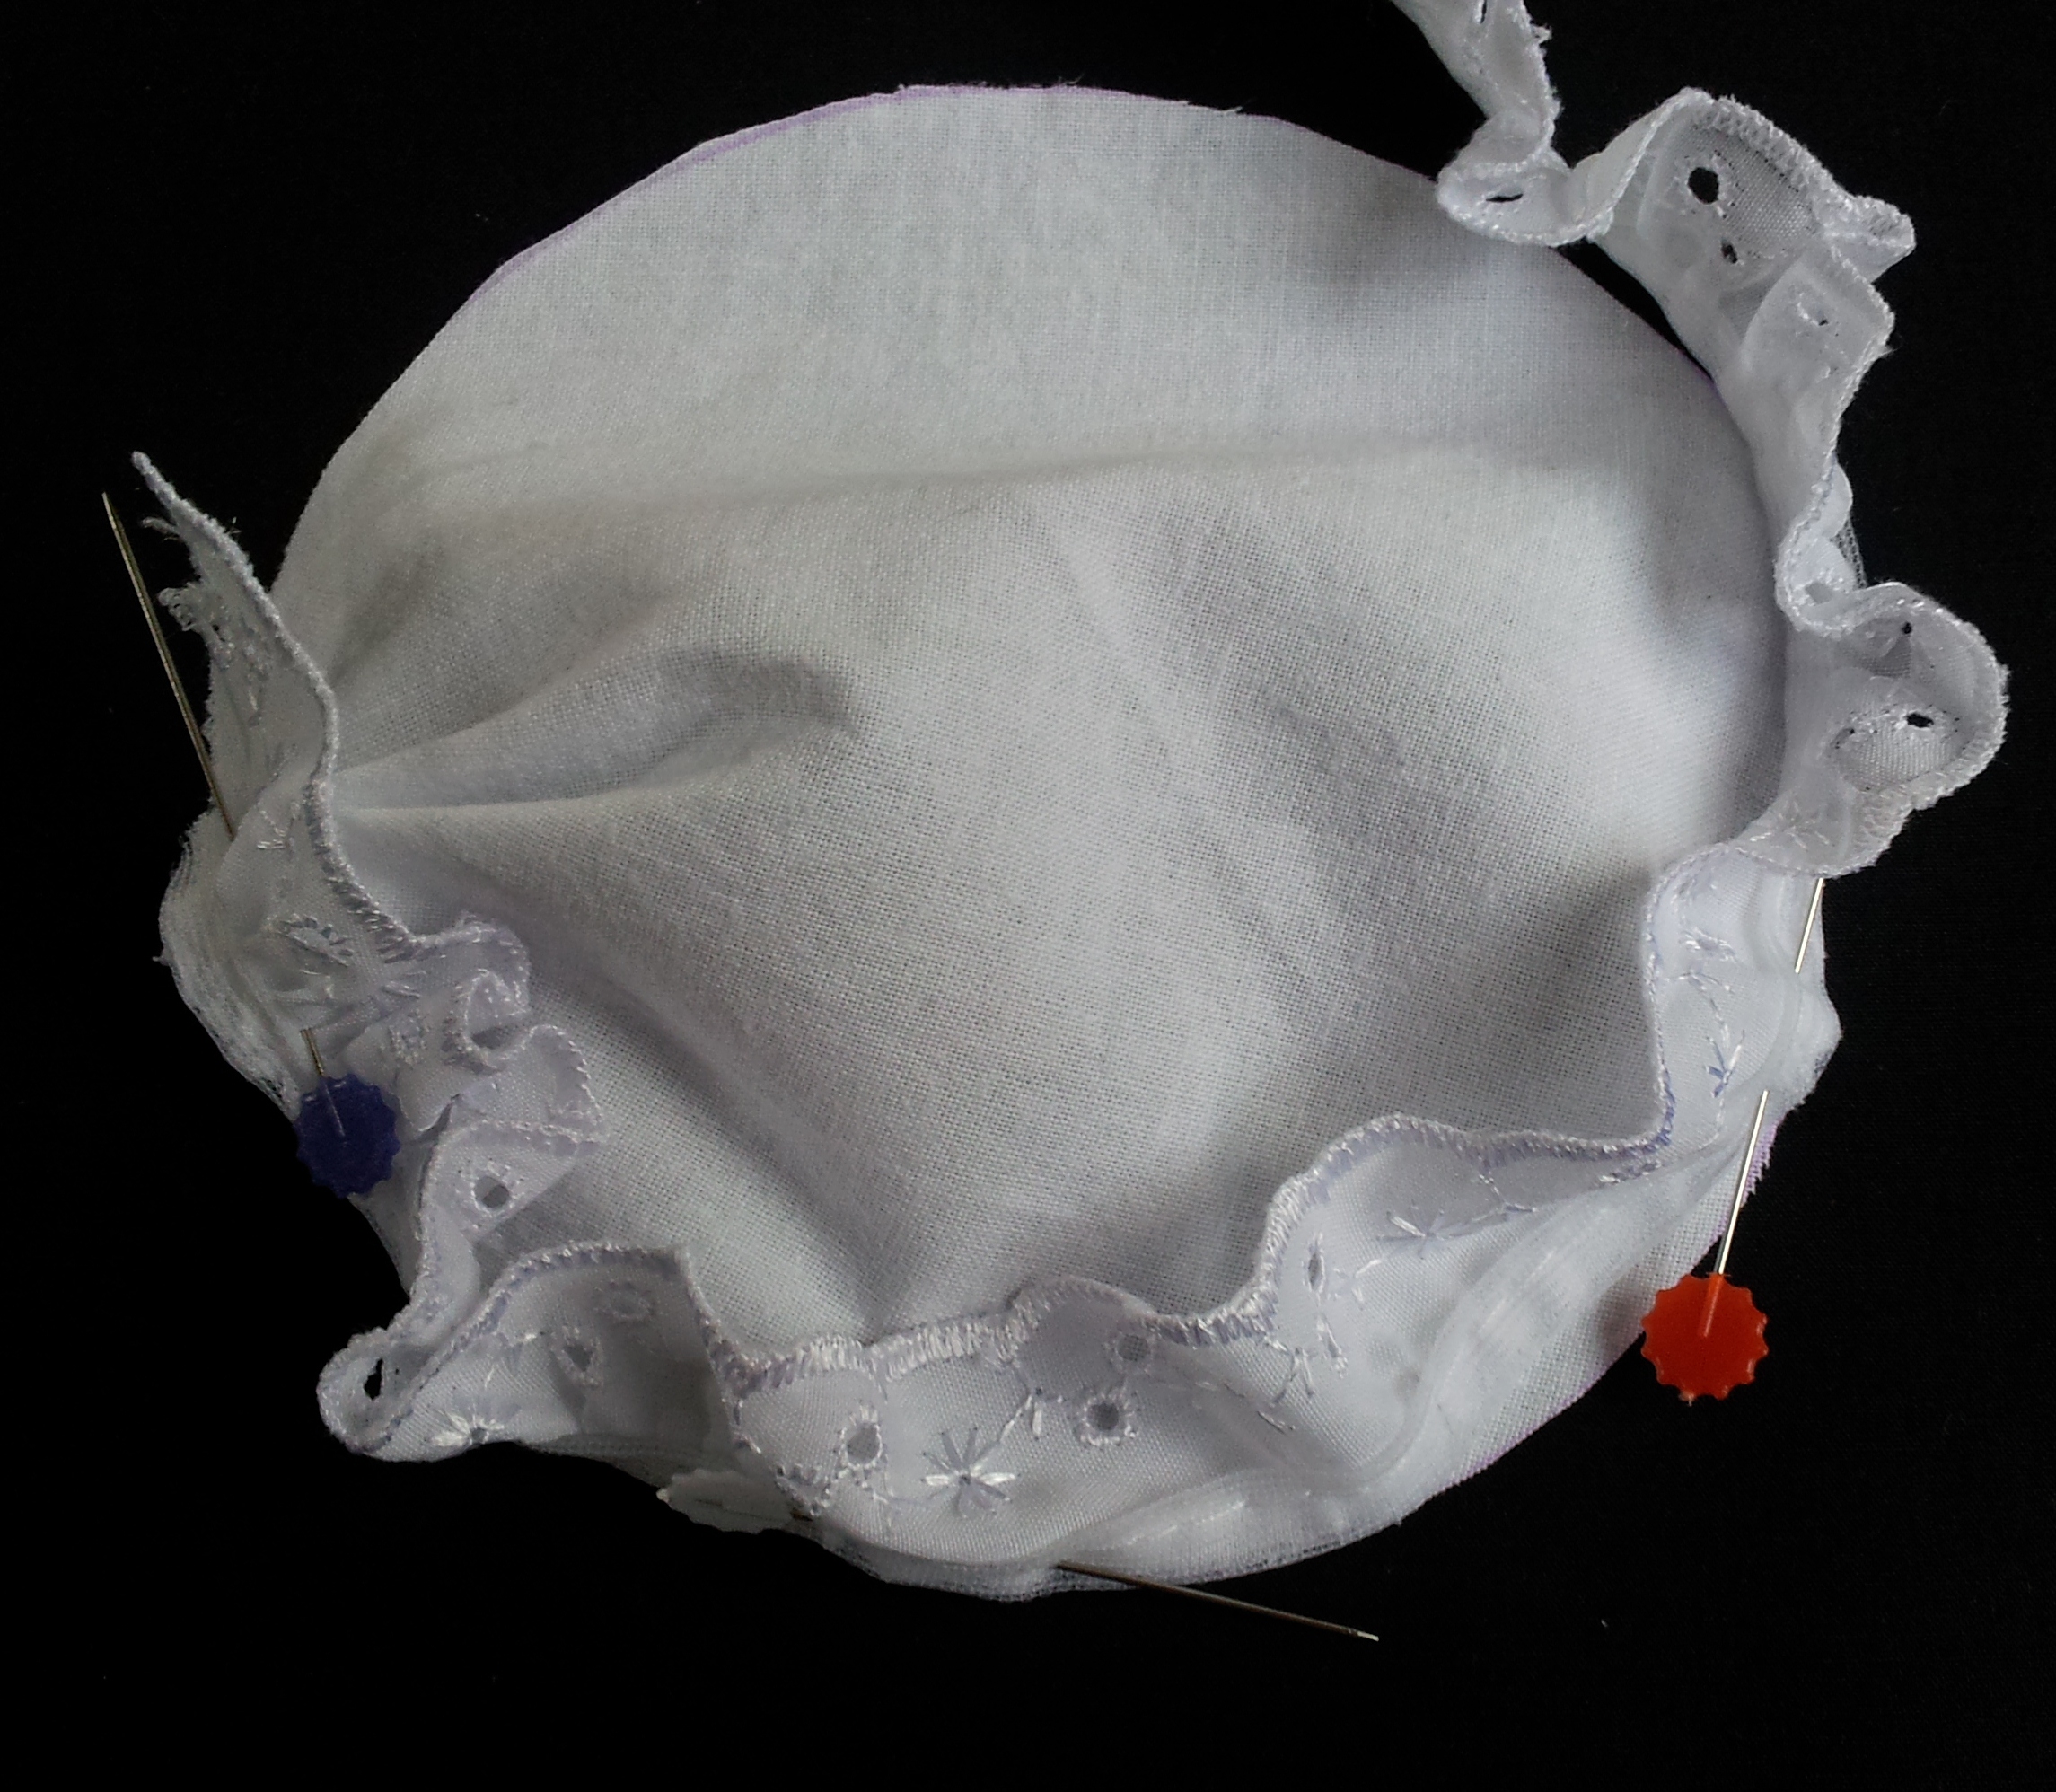
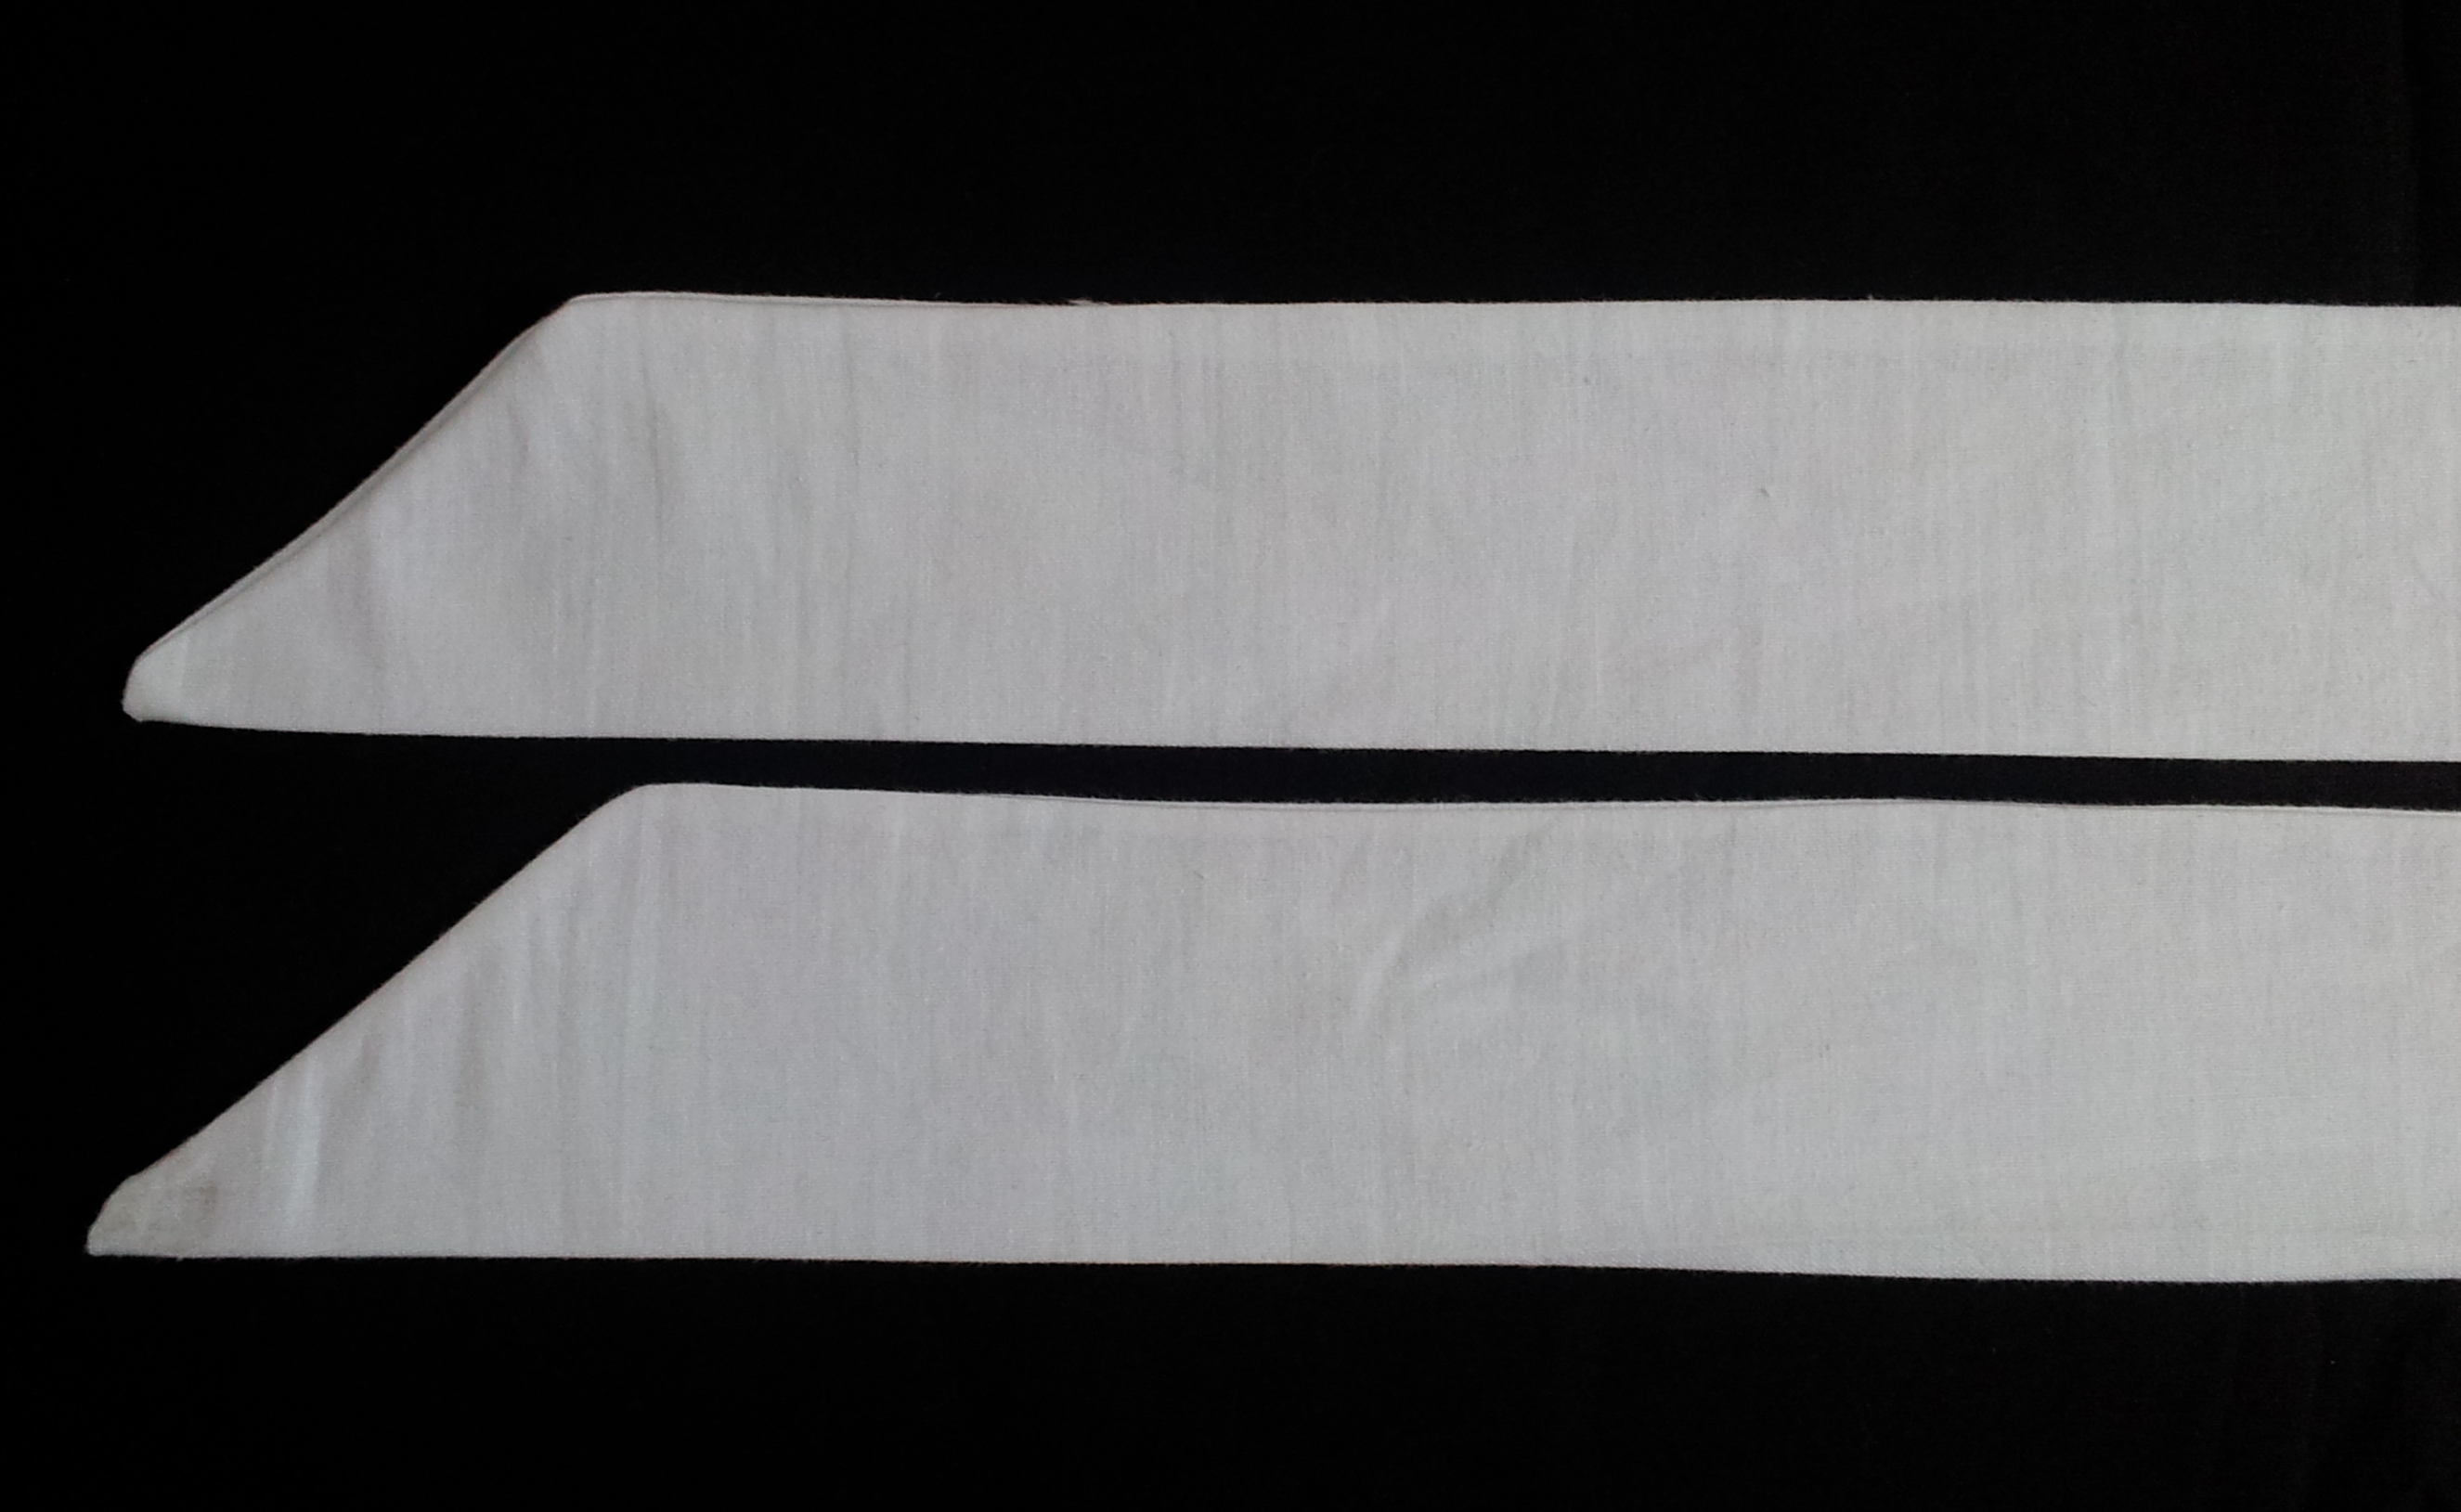
7. Trim the other end of the strip into a diagonal, turn the raw ends in and stitch the end closed. Your bow ribbon should look something like this:
![]()
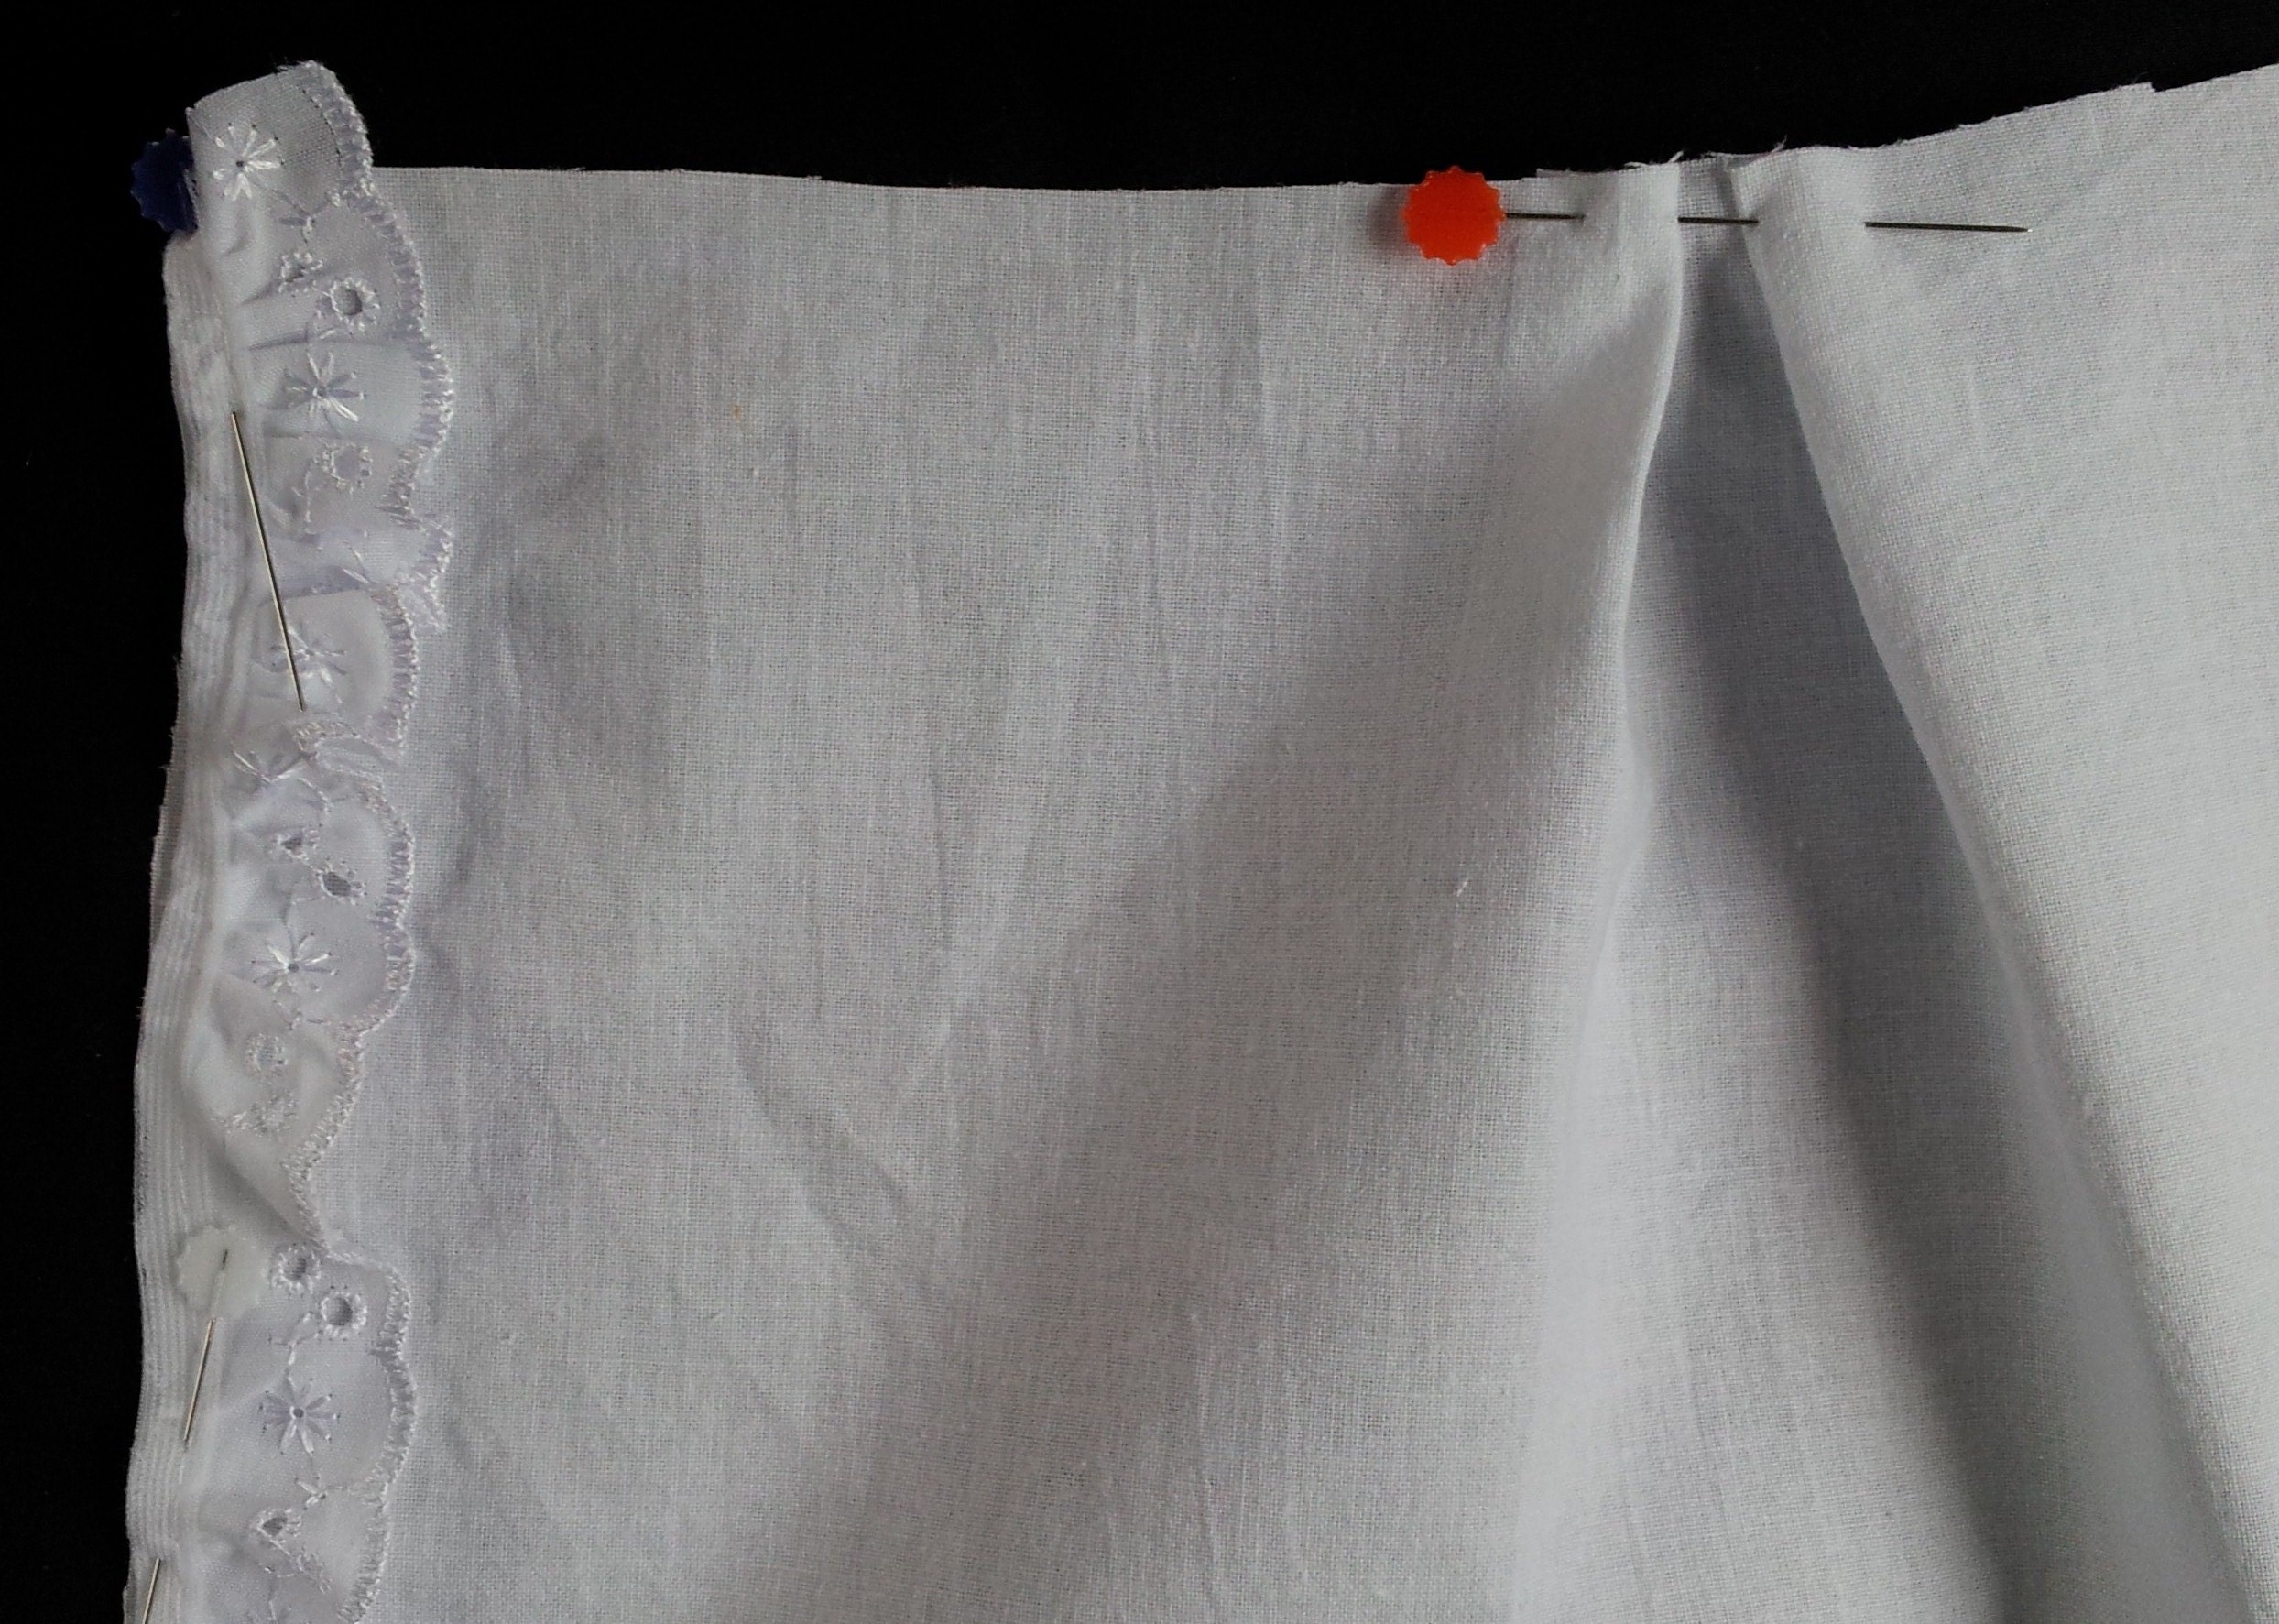
8. Tie your ribbon into a bow and stitch to the back of your hat over the folds where your lace joins. Voila! One finished French Maid / Magenta Hat from the top (right side).

and from underneath (wrong side). Pin your hat in place with some hair grips.

If you are after some wild frizzy hair – braid your hair overnight, take out your braids and back comb!
How to make a French Maid Apron (with or without Shoulder Straps)
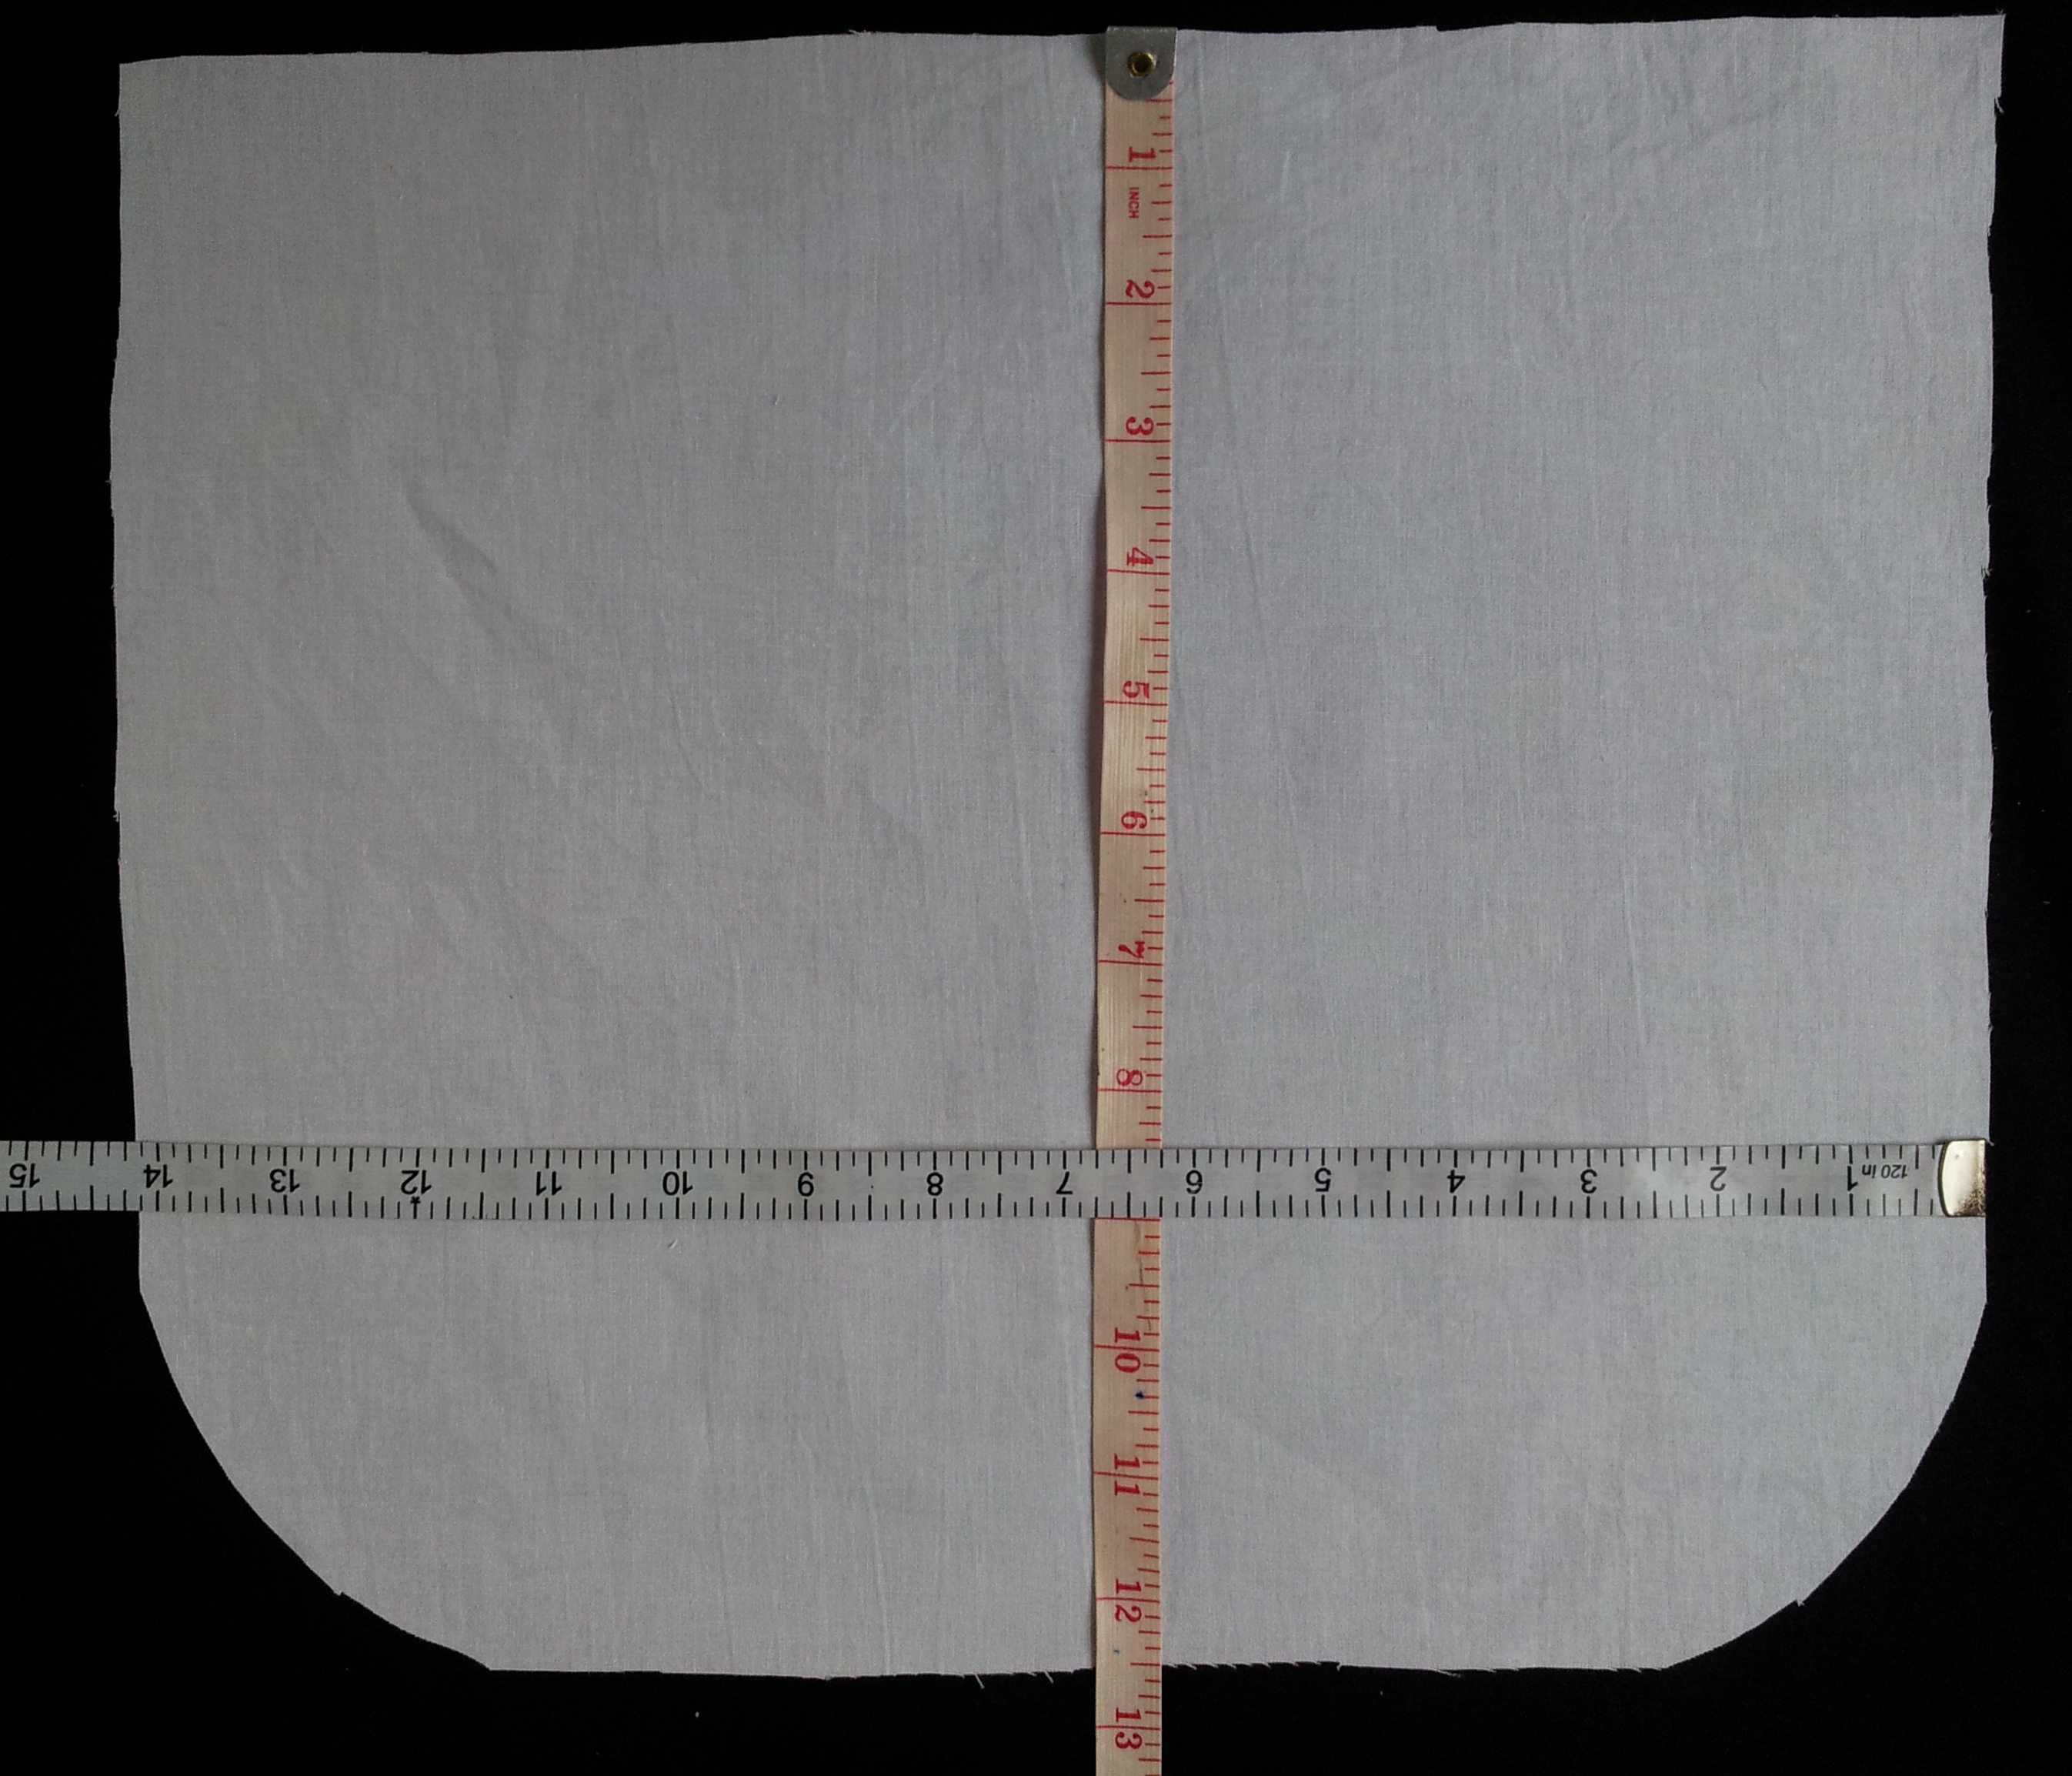
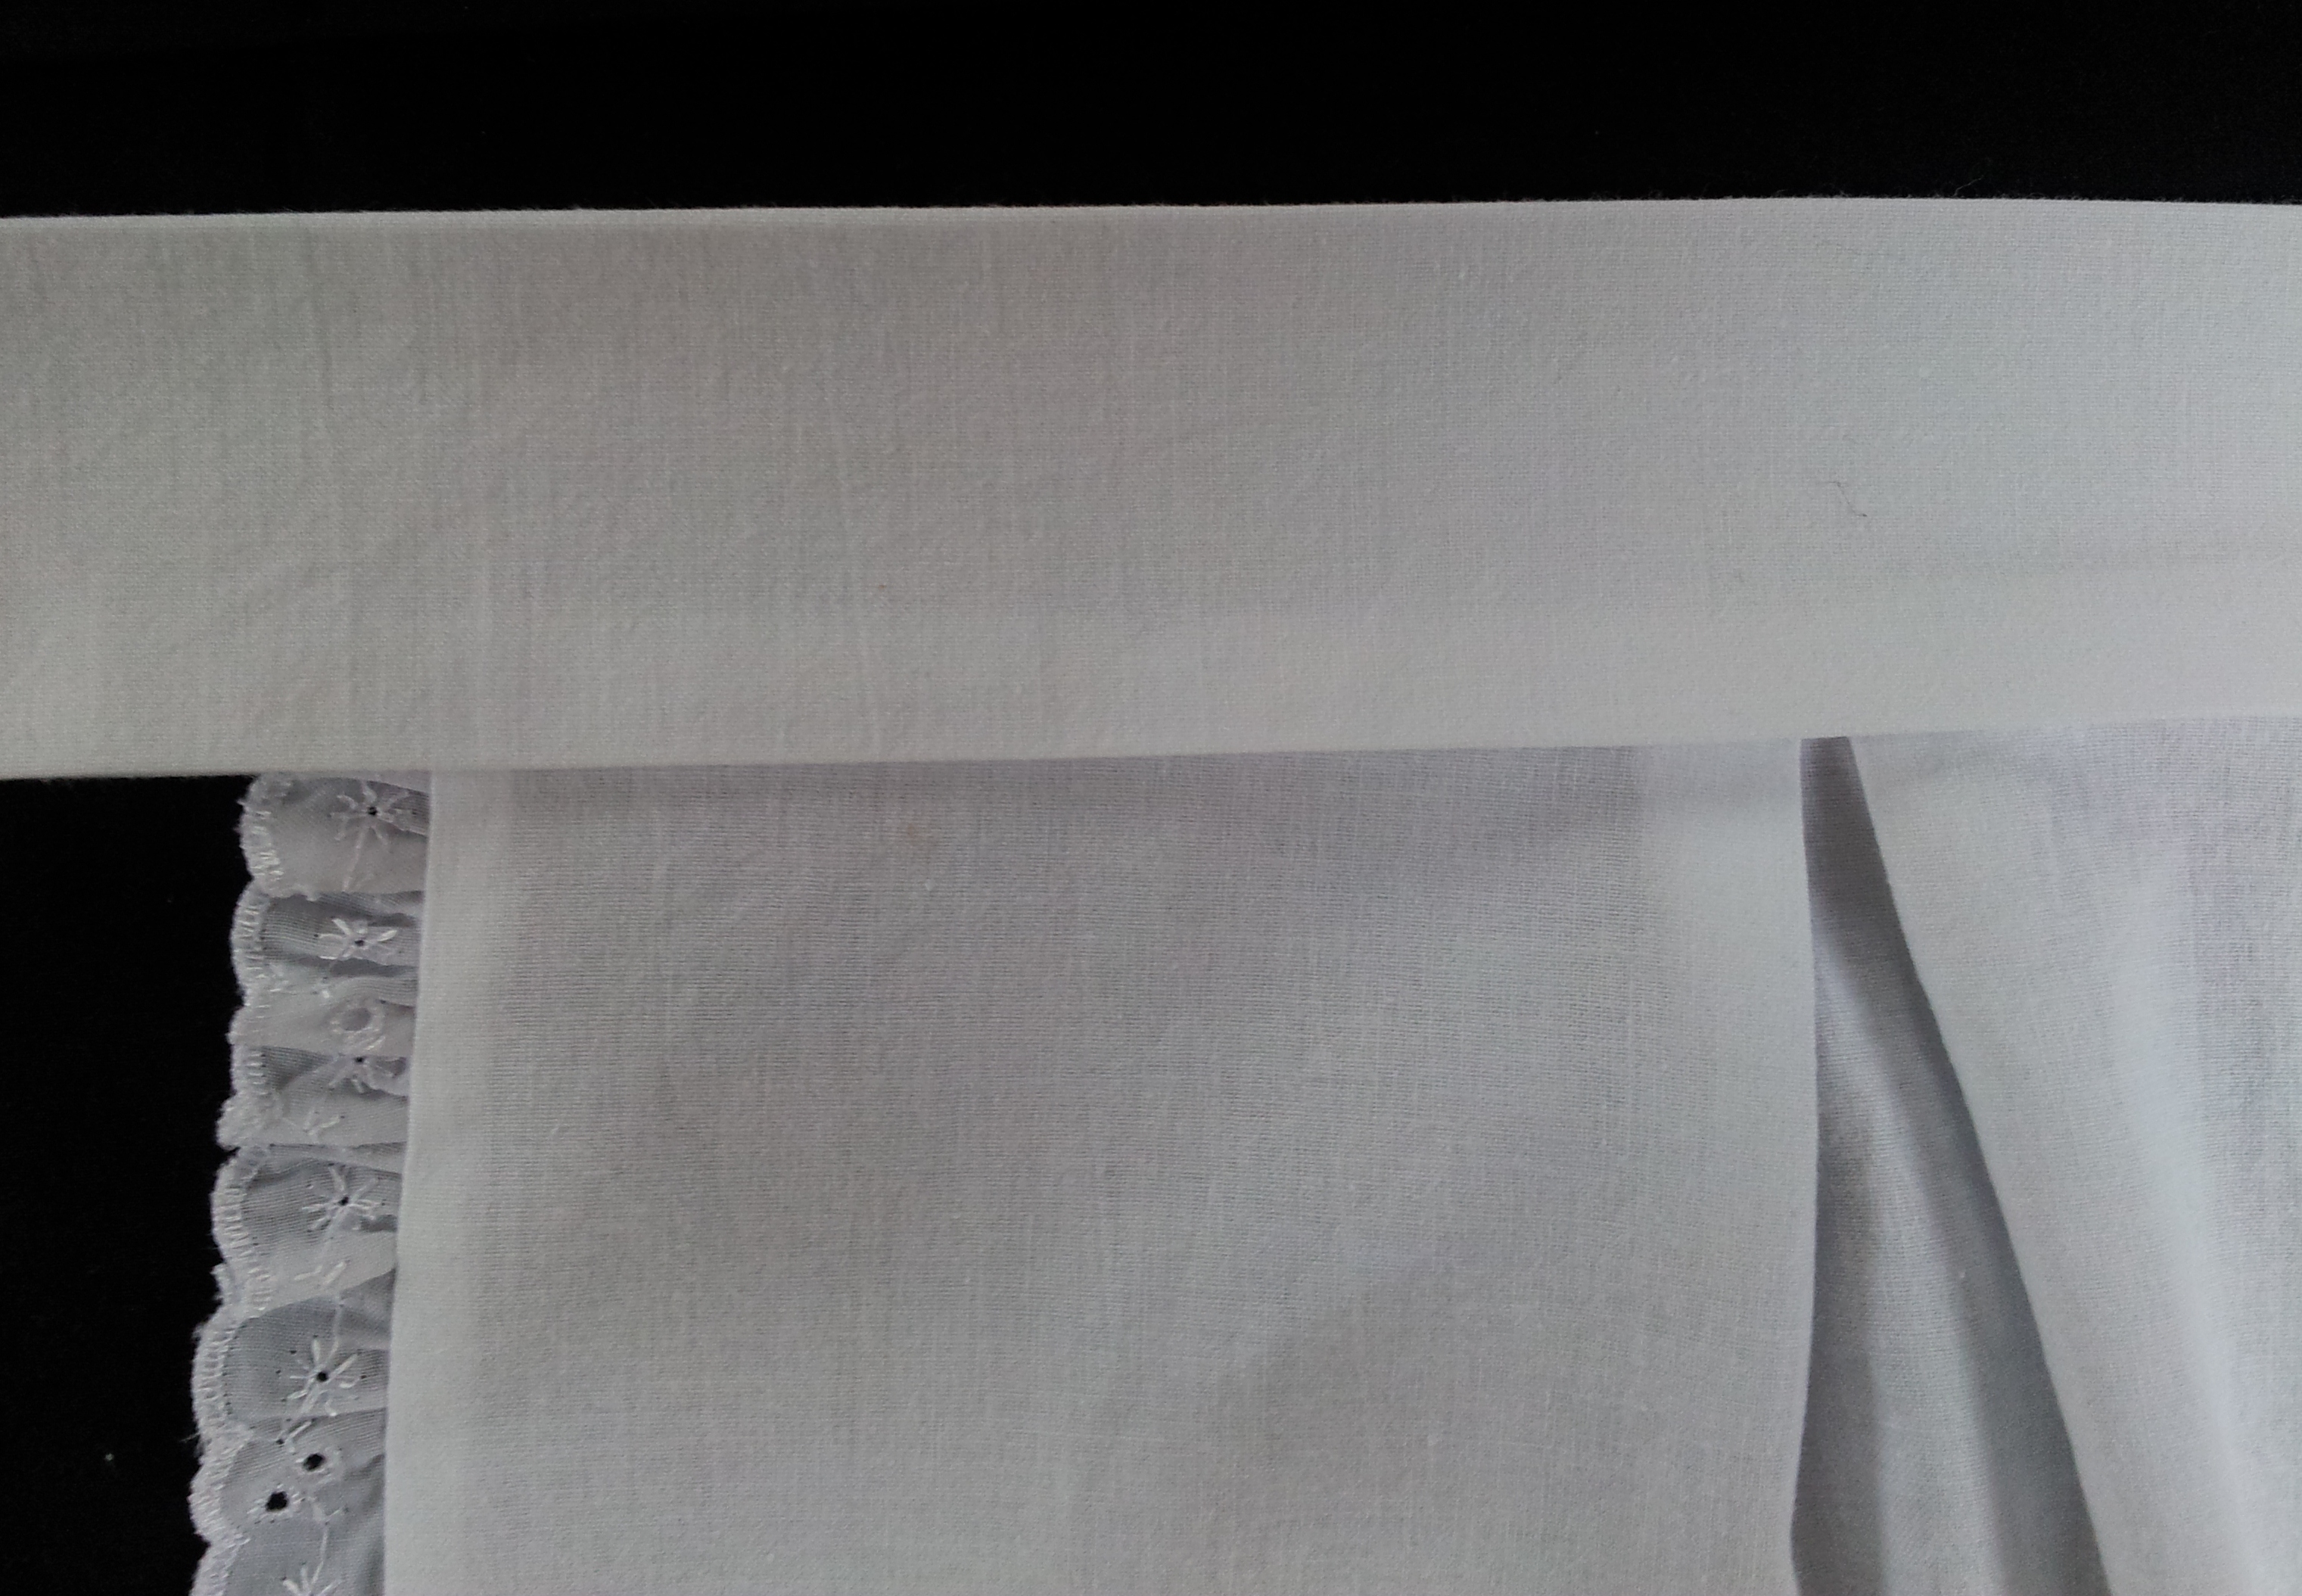
1. Cut a rectangle of white cotton 12.5 inches long x 14 inches wide. Fold in half and round off the bottom edges.
2. Make 2 folds in the top middle of you apron. Pin then stitch in place. Lay some lace (again I used 1 inch ruffled) around the sides and bottom of the apron panel so the right sides are together and sew around the outside edge.
Press the lace flat so it lays over the edge of your apron.
3. Cut some long fabric strips to make your apron ties – the one to go around the waist band was 5 inches wide x 65 inches long.
4. Fold your strip lengthwise so right sides are together, cut your ends diagonally. Stitch the side and long edges leaving appox a 16 inch gap in the middle. Turn the tube so the rights sides are facing out. Press.
5. Tuck your apron front into the gap and stitch across the bottom of your waist band to secure it to your apron panel.
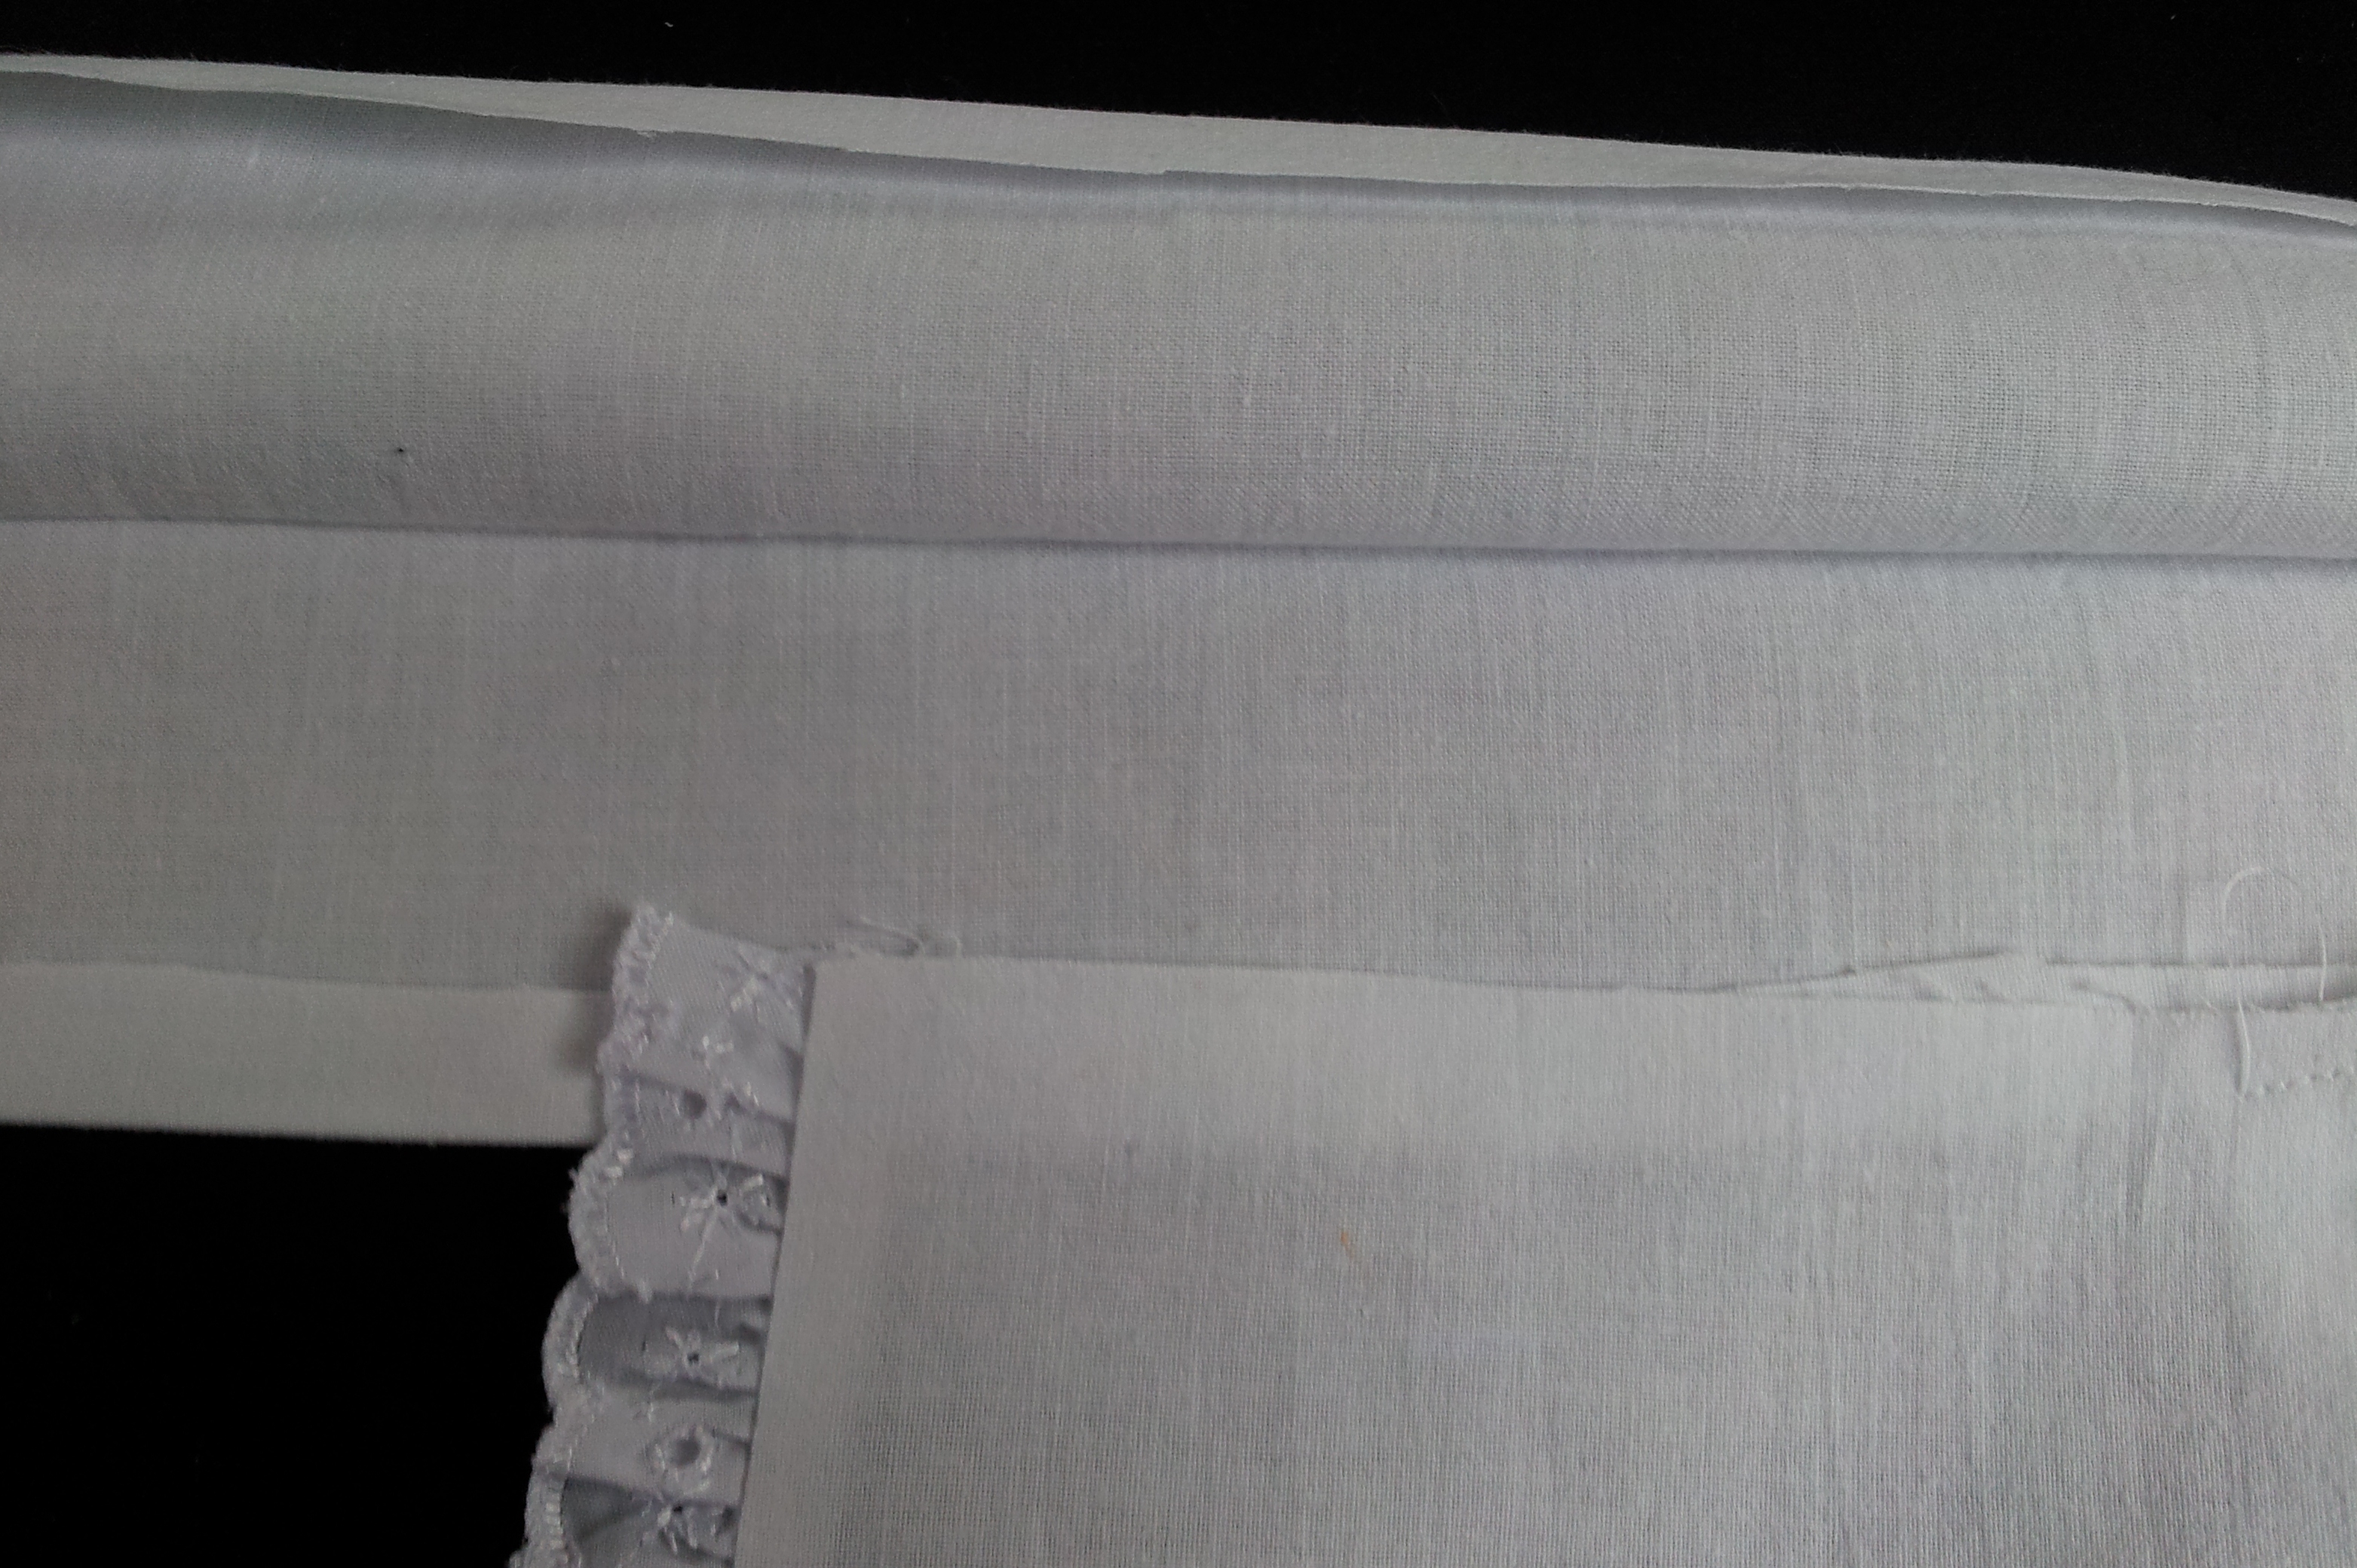
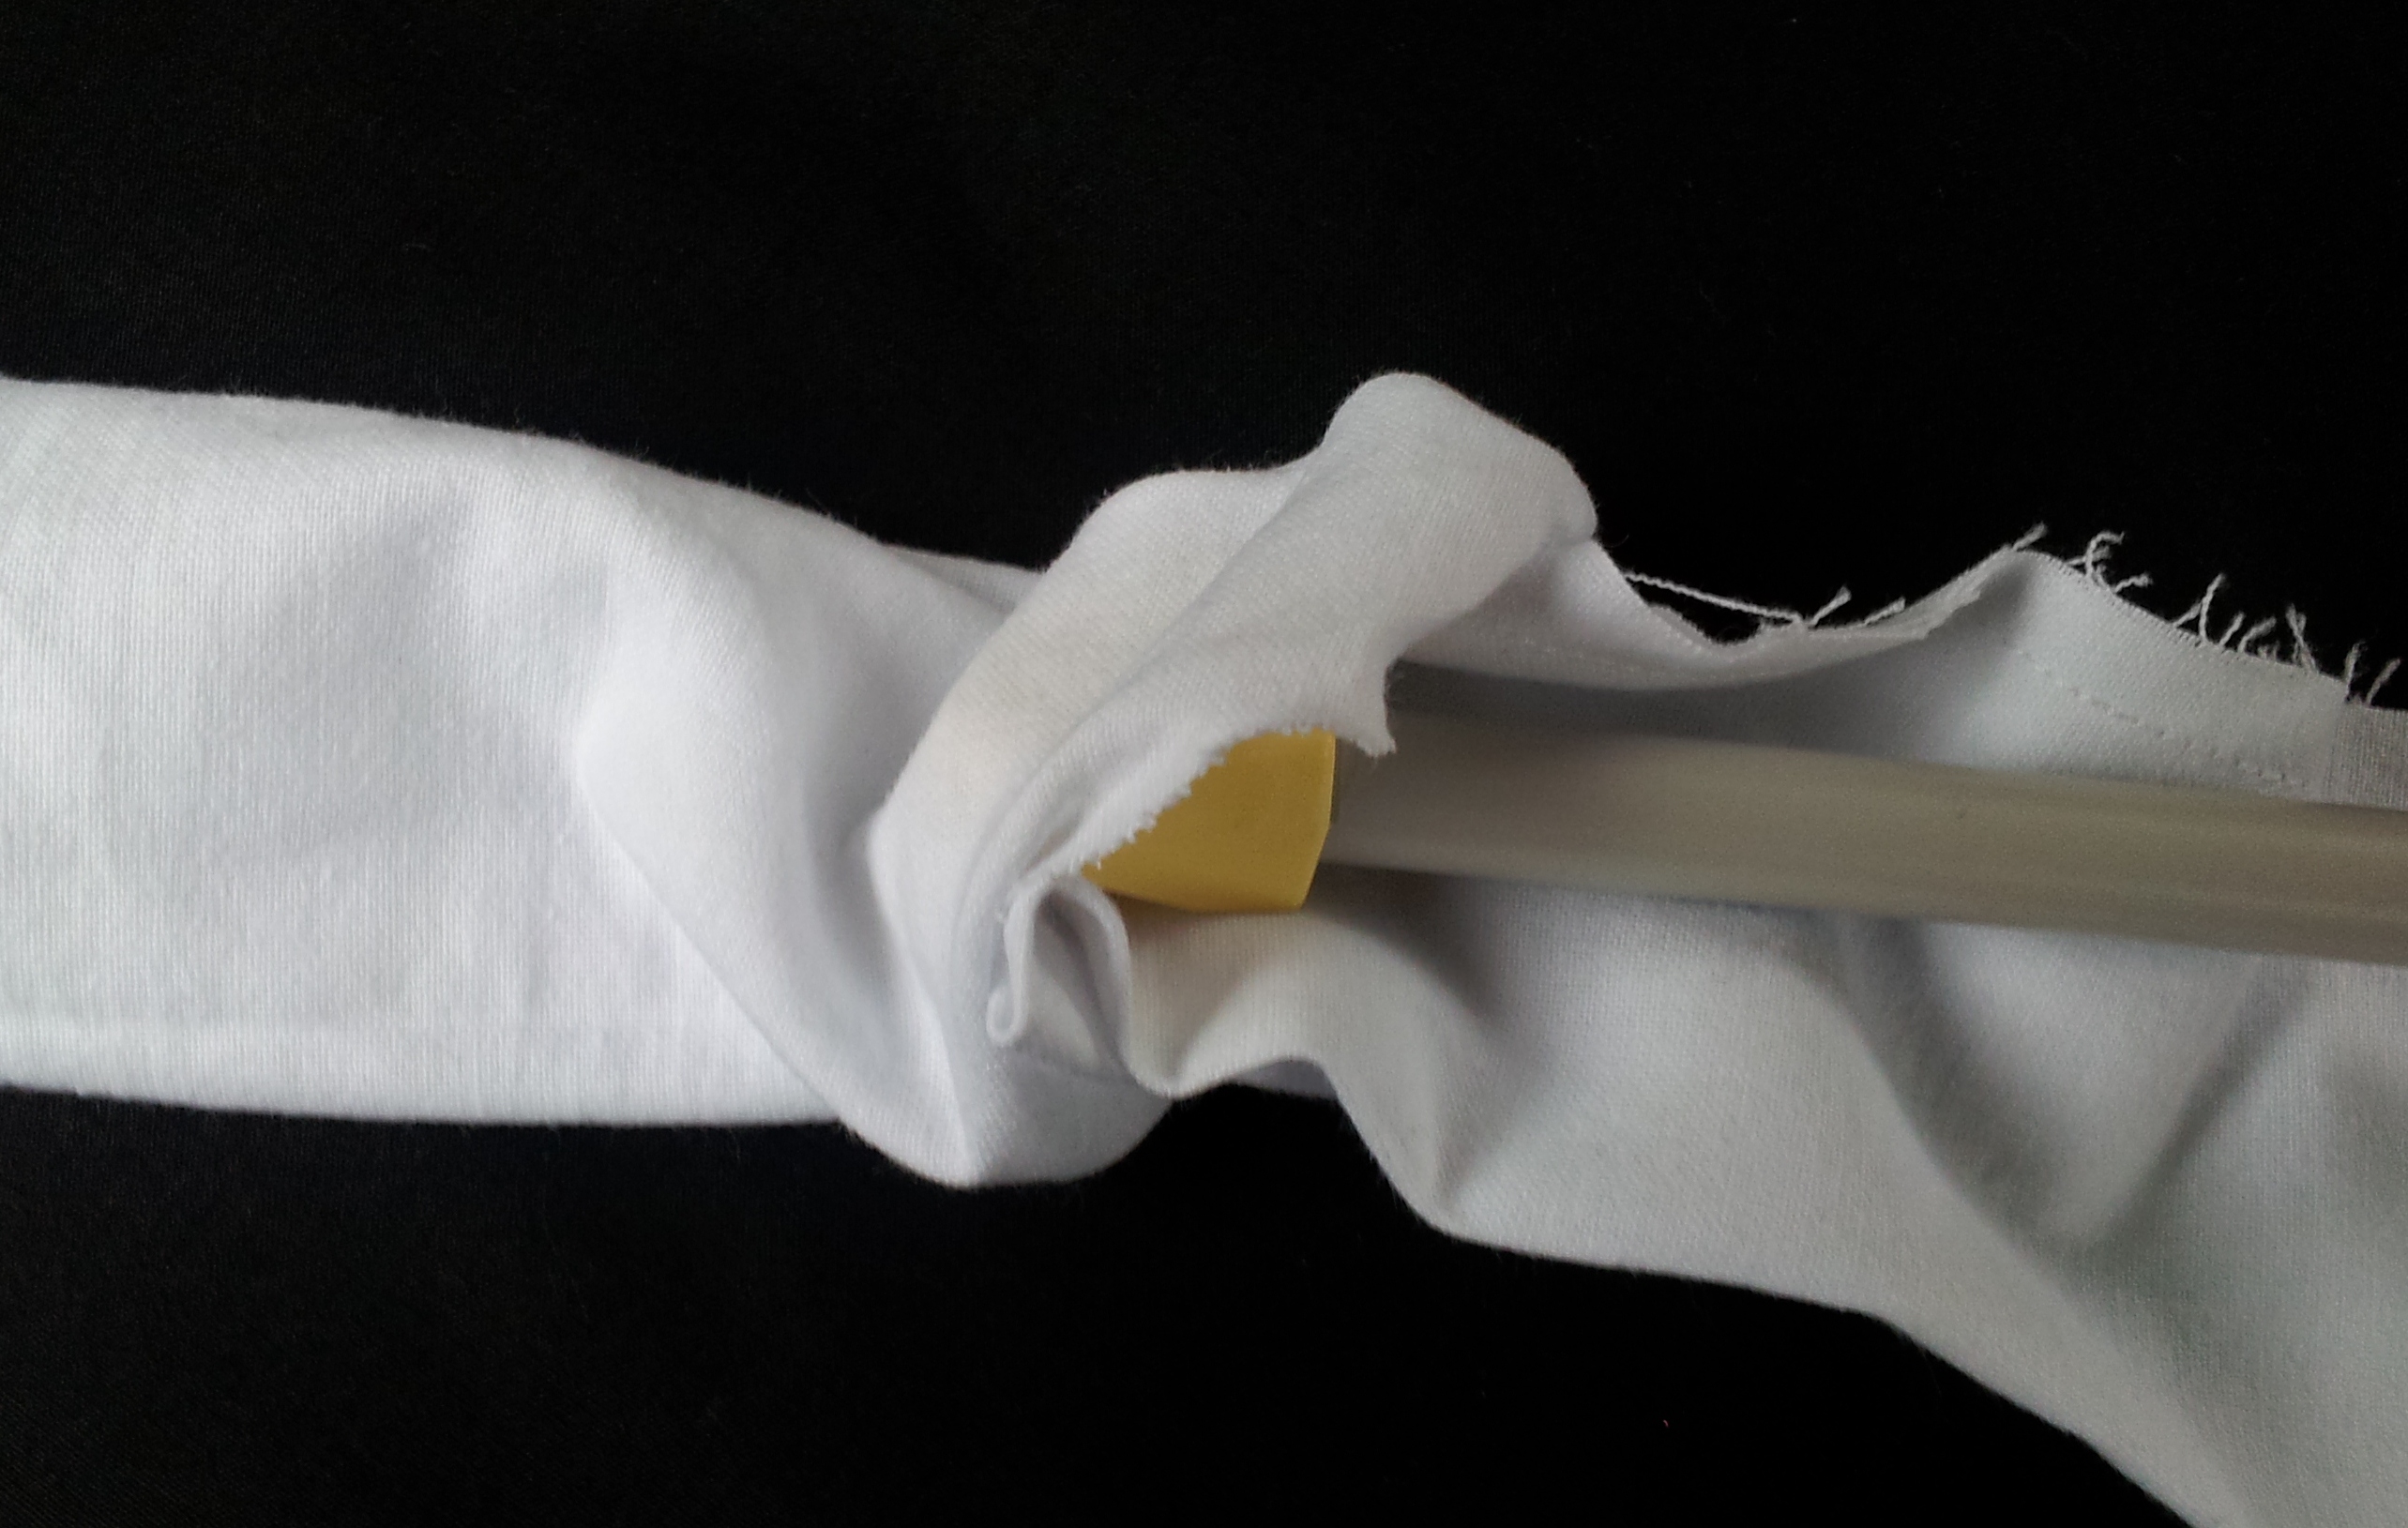
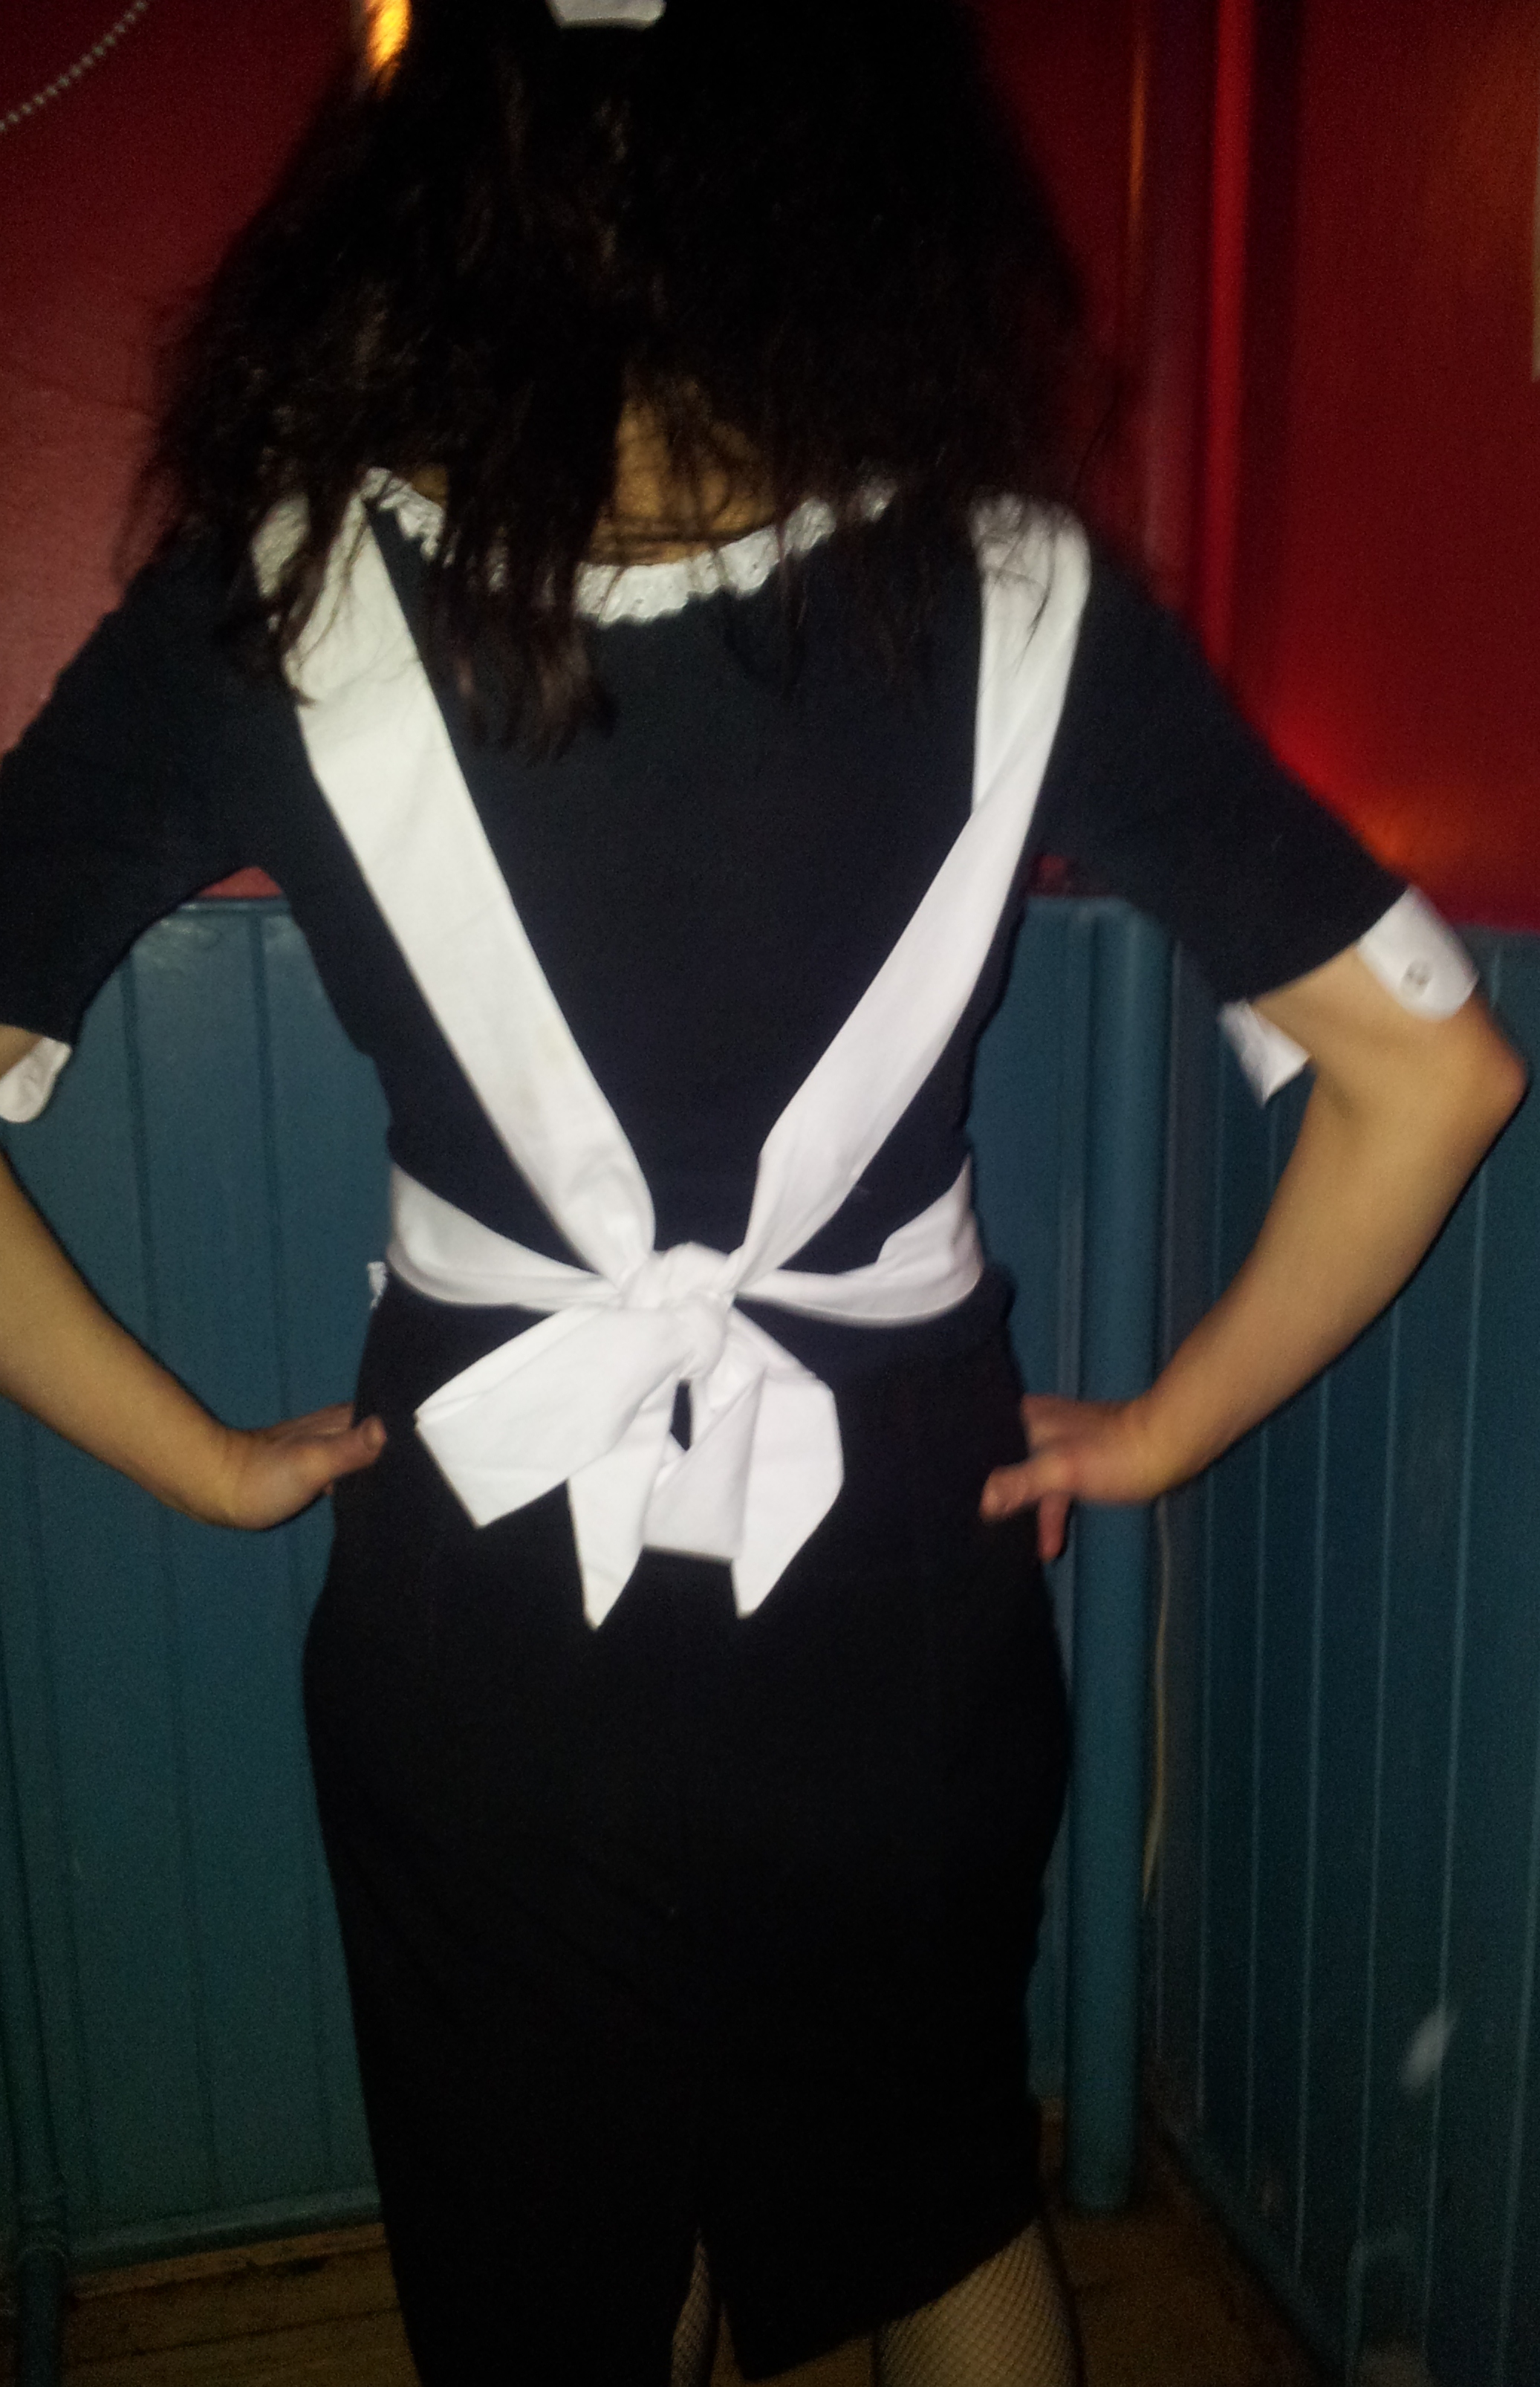
6. You can either leave your maid’s apron like this, or add some Shoulder straps. The shoulder ties (you will need 2) were 5 inches wide by 58 inches long and method used was the same as for the hat ribbon. Join the shoulder ties to the centre of your apron’s waist band at a slight angle. See the photo on the left for the back of the apron. Enjoy!


To wear your apron, tie all your straps into a bow at the back. Voila!
Other Magenta bits!
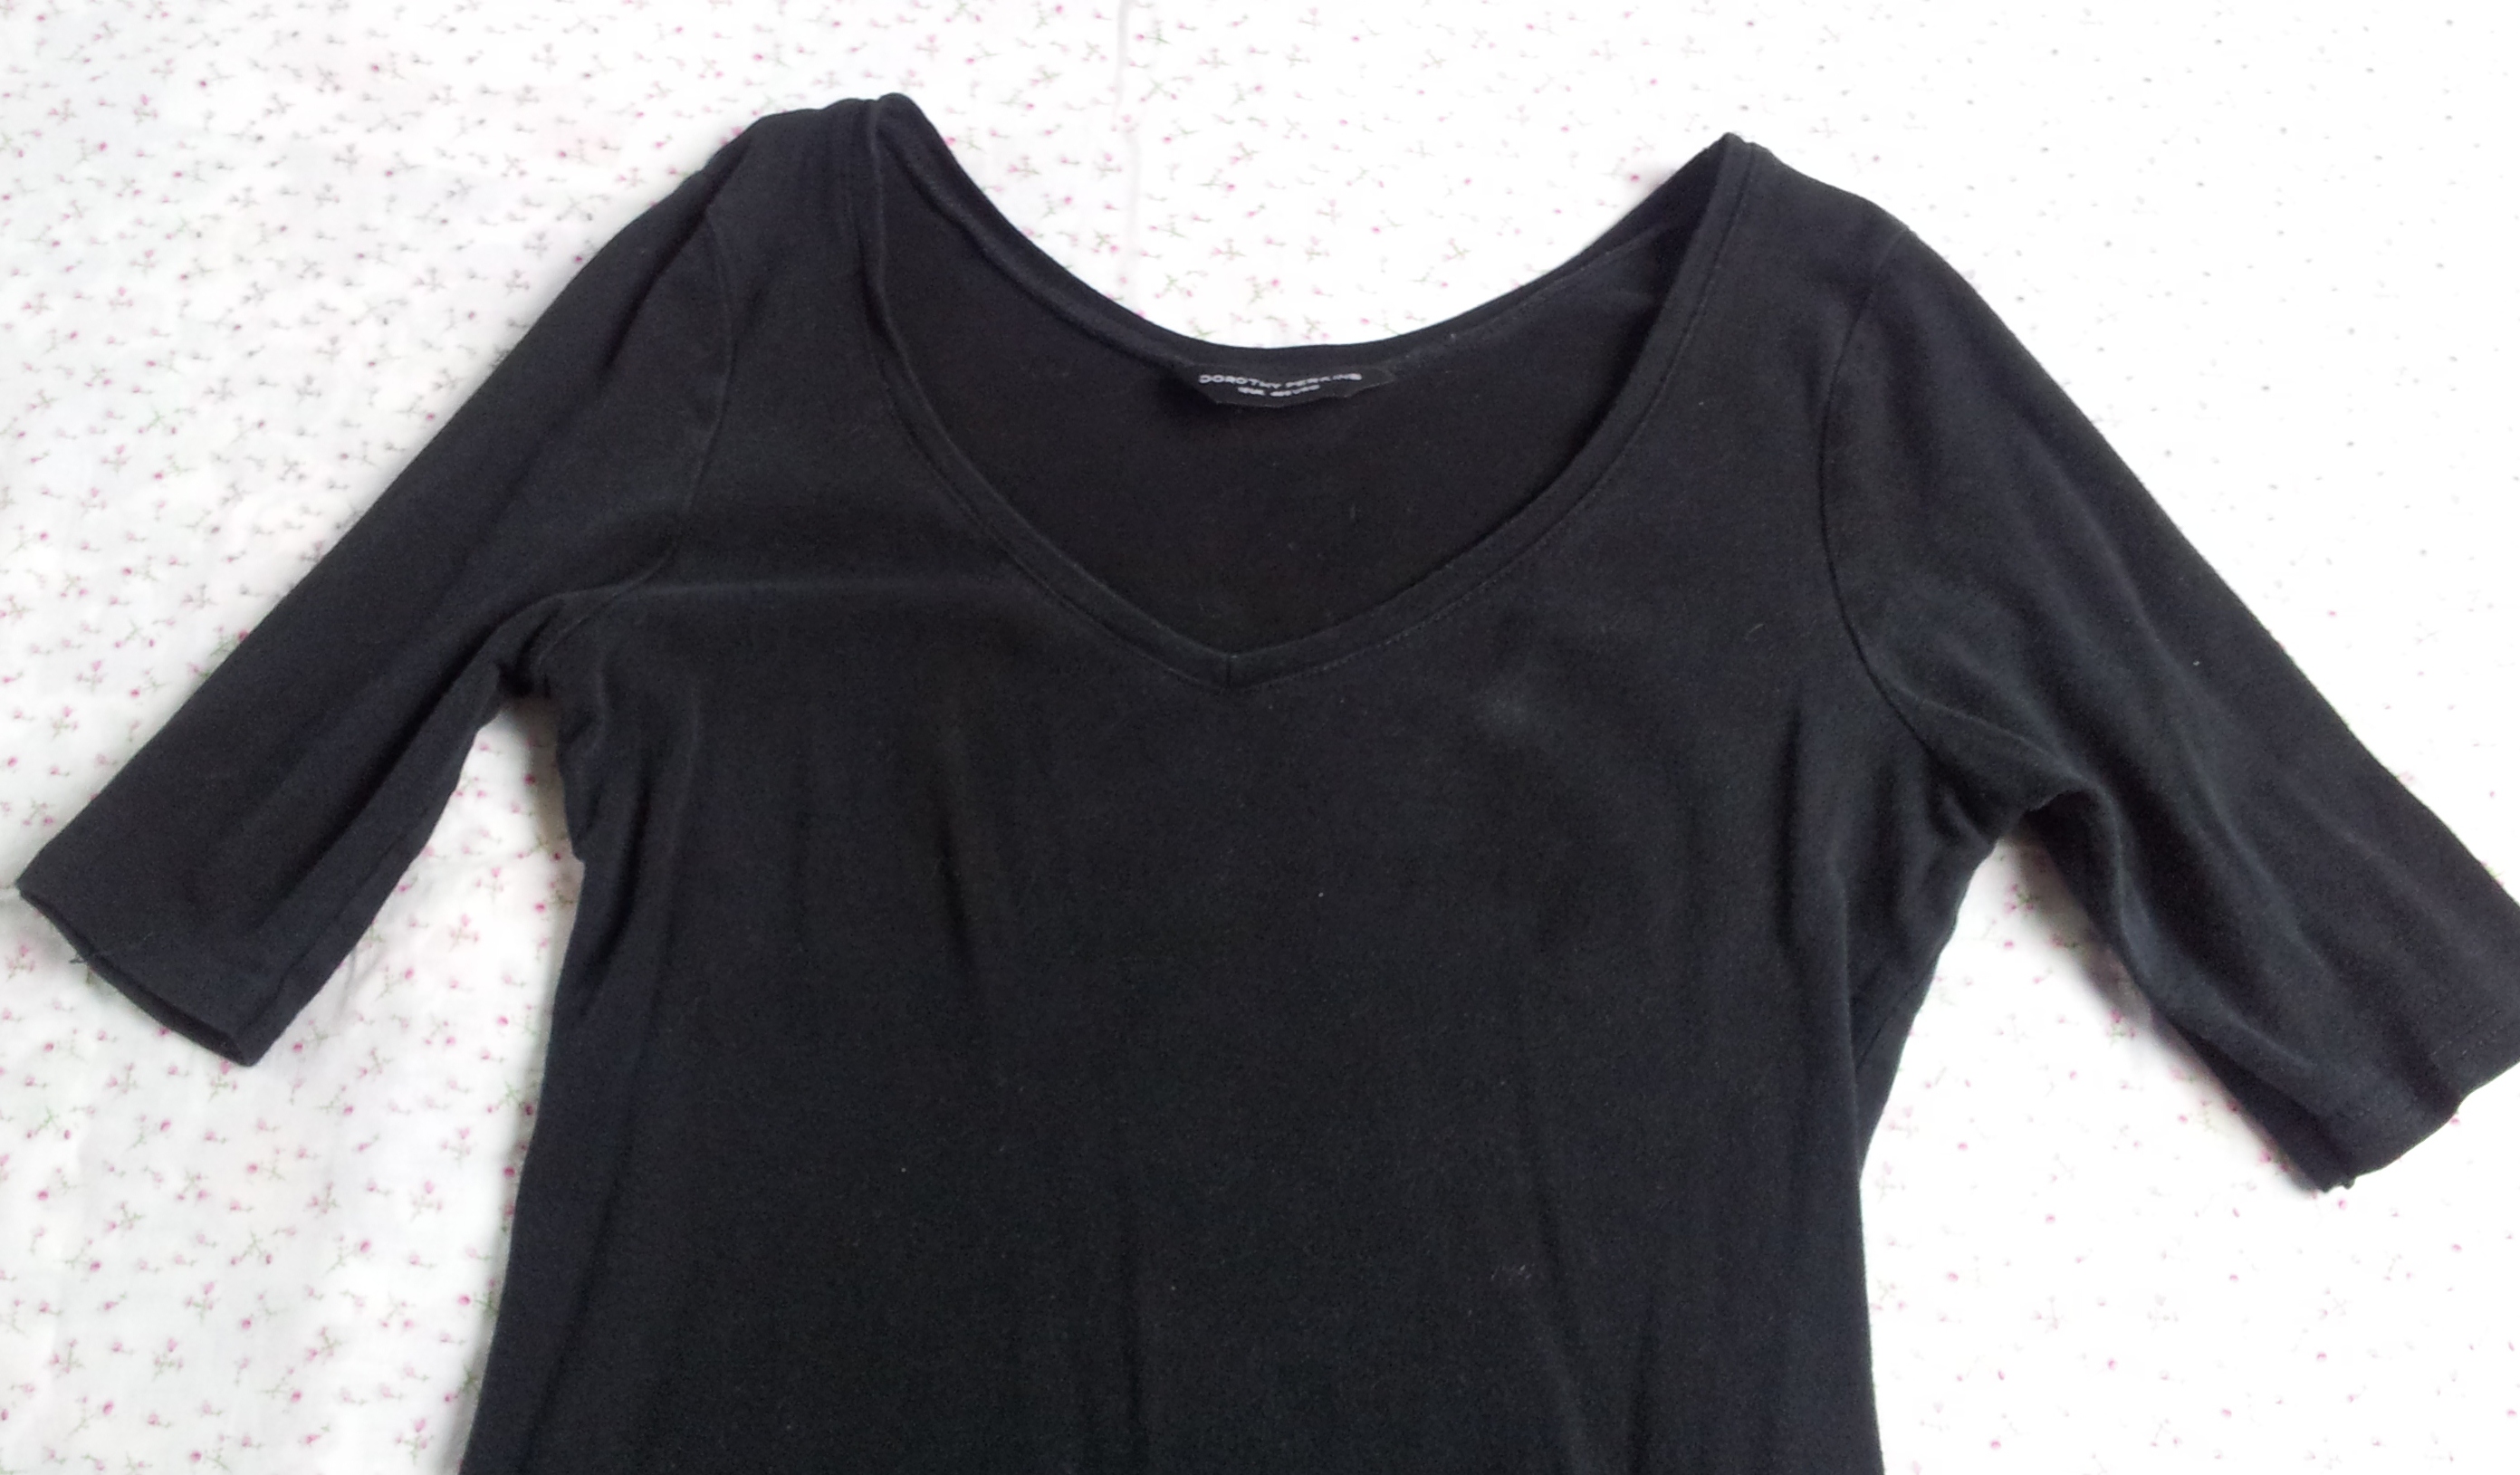
For the rest of the outfit, I found some fish-nets and black skirt in the cupboard which I wore as they were. For the top, I found an old long sleeve T-shirt and added a collar and cuffs. Which do you prefer? I couldn’t decide whether to go for the lace or old shirt collar and cuffs so ended up going for a bit of both!

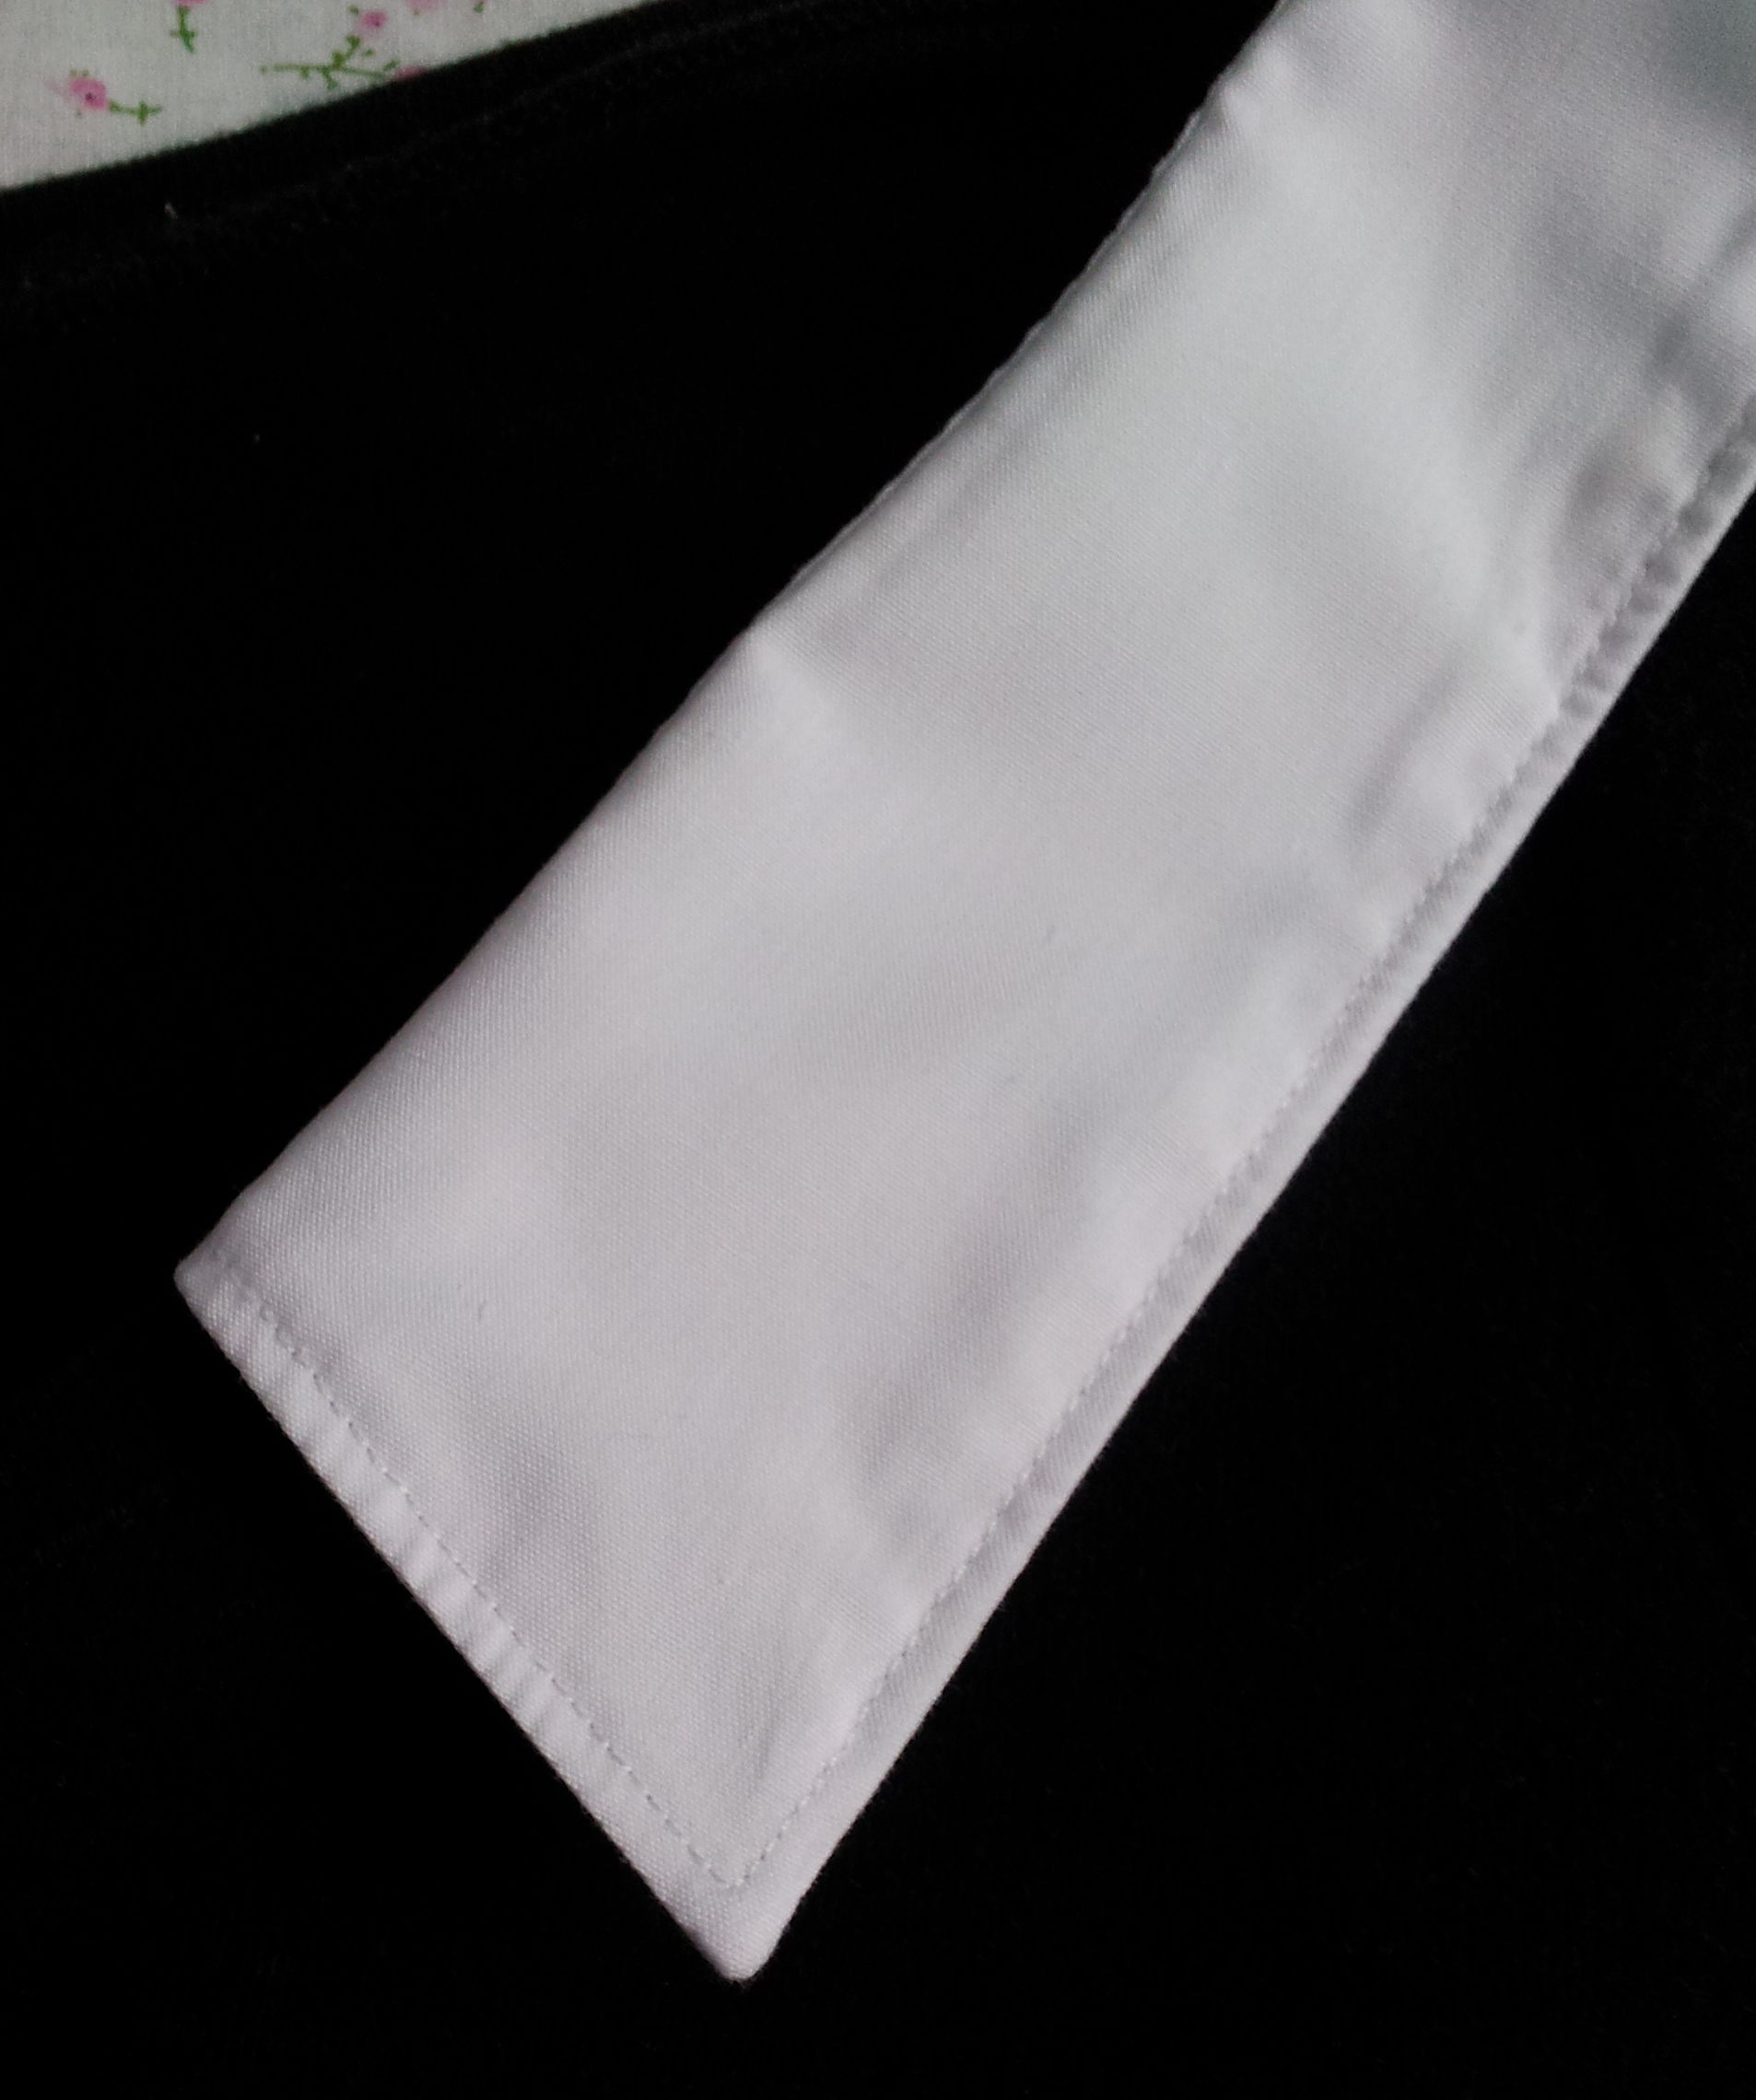
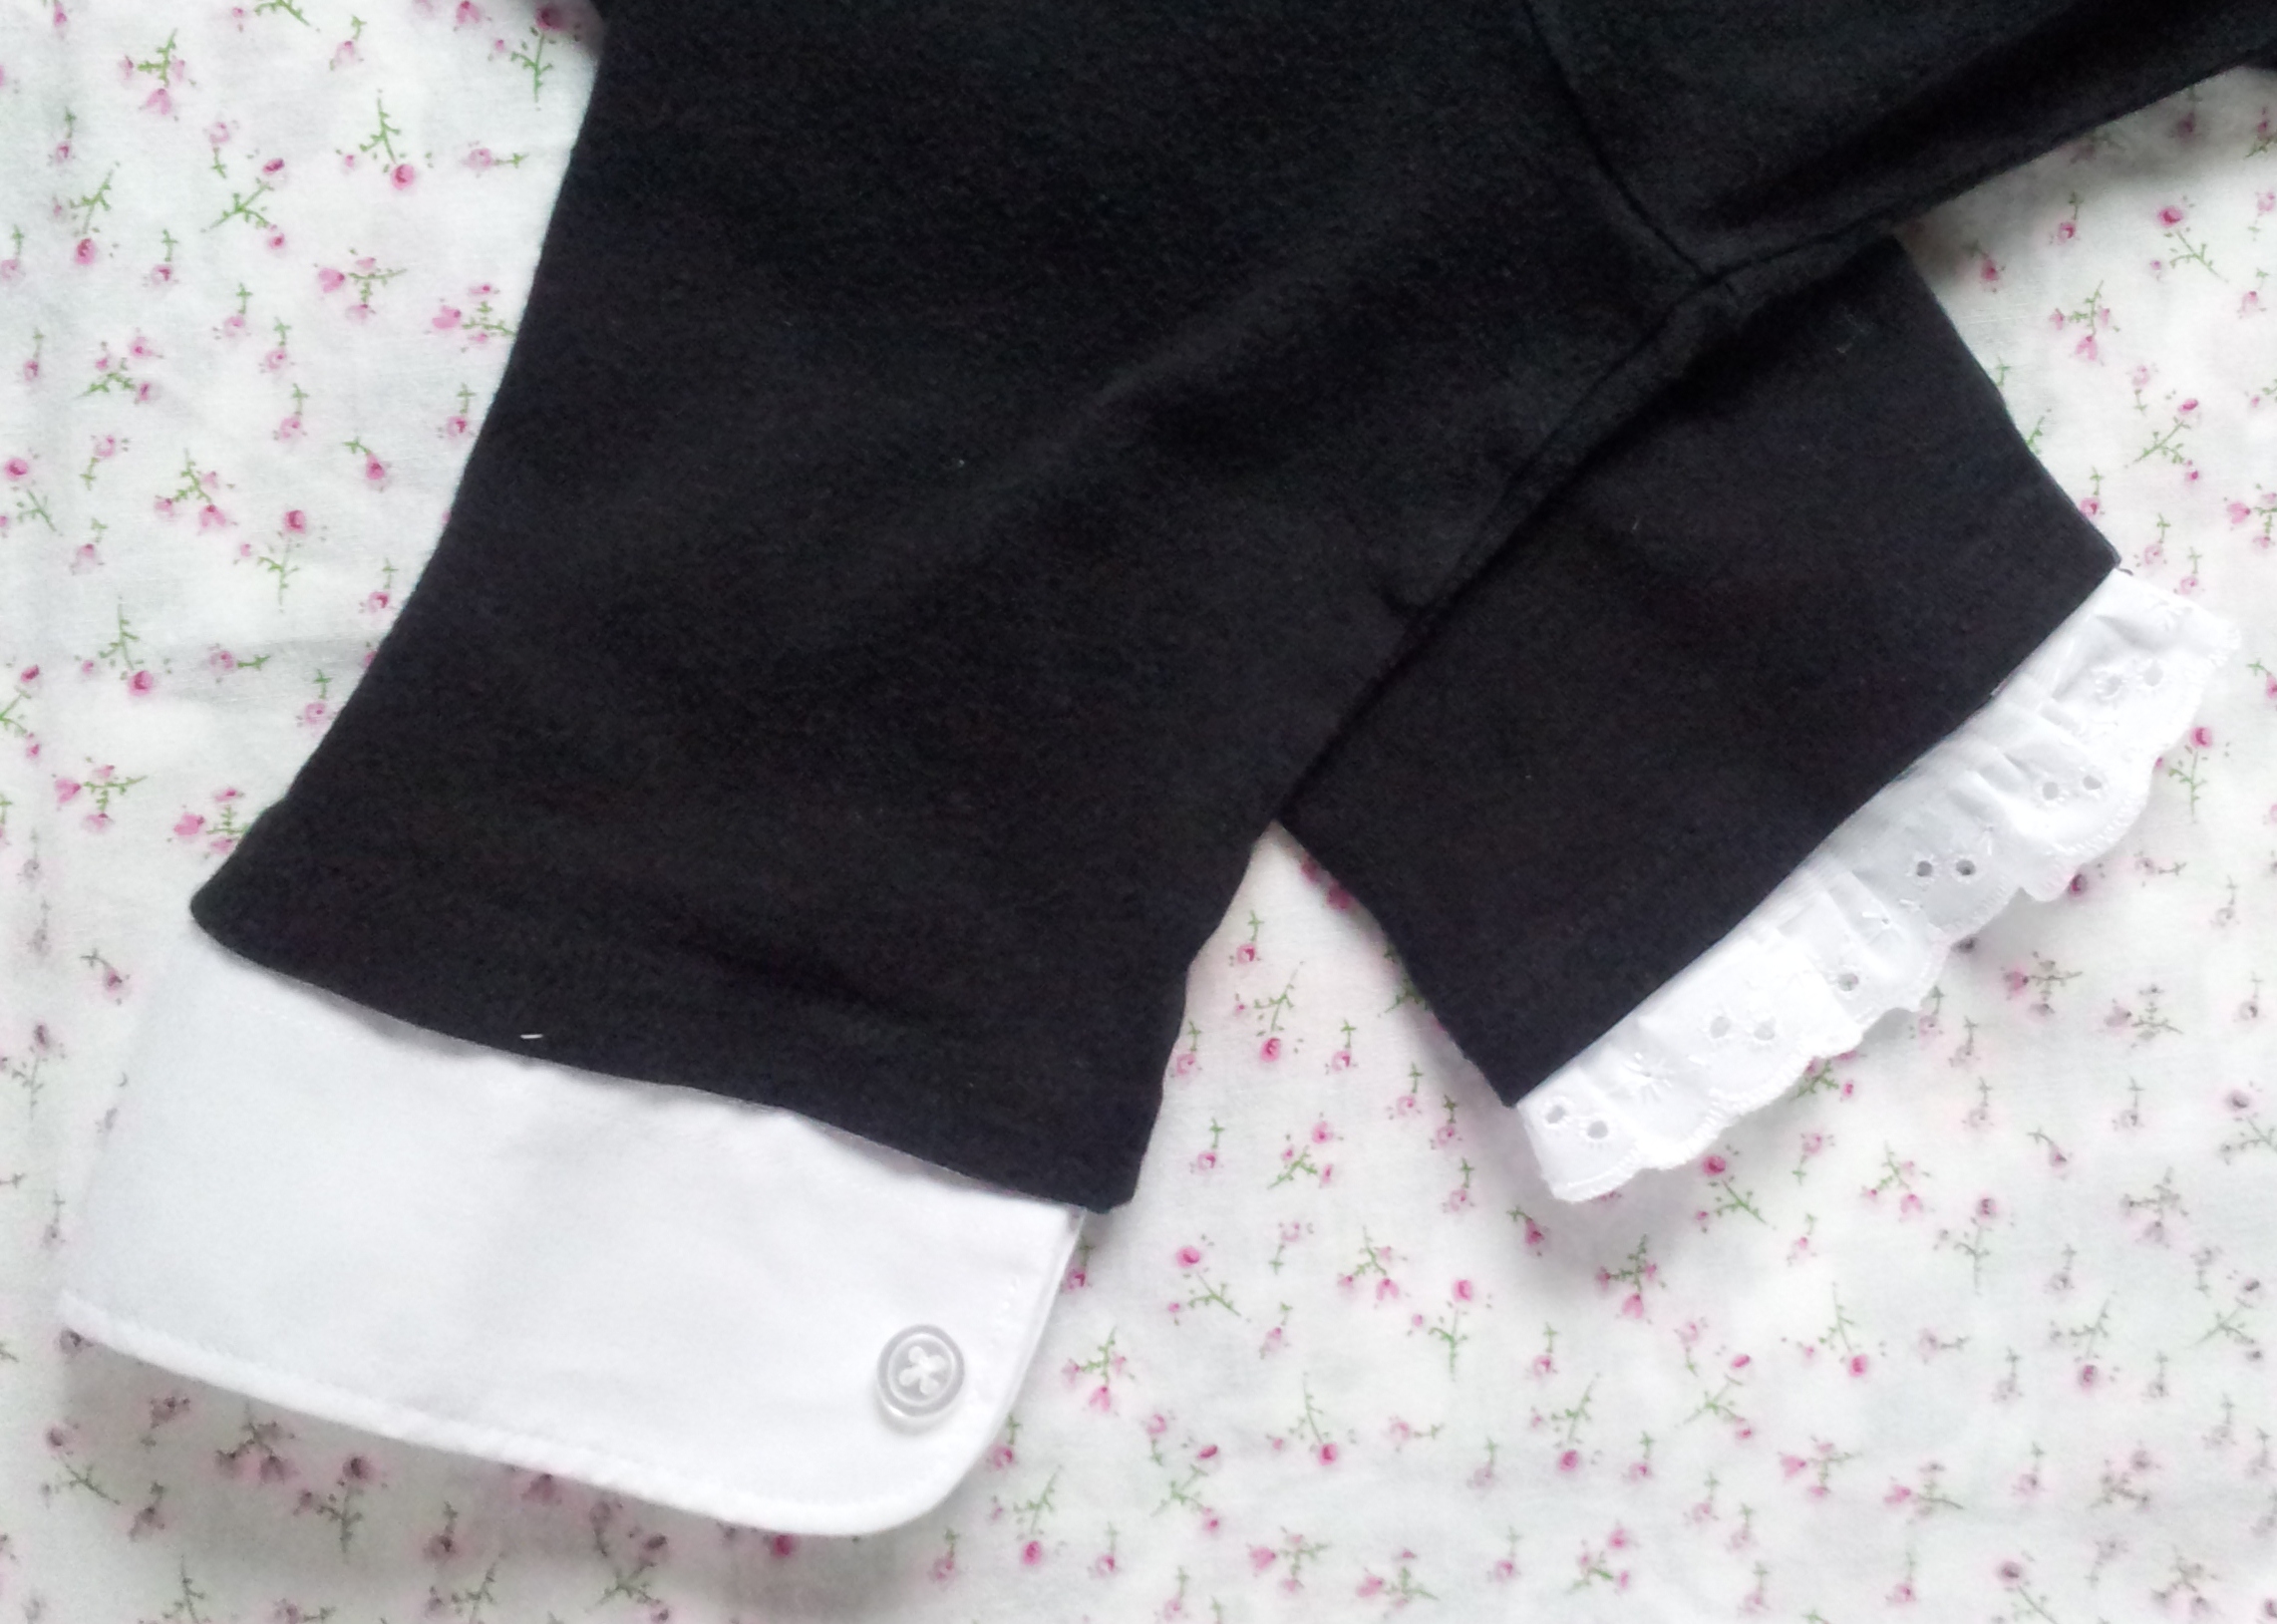
Well almost! The collar was lace and cuff’s were from an old shirt. Voila!

hey!! I just used your guide to make my apron thank you so much for sharing it helped me so much!! Where did you get your lace from? Thank you!
Used your guide to make my apron and cap. I don’t sow at all but this was perfect. The pictures were a great help and mine isn’t perfect but it’ll do 🙂 Thank you so much!!
You’re welcome. Xxx
Thank You for generously sharing your tutorial. Great job & my costume turned out great!!! I’m going to a party where I’ll be dancing to Time Warp tomorrow!!
Hope you have a fabulous time. X
Thank you so much for this amazing tutorial! I just finished making mine and it came out beautifully! I’m VERY slow at sewing, so I just hand sewed the lace and cheated a bit on the rest – iron-on hem tape for the apron straps and hat bow. Can’t wait to wear this!
So pleased you loved it – your Magenta outfit sounds fab. Have fun wearing it! x
Pingback: Rocky Horror…and horrors yet to come | GypsyPixiePirate
thankyou for this! just finished costume now following this tutorial! 😀 very pleased with it
Really pleased to hear you love your costume. Hope you have an amazing time wearing it! X
I am using this tutorial as well. Almost finished 🙂 Thank you Stitch Sharer
Great to hear. Thank you. x
Im so excited to be magenta for Halloween! Thank you so much for posting this. I was having trouble with finding a hat im definitely making this 🙂
You’re welcome. Have fun!
This looks great, thank you! Can you recommend how much cotton and lace to buy overall?
As I used an old piece of sheeting to make the apron and hat, I don’t remember now much fabric I used. The best way is to make a template for the front of the apron and then use a measuring tape to roughly find out how much you need for the panel, then pop the tape over your shoulders to help you decide how long and wide the apron straps need to be (they are the longest lengths). It’s always best to make the straps longer than you think as they can be tied in a pretty bow or shortened at a later point. The lace edges the hat and apron panel so a couple of metres should be more than enough. I did buy a little extra as I wanted to edge my top (neck and sleeves) with it too.
Thank you! This was really helpful. To hold the cap onto my freshly-frizzed hair, I sewed two vecro bands to the underside, one each side, and threaded a thin springy plastic Alice band through these.
That’s a great tip. Will try that myself. X
Thank you so much for posting this, just made it and it looks fab, off tomorrow night to watch it in leeds. I cant wait now.
So pleased your costume came out well. Did you like the show?
Pingback: Peg Bags and Gnomes Galore | thestitchsharer
That is adorable – sadly I can’t sew to save my life. I will just have to sew vicariously through your blog =)
Thank you – it was pretty easy to make, so definetly worth having a go – especially as it was great fun to wear! x
Your so clever!
Thank you Verity. Lovely to hear from you. X .
I so loved that movie!! It was really fun. Magenta was one of my favourites.
Love the hat and apron.
Cheers, Anita.
Thank you. X
I am going to see this (in the uk) on valentines day – I can’t wait but the hubby is not so keen about dressing up! 😀
not decided who to go as yet – love your costume though – hope you have a good time xxx
You will have a fab time. I saw the show at Brighton on Friday, it was amazing. You’ll love it. If your hubby doesn’t fancy the revealing option he could always go for brads dinner jacket and bow tie, or a crazy wig!