
Now you have ‘mastered’ your sewing pattern envelope, you are ready for the things that are inside the envelope – the Pattern and Instructions!
 1. The first step is to spread out your instruction sheet and read through all the information. The instructions will contain important details such as cutting layout (ie, where to place your pattern pieces on the material), seam allowance width (mine is 1.5cm) and pattern symbols summaries. Use the instructions to check which pattern pieces you are going to need for the style you have chosen. Find out what the symbols means if you aren’t sure (this Getting to know your pattern symbols post might help).
2. Before you cut out any pattern pieces you will need to check the measurement of the person the piece of clothing is going to fit. Here are a couple of sites which show you how to do this:
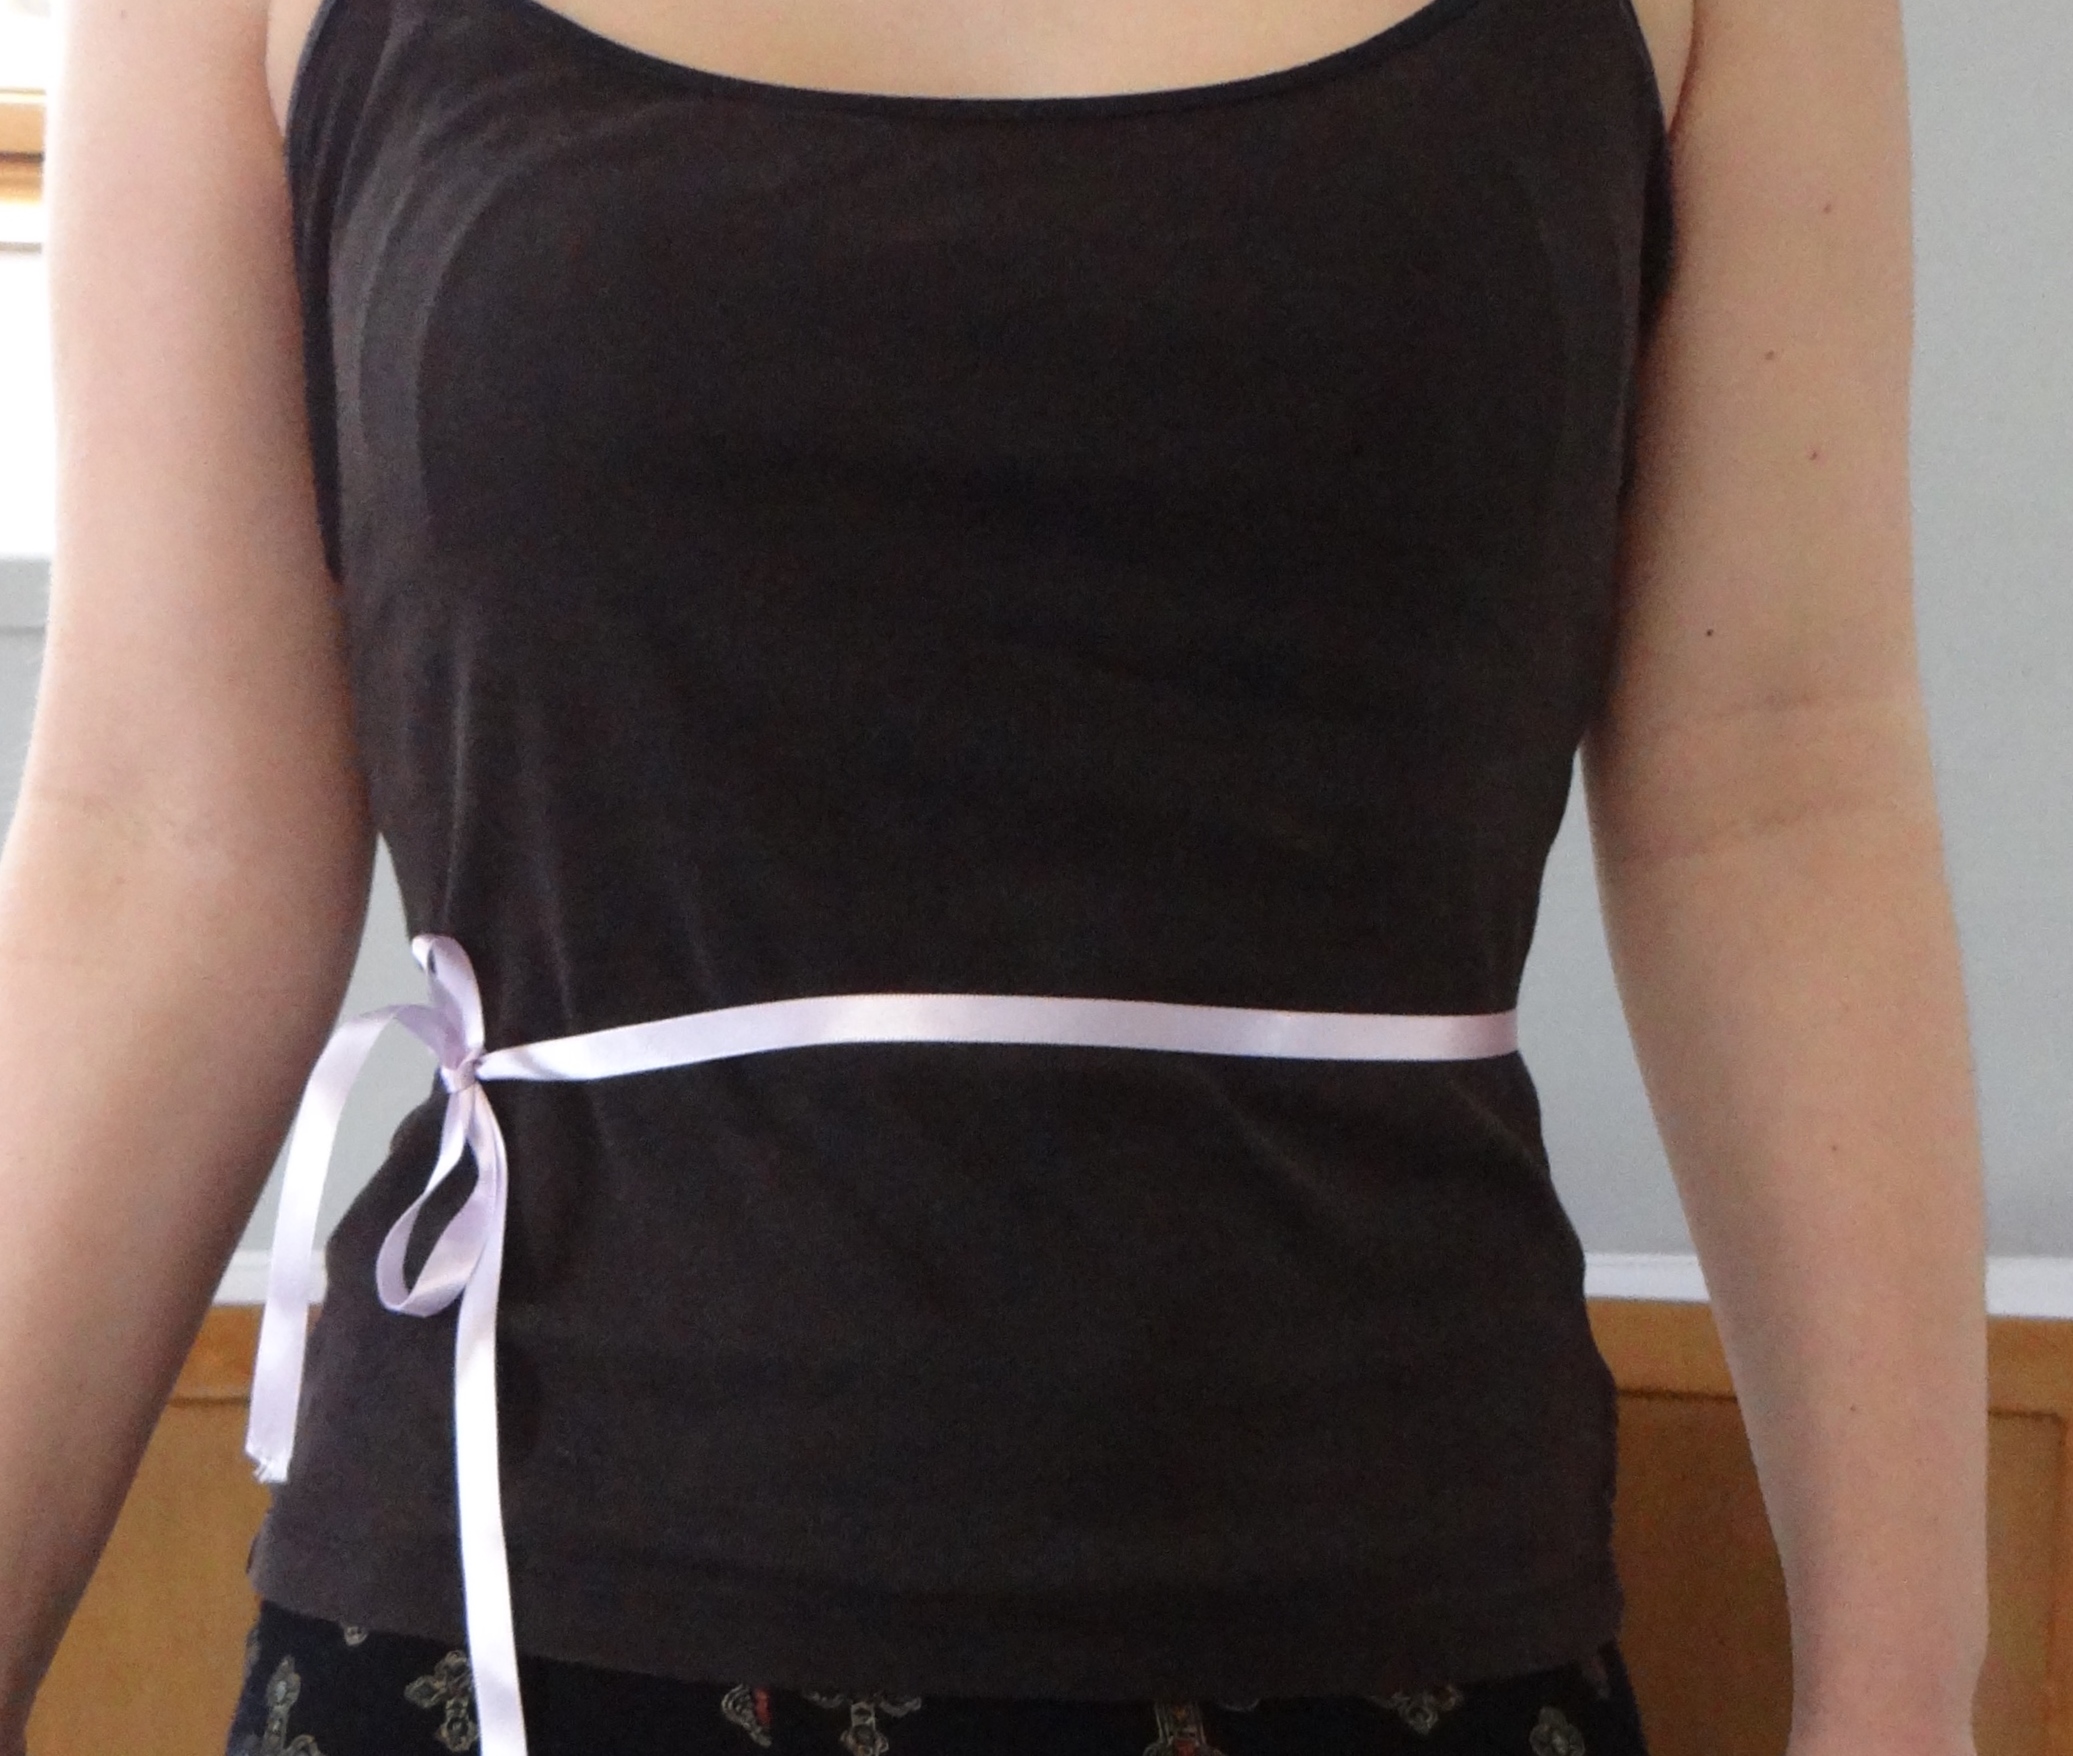 A top tip is to tie a piece of ribbon around the smallest part of the persons waist and use this as a reference point. It’s really all about measuring the person around the fullest of their body ie, bust or hips. The pattern I am using said to measure the person hips 9 inches below their waist which worked out about right.
3. Take your pattern and smooth it out flat with your hand. Look for the size-lines you are going to cut to and scan the edge of the piece with your eye before you take your scissors in your hand – you should be looking for solid cutting lines. It is very easy to start cutting your pattern pieces out (with paper not fabric scissors!) and suddenly forget which line you are following.
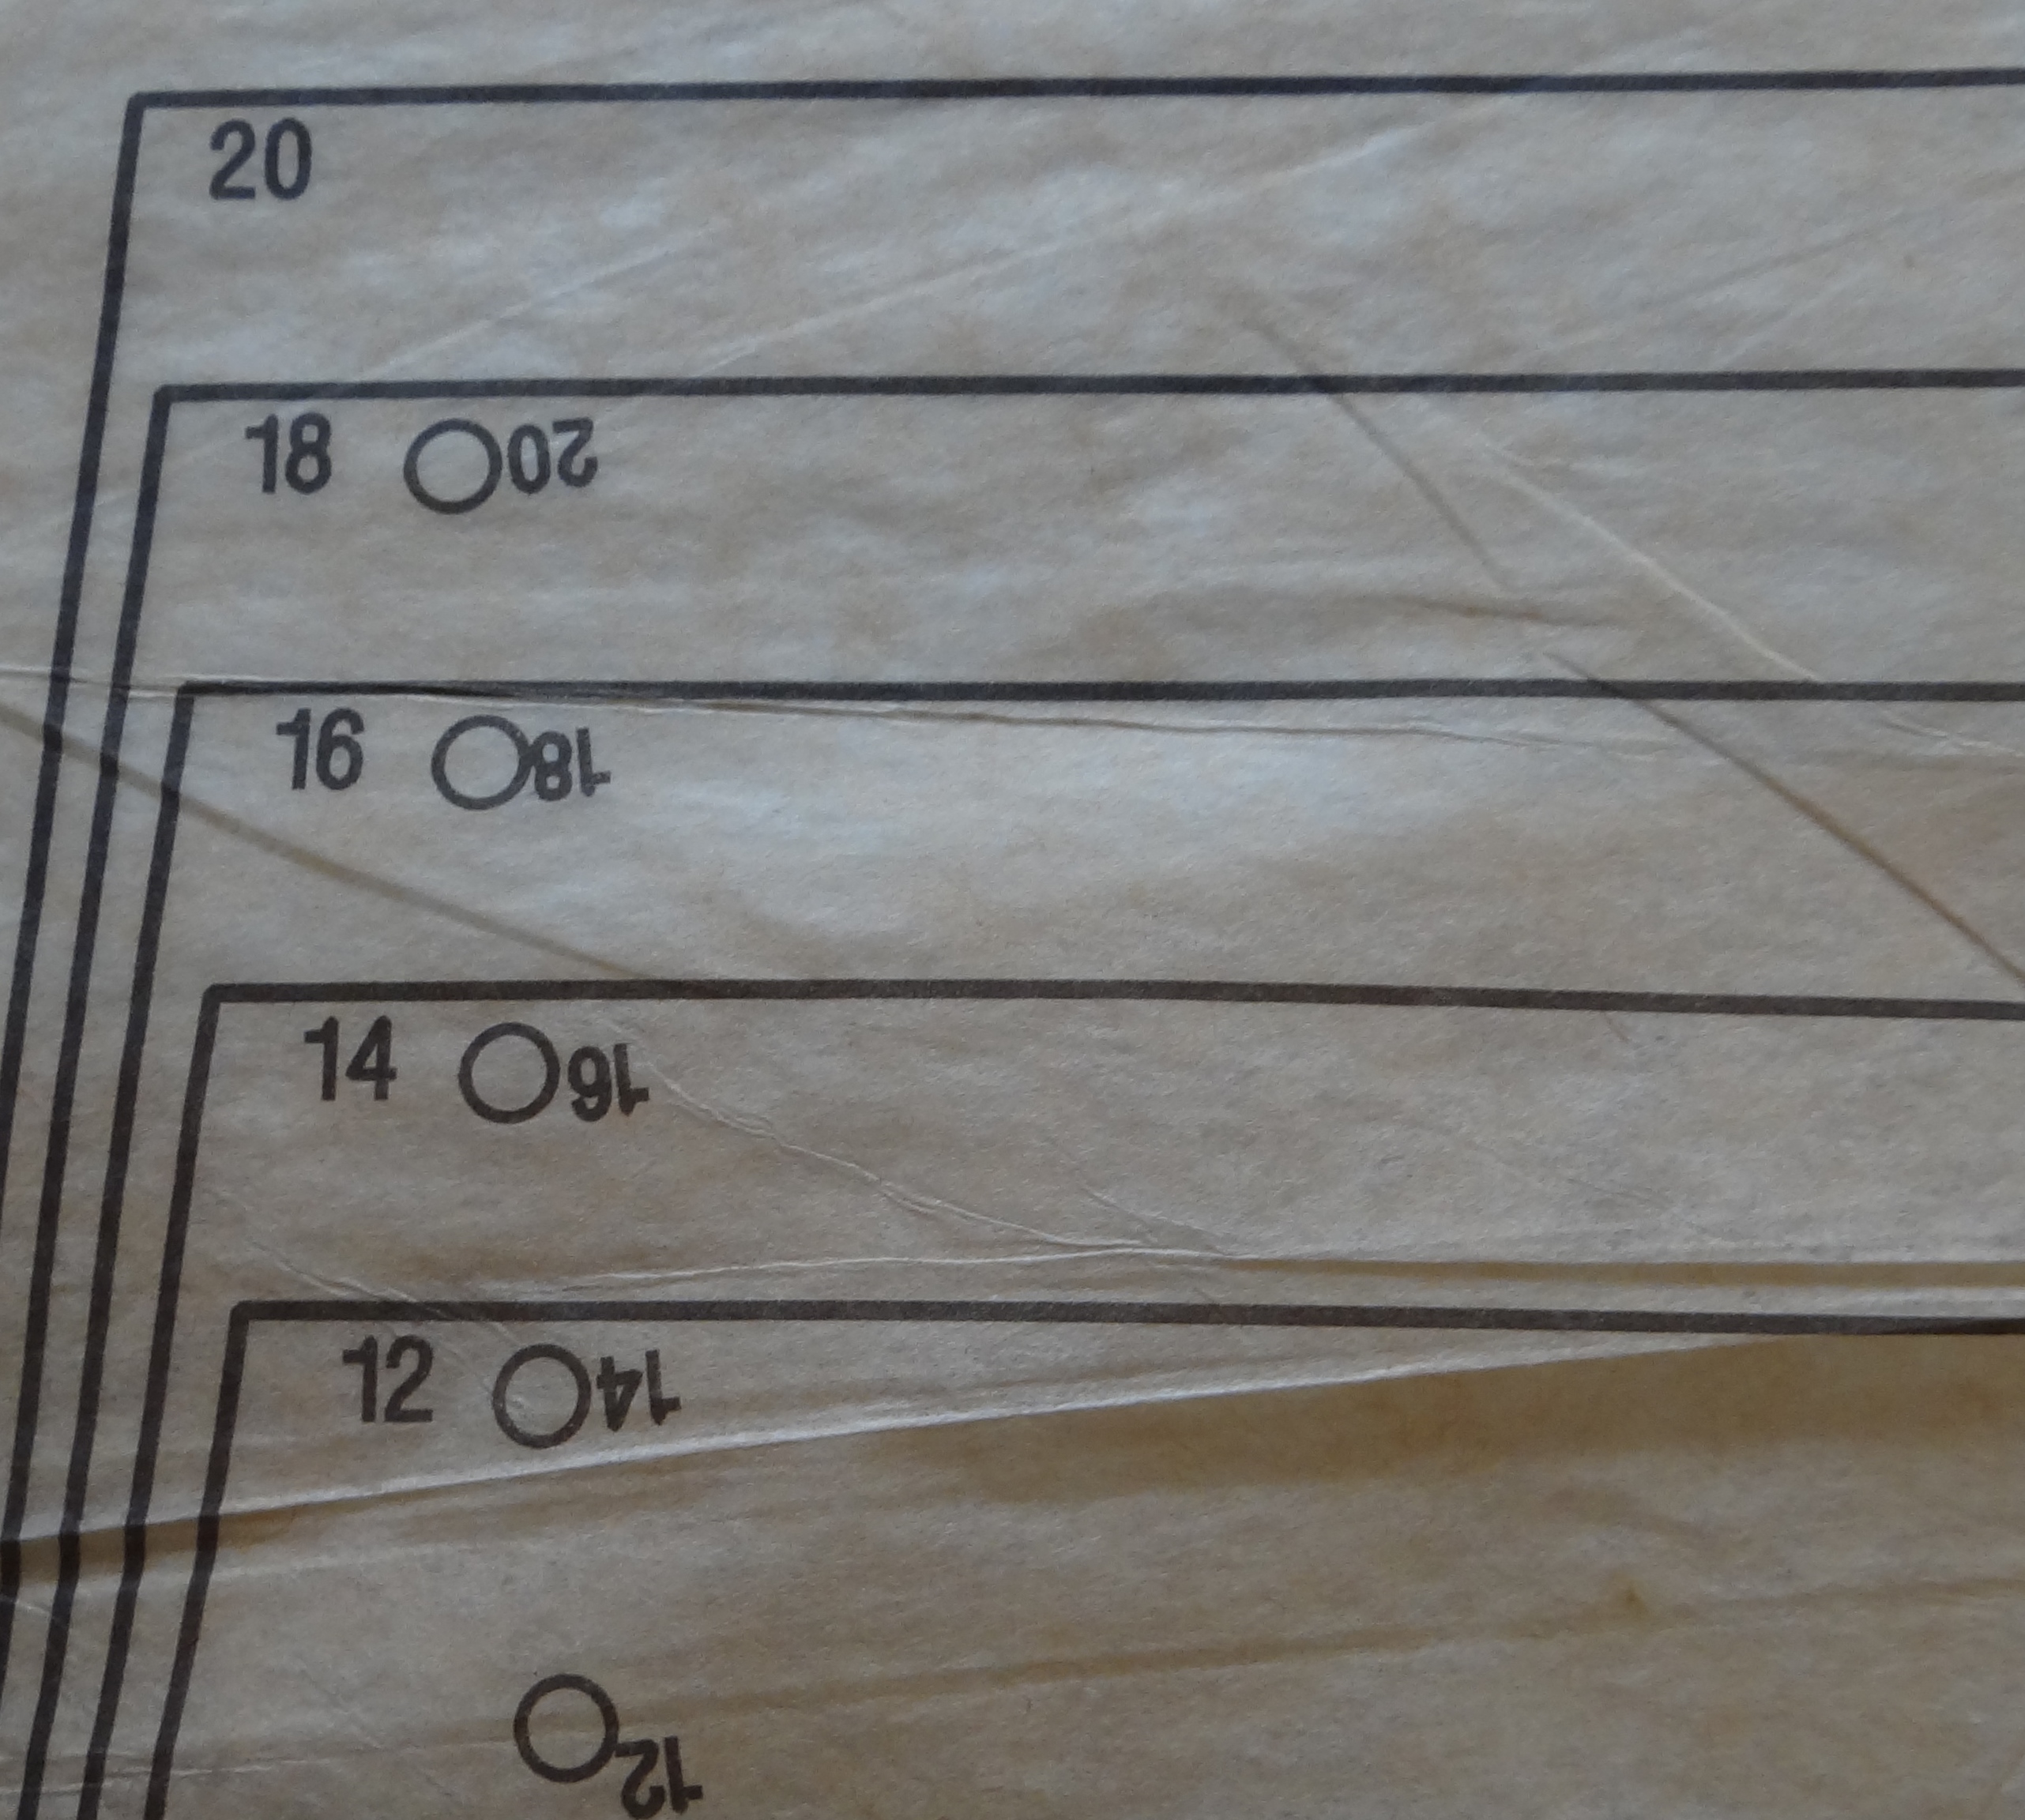 4. Cut your pattern pieces out. It’s unlikely that the person you are making the garment for will match the patterns measurements exactly, so if it’s a top I cut to the size of the bust measurement, for skirts or trousers the hip measurement. If someone is in between sizes, ie, they measure between a size 10 and 12 and you are using a multi-size pattern (that’s a pattern that can be used to cut out a range of sizes) you could always try to cut between the two cutting lines to create a unique size 11! If you are unsure, it’s always better to cut out the bigger size. It’s far easier to take a bit of extra fabric away than having to add some more in! If there are any pieces you don’t need, pop them back into the envelope for safe keeping.
If you person’s body shape differs significantly from the measurements you may need to alter your pattern. Most patterns are only cut to a B cup. Burda’s website has lots of information on how you can alter your pattern to create a perfect fit.
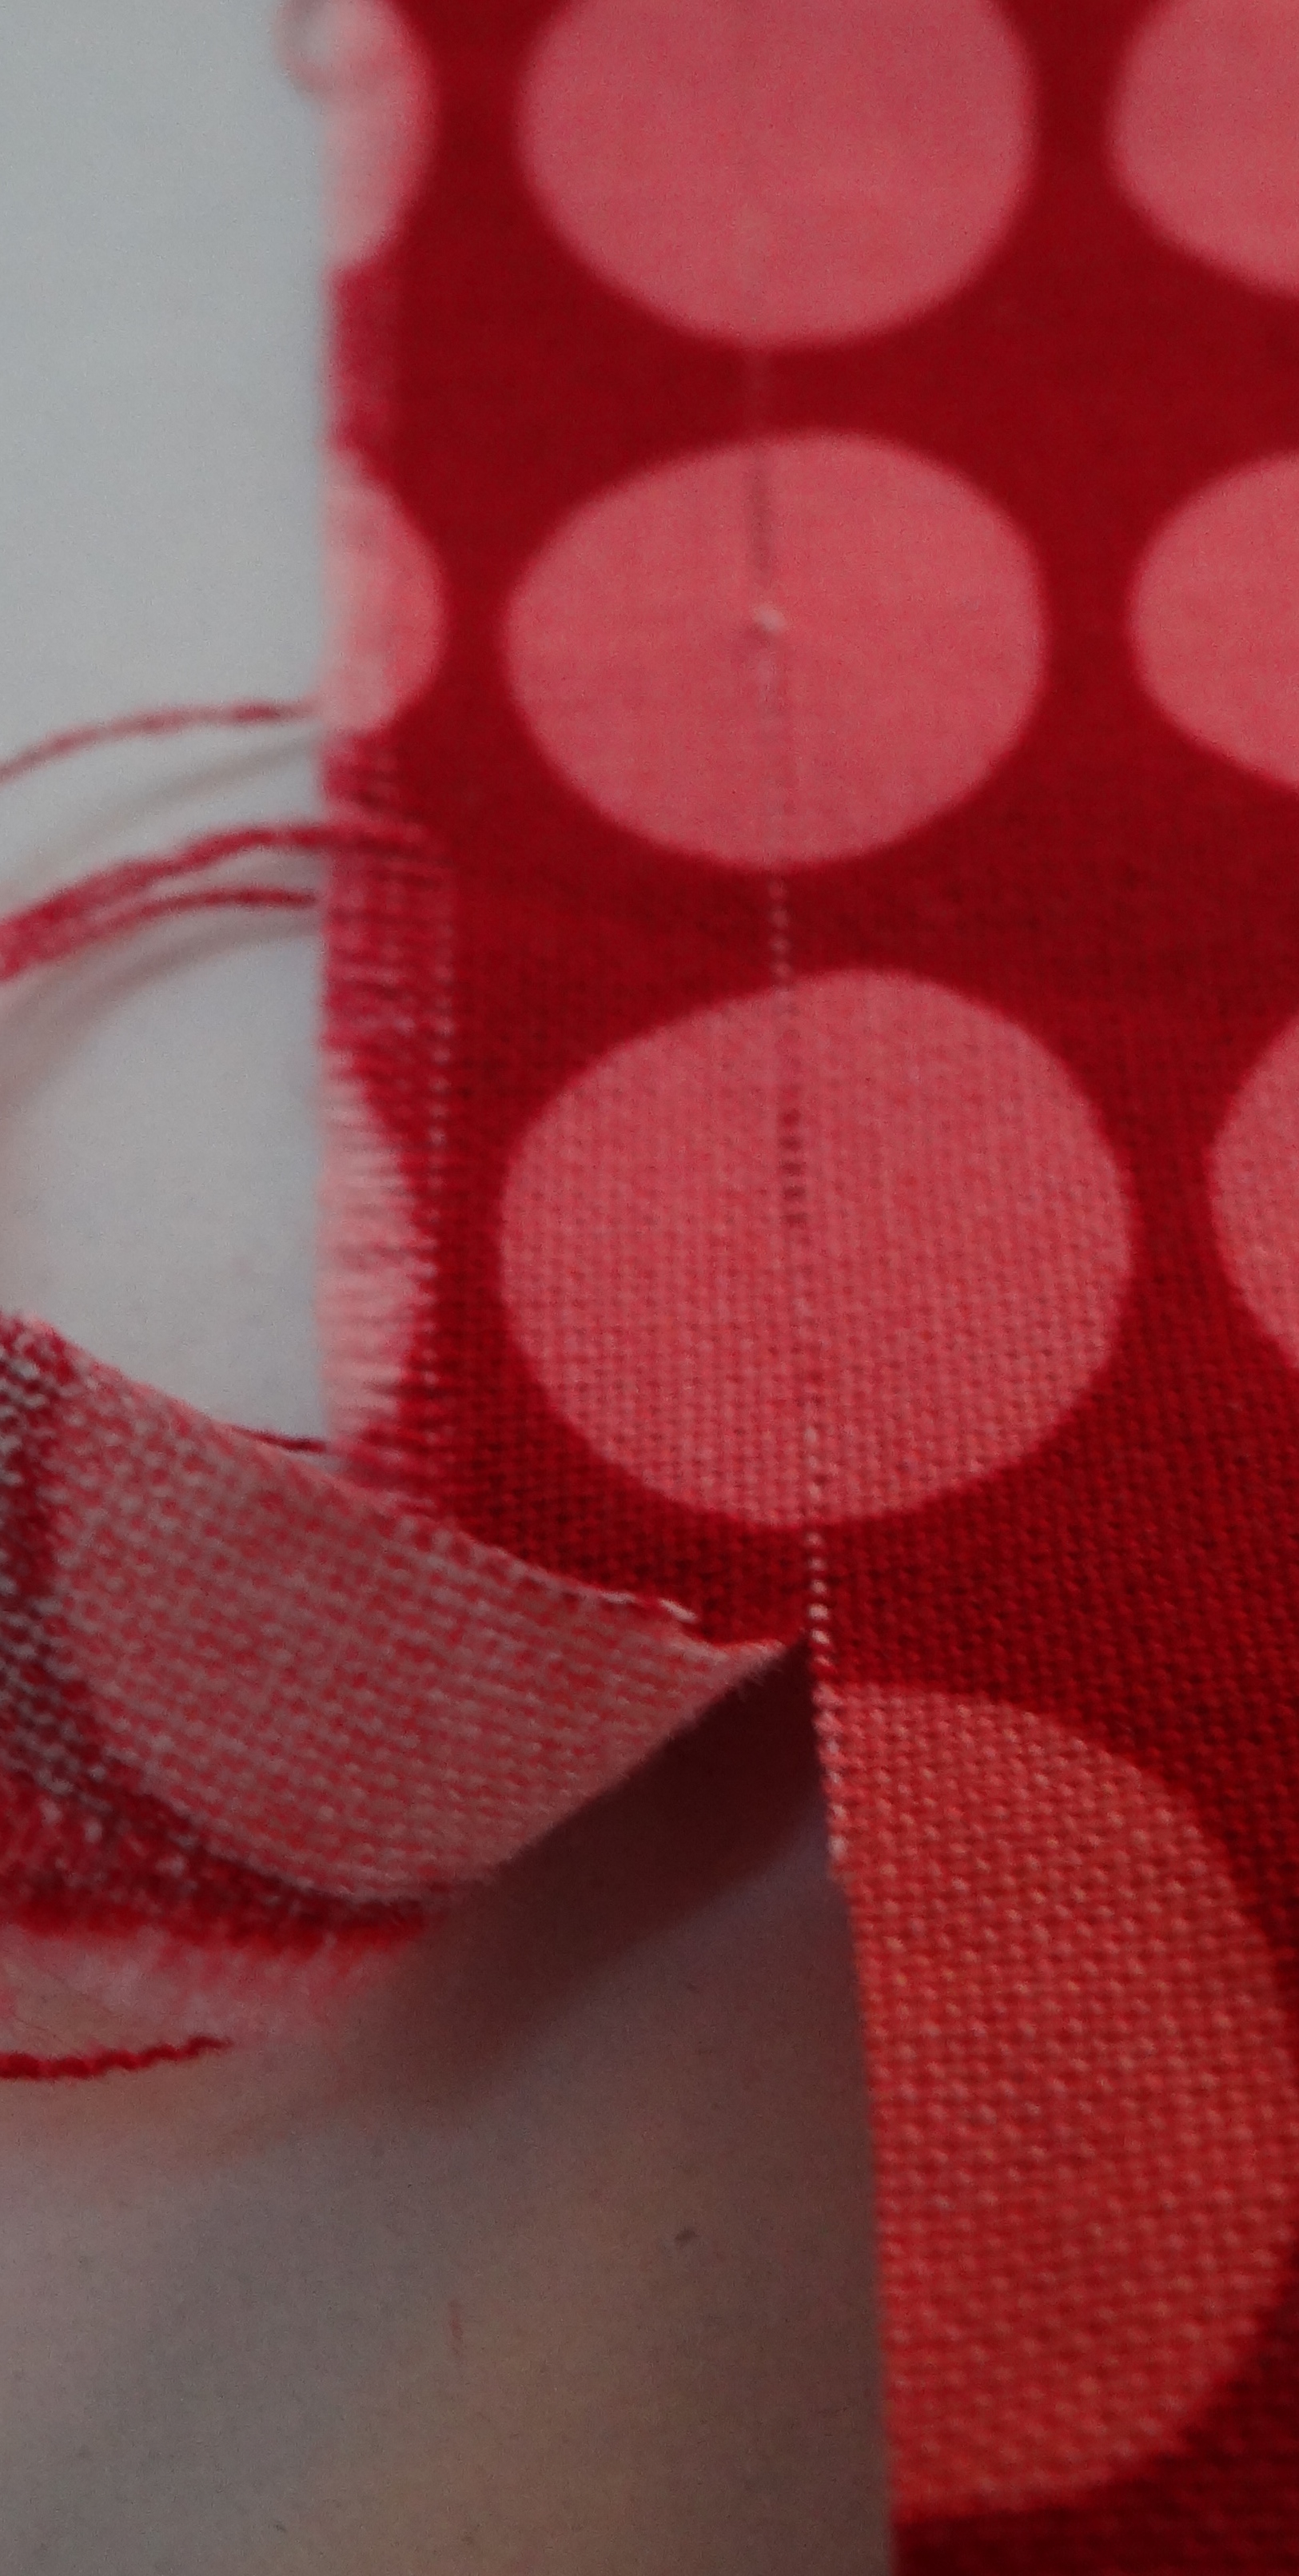 5. Prepare your fabric for pattern cutting by a) checking it has a straight edge (straighten the grain if needed to avoid your fabric twisting), b) pre-wash your fabric (if washable) to avoid shrinkage, c) press your fabric flat d) fold your fabric as per instructions. If you need to fold a slippery material, pin the selvedges / selvages together.
6. Lay your pattern pieces out onto your fabric as per the instructions.

Pin your pieces to the fabric – I place my pins approx 4 inches at right angles to the edge of the pattern pieces. For corners, it’s best to pin diagonally.
 Make sure your grain line (the double-headed arrow on your pattern piece) runs parallel to the selvedges / selvages.

7. Cut out your fabric pieces as per instructions. I always prefer to cut my notches out of the fabric. Transfer any markings to the wrong side of your pattern pieces with tailors chalk or tacks before removing the pattern.


Your instructions are always so clear and easy to follow. I first started using dressmakers’ patterns at school in the mid 70’s. My heart still sinks when I first look at them – I think they still look unfriendly and daunting – not sure why. Perhaps it is the density of words and lines…?
Thank you. Glad to be of help, I always find a new pattern a bit daunting! Maybe I should write some with some simple instructions to help beginners get started, especially after the fabulous response to The Great British Sewing Bee. Did you watch it?
Yes I watched it with great interest. There was a bit of a collective chat after each episode on https://www.facebook.com/AliceAndGinny . I am sure that patterns could be written in a clearer way – although part of the confusion must be all the different sizes and the lines and instructions that go with the sizes. Also the tissue paper is a bit worrying – all that trying not to rip and then trying to squeeze the whole lot back into the envelope again!
Totally agree – wouldn’t it be great if patterns had different coloured lines on them for each size! Thanks for the Alice and Ginny link – will get reading! x
Hello there, I’ve been following your blog now for several days and I think it’s truly filled with lots of helpful and informative material. I’ve nominated you for The Versatile Blogger Award as I think you’re blog is pretty neat and cute! You choose to accept the award, you can find it here: http://forestmtnhike.wordpress.com/2013/04/17/versatile-blogger-award/
Congrats!
<3Rose
Thank you so much. That’s so exciting. Will pop over and check out your fab blog and awards ASAP. X