
If you need to sew on a button, but aren’t quite sure how – this is the post for you!
There are two main types of button – those with, and those without a shank.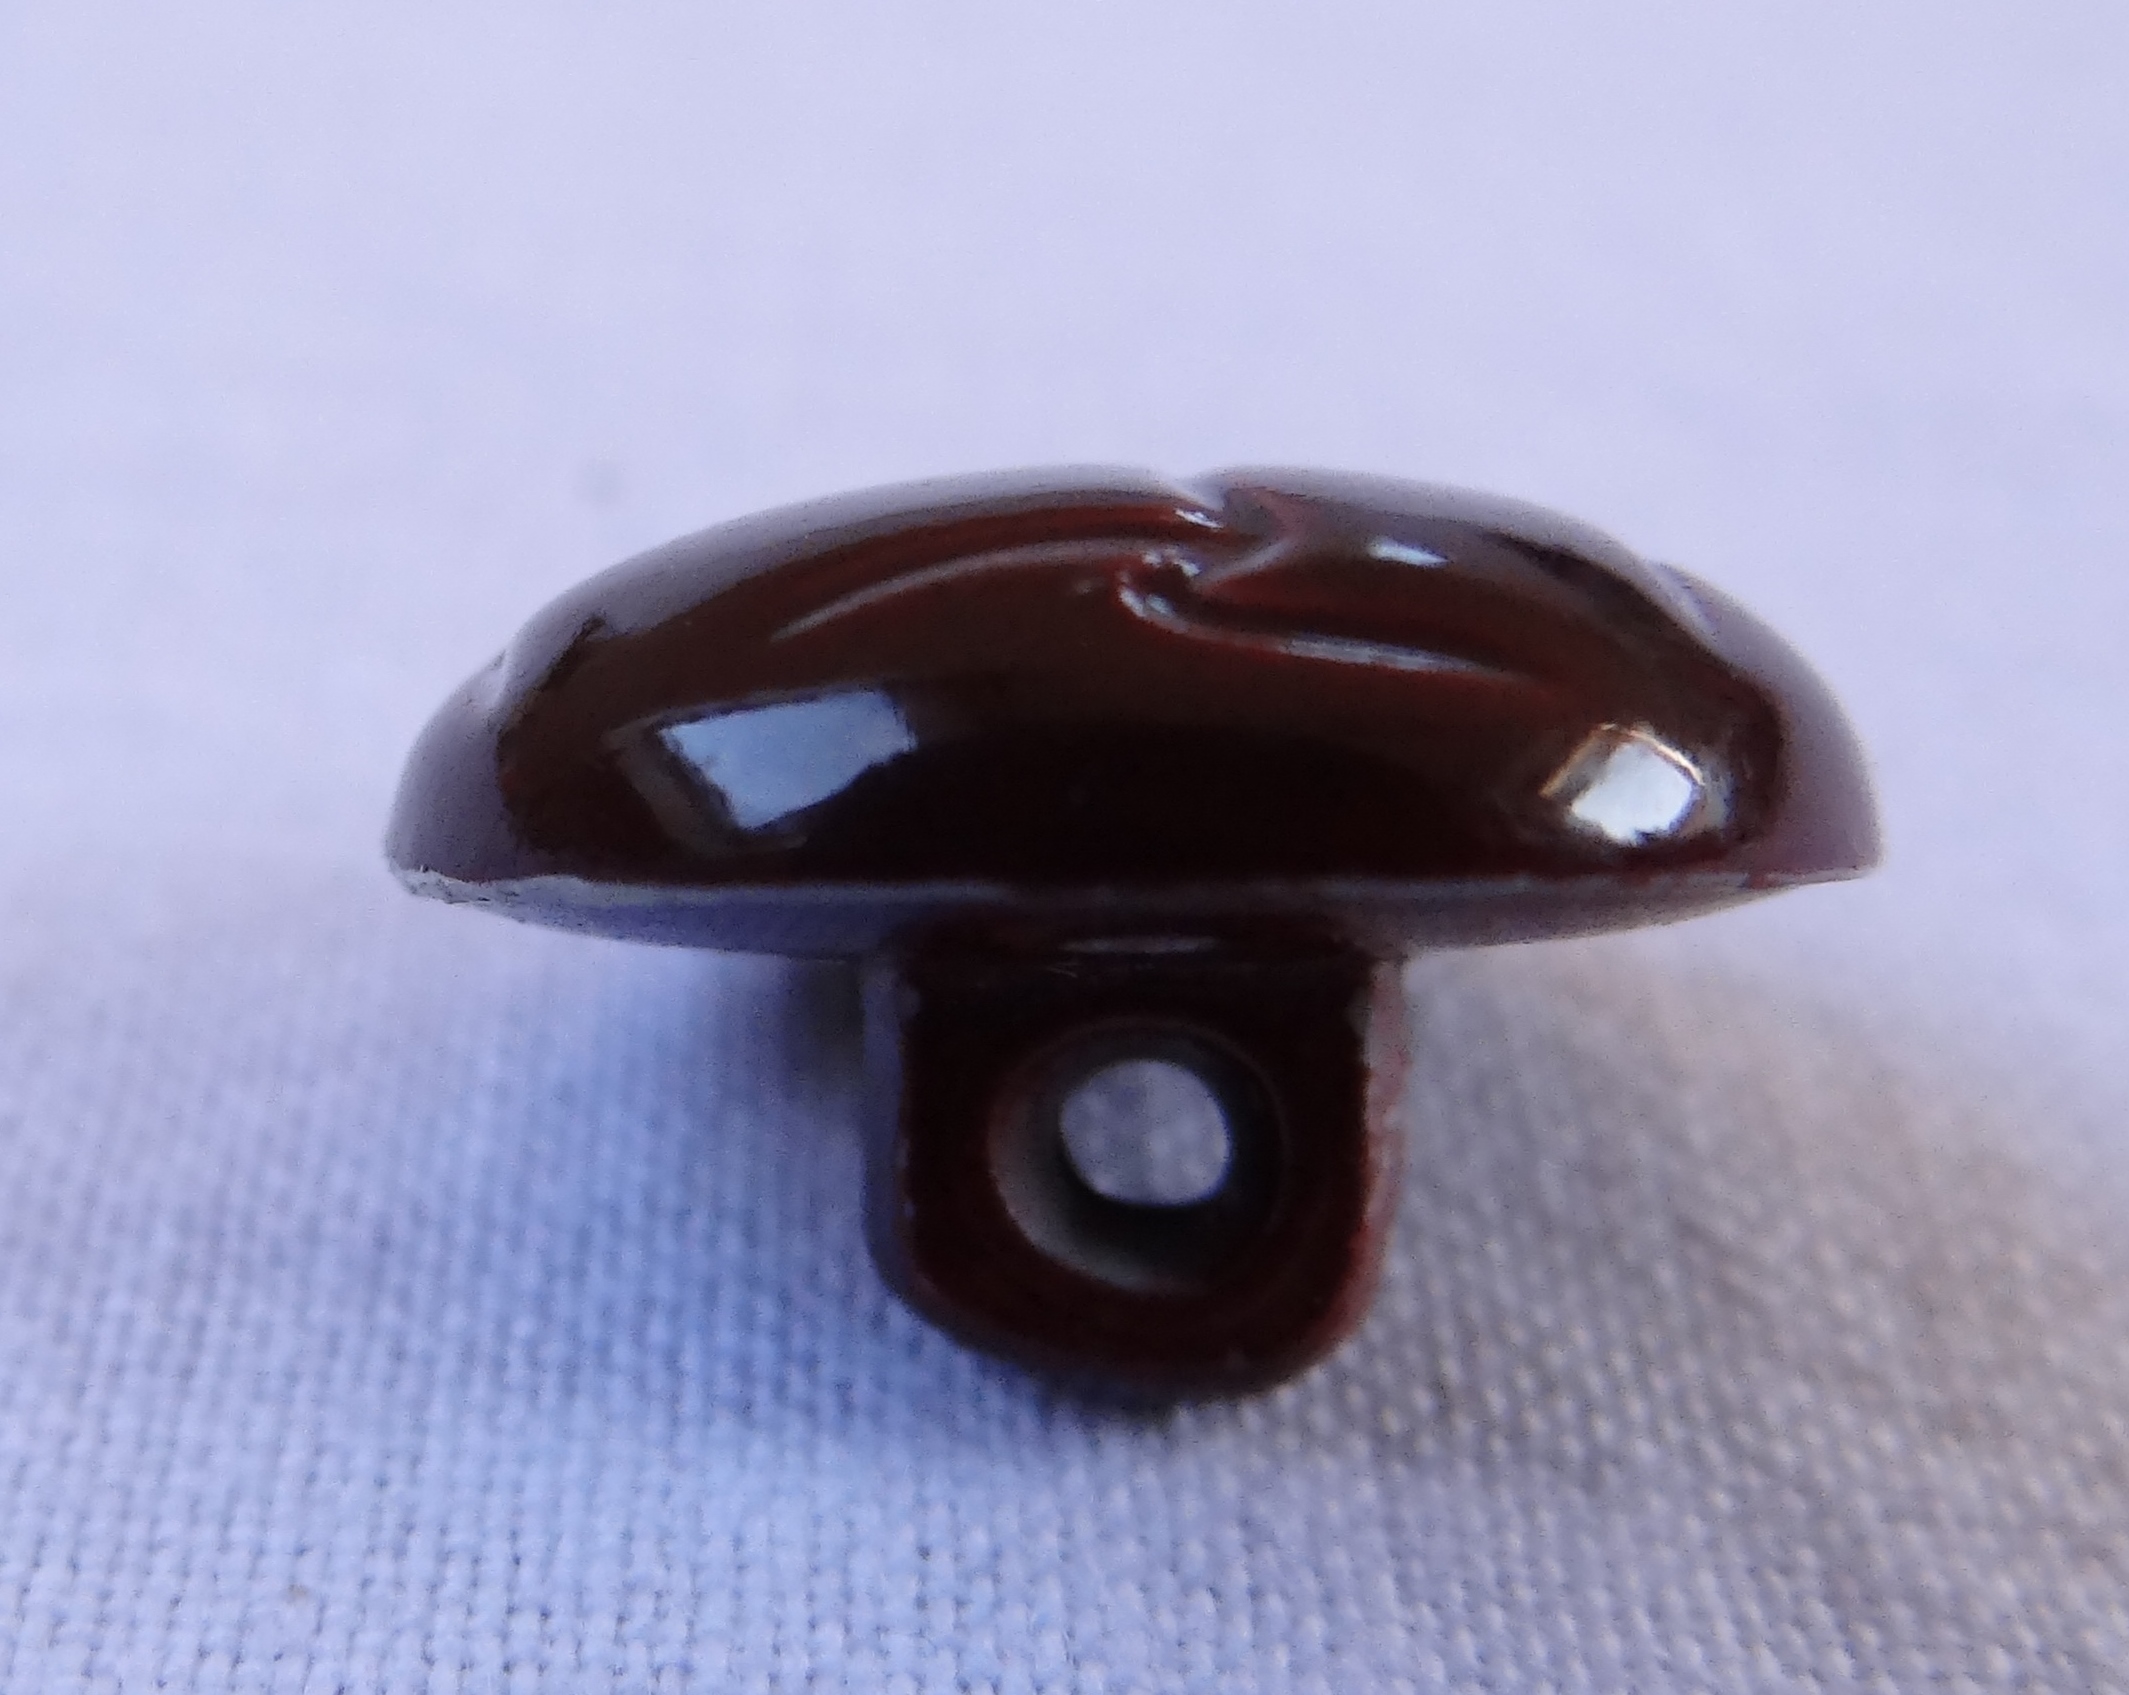

If your button has a shank (stalk) it creates a space between the button and garment so the button lies flat when it’s buttoned up.
If your button has a flat back, it doesn’t have a shank – so you will need to create a thread based shank so it doesn’t distort its button-hole.
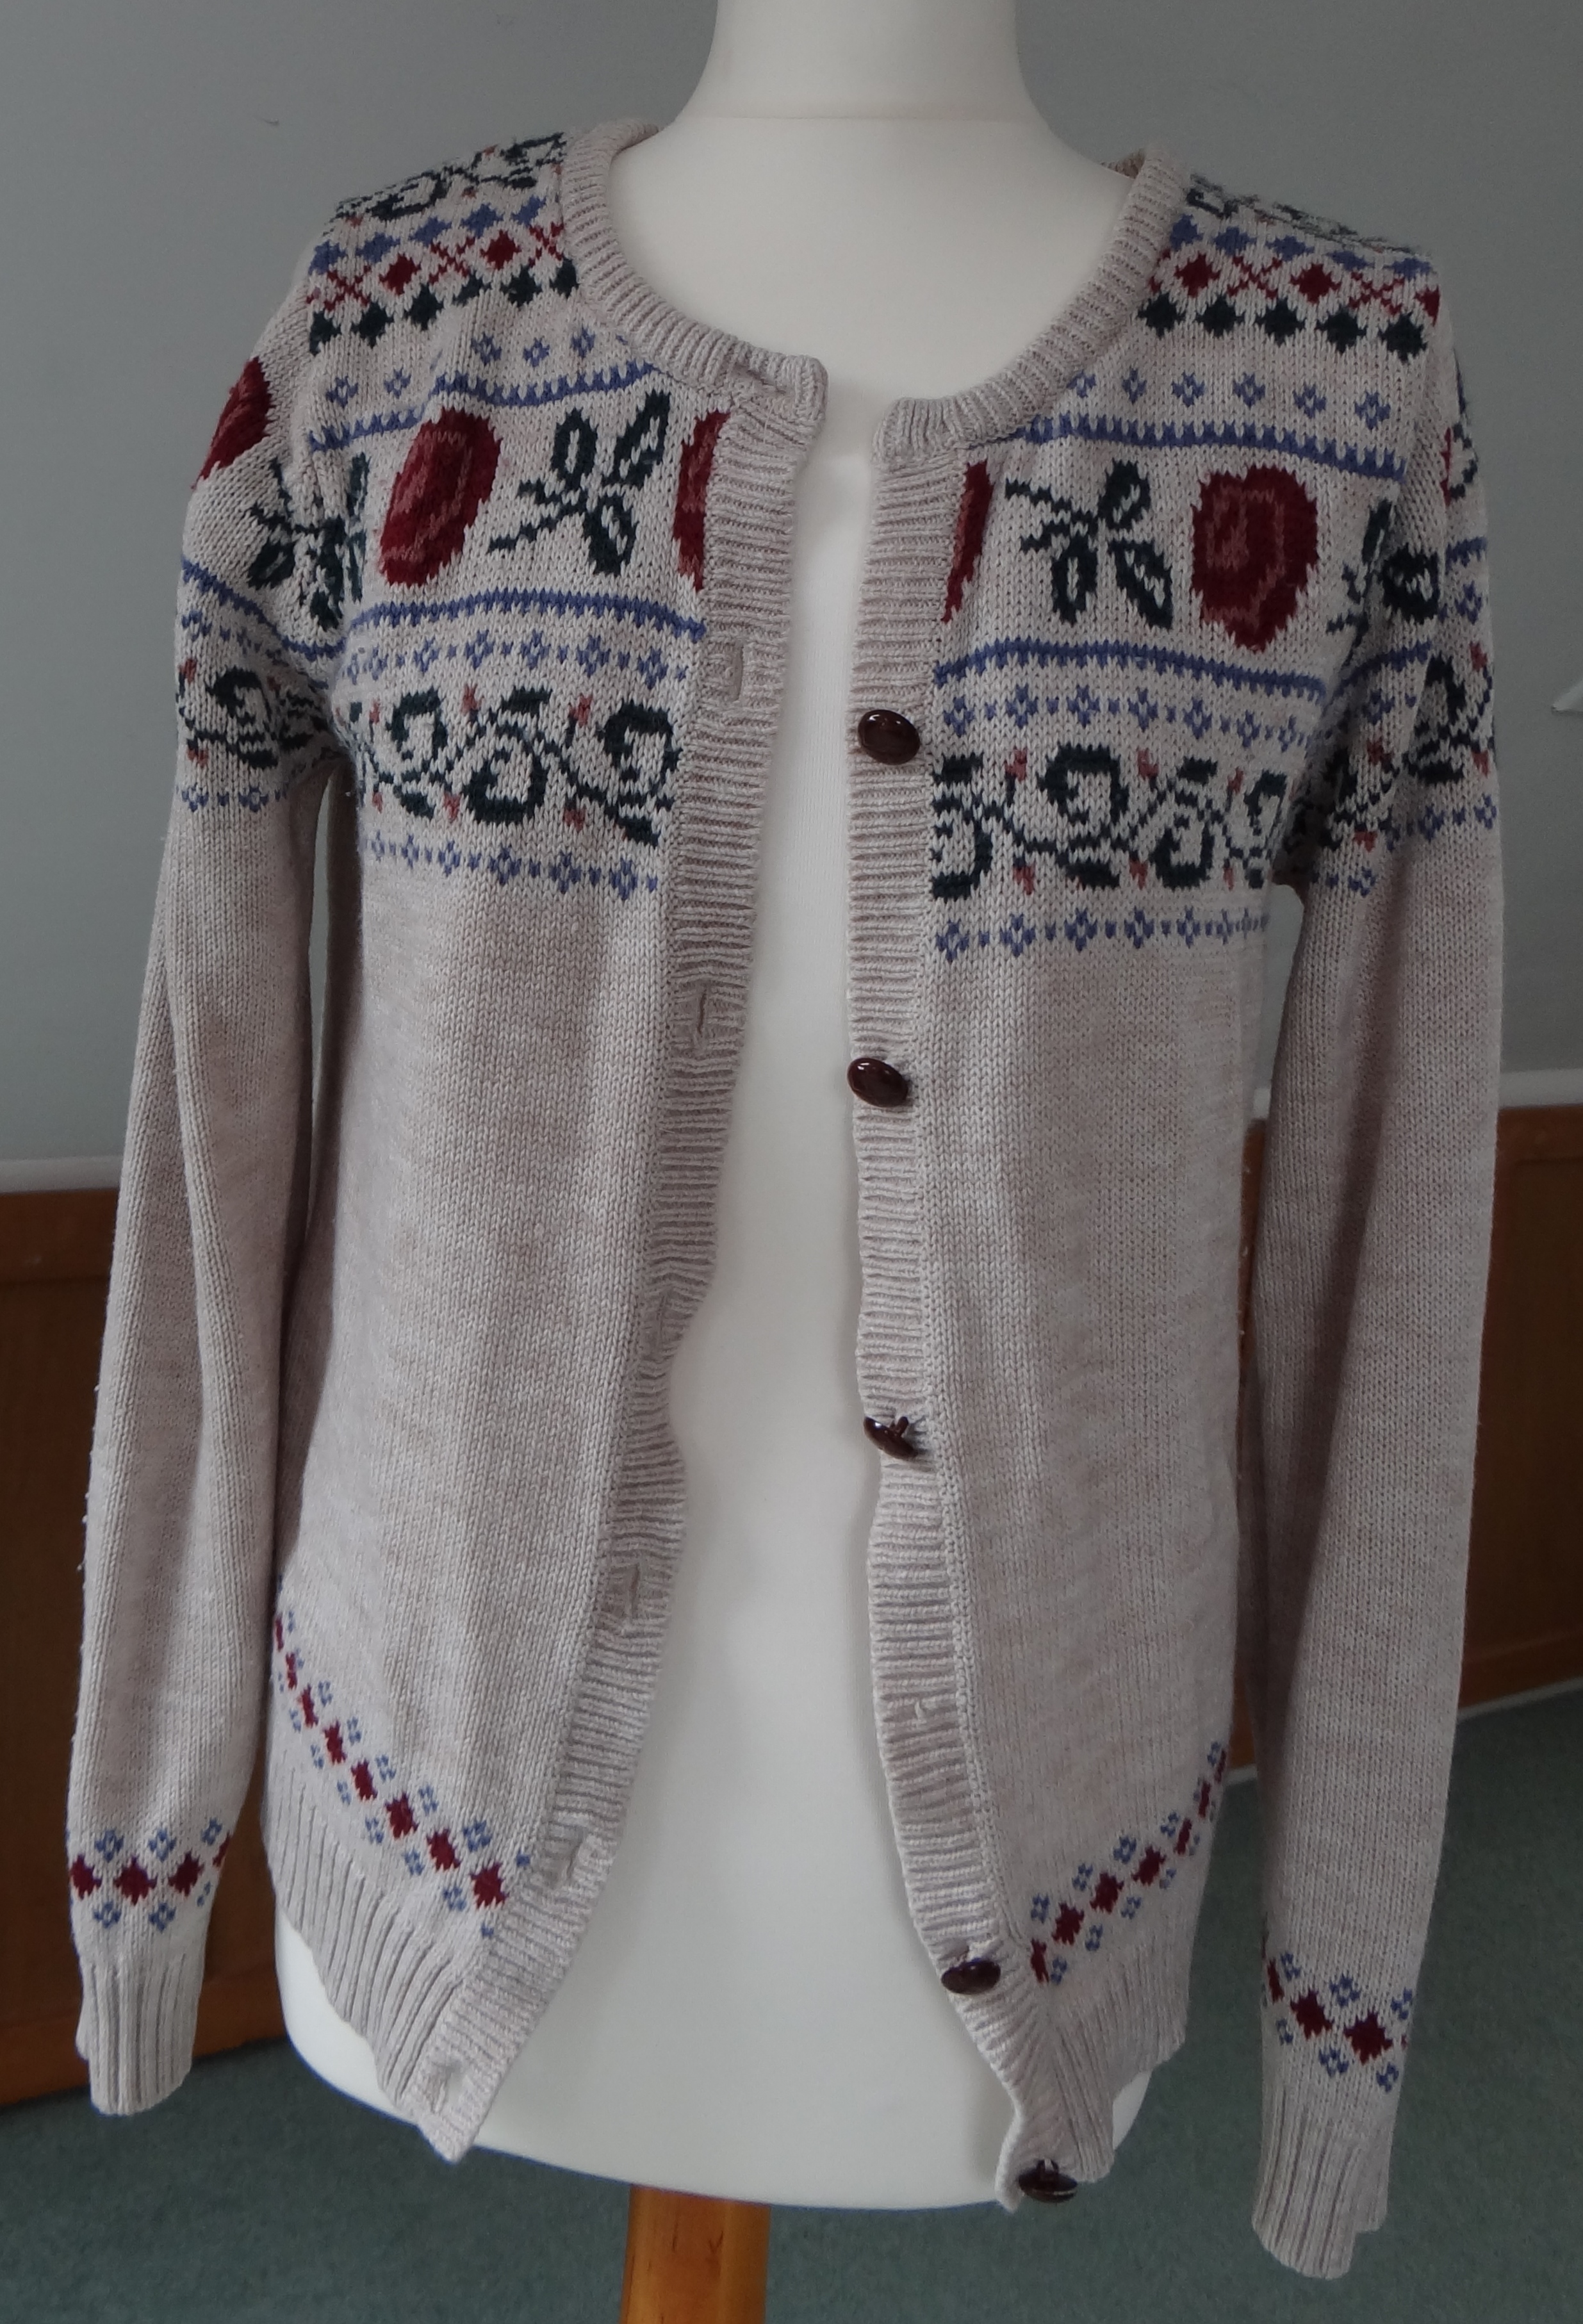 This cardigan is one of my favourite – it should have really found its baggy self in recycle bin, but like a life-long friend it has a very special comfy place in my heart! With several missing buttons, and all the spares already used I raided my “button box” to try to find some buttons to fill the gaps.
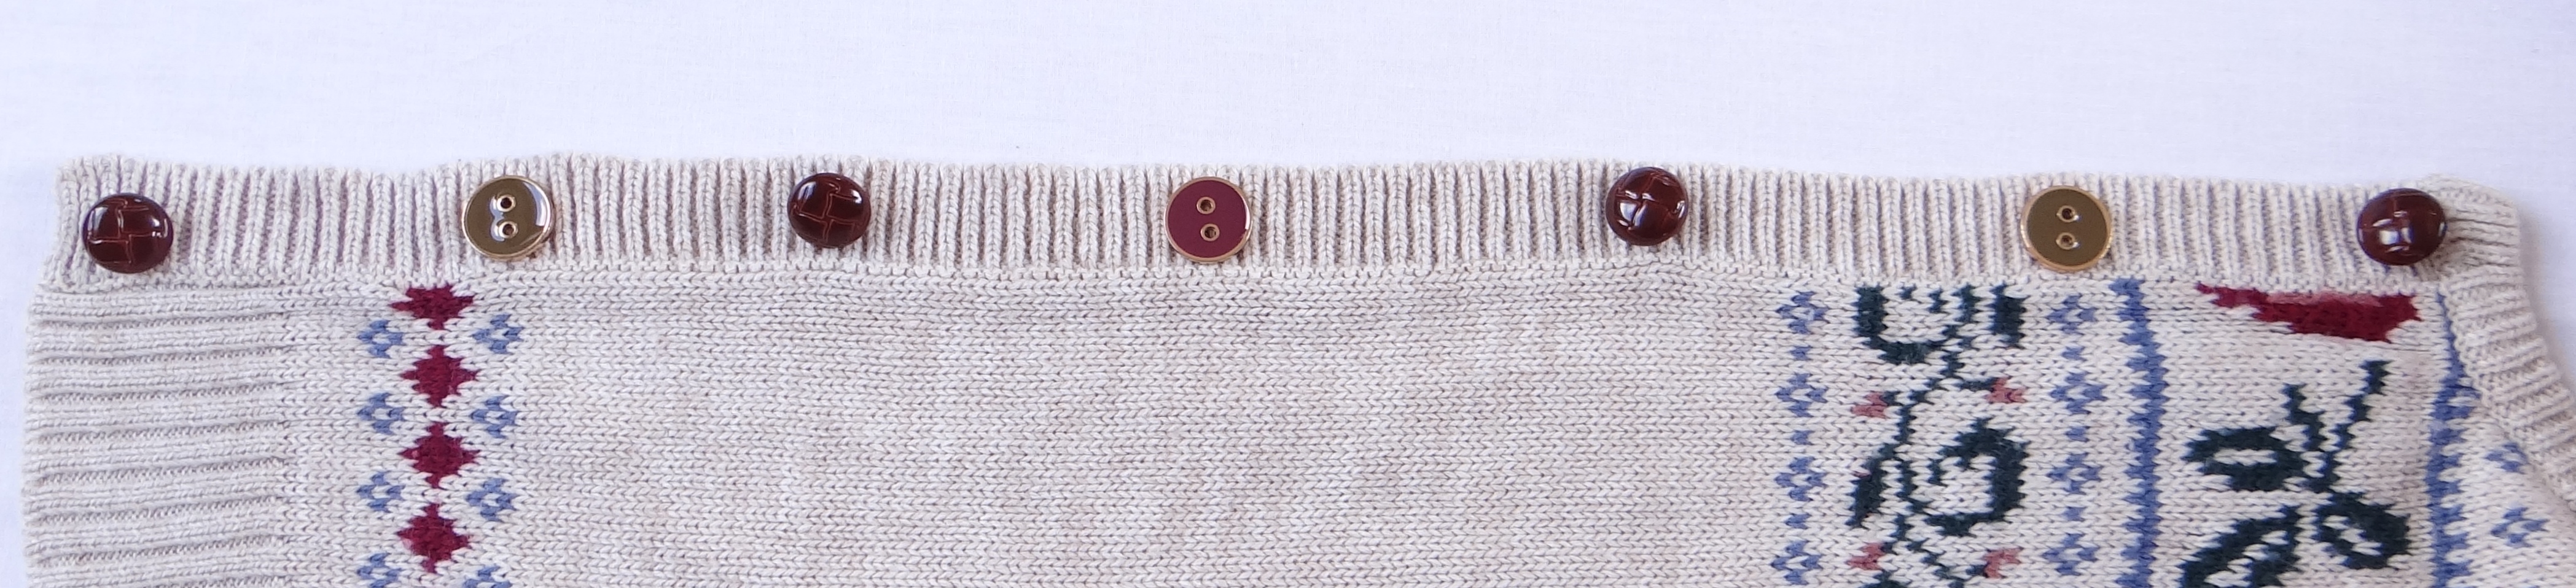
How about these? Multiple colours, but all are roughly the same size so they will work with the existing button holes.
So, let’s do those shank buttons first:
Shank Buttons
Using a double thread make a few small stitches where you want the button to go. Position the button so that your stitches will run parallel to the edge of the garment.
Take the thread through the button’s shank hole, then down into the fabric and back up through the fabric – repeat until you have enough small stitches to make the button secure. Fasten off.
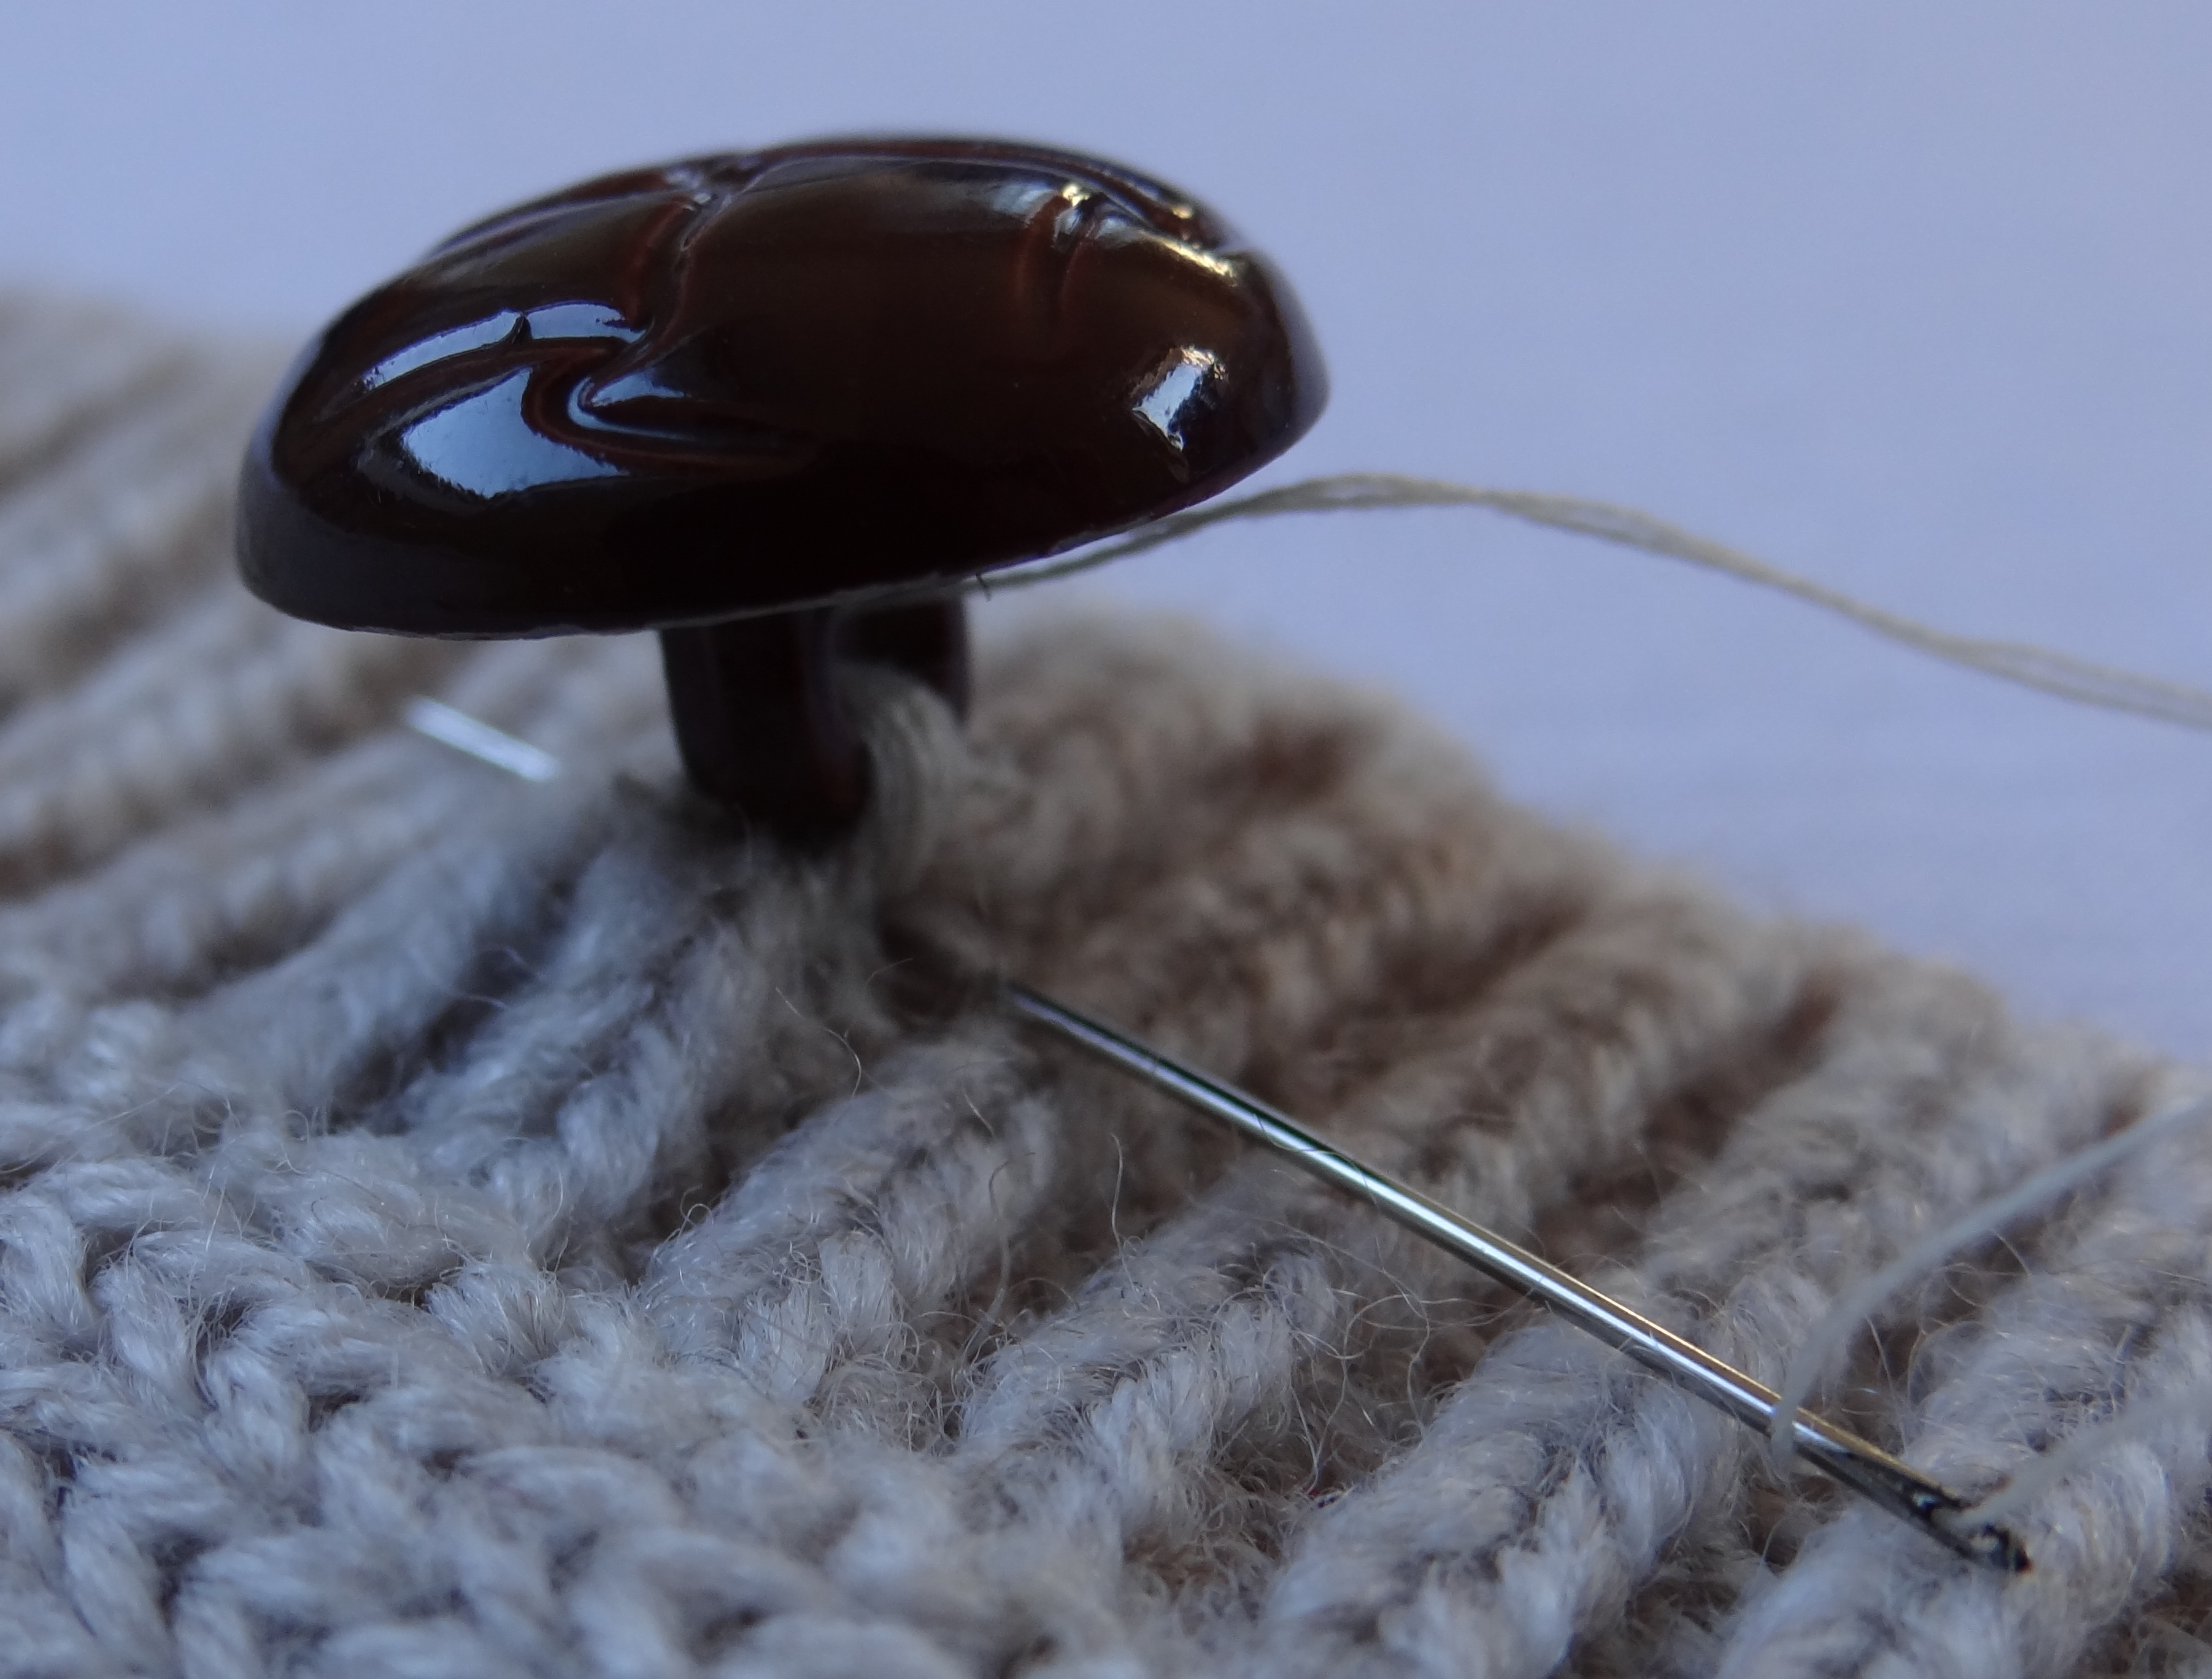
If your fabric is very thick, you might need to add in a thread shank. To do this place a cocktail stick /match-stick on the underside of the garment – as you stitch the button on make sure the thread goes around the cocktail stick /match stick before it comes back through the fabric again. Once the button is secure, remove the stick and lift the button so the thread comes through. Wind the thread around the stitches under the button’s shank to form the thread shank (similar to the no shank method shown below).
Buttons without shanks
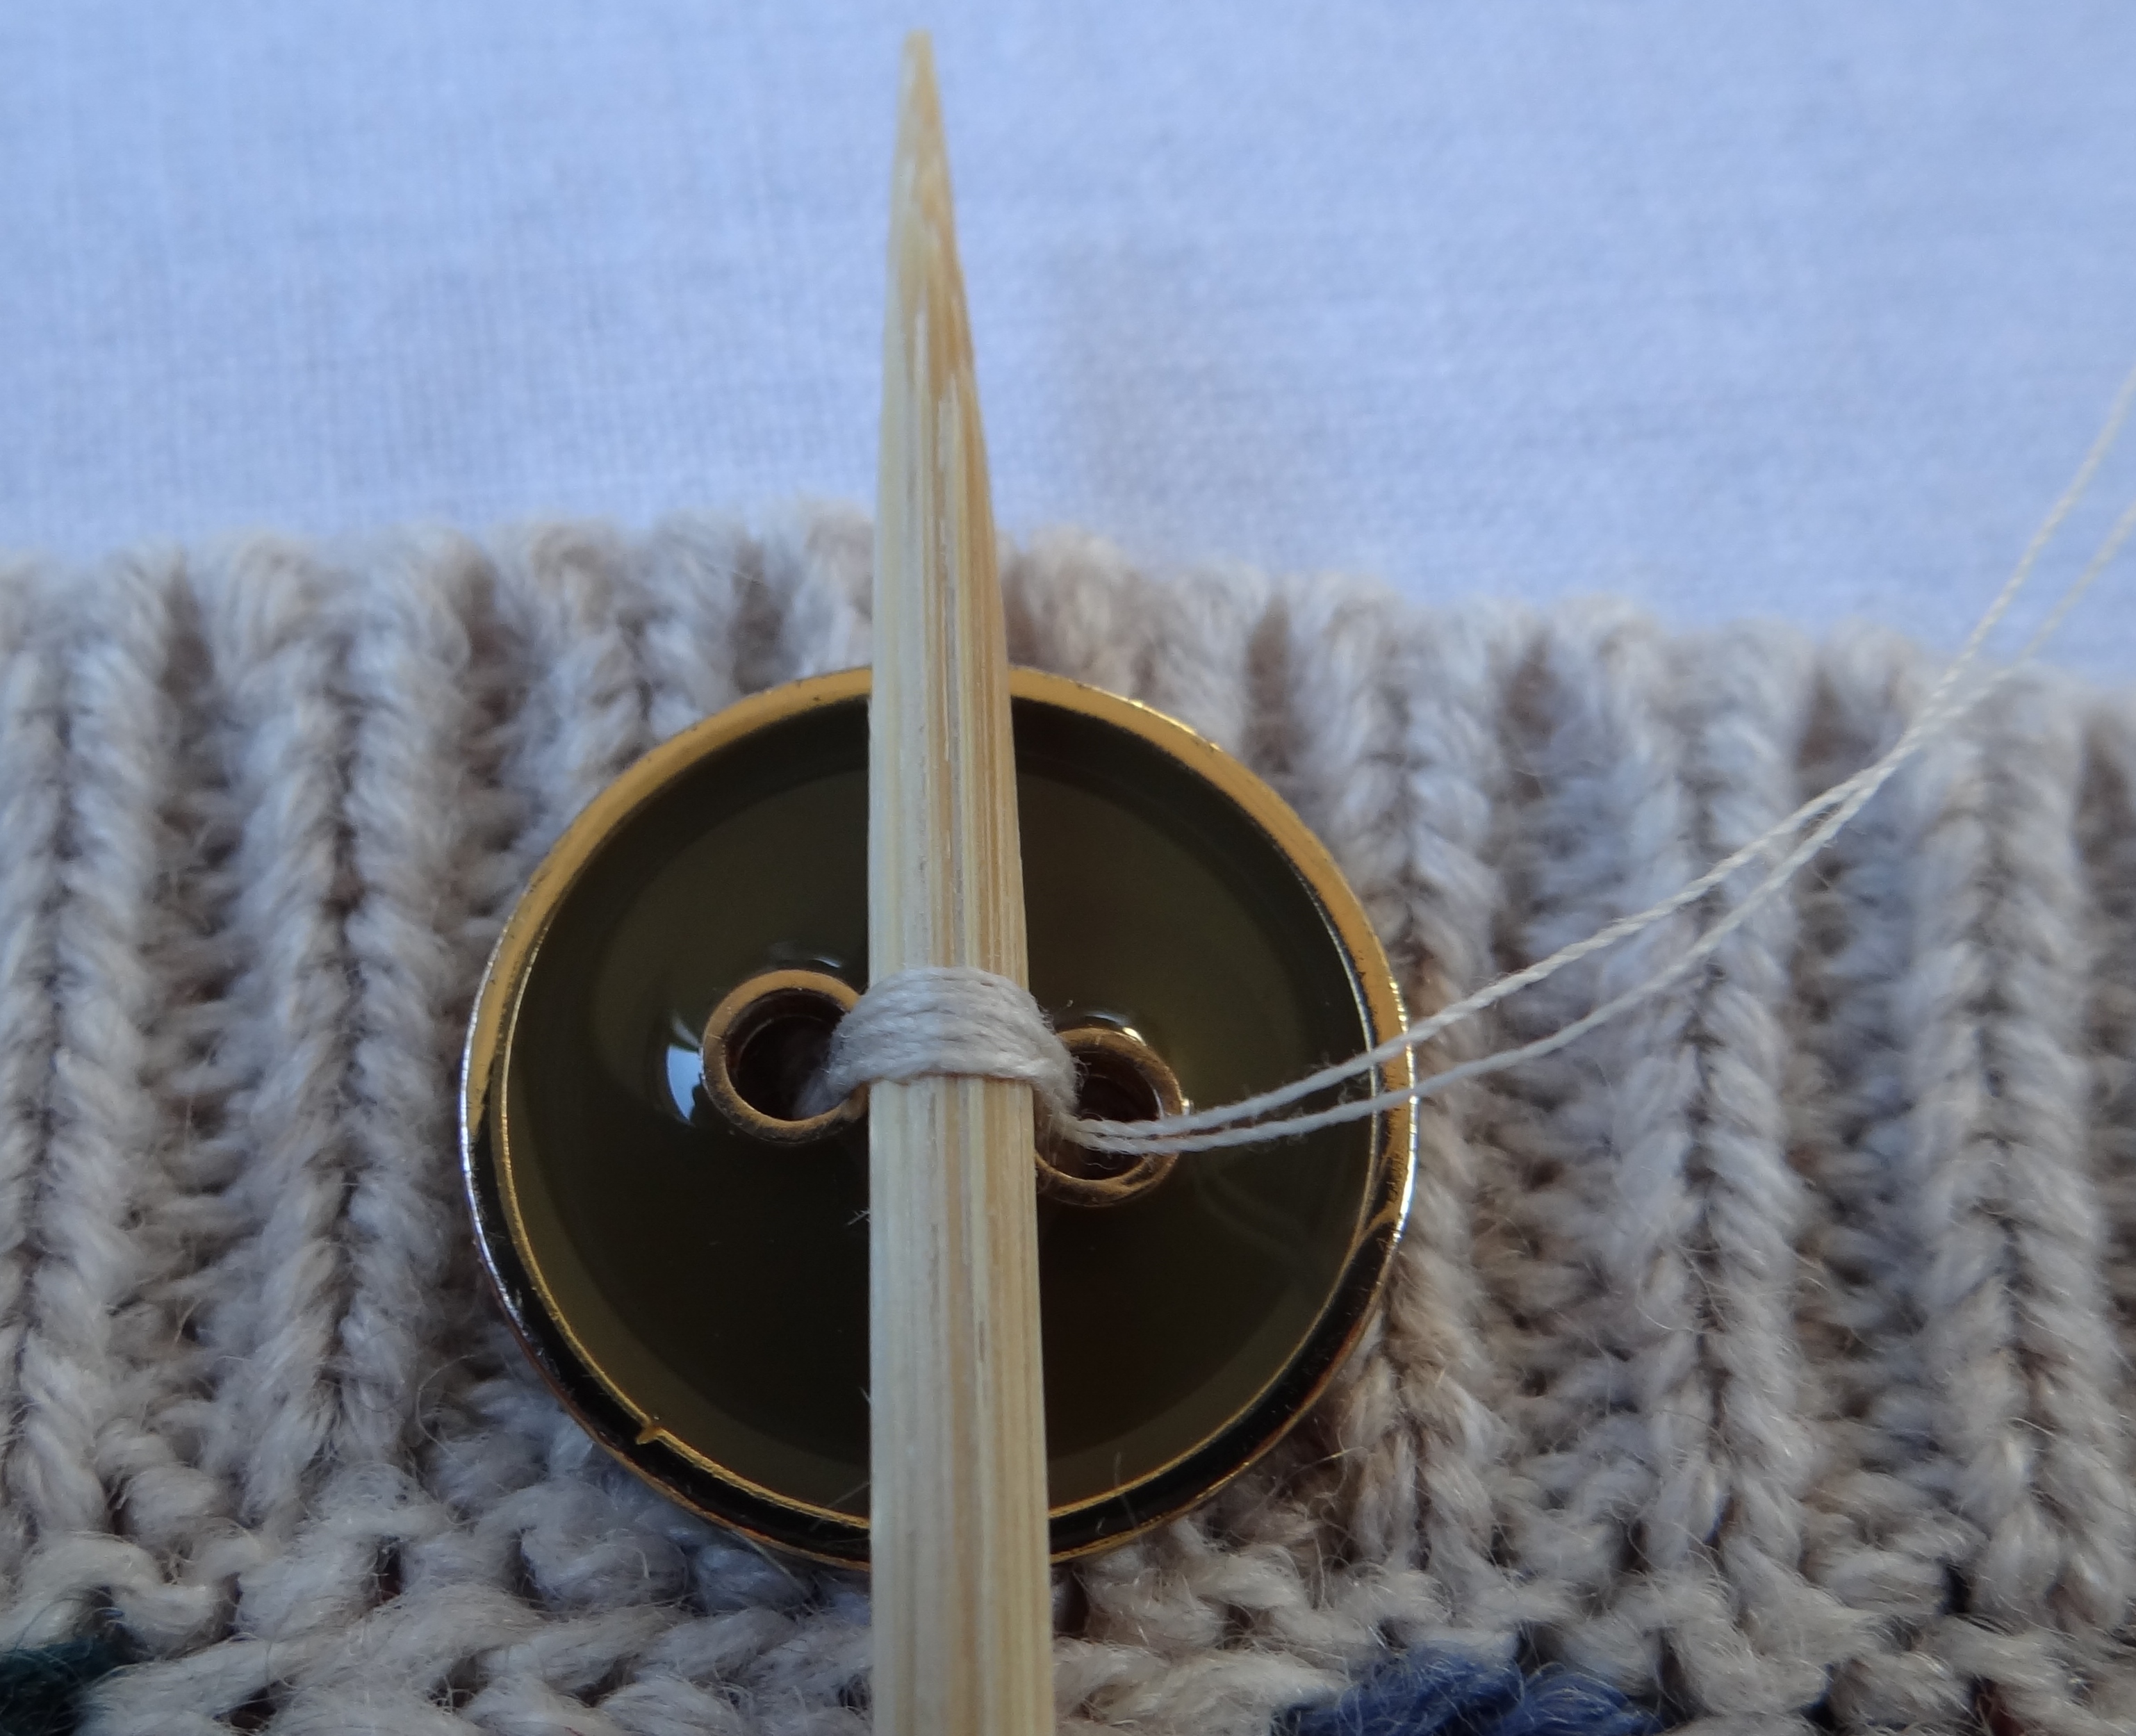
Make a few small stitches where you want the button. Place the button on your garment. Pop a cocktail stick / match stick on top of the button and take the thread up through one hole of the button, across the cocktail / match stick and down through the second button hole into fabric. Repeat the up and down stitches until your button is secure.
Next remove the stick, lift the button away from the fabric so you can see the stitches and wrap the thread firmly around them to create a thread shank. Fasten off your thread.

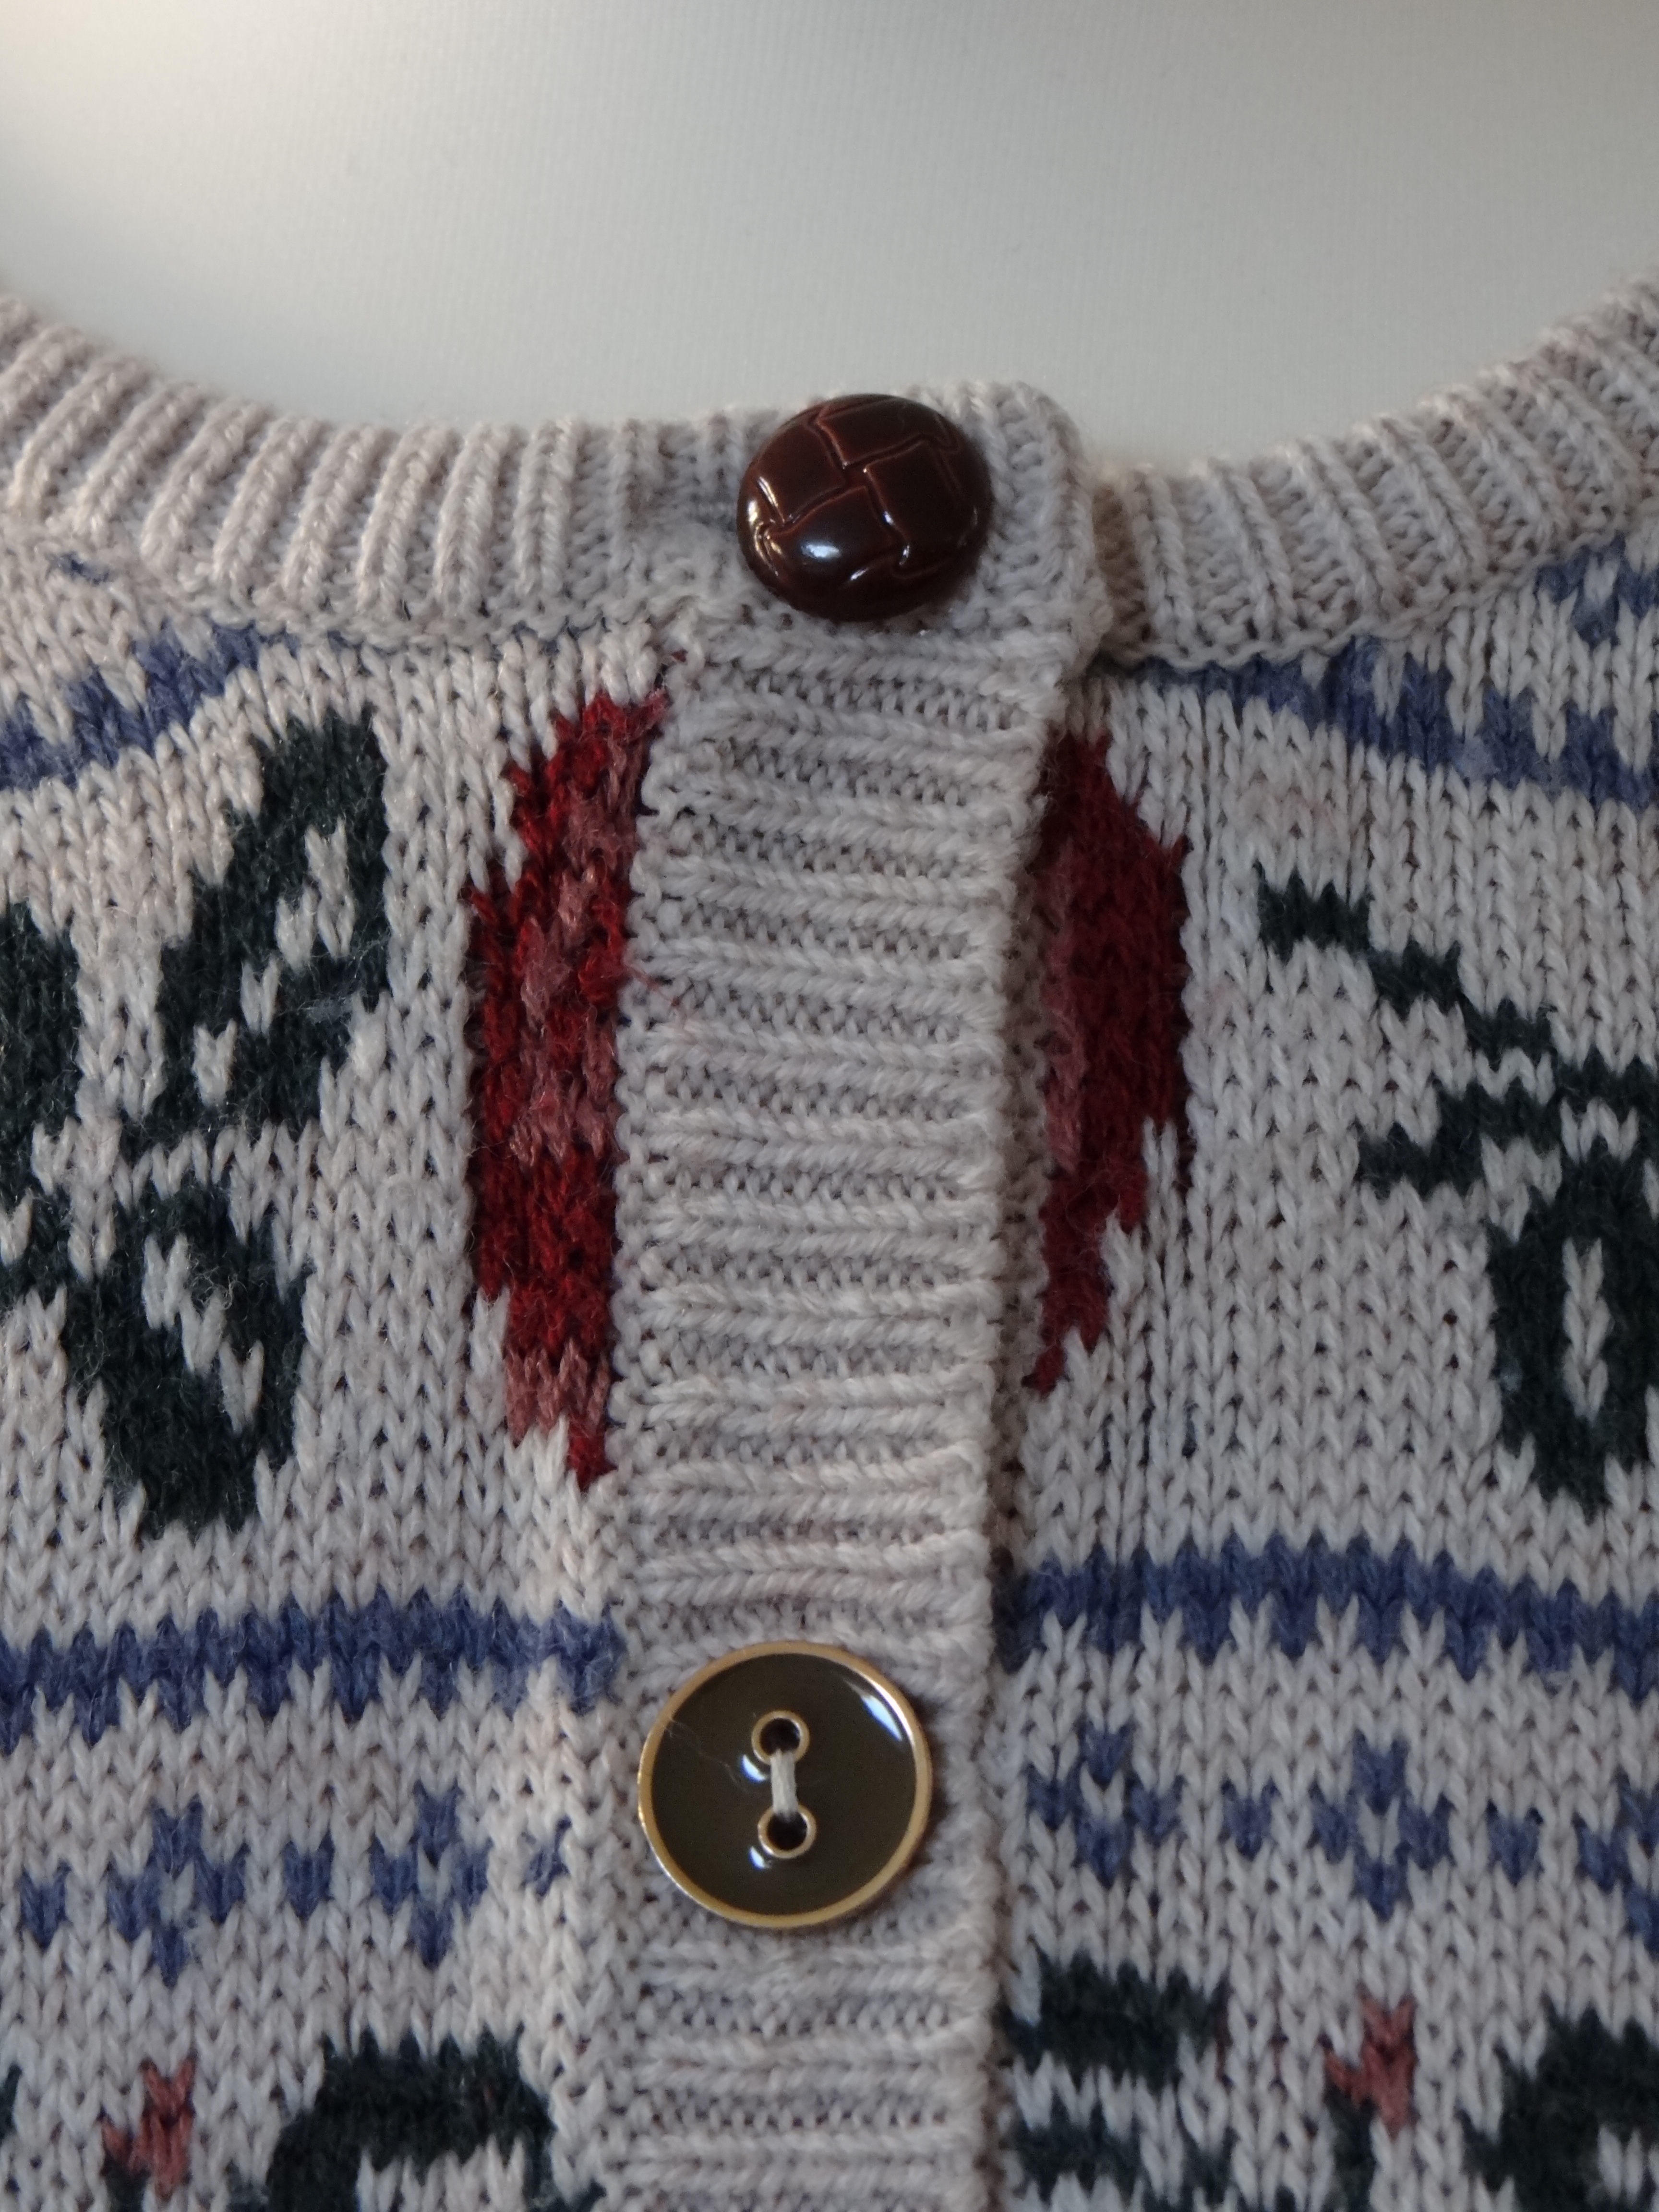
All finished – one cardi ready to wear again!
If your button has 4 holes, you can have great fun!
You could work a cross effect, a square or two parallel lines. Try out different colour threads or narrow ribbons to make your buttons zing!
