
Needle felting is all about using a barbed needle to tangle or fuse wool fibres together. You can sculpt 3D shapes (spheres are often popular for beginners) or build up layers of fibre to create beautiful images which you can embellish. 
 Both these pictures were created by a friend who layered wool tops onto flat white felt. I just love the depth and movement she created.
Needle felting is a relatively easy and inexpensive craft to try, you just need a felting needle, wool tops / roving, wool yarn, dense foam and for the flat felting method, scissors and a piece of flat felt.
A needle felted flower makes a good starter project.
First cut out two rounds of petals from flat felt – different sizes and colours work well – and place them onto some high density foam. 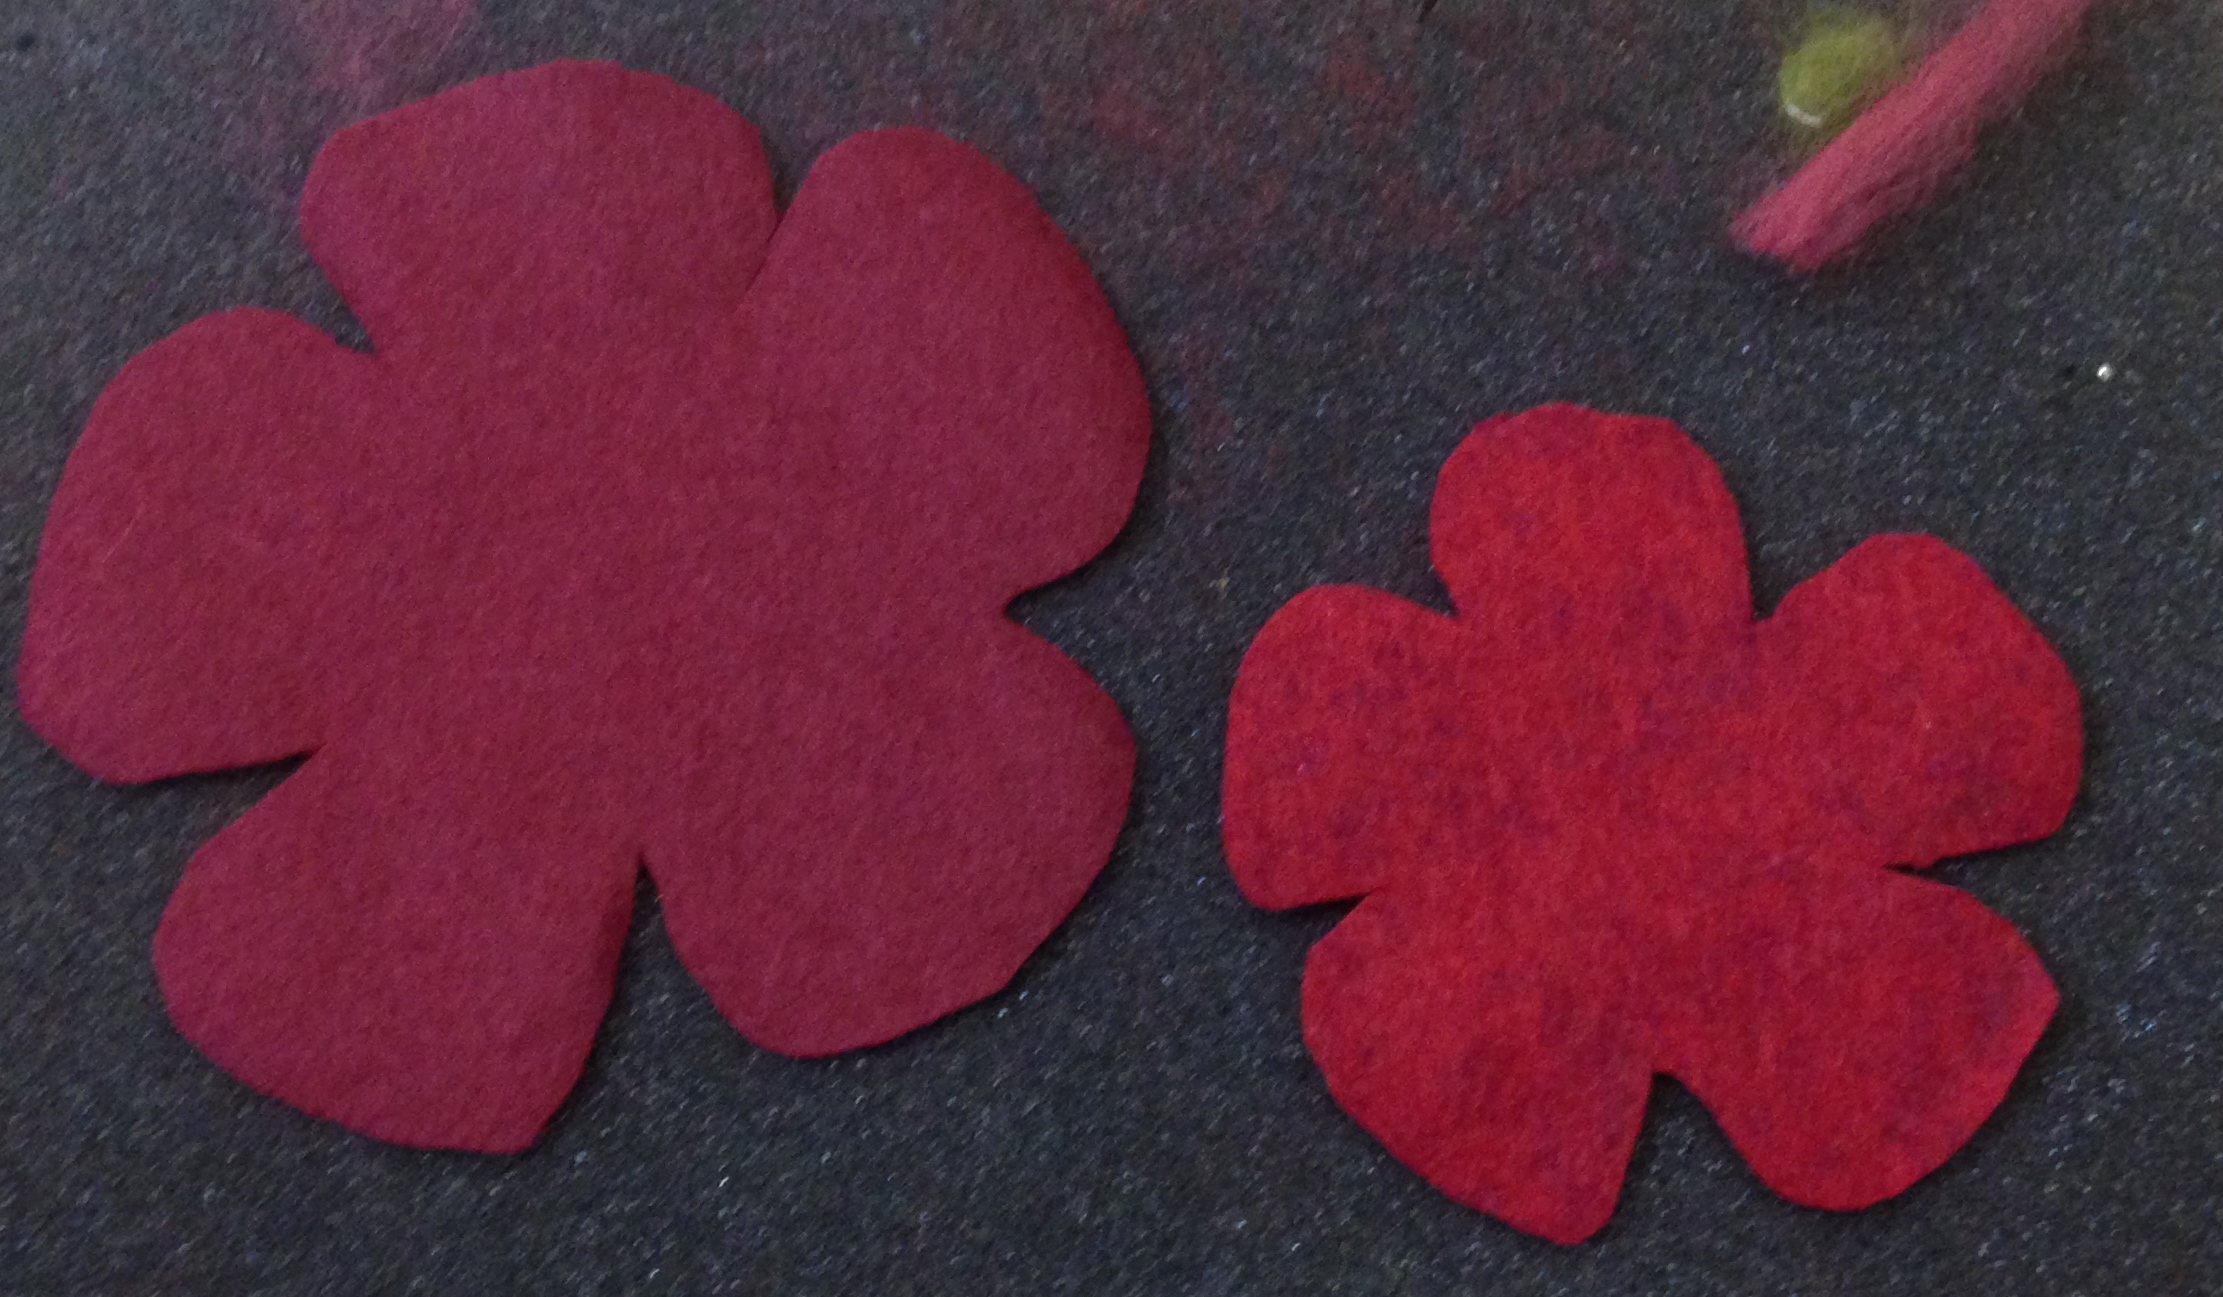 To create your petal’s texture take small pieces of wool top fibres and drape across your petals. Fuse the fibres together by repetitively jabbing your barbed felting needle so it goes through the wool top fibre and flat felt. The needle should go straight up and down and just into the foam.
Please be careful – felting needles are sharp. During a frantic stabbing moment I managed to land a needle into my nail bed – Ouch! 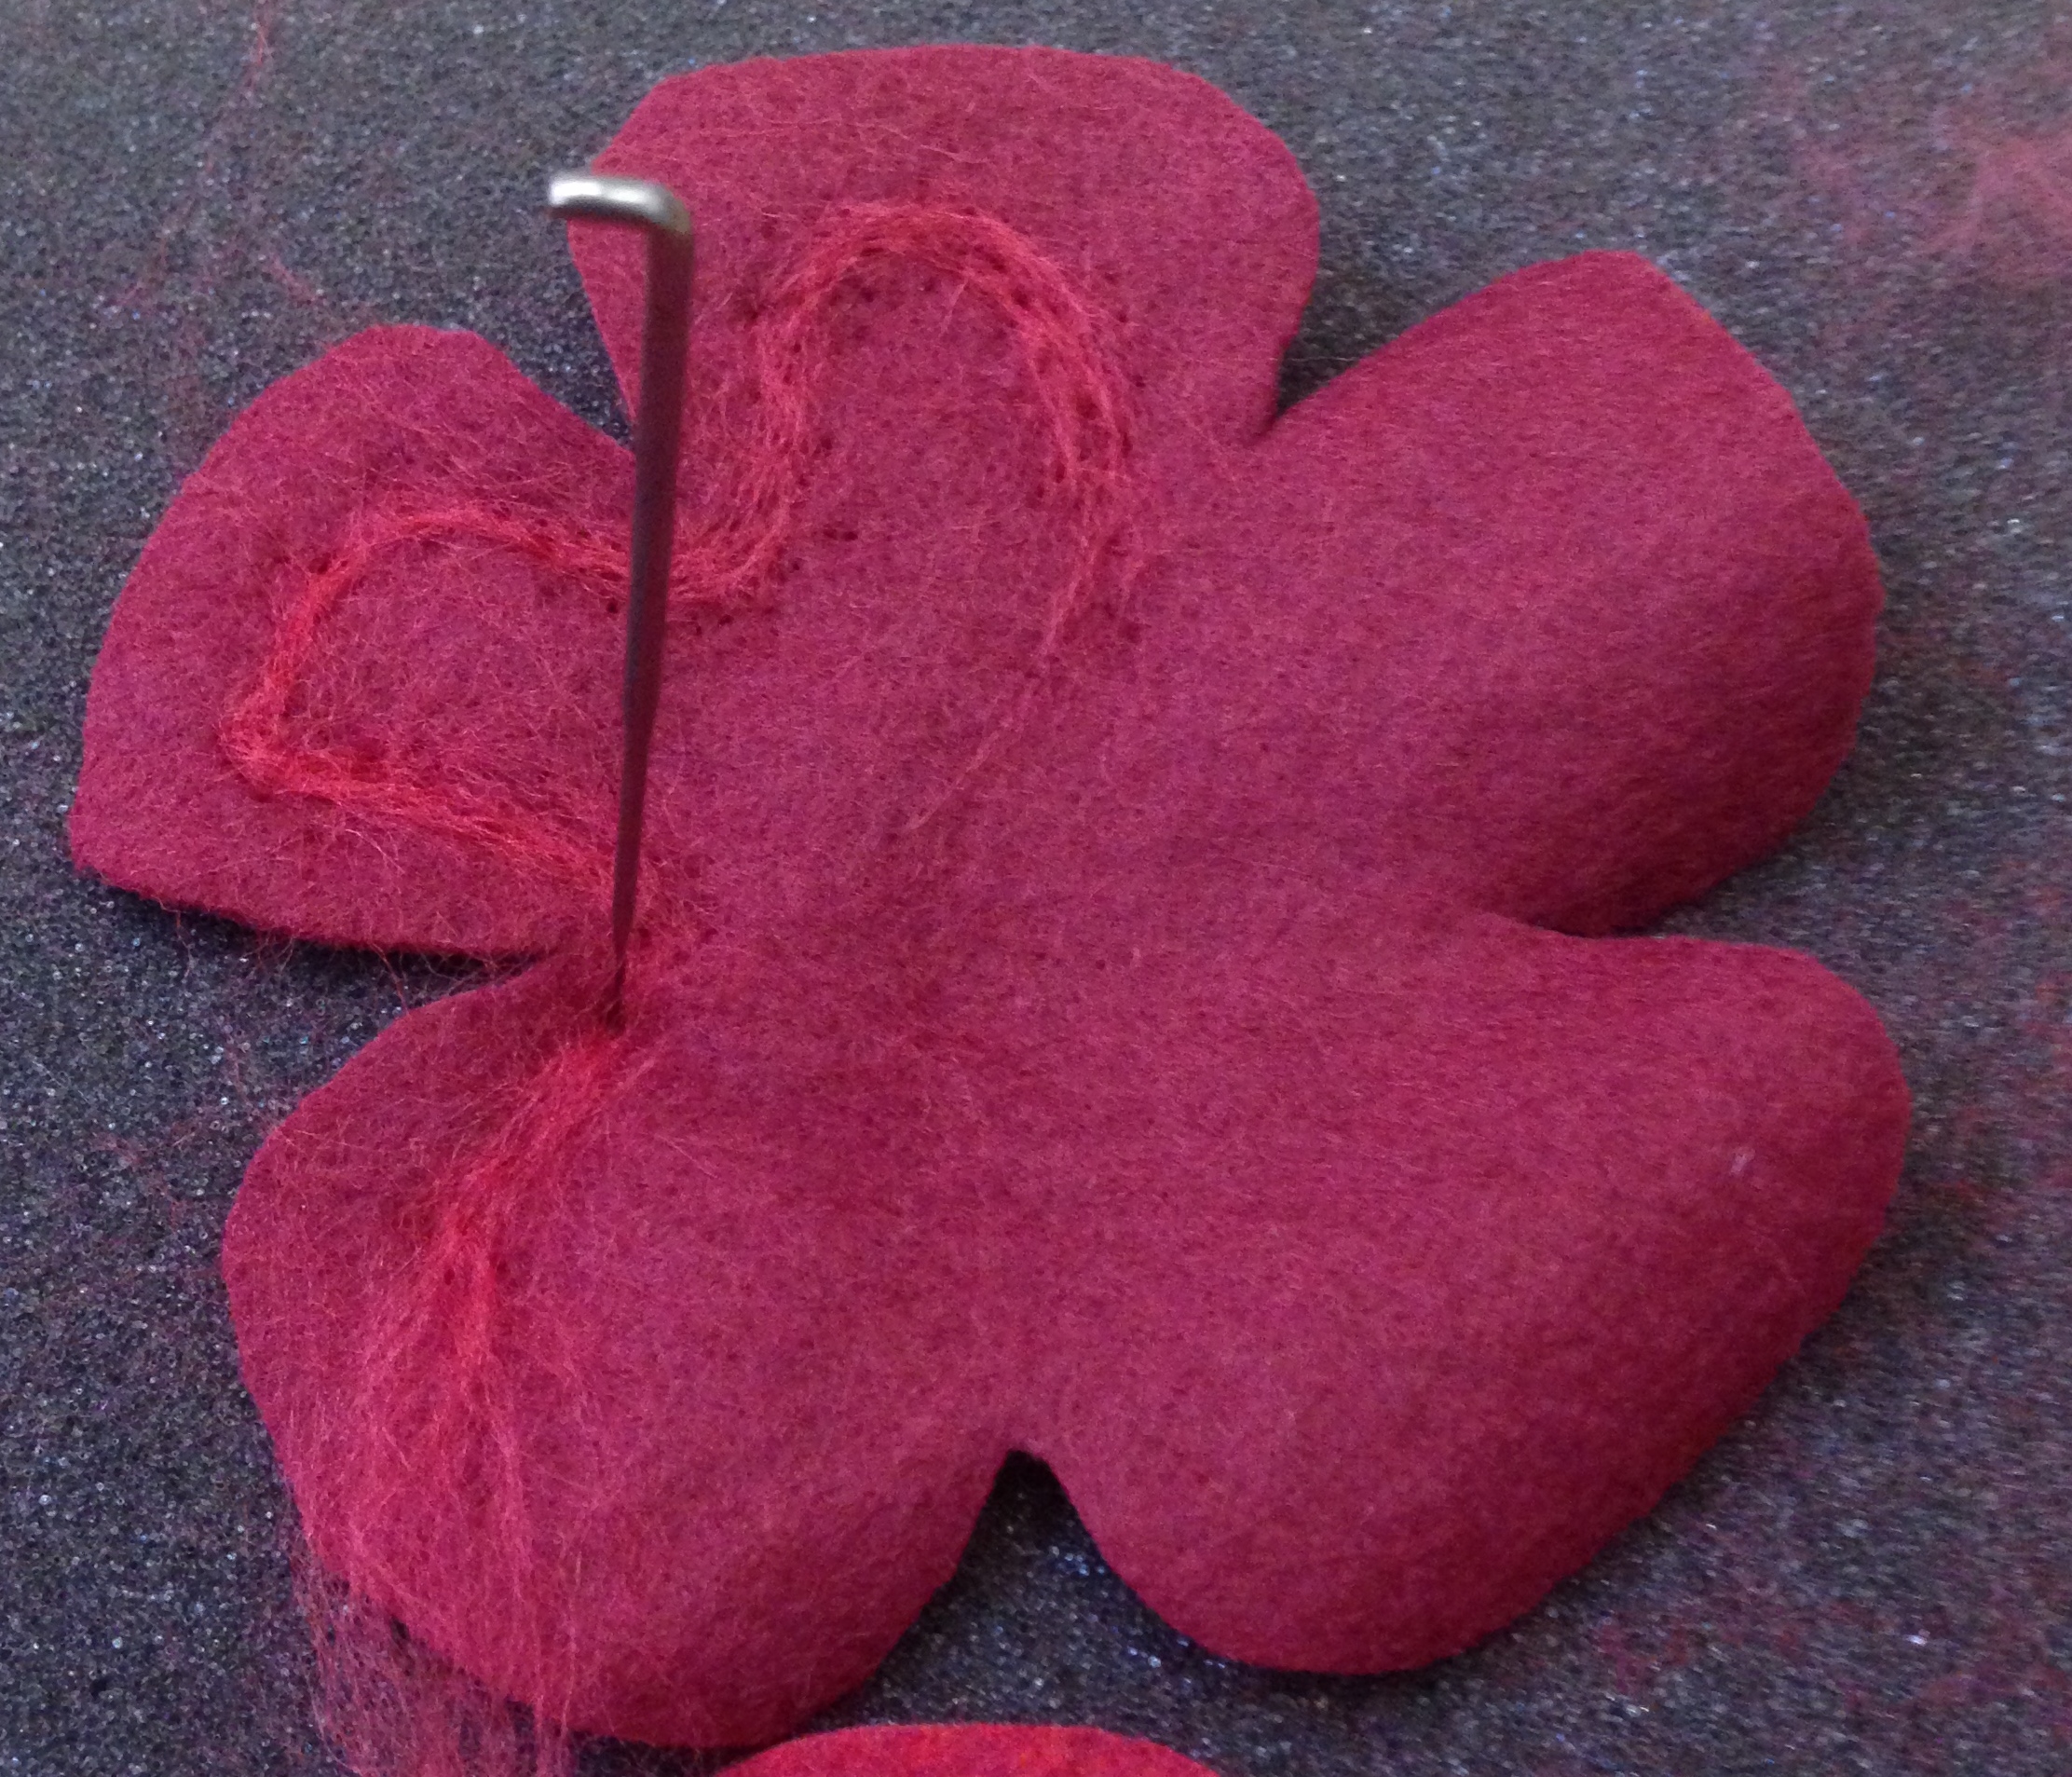 To form lines it helps to twist the fibres together as you go. Develop texture using different shades of wool top. Every so often lift your flower away from the foam to stop it “sticking”.
  As the fibres continue to entwine your fabric will shrink in size. By repeatedly stabbing your felt in the same place your fabric will begin to curl; felting whilst overlapping your fabric will enable you to create creases.
  Once both sets of petals are defined and shaped, place them on top of each other and jab your felting needle through the centre of both to mesh the petals together.
 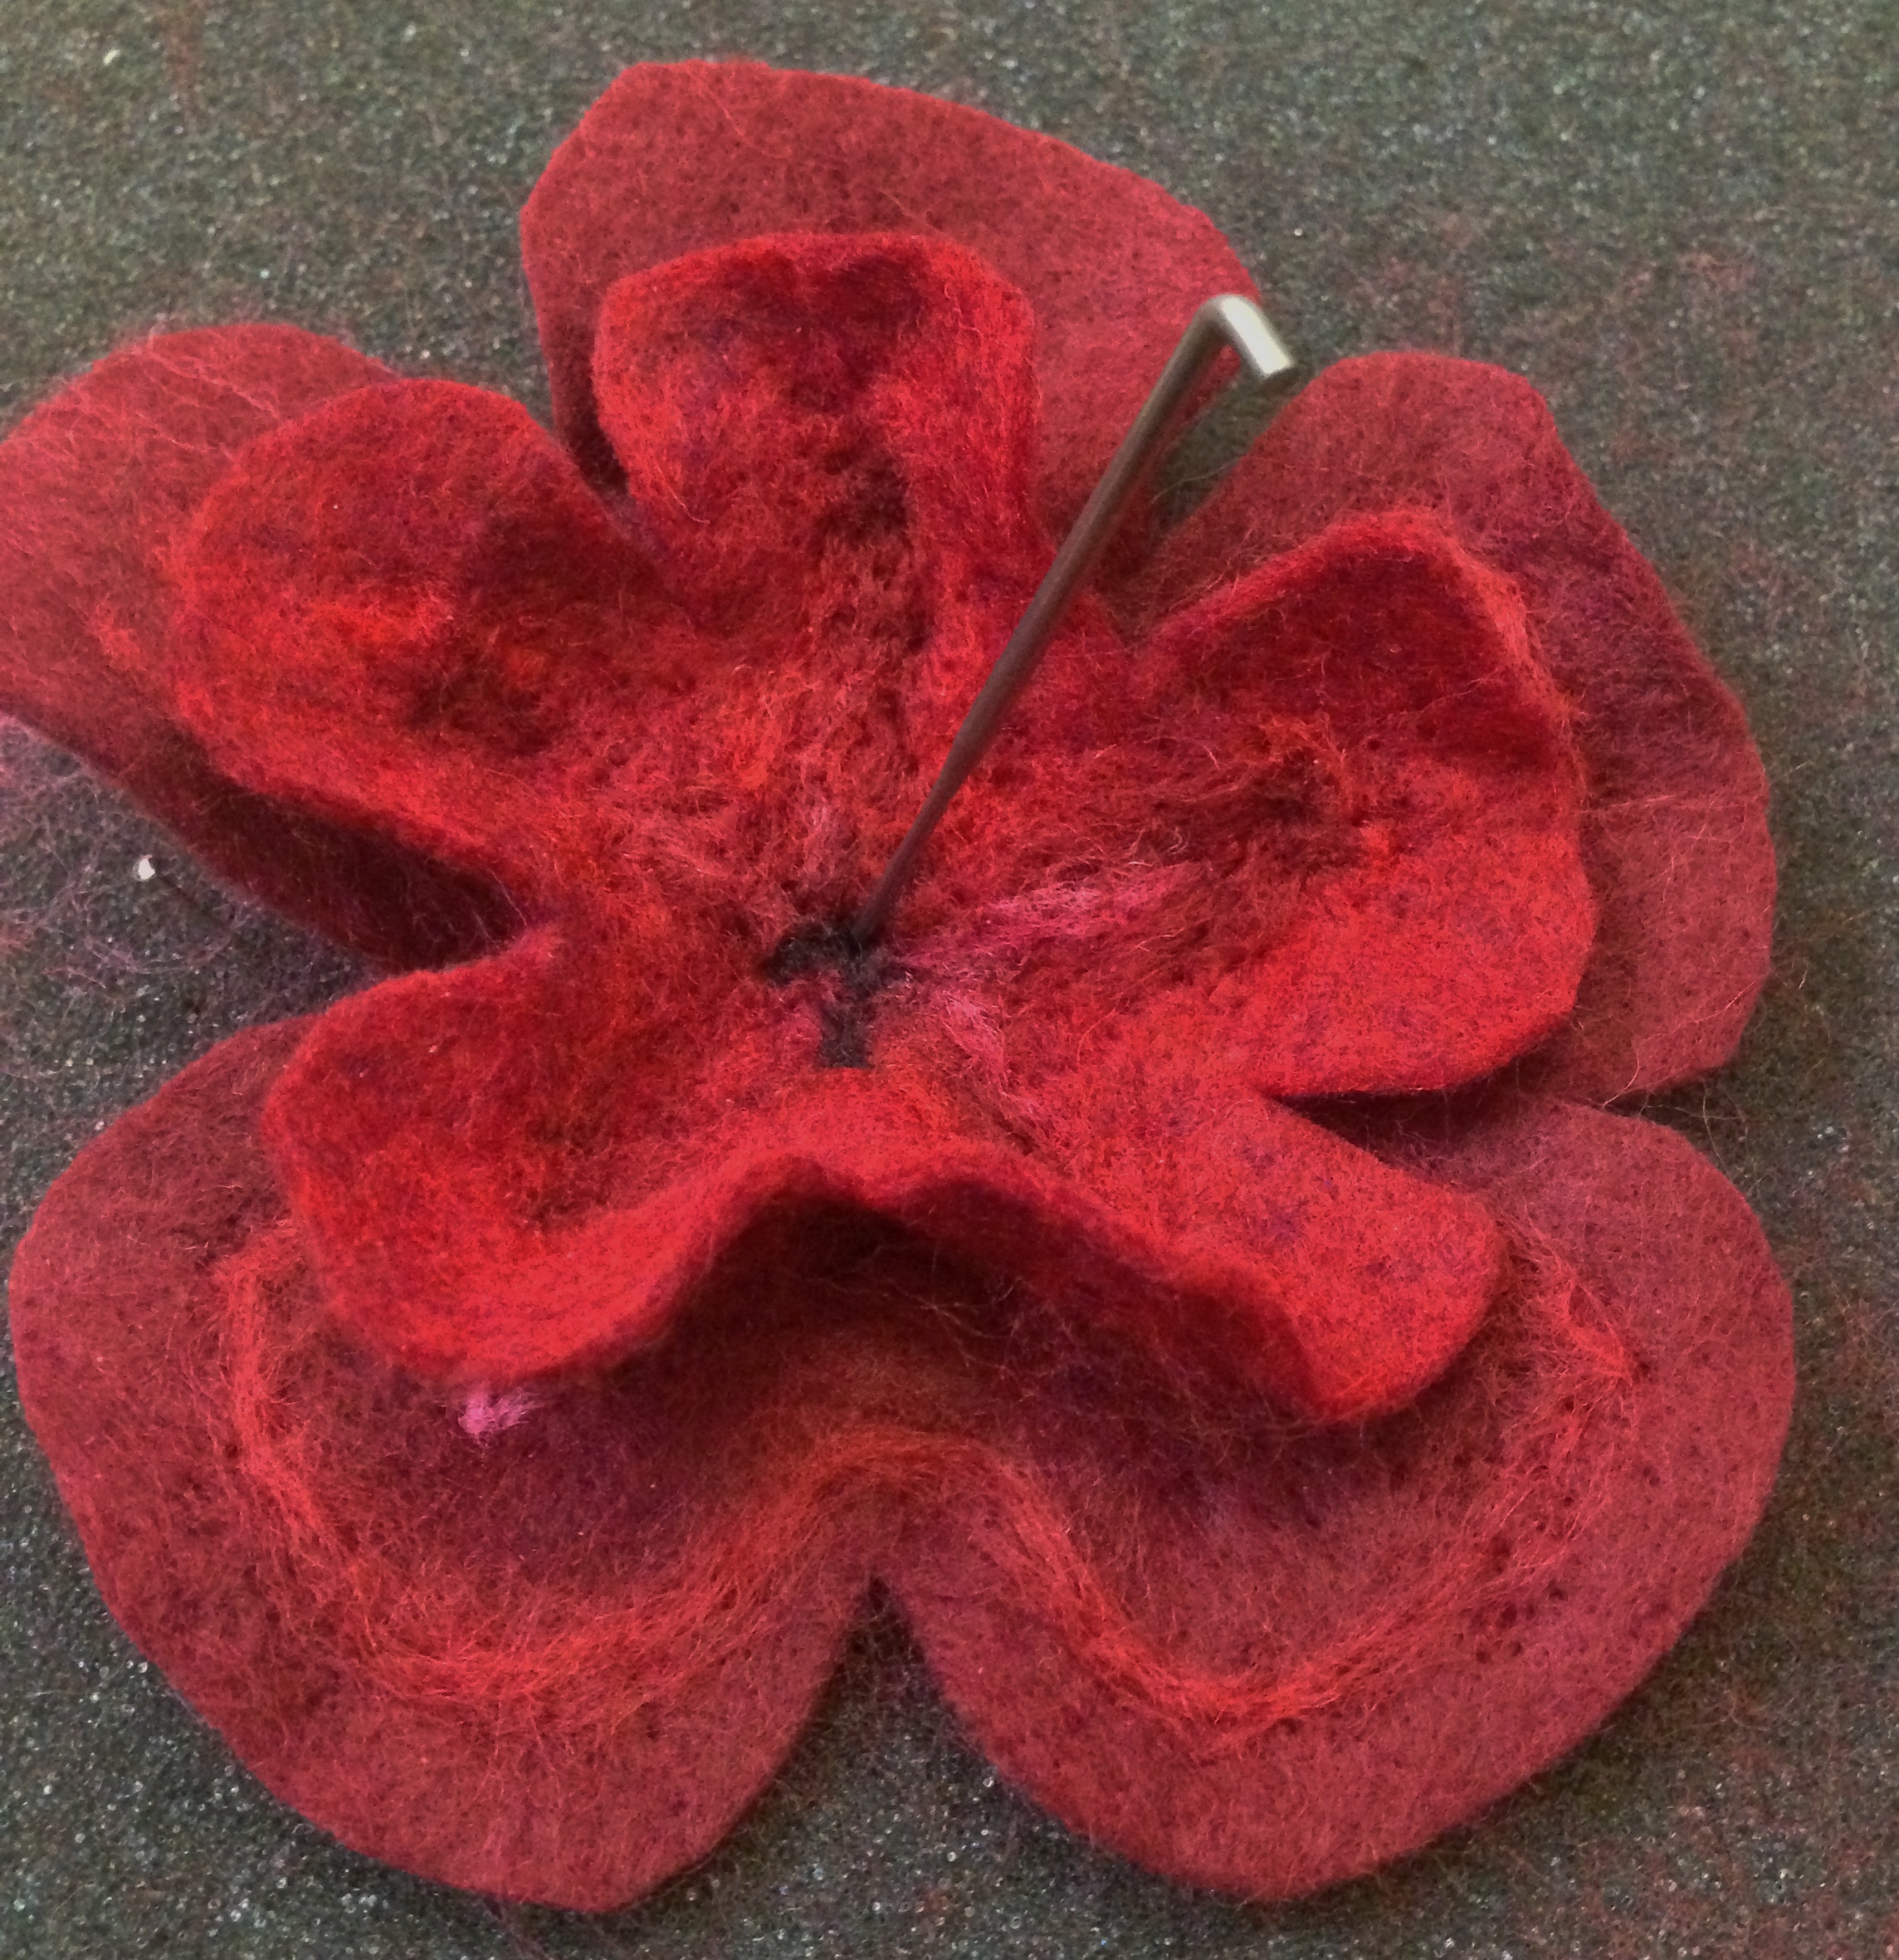 To create the stamens of your flower cut some lengths of wool yarn and separate the strands. Lay the strands across the middle of the flower and jab with your needle to felt them to the centre. Cut longer pieces of yarn than you think you will need as it has a tendency to shorten. Trim off any excess yarn with scissors.
 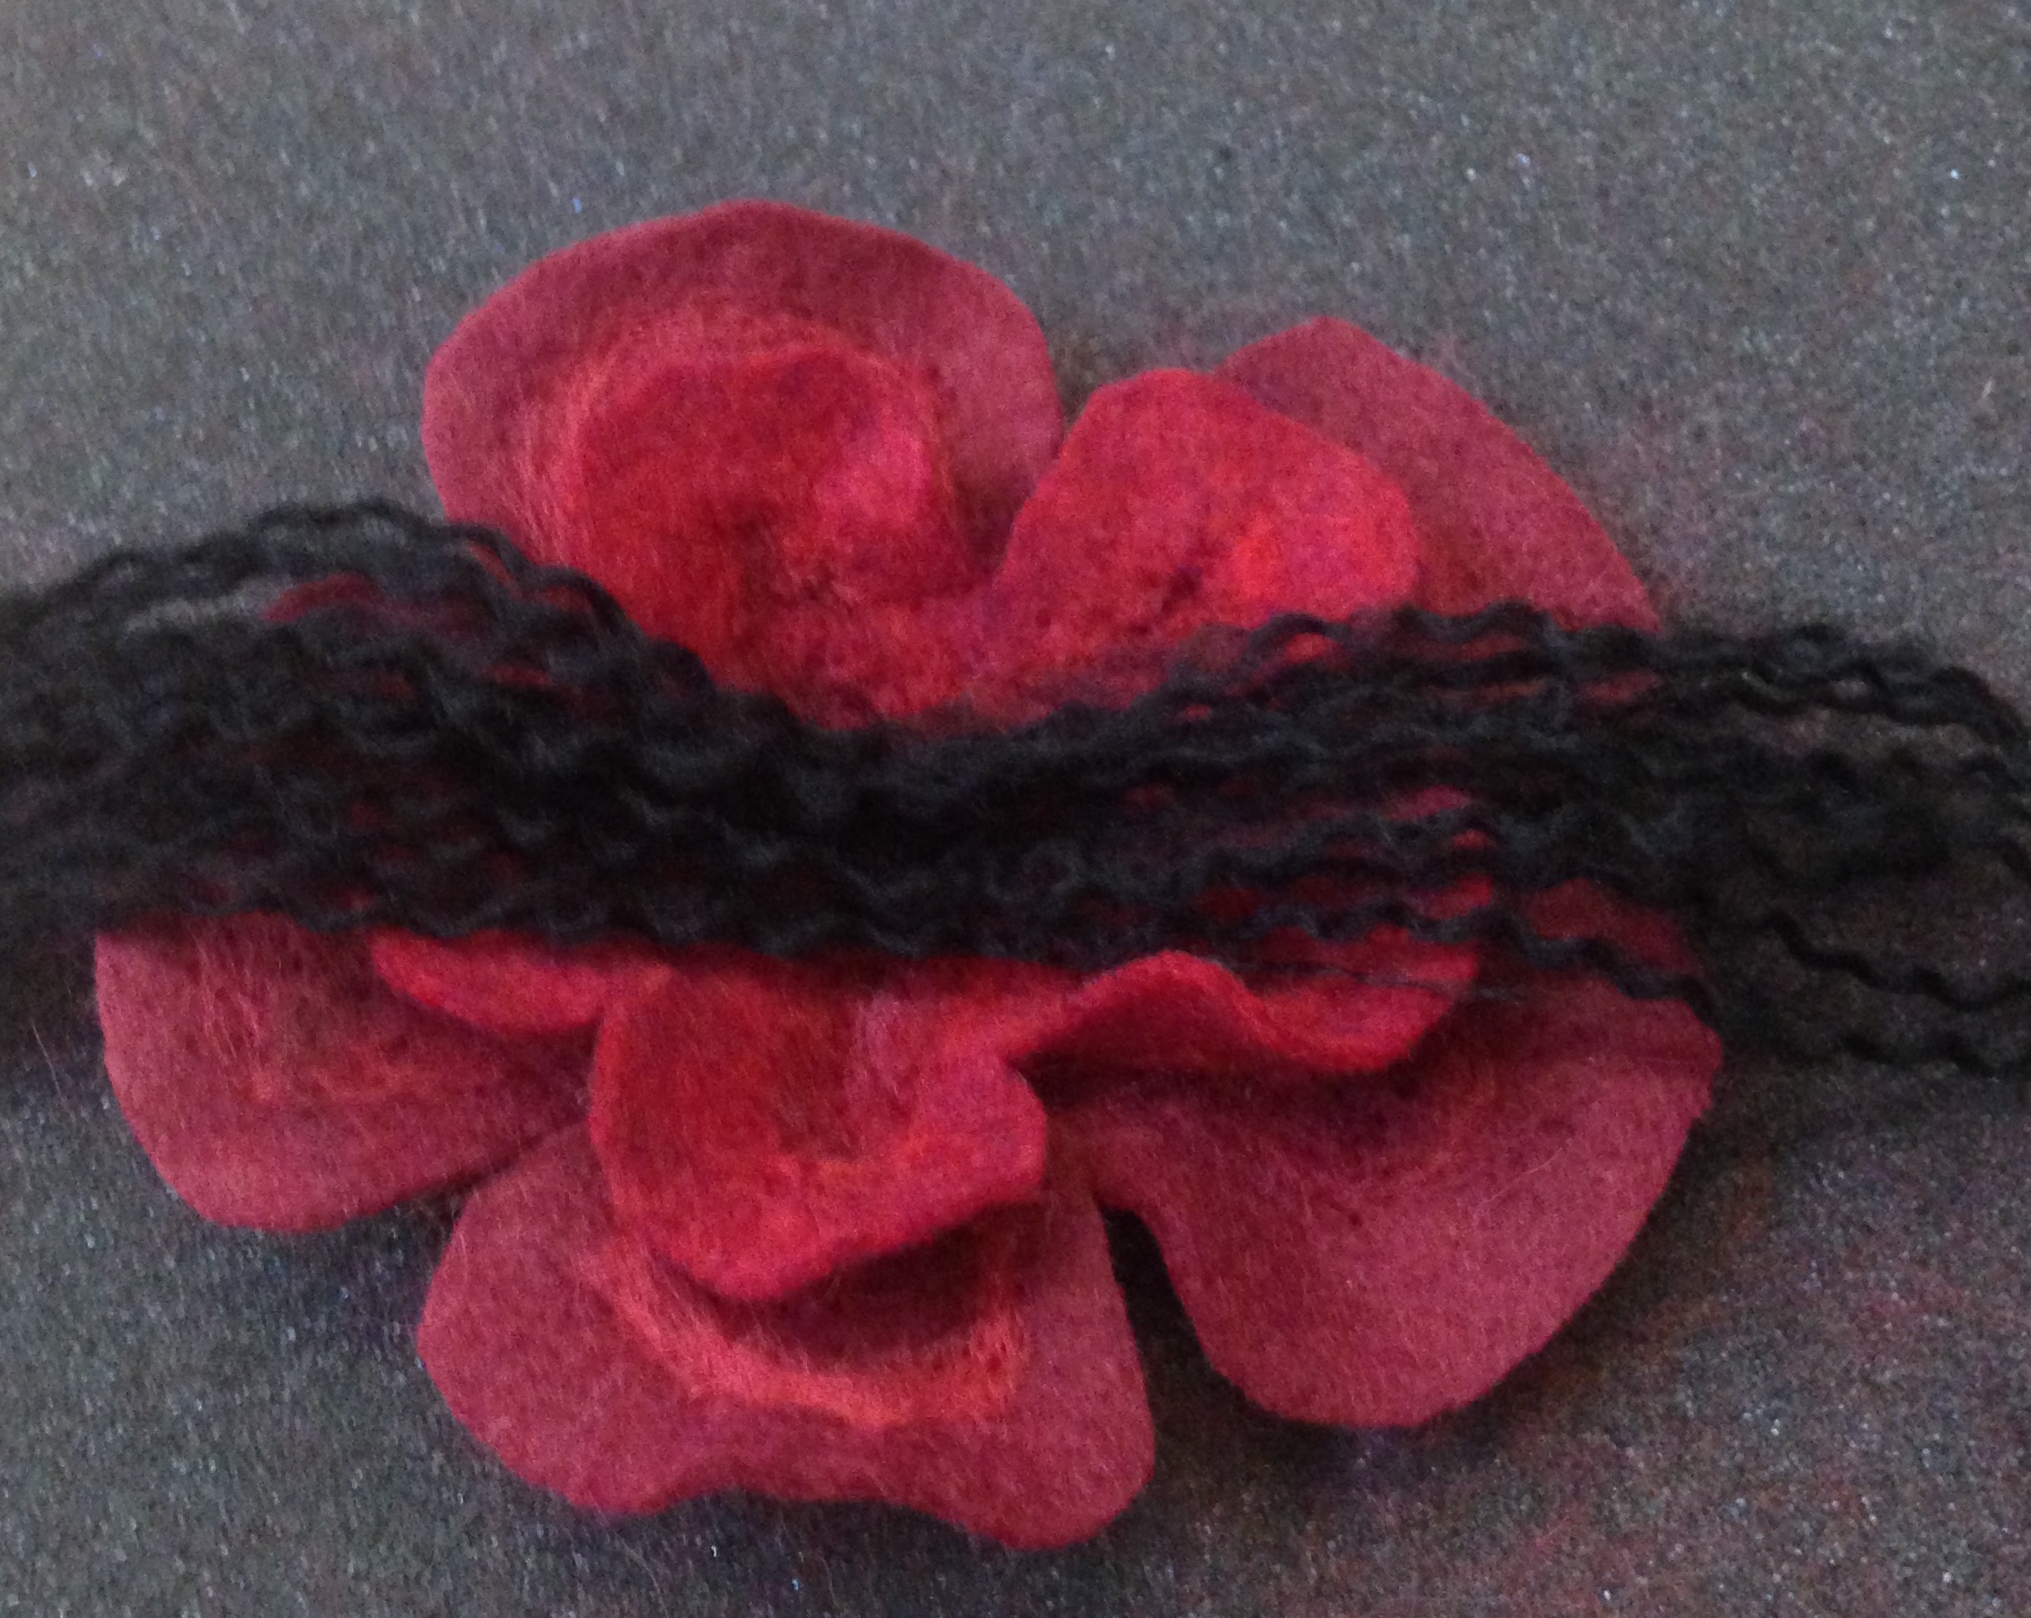 Here’s a photo of some of that needle felting action!
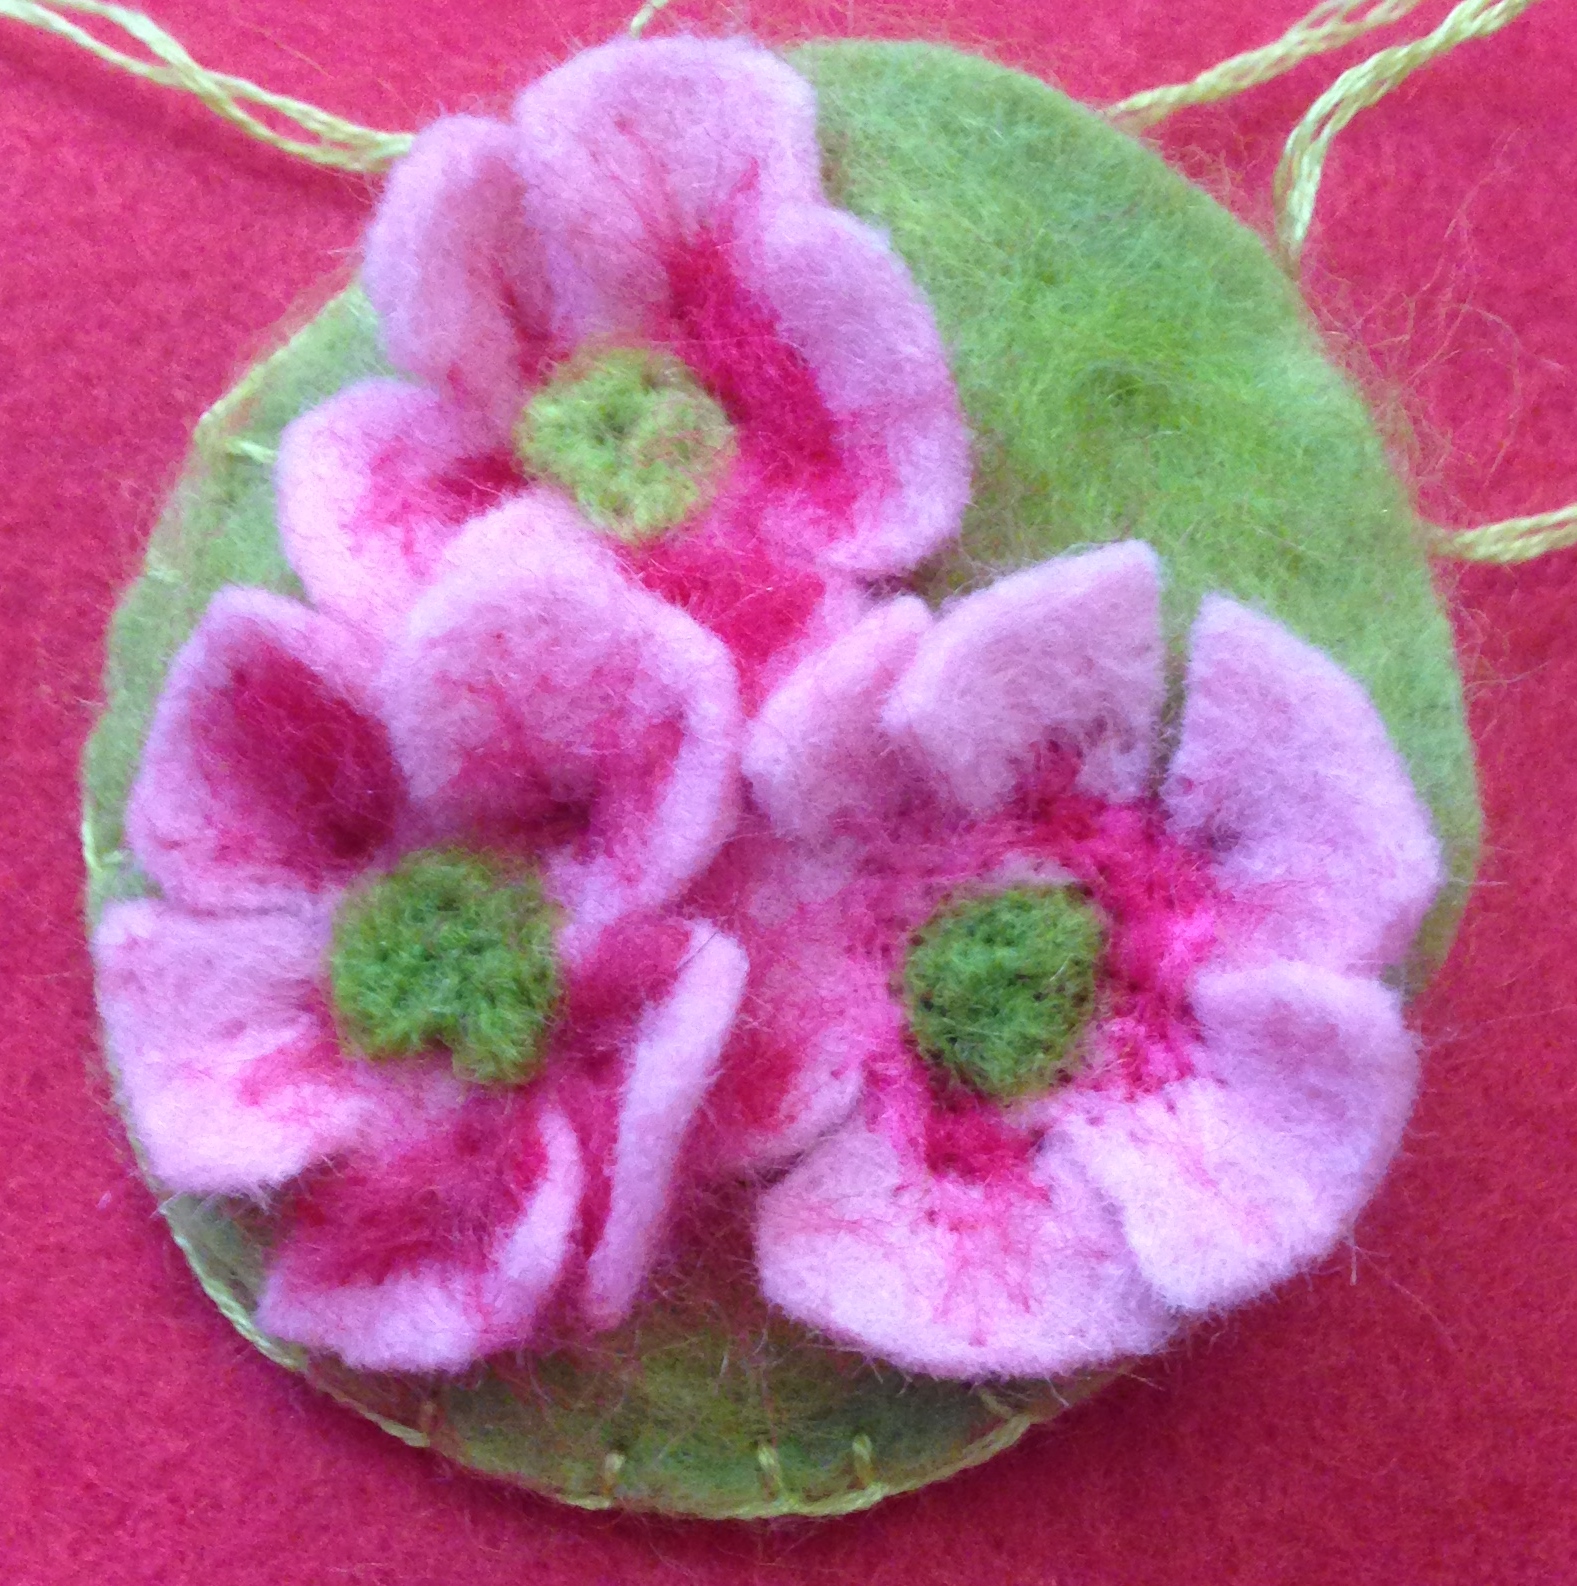
Before you know it, you will have jabbed your way to one………….
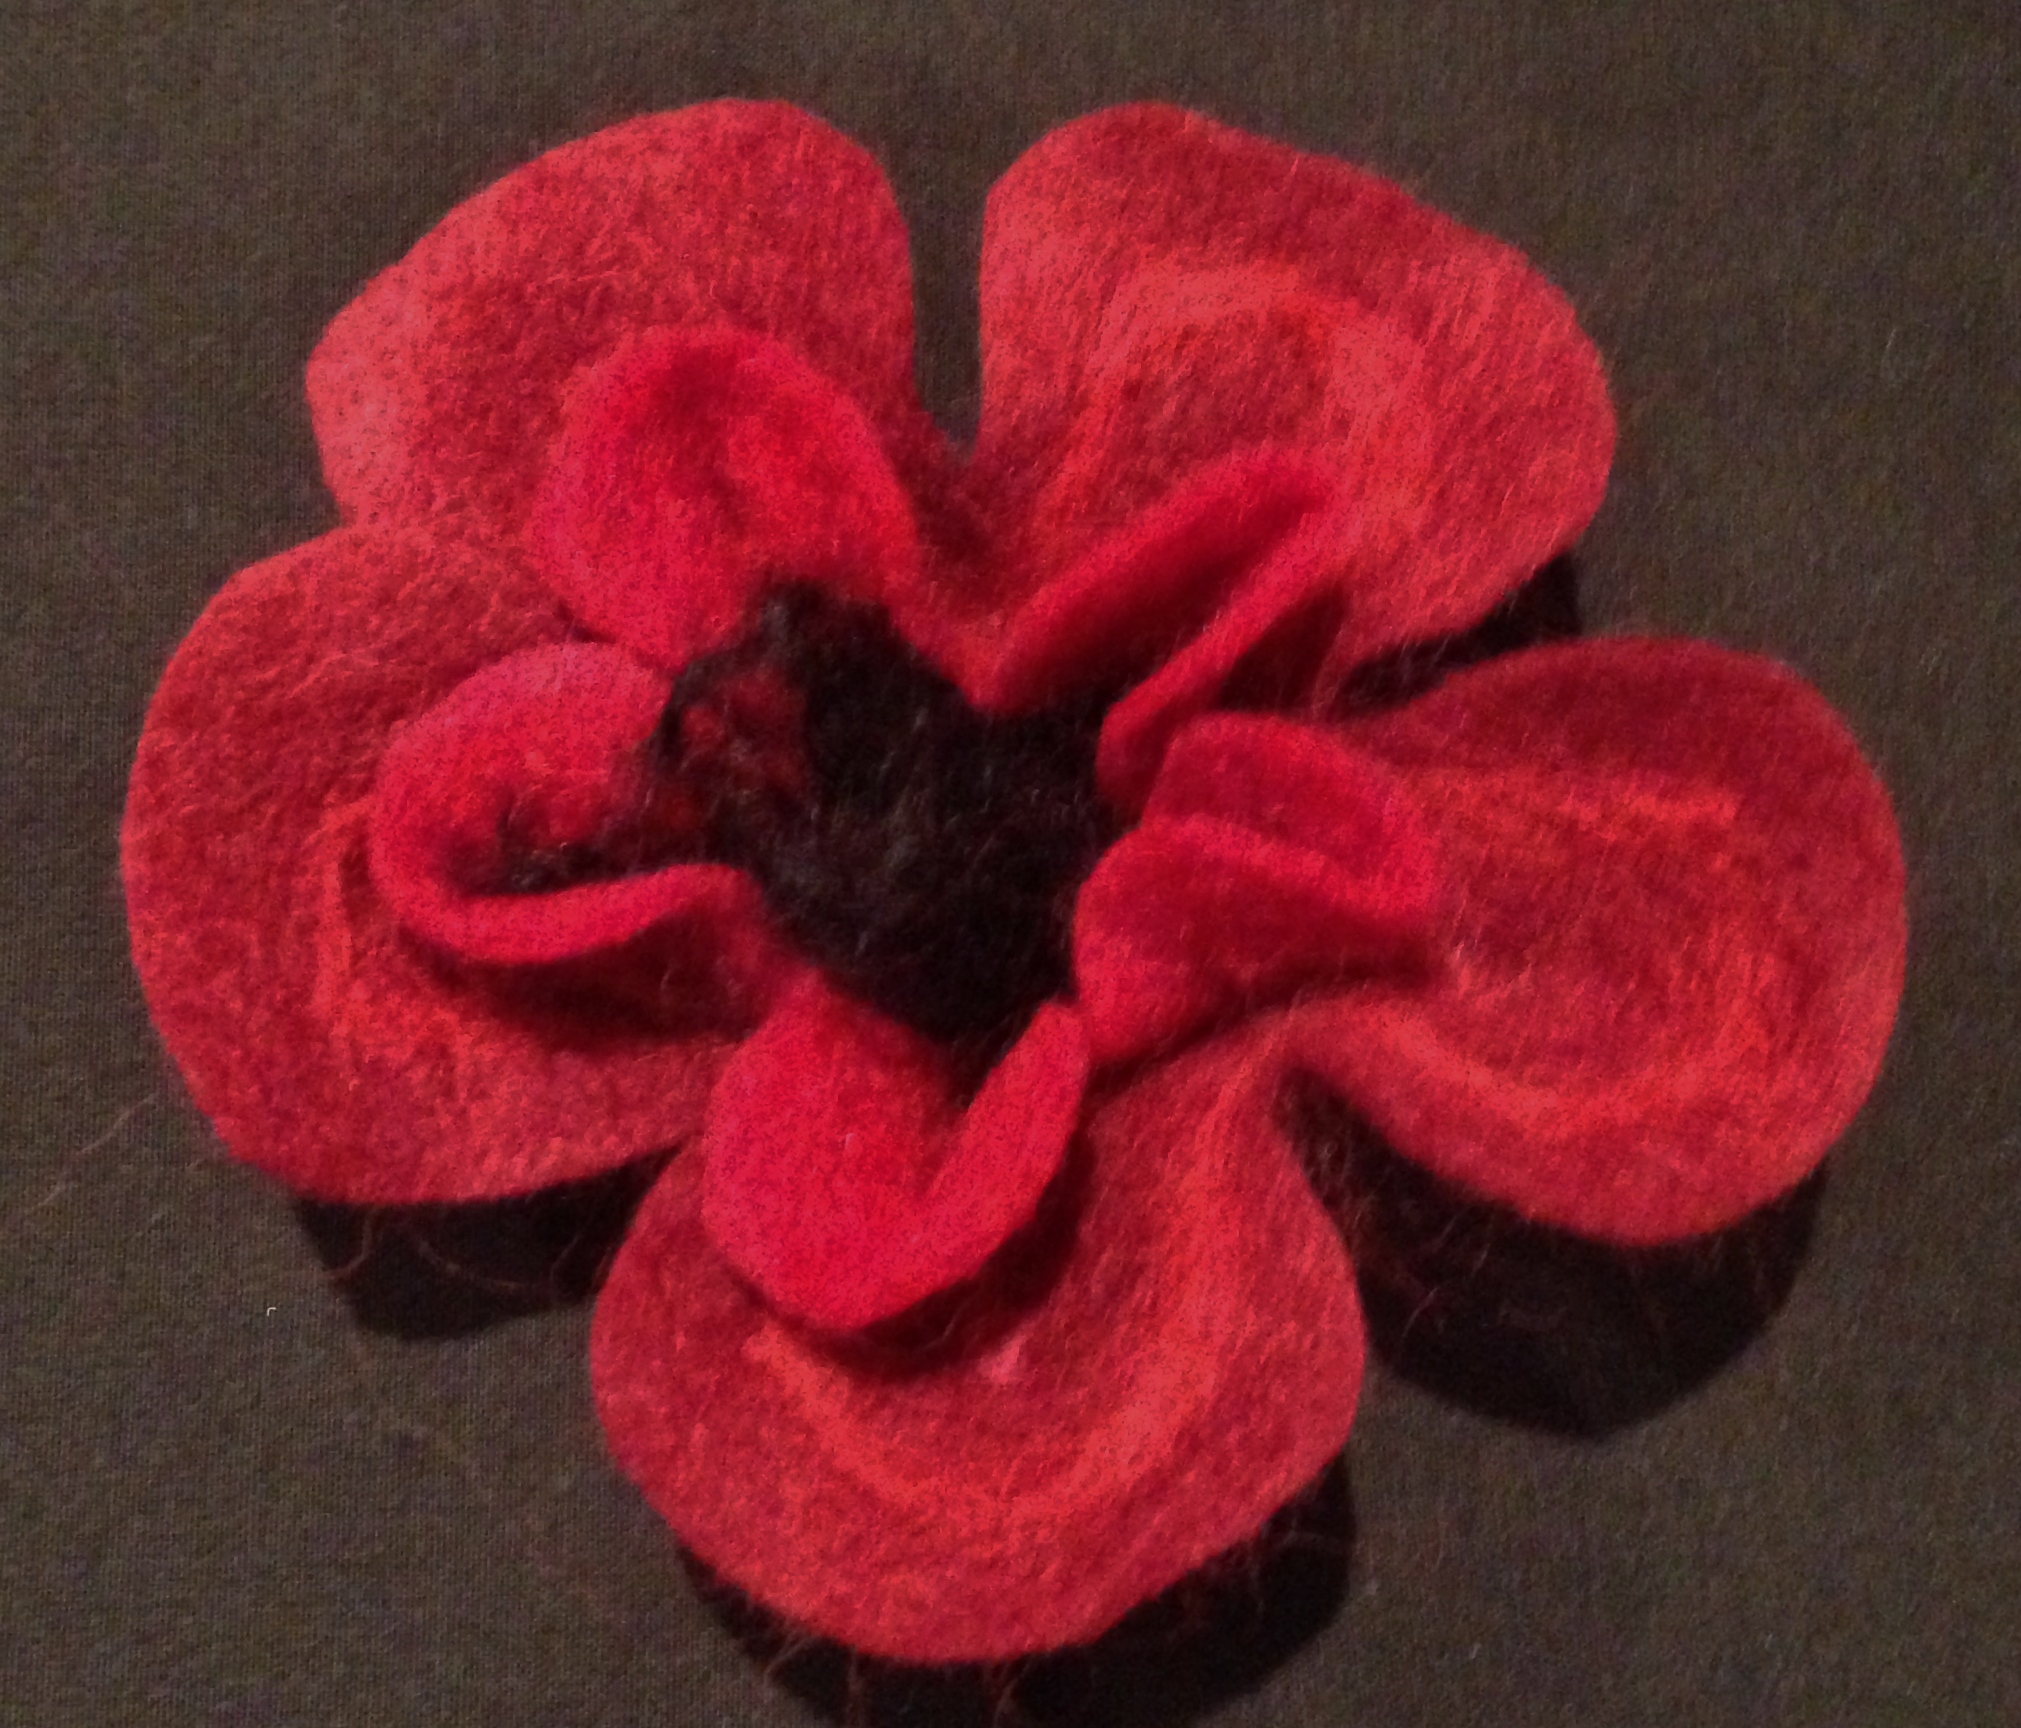
…………or more fabulous needle felted flowers.

Wow!! I seen the photo and thought it was a painting at first. Very beautiful!
Thank you. X
What an awesome post! Inspirational to say the least!! I will plan on giving felting a try one day very soon, you made it look so easy!! Thank you!
Thank you for your lovely comments – it really is great fun. x
It sure does look like fun…work too, but the results are stunning!!
Thank you. X
Your welcome!