
 This month I was invited to lead a workshop for a local community craft group on handmade book-making. The workshop went really well and as several of those attending are keen to make some more I thought I’d write a “how-to” post to share.
This concertina book is great for capturing your dreams and hopes for the new year or recording those special memories in photos, sketches. It’s based on an idea I first experienced at West Dean College during an “expressive brushstrokes” session.
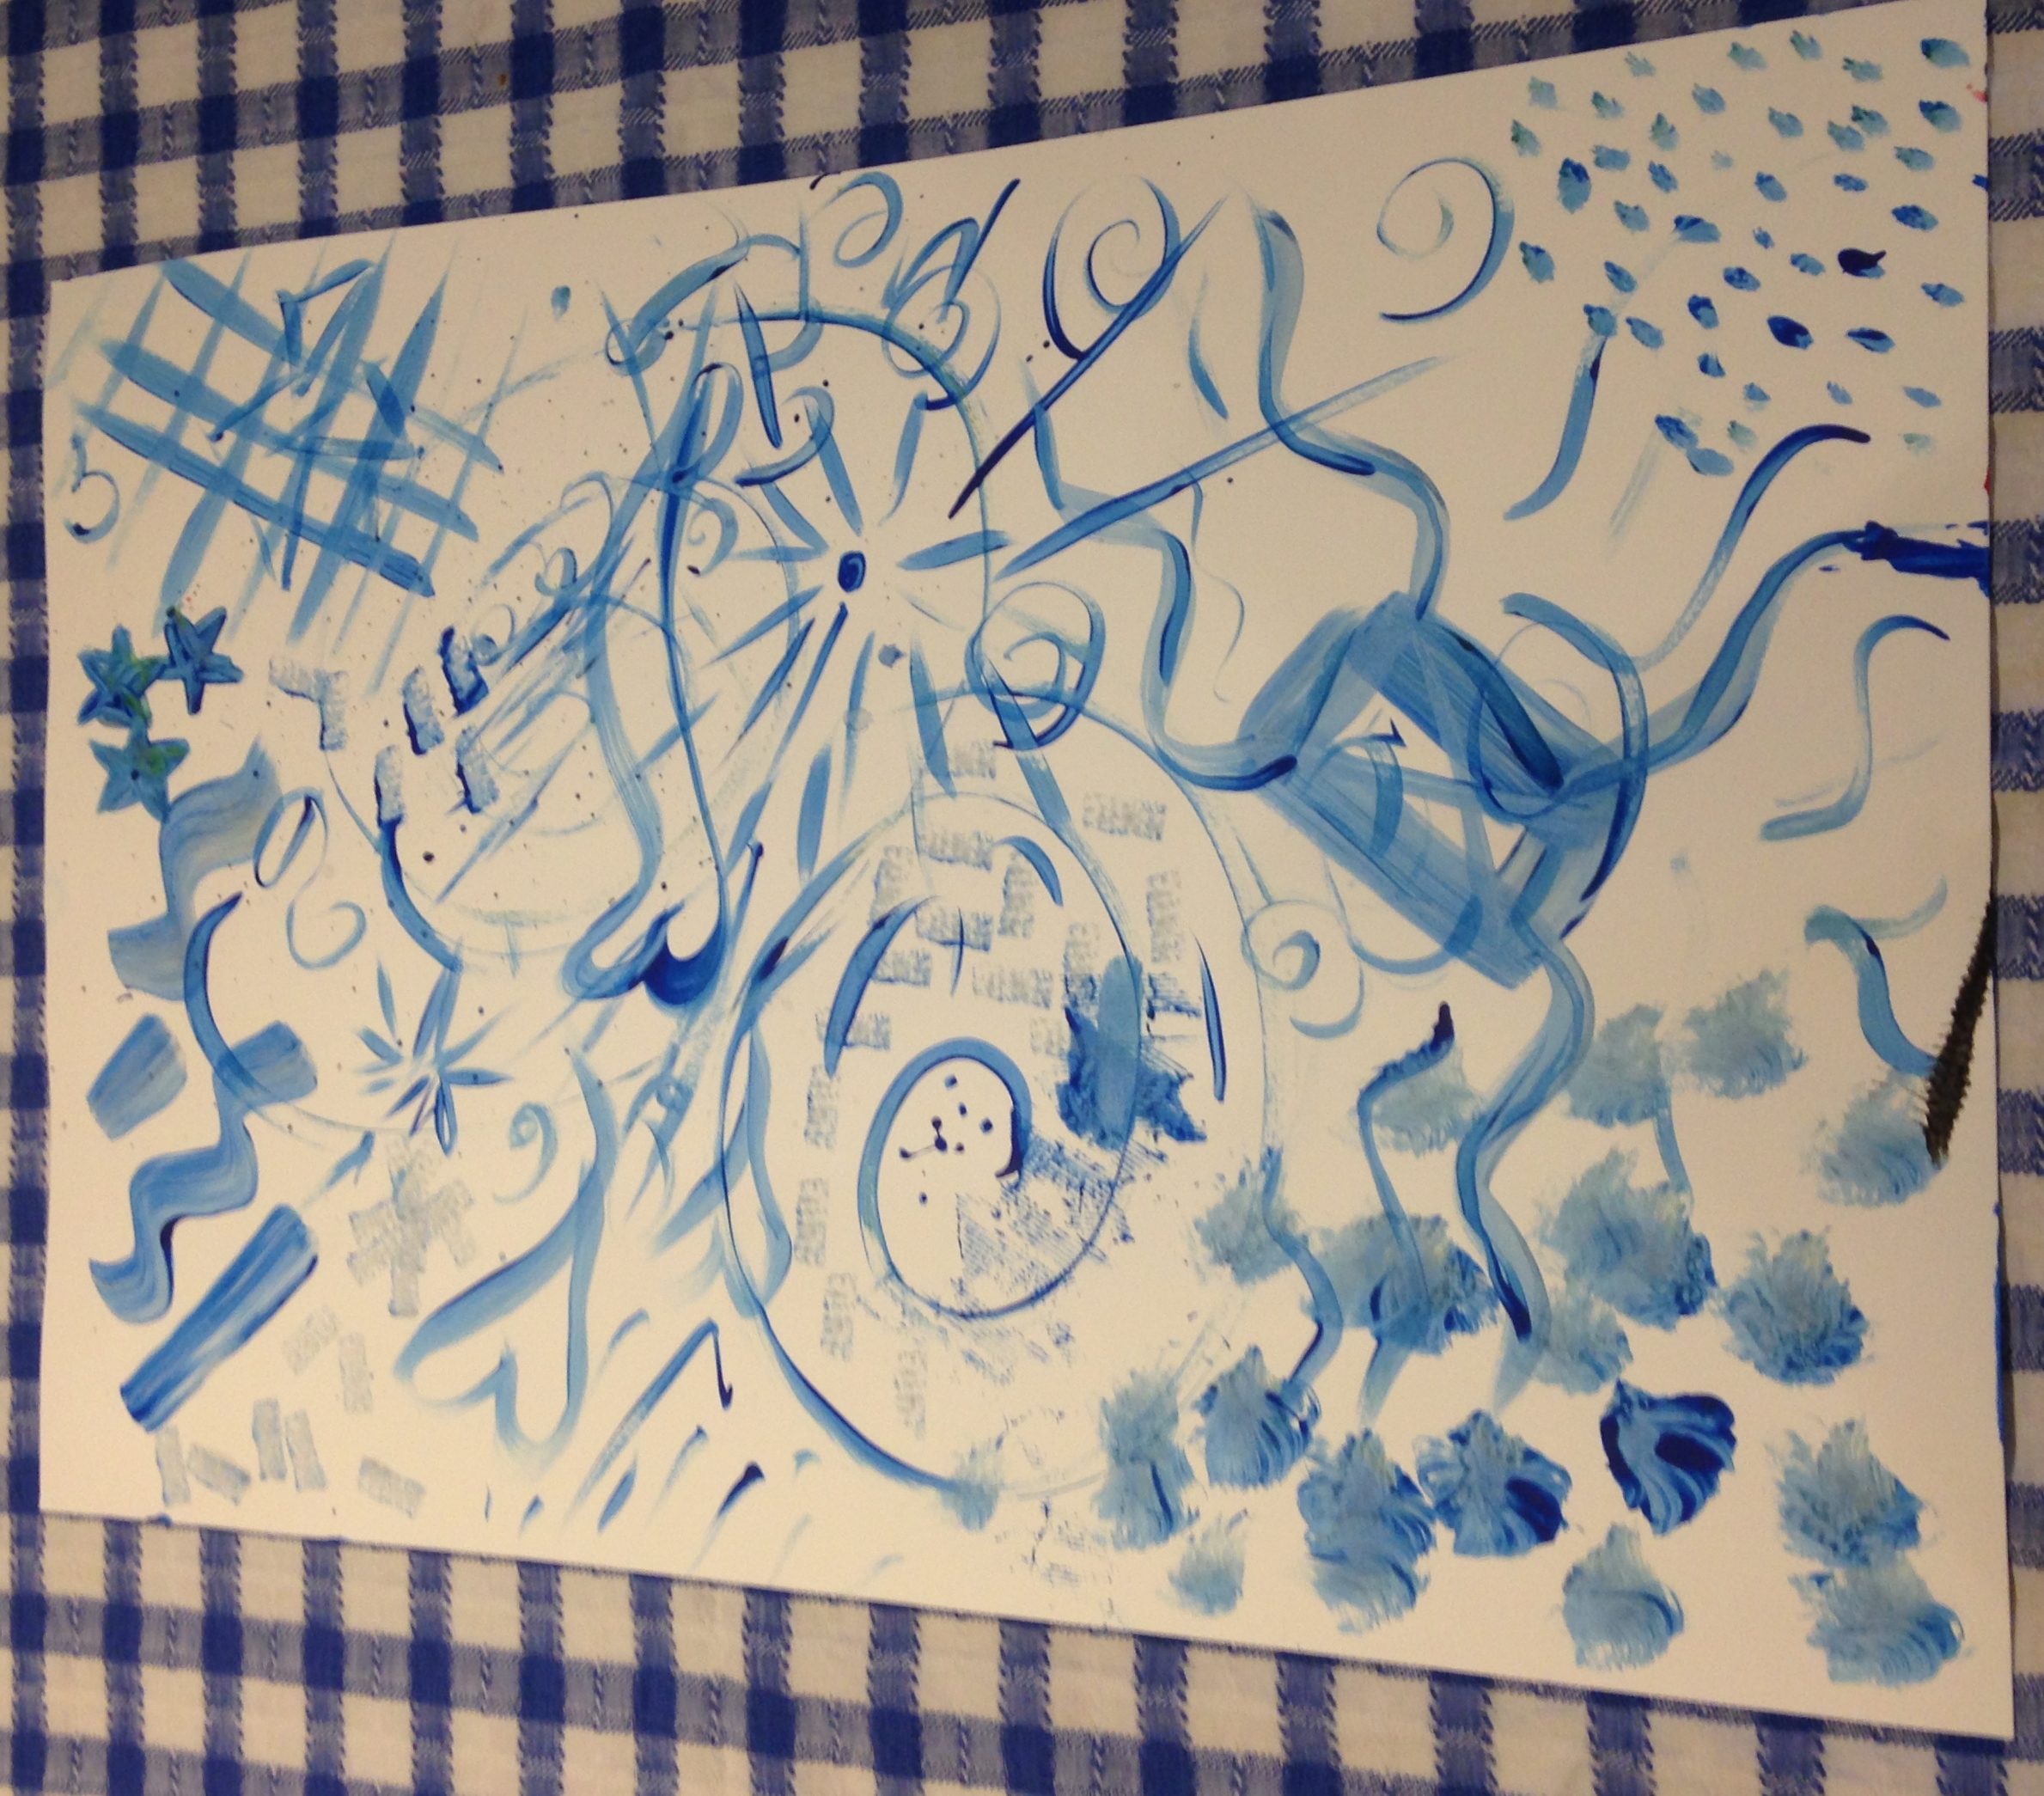
Step 1 – Decorate Side 1
Take some thick watercolour paper (I’m using half an imperial sheet = 30 x 22 inches of 300g/m2 or 140lb weight) and decorate with an abstract design. Watercolours, poster paints and inks all work well. You are aiming to have variety of designs across the sheet rather than a uniform design. To inspire your strokes you may want to think of some words to focus on as you cover the page. For example: surprise, flow, reject, prickly, splodge, prance etc. Try out different brushes, sponges, stamps or even paint with feathers or penne pasta to produce different effects. The main thing is to have fun and ‘go-with-the-flow’.
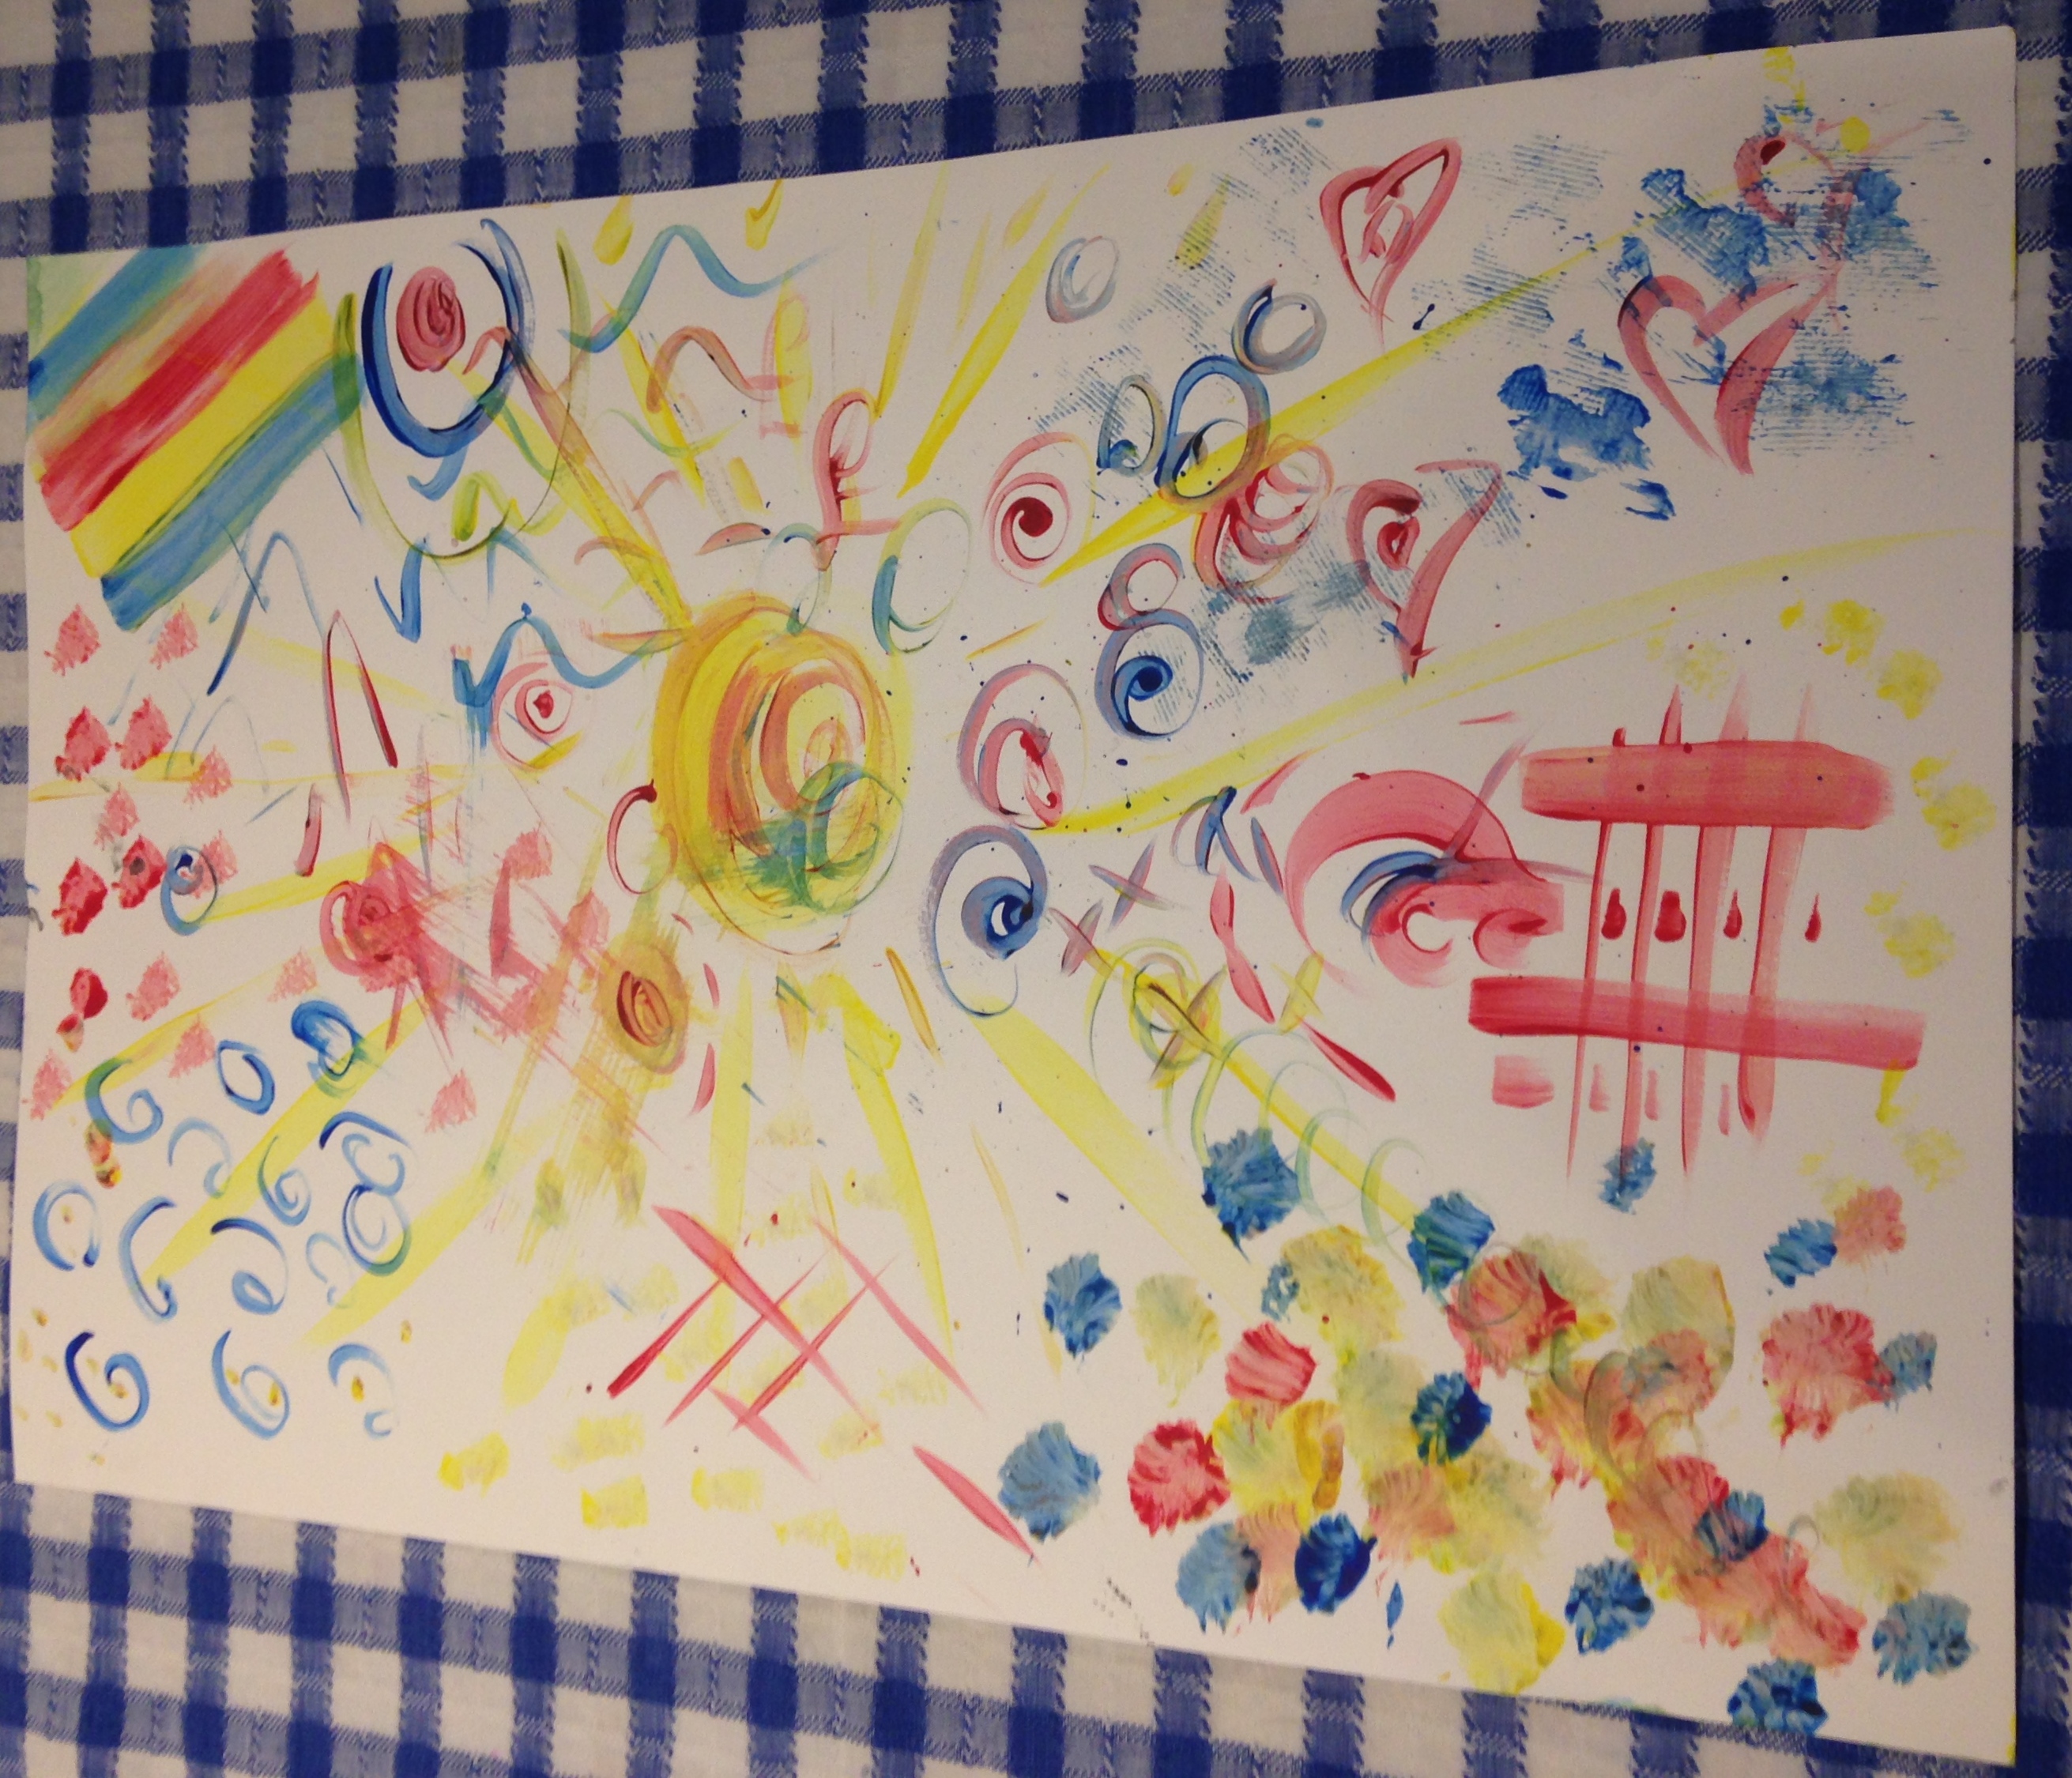
Step 2 – Decorate Side 2
Once your first side is dry, turn your paper over and decorate again.
Try out different designs on each side – the books work well in mono or multi-colours.
Step 3 – Folding
Fold the paper in half along its length (see line 1 – bottom left – in the photo below). Make sure your creases are strong – running the back of a spoon or bone folder along the crease helps to “set-it”. Fold the paper the other way so the paper flexes easily in both directions.
Next make creases 2 and 3 by folding the outside edges in towards the central fold line. Remember to fold the paper back on itself to make the paper ‘super-flexy’!
Open the paper back up and repeat this whole process across the width of the paper – see fold lines 4, 5 and 6. I have drawn over the folds in marker pen so you can see them in the pictures more easily – you do not need to do this for your book. 
Remember to fold the paper in both directions and use the back of a spoon or bone folder to press in those creases!
Step 4 – Cutting
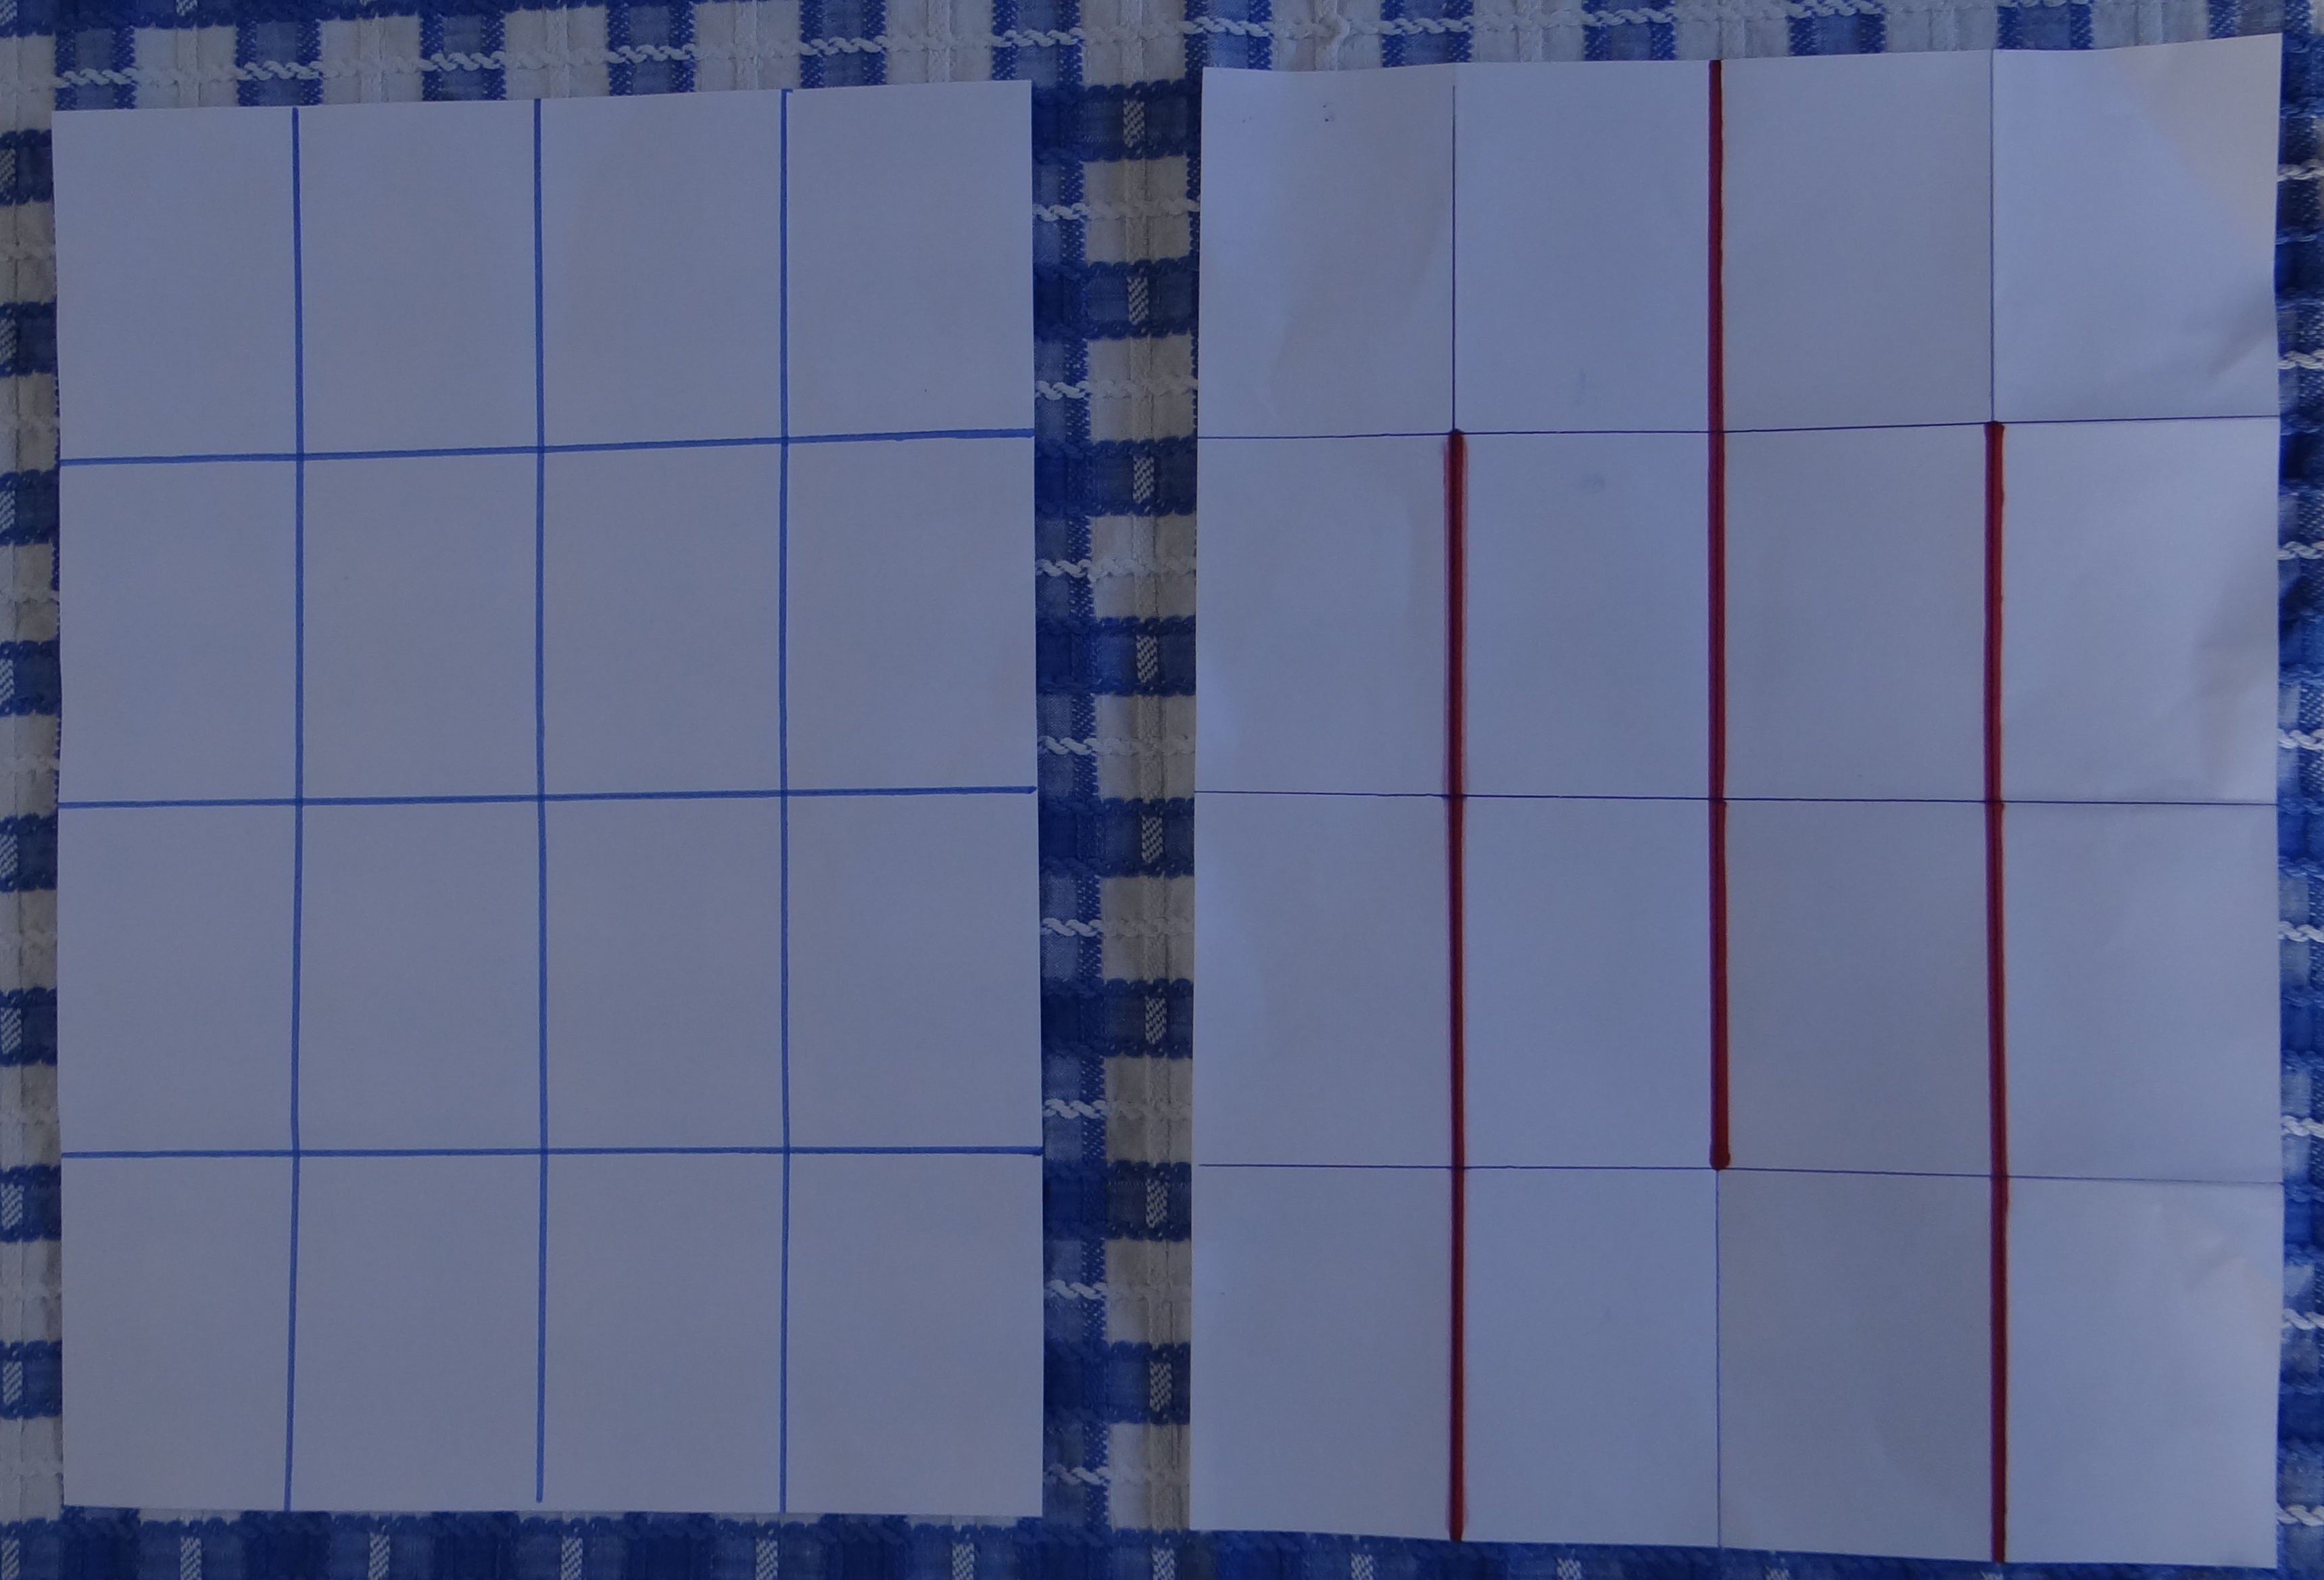
Your piece of paper should now be folded into a 4 x 4 grid of 16 rectangles – I’ve marked the fold line in blue in the picture below so you can see them a little clearer.
The next step is to take a pair of scissors and cut 3/4’s along each of those lengthwise folds – the outer two lines (folds 2 and 3) are cut in one direction and the central line (fold 1) in the other. I have marked the cutting lines in red pen on the paper below.
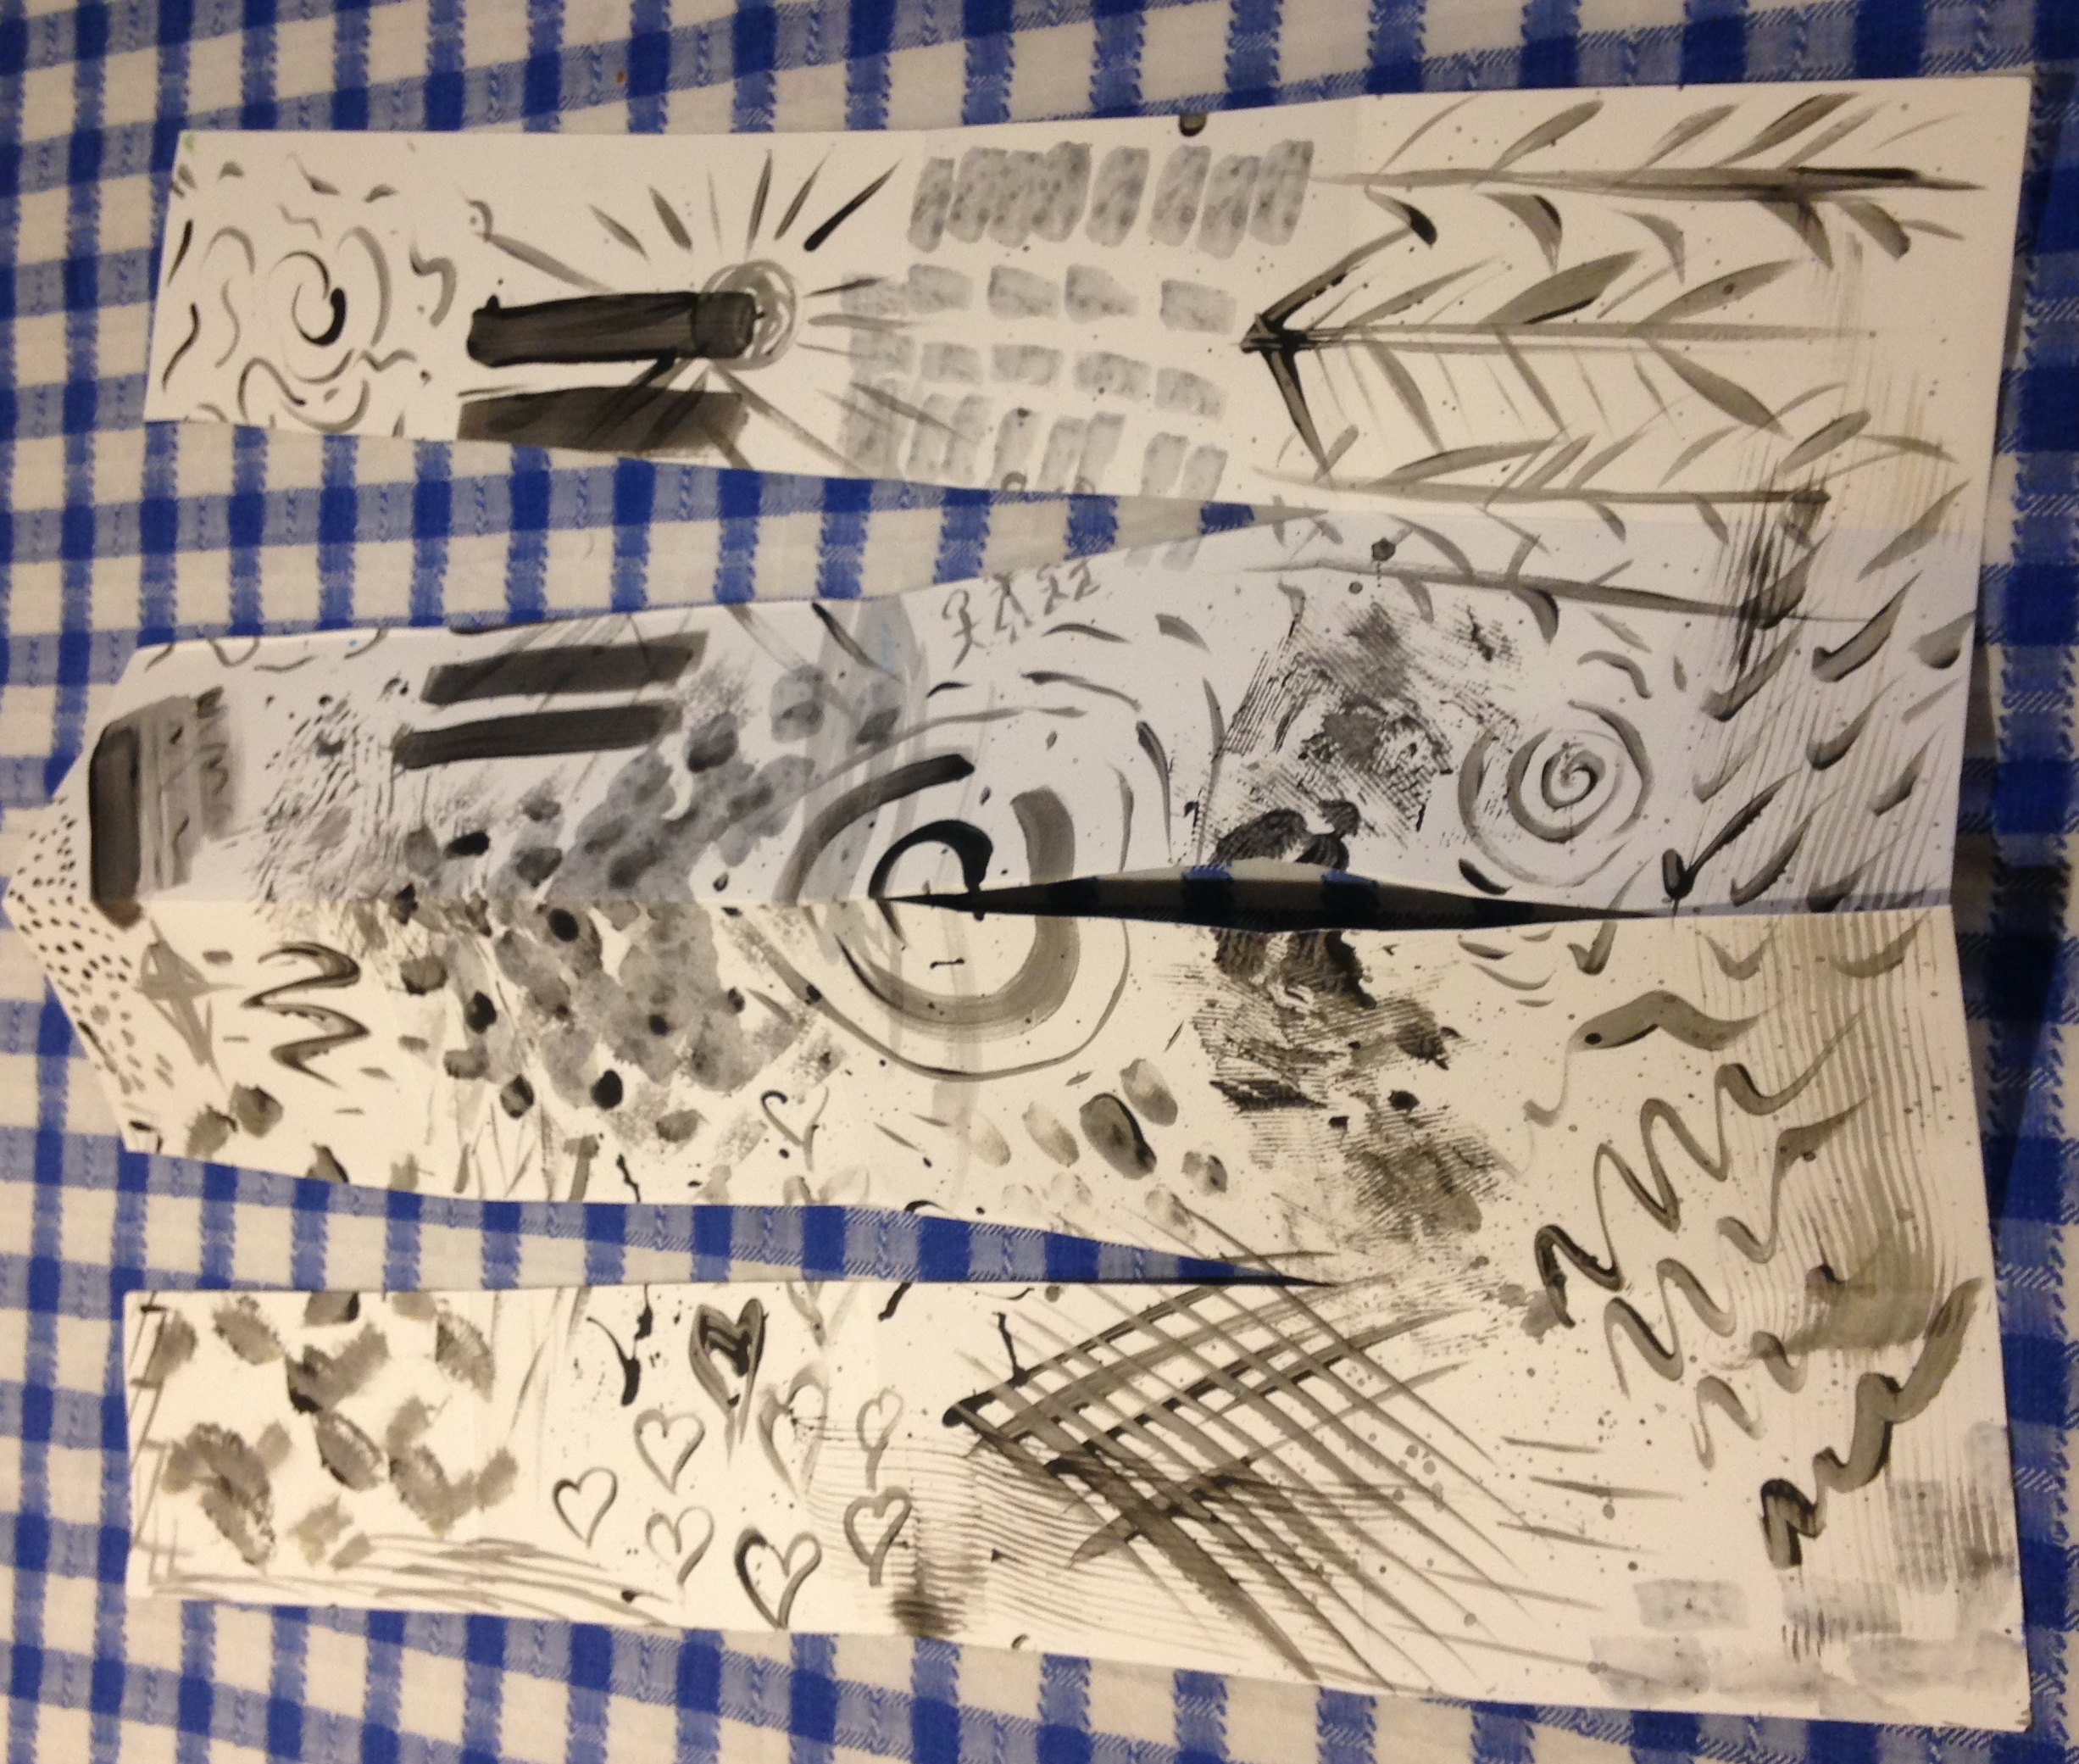
Here’s a photo of one of my books spread out so you can see the cuts and folds.
Step 5 – Concertina “ing”
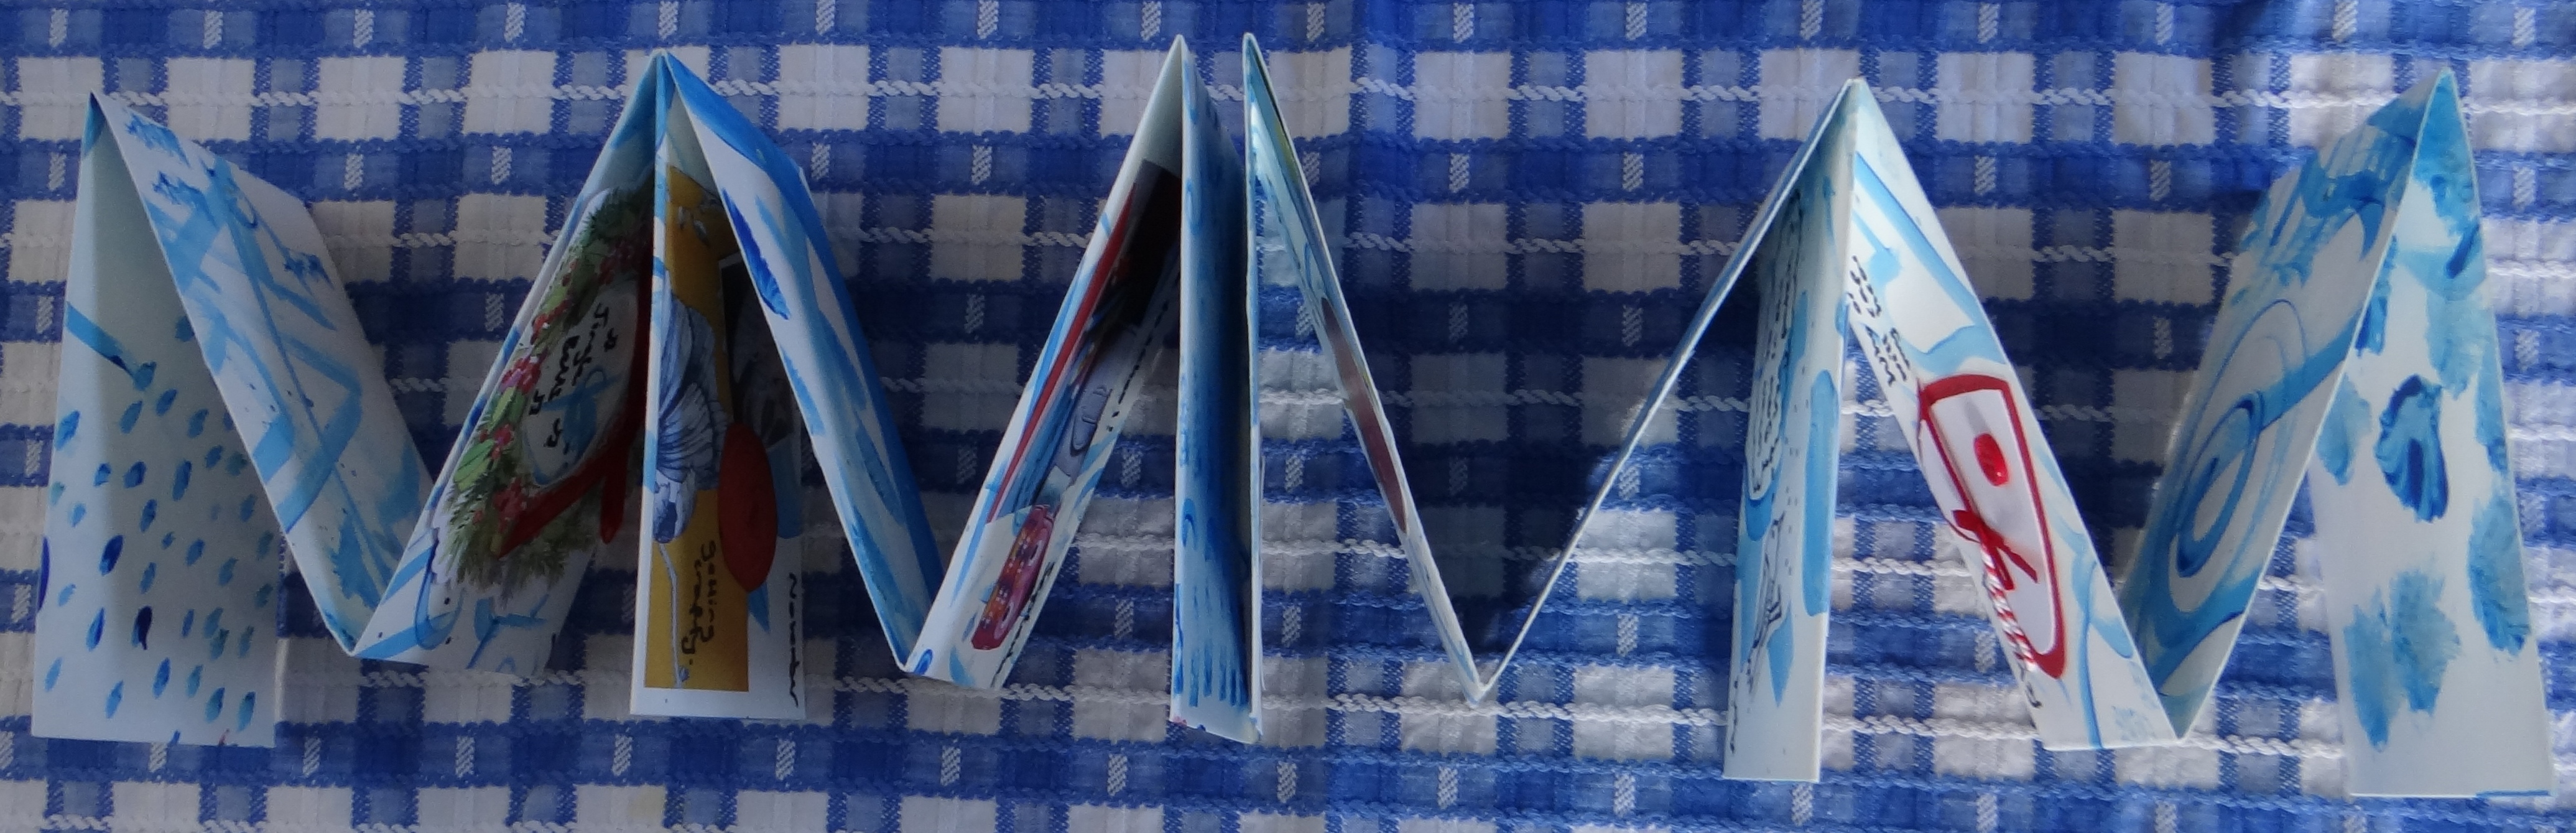
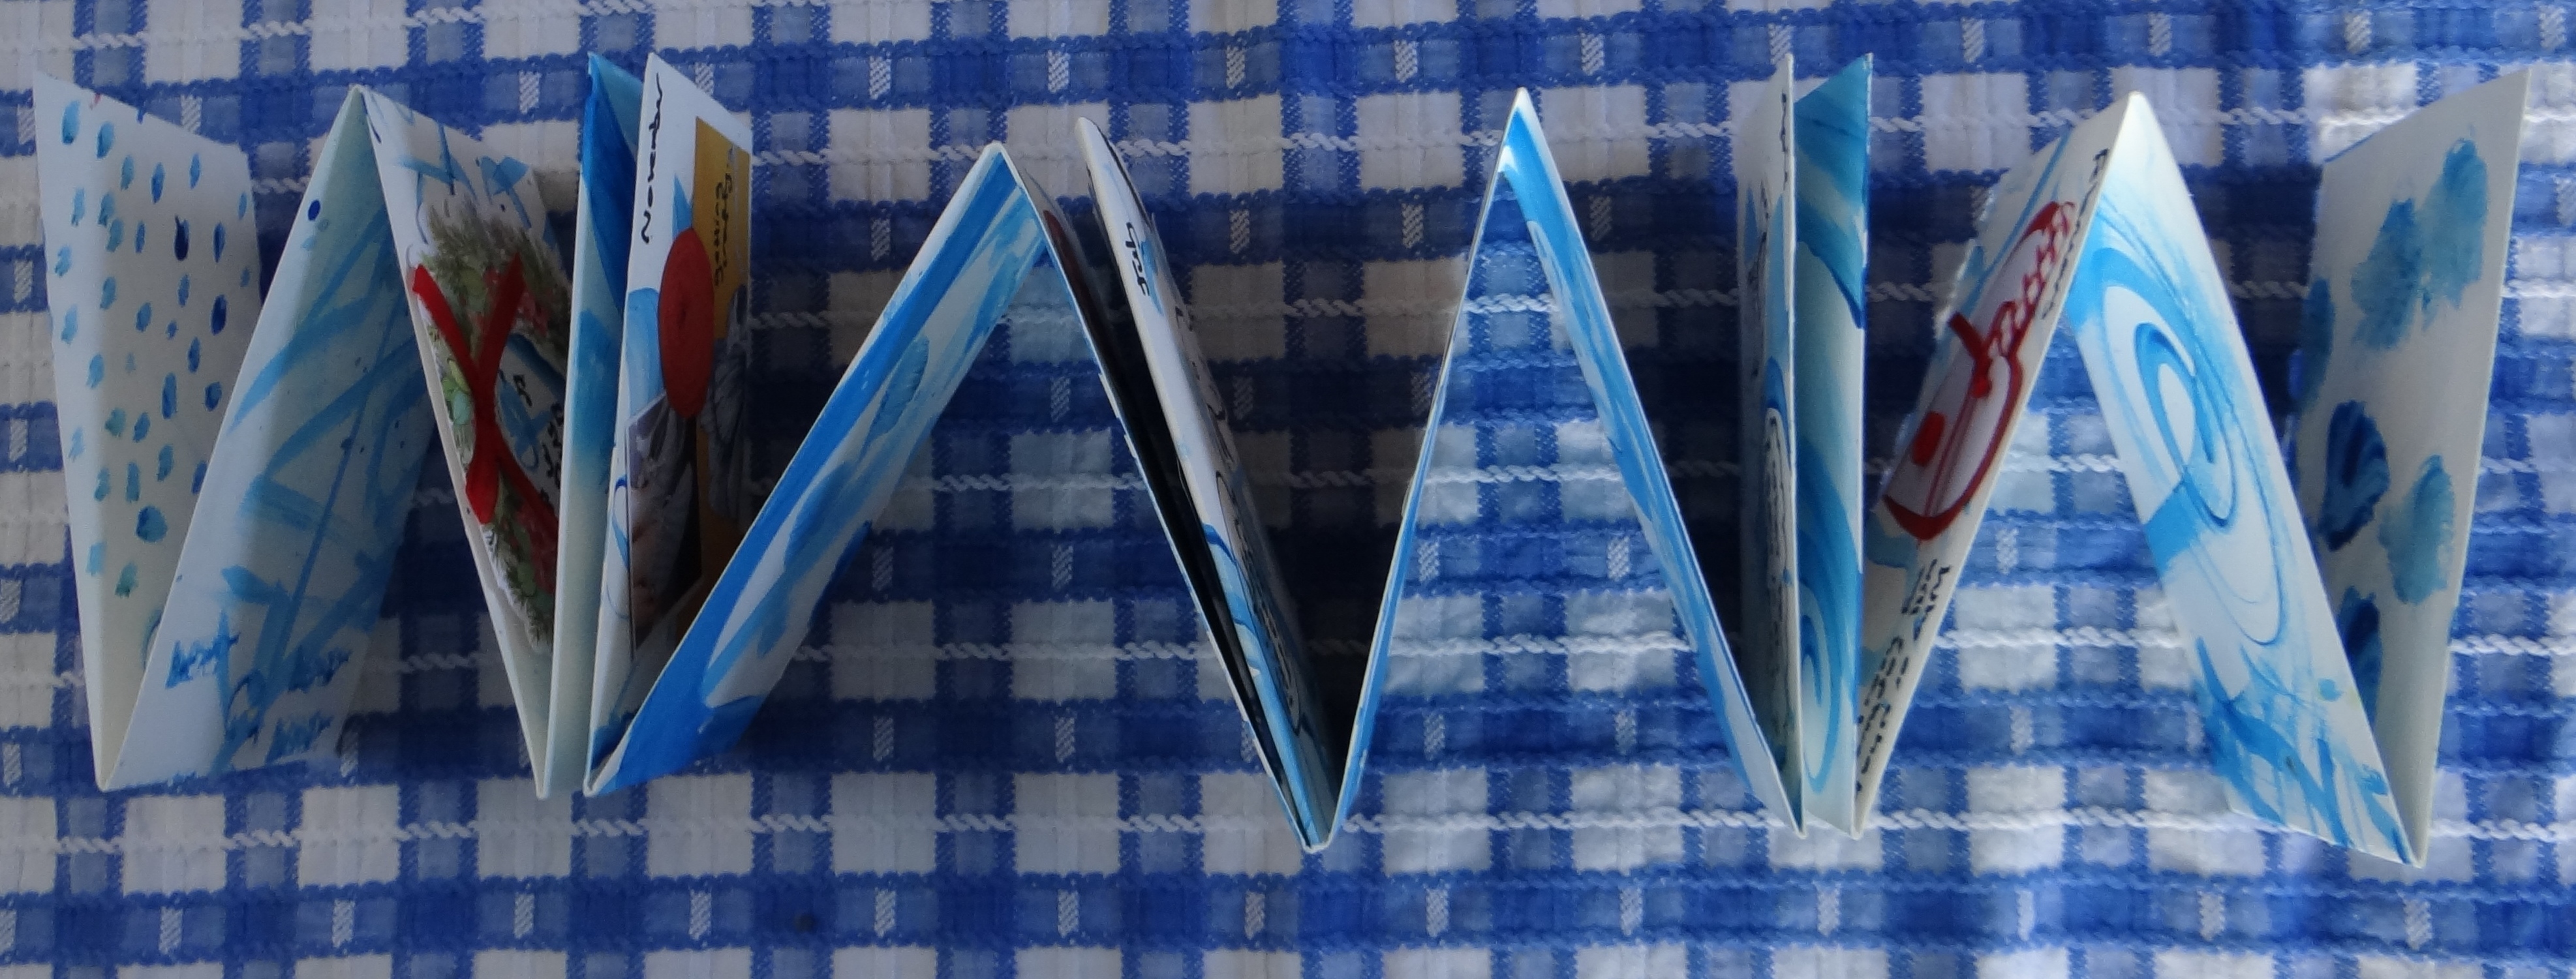
Hold your paper from one of its ends and fold the sections back and forth to concertina the book. When the pages are spread out you will have a mixture of single and double pages. The number of pages will depend on which way up you hold your book. Here’s a book from one way…
…..and from the other.
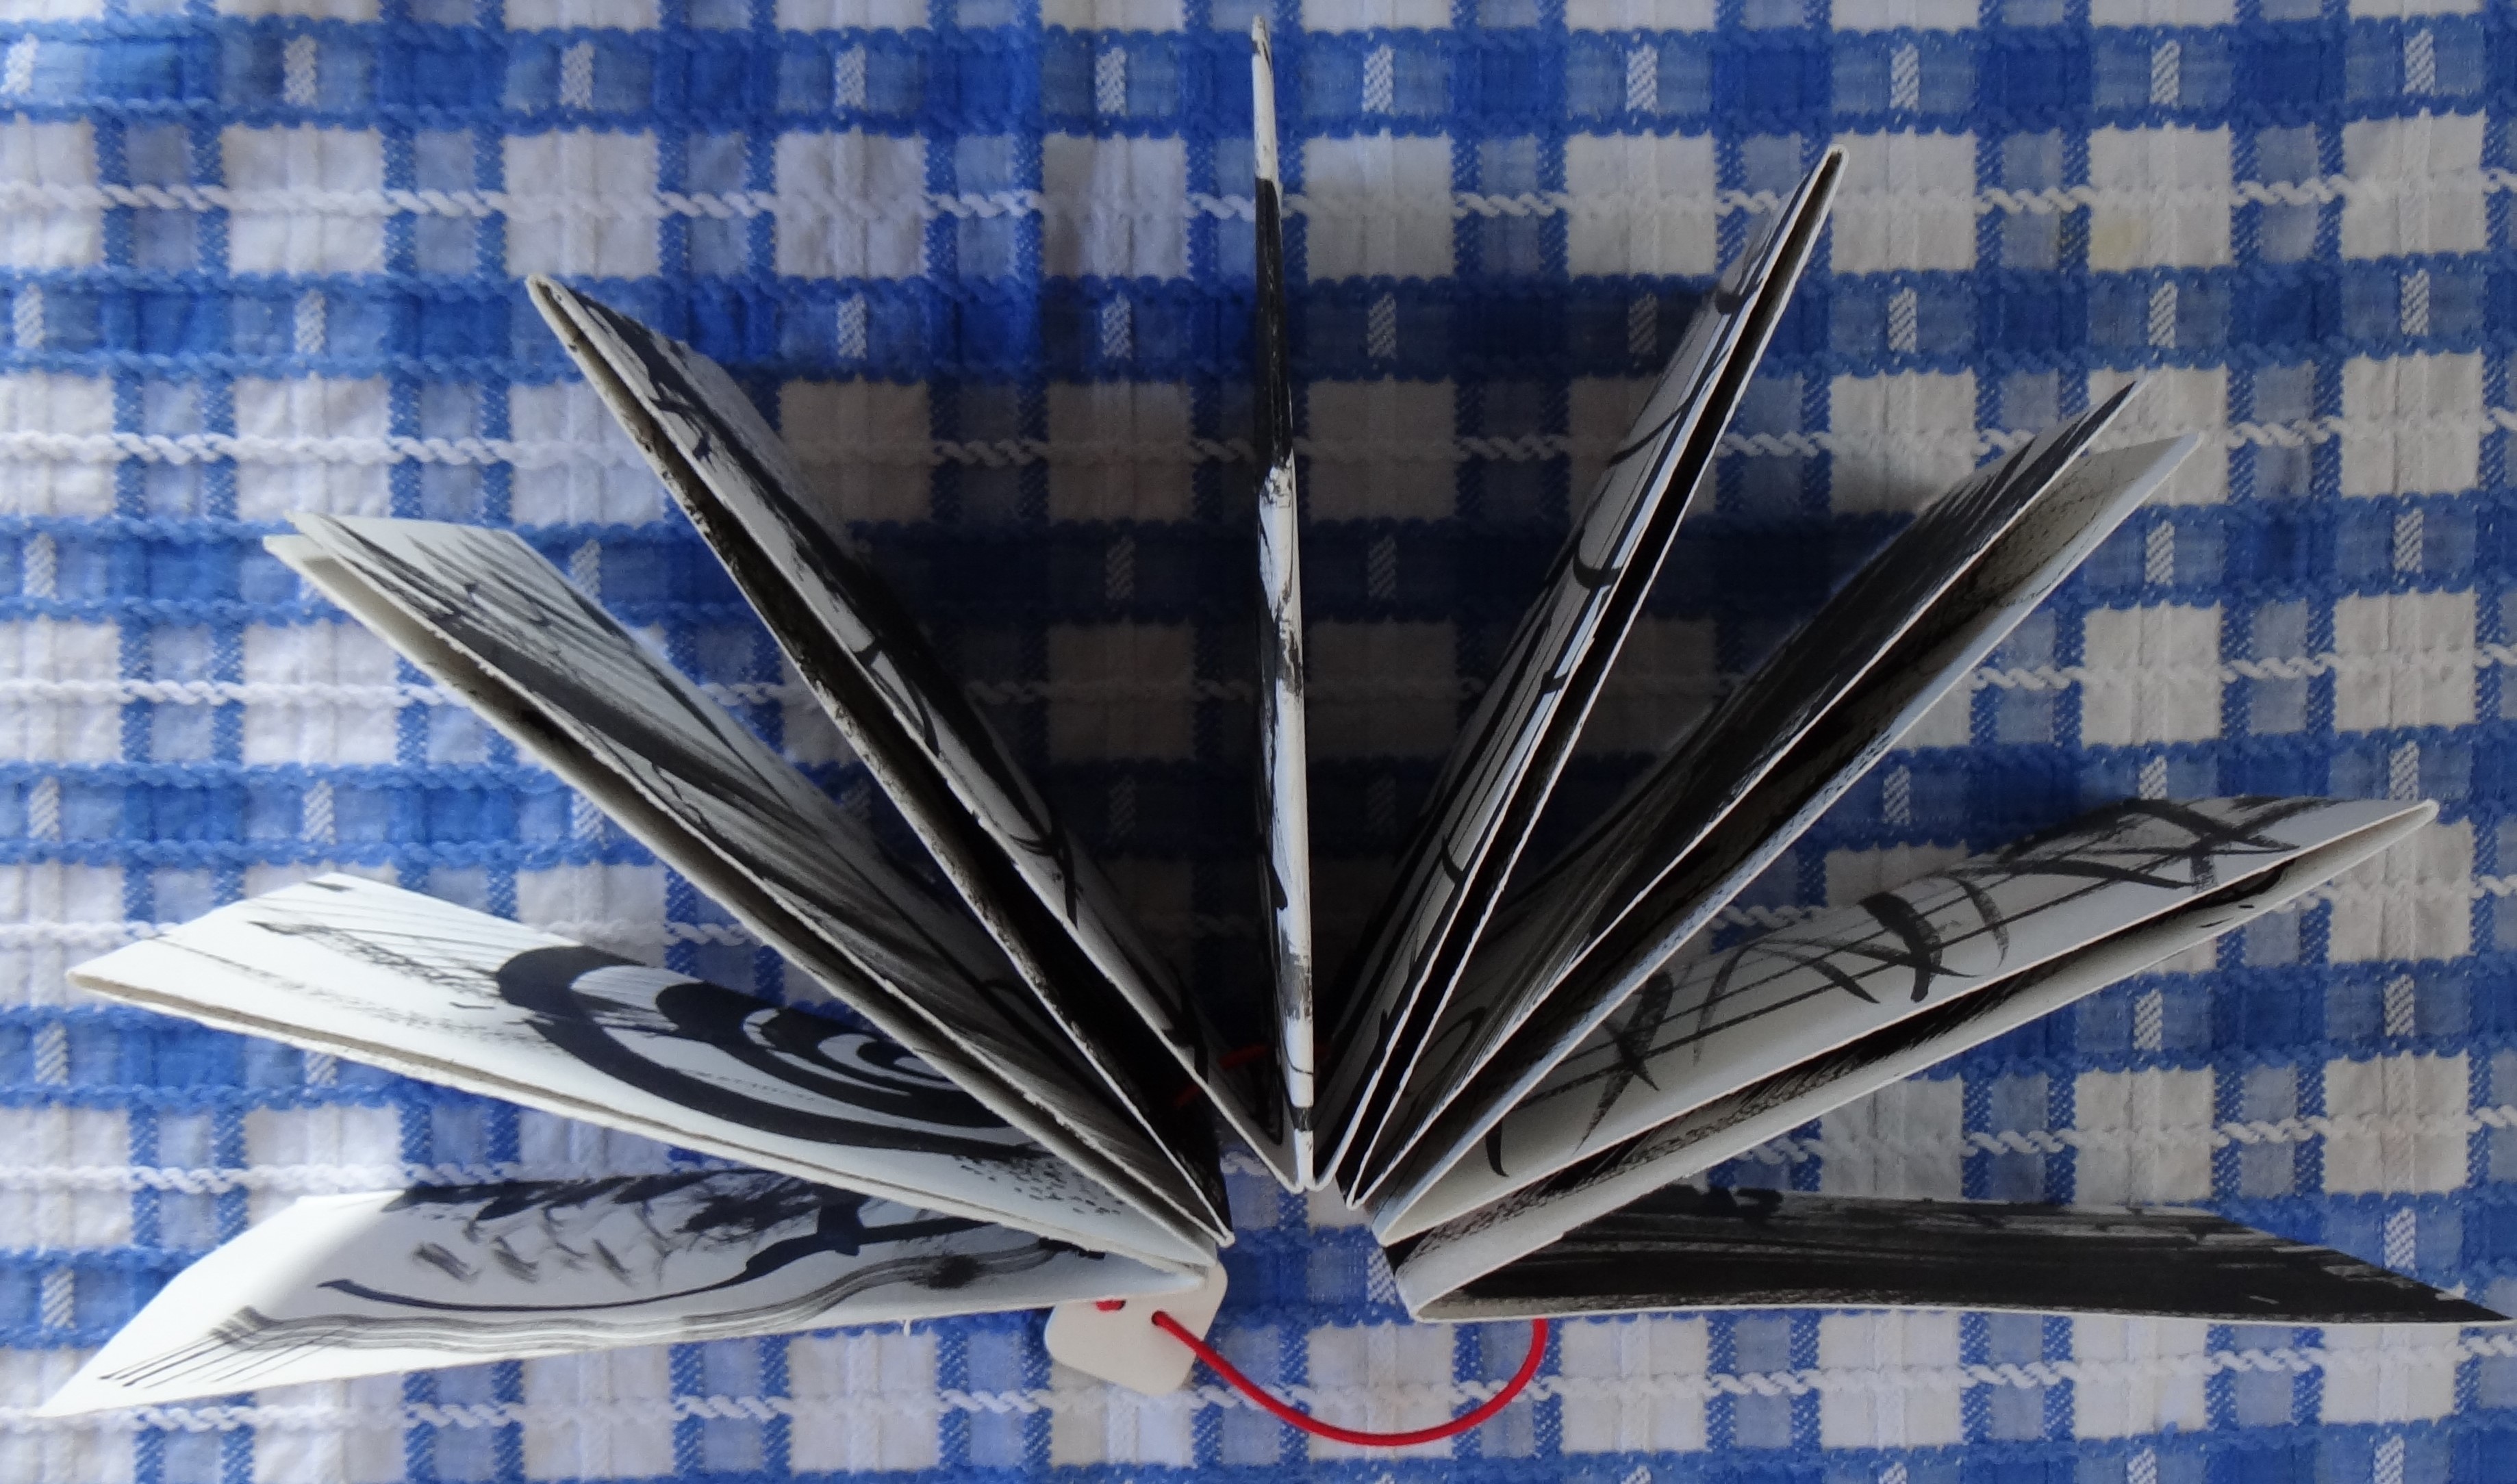
Step 6 – Binding
Hold the book and flick through the pages to check you like your page designs. One side of your decorated paper will form the book covers and the other side creates the inside pages. If you want a different look, you can always refold the book from the other way to reverse the design.
To keep the pages of the book together make a hole (either with something like a leather punch or bradle) about half an inch (1.5cm) in from the spine of your book. 
Thread some pretty ribbon or cord elastic through the hole to keep the pages together. Add a coordinating button or bow for decoration.

Voila! All finished. Open up the pages and enjoy!


Pingback: Concertina book making ideas – Emmy Peterson
Hi Bella, I was really inspired by your workshop for the Belles and have made another book! What a great blog.
Thank you – if you check out the needle felting workshop post there is a picture there of the fabulous felted pictures you created.
What a fab technique. Thanks for sharing. I know what I will be doing this weekend.
Hi Nicky, thanks for your lovely comments – hope you have fun making the book. I think I might make some more too based on some textile design ideas I want to try and capture. P.S. Totally love your work, I was lucky enough to see your Knitted Nudes a few years ago at Ally Pally – although I couldn’t get there is year just wanted to say that the photos I have seen of your Knitted Doggy heads are awesome.