
As a Milliner on a tight start-up budget, I’ve recently made some buckram brim blocks. They are basically moulds of more expensive wooden forms which you ‘block the fabric’ on to give the hat its shape.
Are you ready to see how they are made?
Step 1 – Make sure the blocks you want to ‘copy’ are wrapped in plastic to protect them from moisture. Now, measure the widest part of the block and cut some slightly larger pieces of buckram (extra stiff /double stiffened). If you are copying a down-turn brim block (left photo) squares of fabric are fine, if you want to block an up-turn brim like the one in the right photo (which I used to make my blue Sinamay hat) you need to use bias strips.


Step 2 – Dip the cut buckram into warm water and roll it up like a bandage. Take the buckram straight out of the water – do not leave it in the water as the stiffener will leach out.

Step 3 – Stretch the buckram across the blocks so that the brim shape is covered. Continue covering the wooden block with buckram until you have 3 layers.
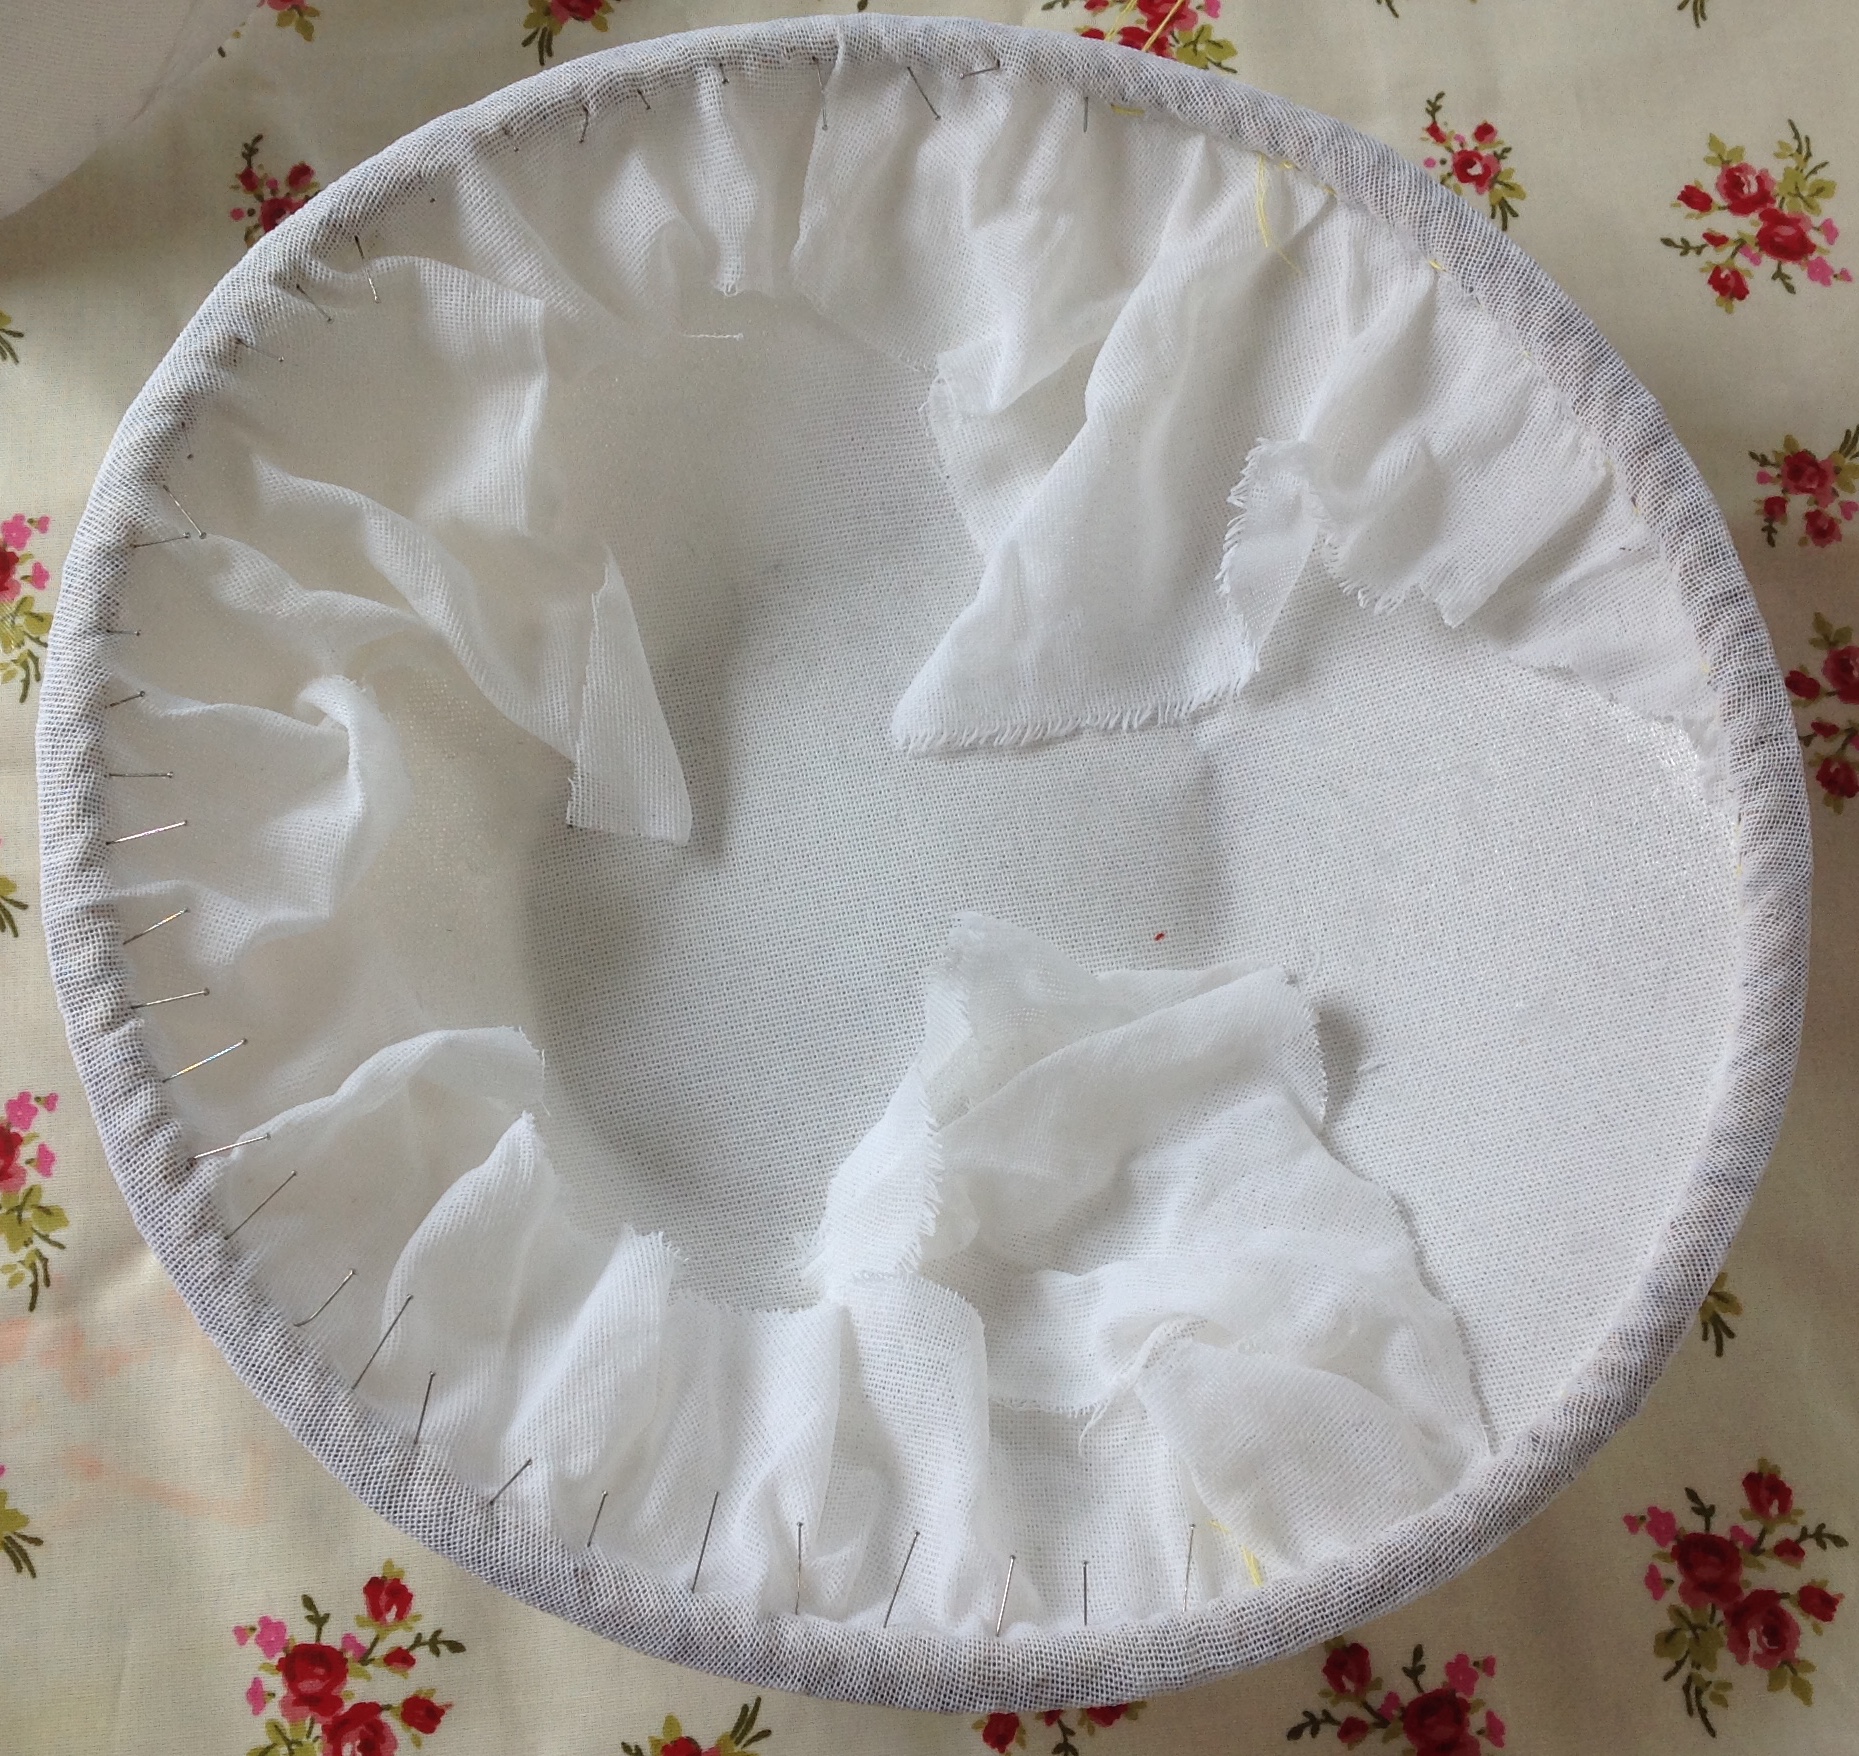
Step 4 – Stretch the buckram out until its smooth. Use a similar technique to normal blocking – i.e. first pin roughly in place (think North, South, East, West) before pulling on-the-bias to stretch out creases.
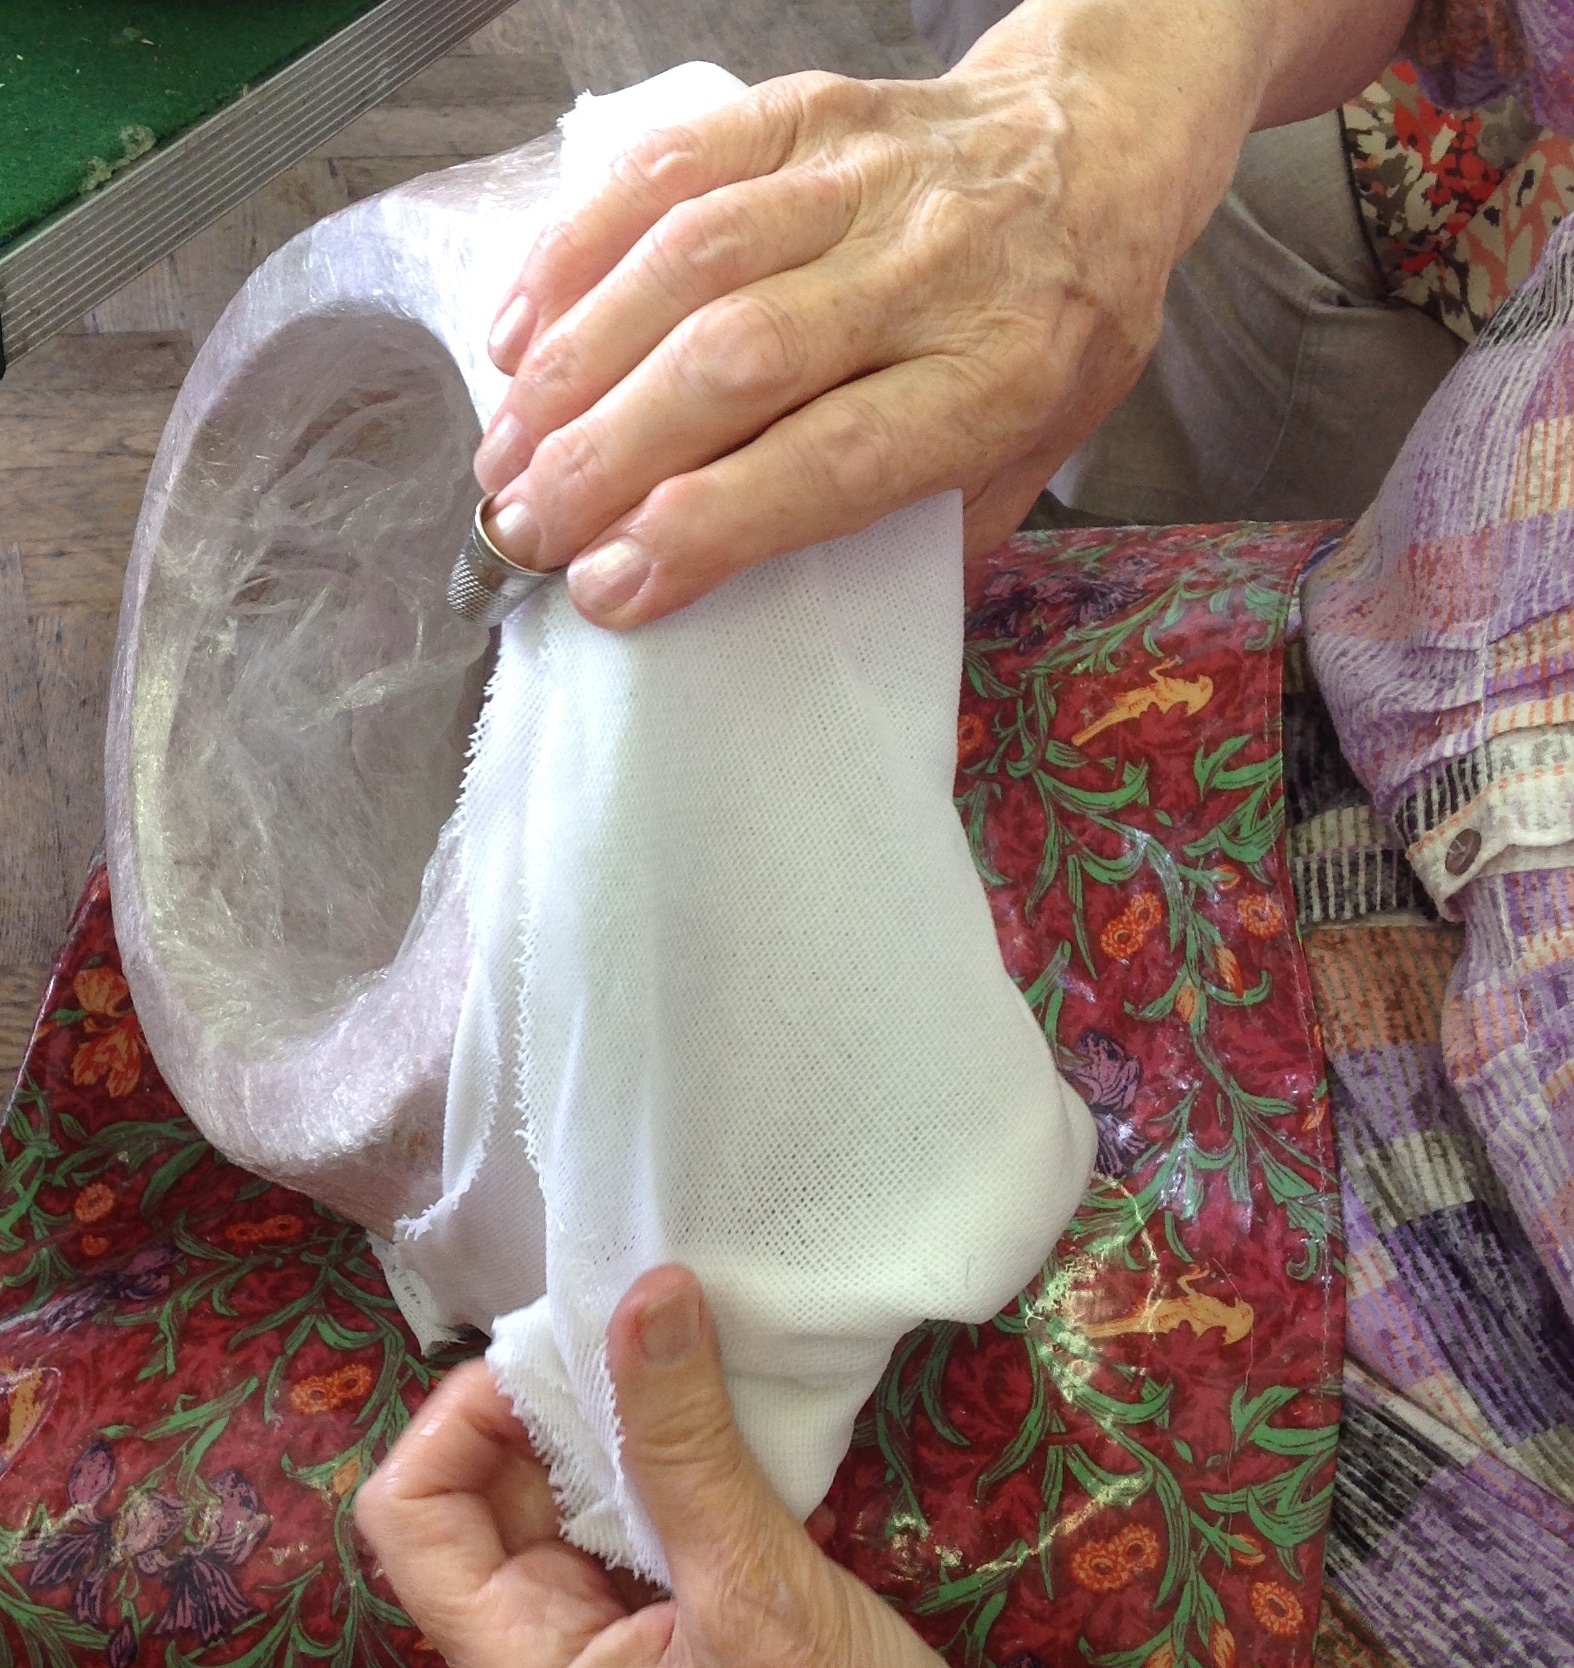
 Step 5 – Leave the block to dry. Use an iron and damp cloth to make sure your buckram layers are fused together.

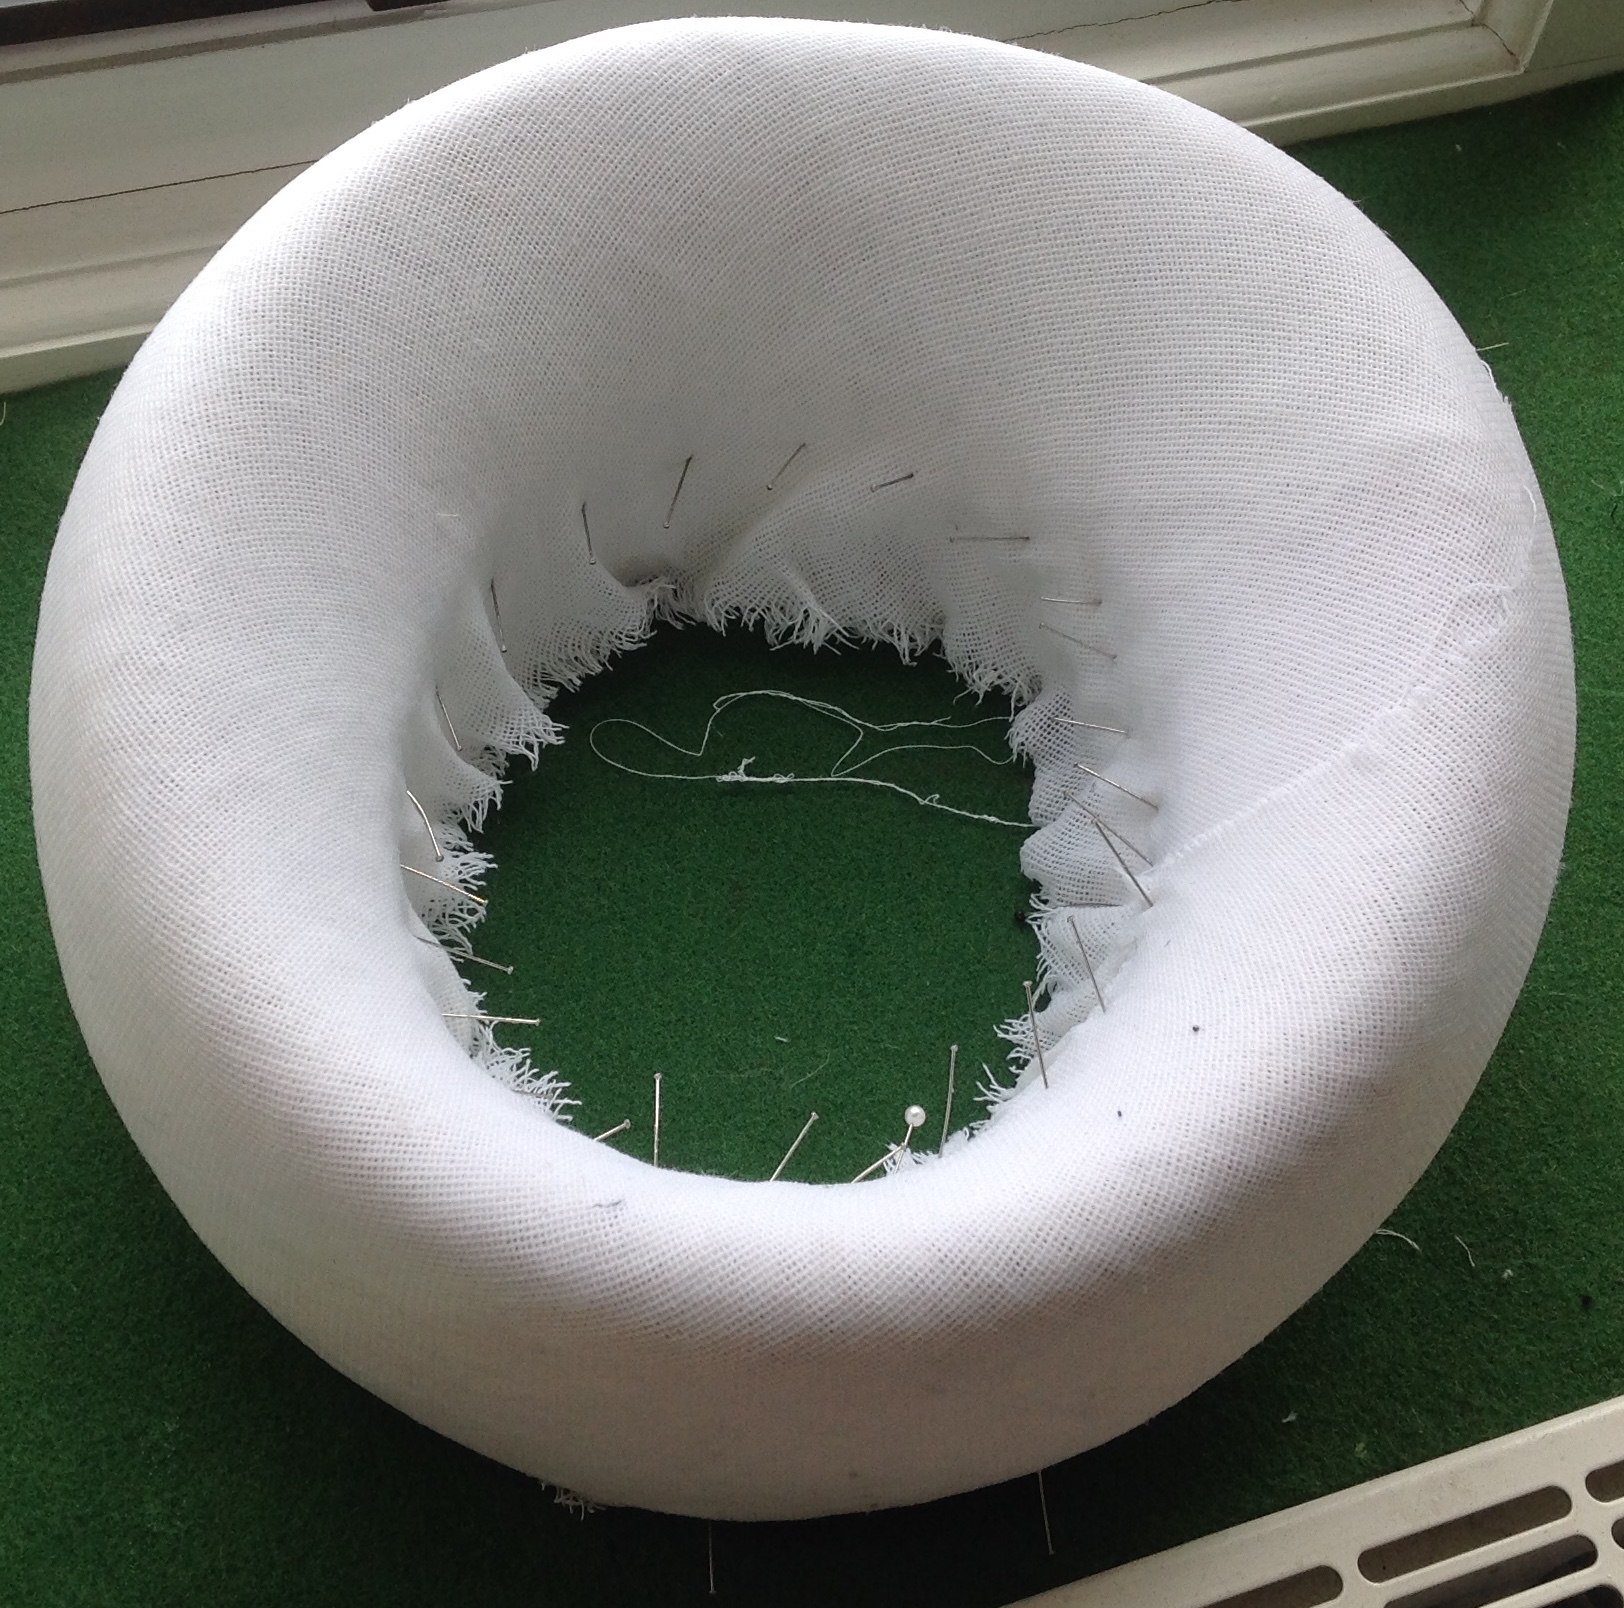
Step 6 – Mark the brim edge with pencil. Remove the blocking pins. Now its time to cut the buckram off the block – be really careful, you don’t want to damage the wooden block or yourself!

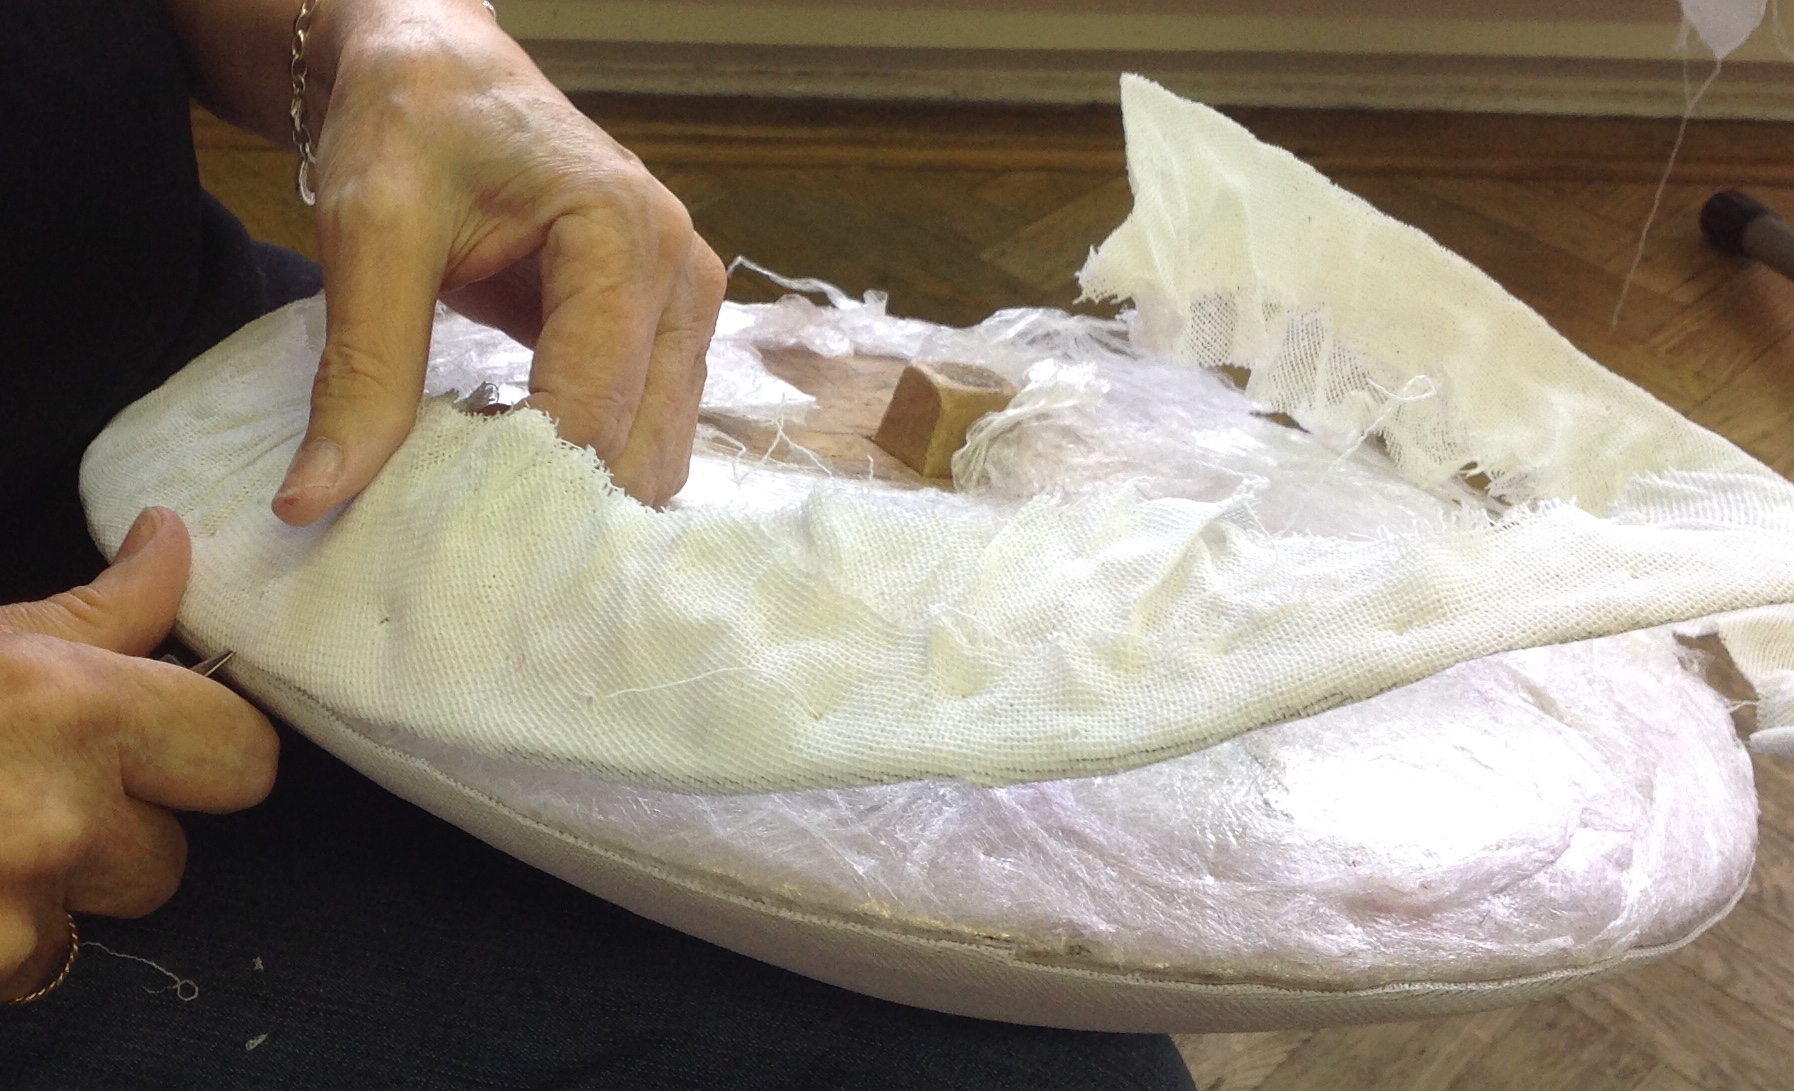
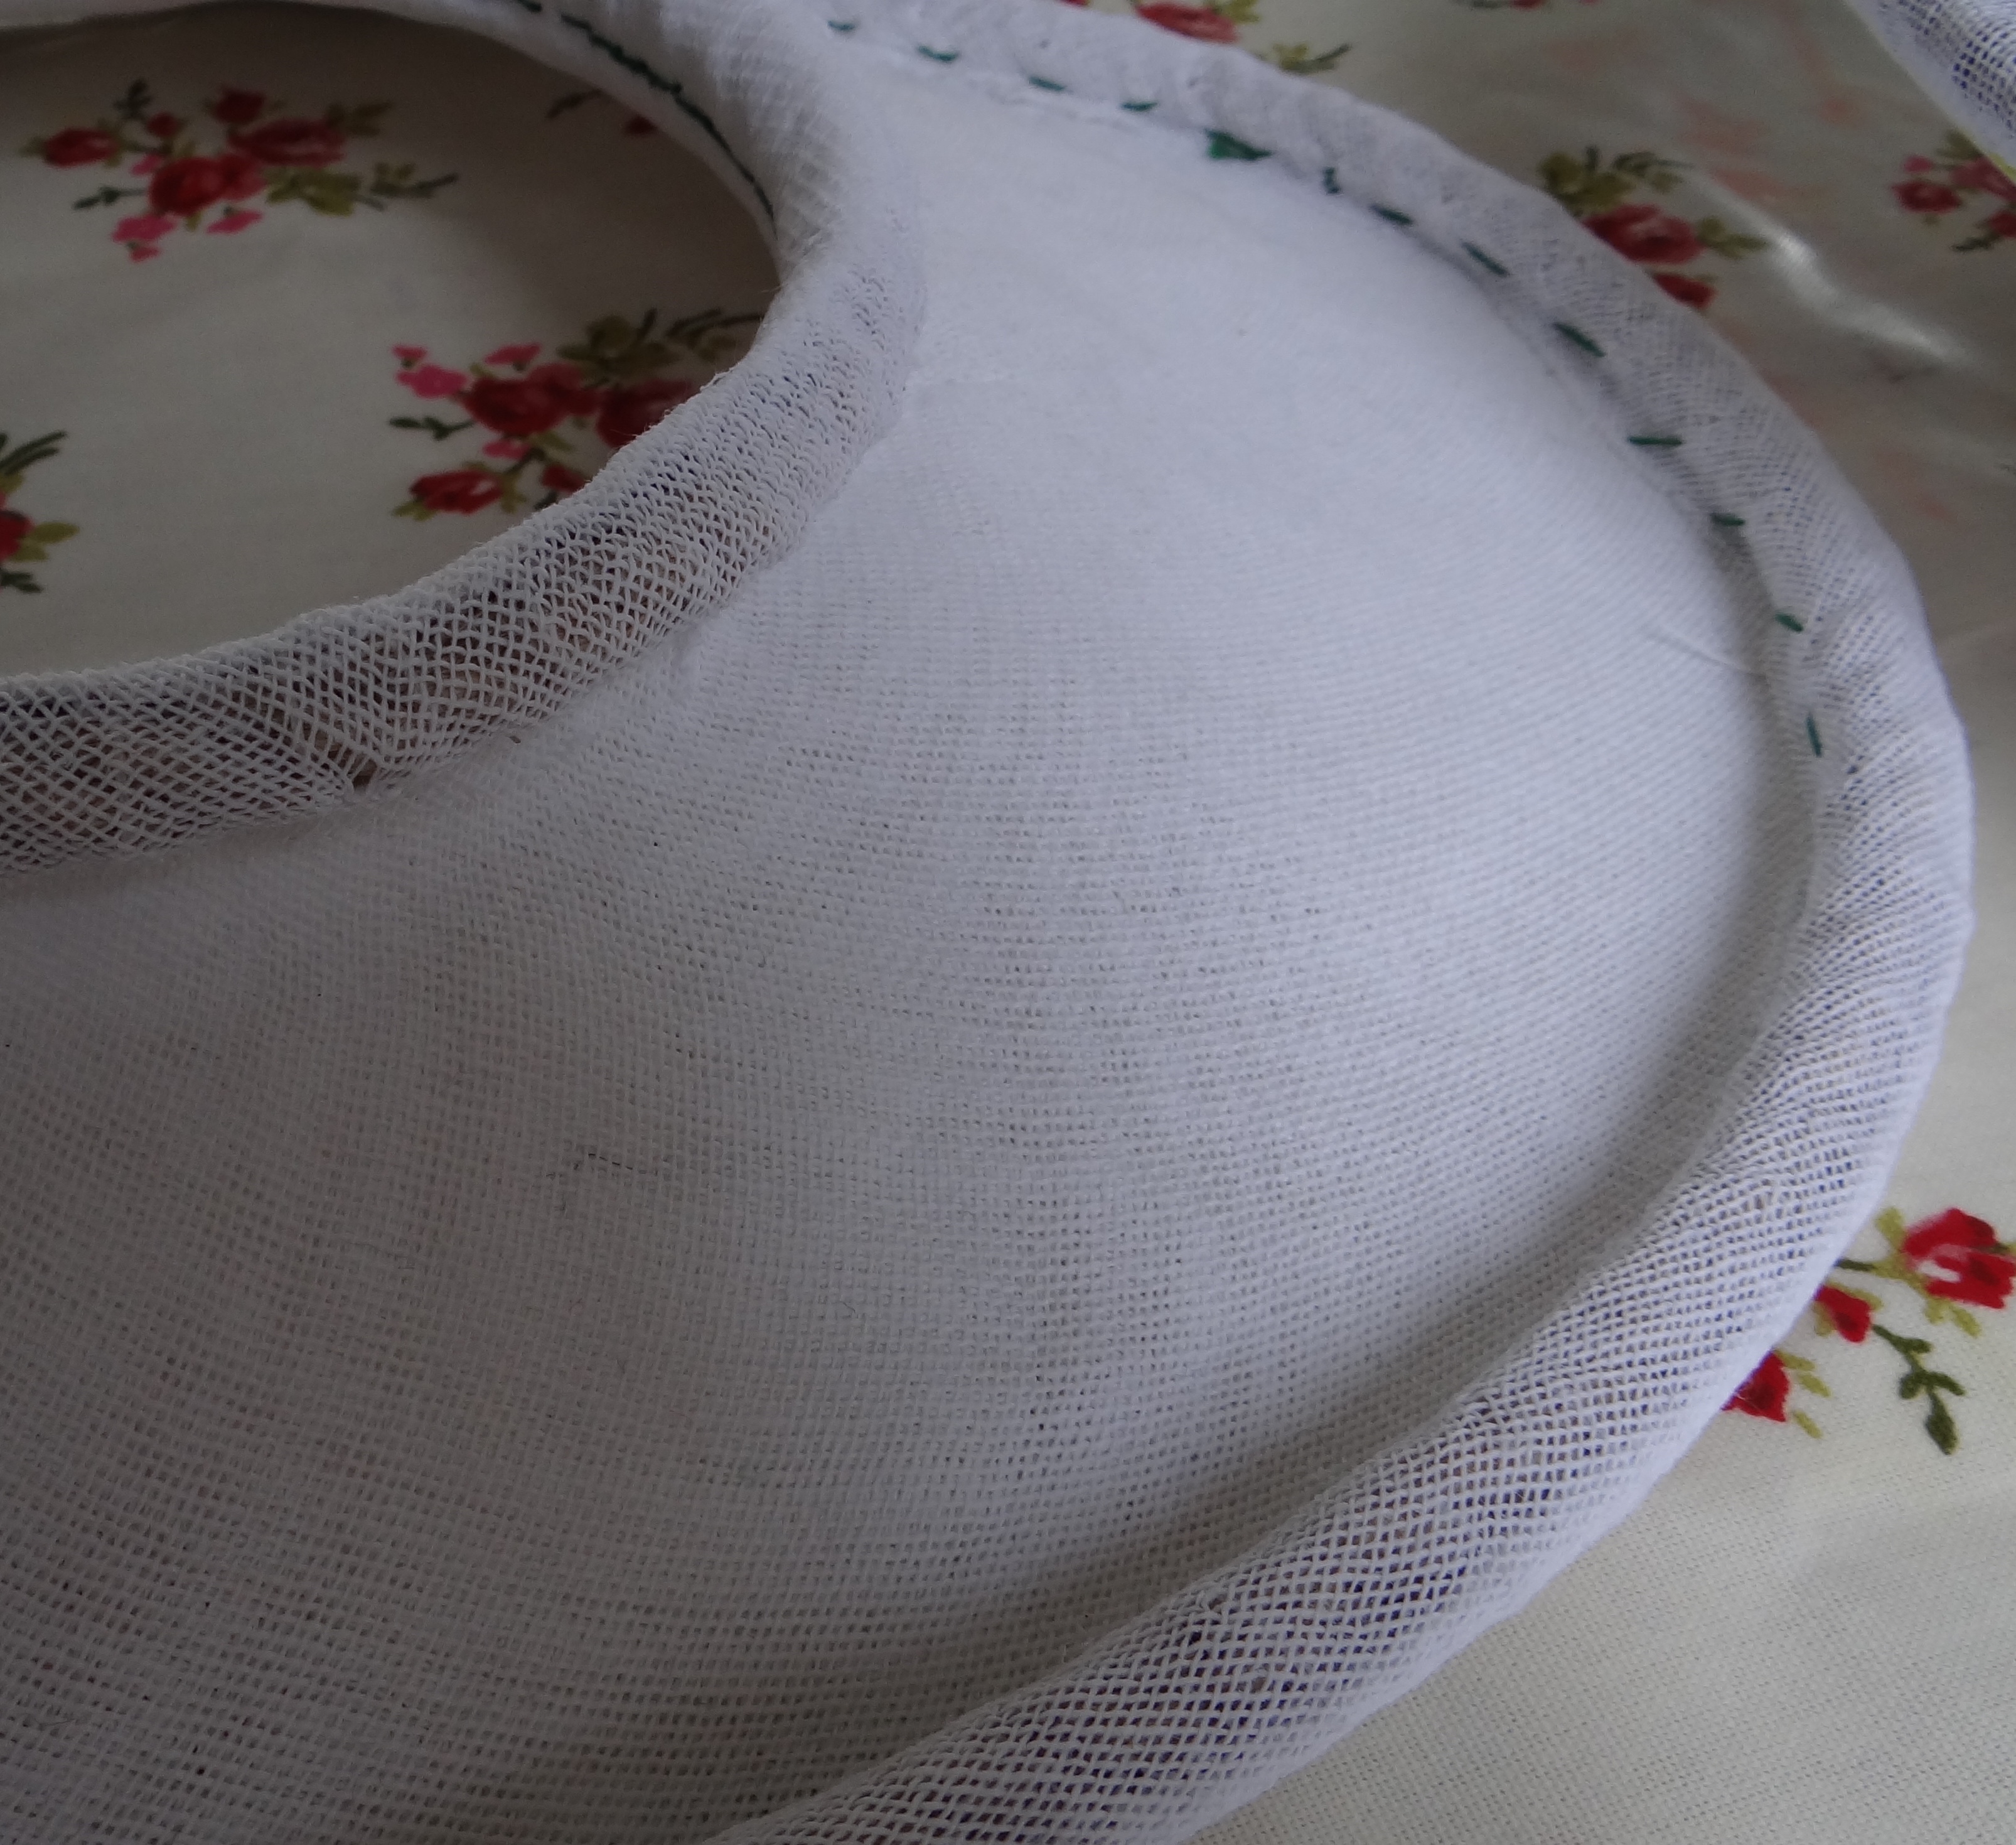
Step 7 – Stitch thick millinery wire (gauge 22) under the edge of the buckram with a blanket stitch. If you are making a down-turn block you only need to one wire, upturn blocks need two – one on the inner and one on the outer edge.
 Step 8 – Blanket stitch 10 mm sisal rope just under the millinery wire – this is what you stick pins into when blocking.

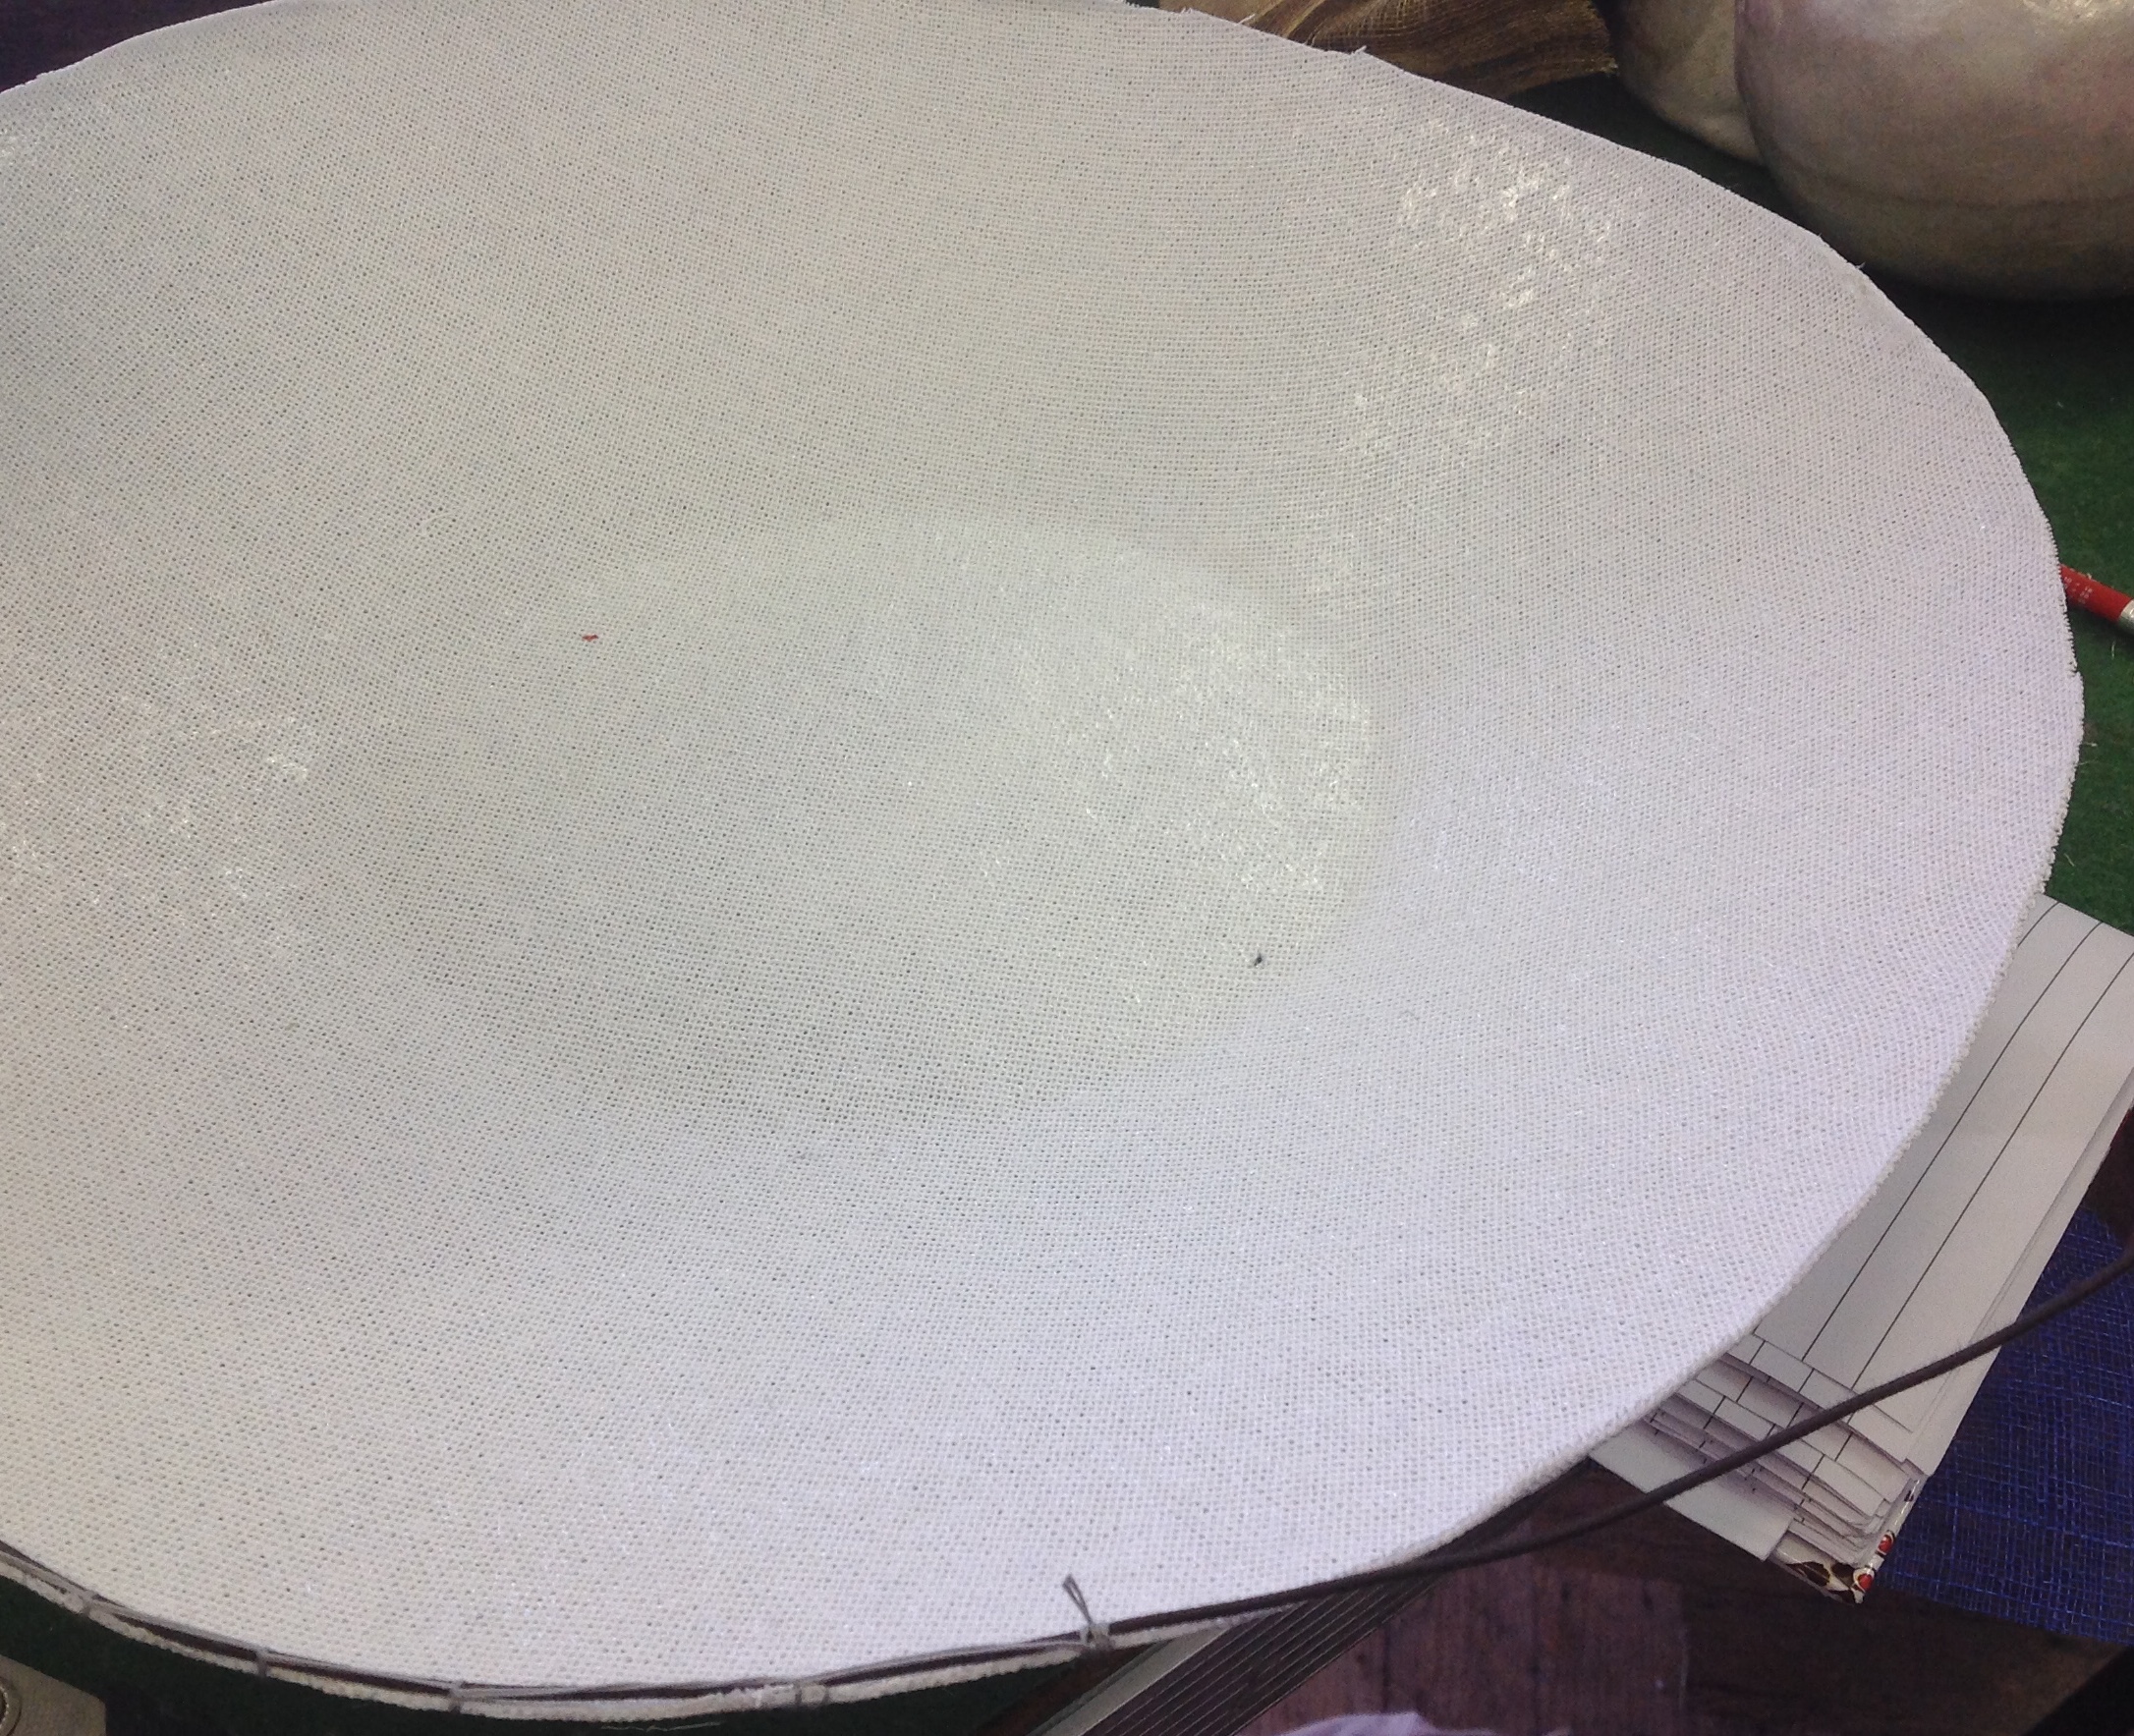
Step 9 – Cover the buckram block, wire and rope with another layer of buckram.
Step 10 – When dry, sew a running stitch under the rope edge to keep the buckram in place. Trim off excess buckram.
Here are some photos of my finished buckram blocks looking down on them from the top (left photo) and underneath (right photo).

As with wooden blocks, remember to cover the buckram forms in plastic before use. If you get the buckram wet it will turn to mush!!!!

Use yacht varnish to paint when dry and then they will become hard and not so prone to soften
I must try that.:)
Good day___Excellent step-by-step demo. Thank you for your time.
. Seize Life___Dian_a
Where do we purchase the Blocks?
The wooden blocks can be found online – its worth trying out some wooden fruit bowls too as they can make lovely shapes. I’ve brought blocks from boon and lane, hat blocks direct and guy-morse brown in the UK as well as some from eBay. 🙂
Thank you for the instructions! I’m wanting to duplicate a saucer tiled hat, and had been contemplating how to do it… I’m going to give it a go!
Thank you! I have a tilted saucer hat I want to replicate, and had thought of doing something like this, ang Google came up with your page. Thank you for the pictures, I’m going to give it a go!
You’re welcome, let me know how you get on. Would love to hear from you. X
I’ve never thought of making hats and probably won’t, but I’m loving watching you learning 🙂
Thank you! I’m going to try and incorporate some crochet, sewing and knitting elements into them too. X
Exciting! Look forward to seeing that 🙂
Goodness that looks a complicated process illustrated beautifully! Can’t wait to see some of your hats! You are very talented! x
Thank you! I just love making them. You’ll have to come round and see them. I’m hoping to set a hat based Facebook page soon too.
I would love to see them! that is really kind of you – do let me know your Facebook page when it is done xx