
Before you cut out your pieces of fabric it helps to know a little about how your fabric is constructed and what your pattern symbols mean. Here are some of the main symbols you may come across.

Some of the markings such as cutting and lengthen / shorten lines are self-explanatory. The ‘place on fold’ line shows you which edge of the pattern piece to place onto the folded edge of the fabric.
Notches are used to line up two or more pieces of fabric that you will be sewing together. I normally mark my notches by cutting external triangles (ie in the opposite direction from how they are shown on the pattern) so they stick outside of the cutting line. Some people prefer to mark them with small slits.

Dots are used to indicate points you will need to match (for example with darts) or starting and stopping points for your sewing.
Dart markings indicate where you will fold and stitch your fabric to give your garment a 3D shape so it fits your bodies contours.
The centre front marking helps align the fabric and should run vertically down the front of your garment, the centre back should run vertically down the back.
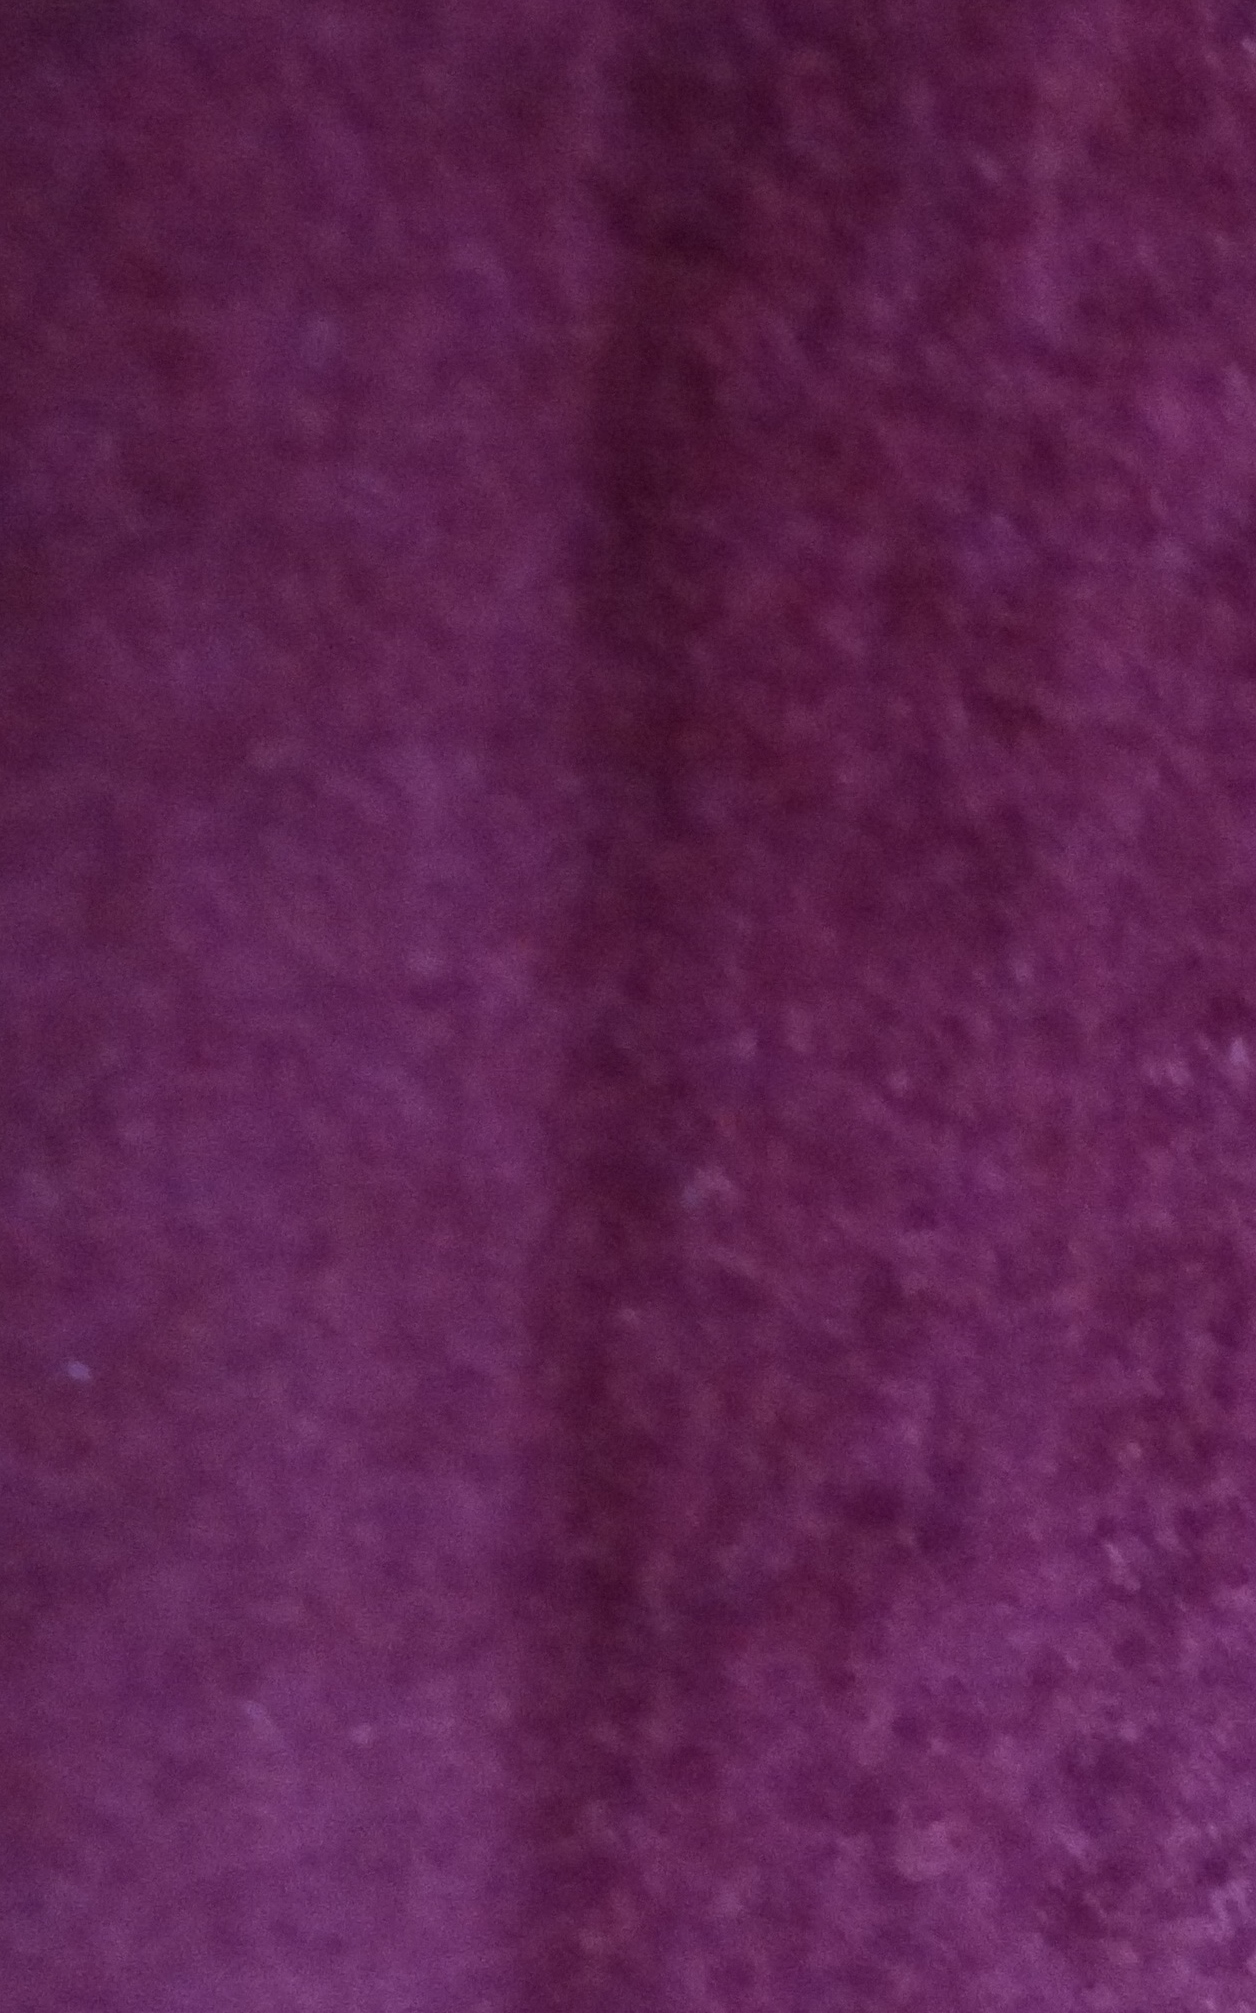
 When you purchase a piece of fabric you will normally buy it by length as the width is fixed by the factories looms. Running along the length of a woven fabric are non fraying edges called the selvedges / selvages – you can see the left hand selvedge in this photo.
The fabric itself is constructed from two yarns, the warp thread that run parallel to the selvedge down the length of the fabric and the weft thread which runs at right angles to the warp, across the width of the fabric.

The warp yarn is stronger than the weft and has less stretch. When you look at a pattern piece you should see that it has a double-headed straight arrow on it. This is called the grain line and needs to be running parallel to the warp yarn.
A quick and easy way to check that your pattern piece is straight is to measure the distance between the selvedge and grain line at each end of the grain arrow. If your pattern piece is straight, the measurements should be the same.

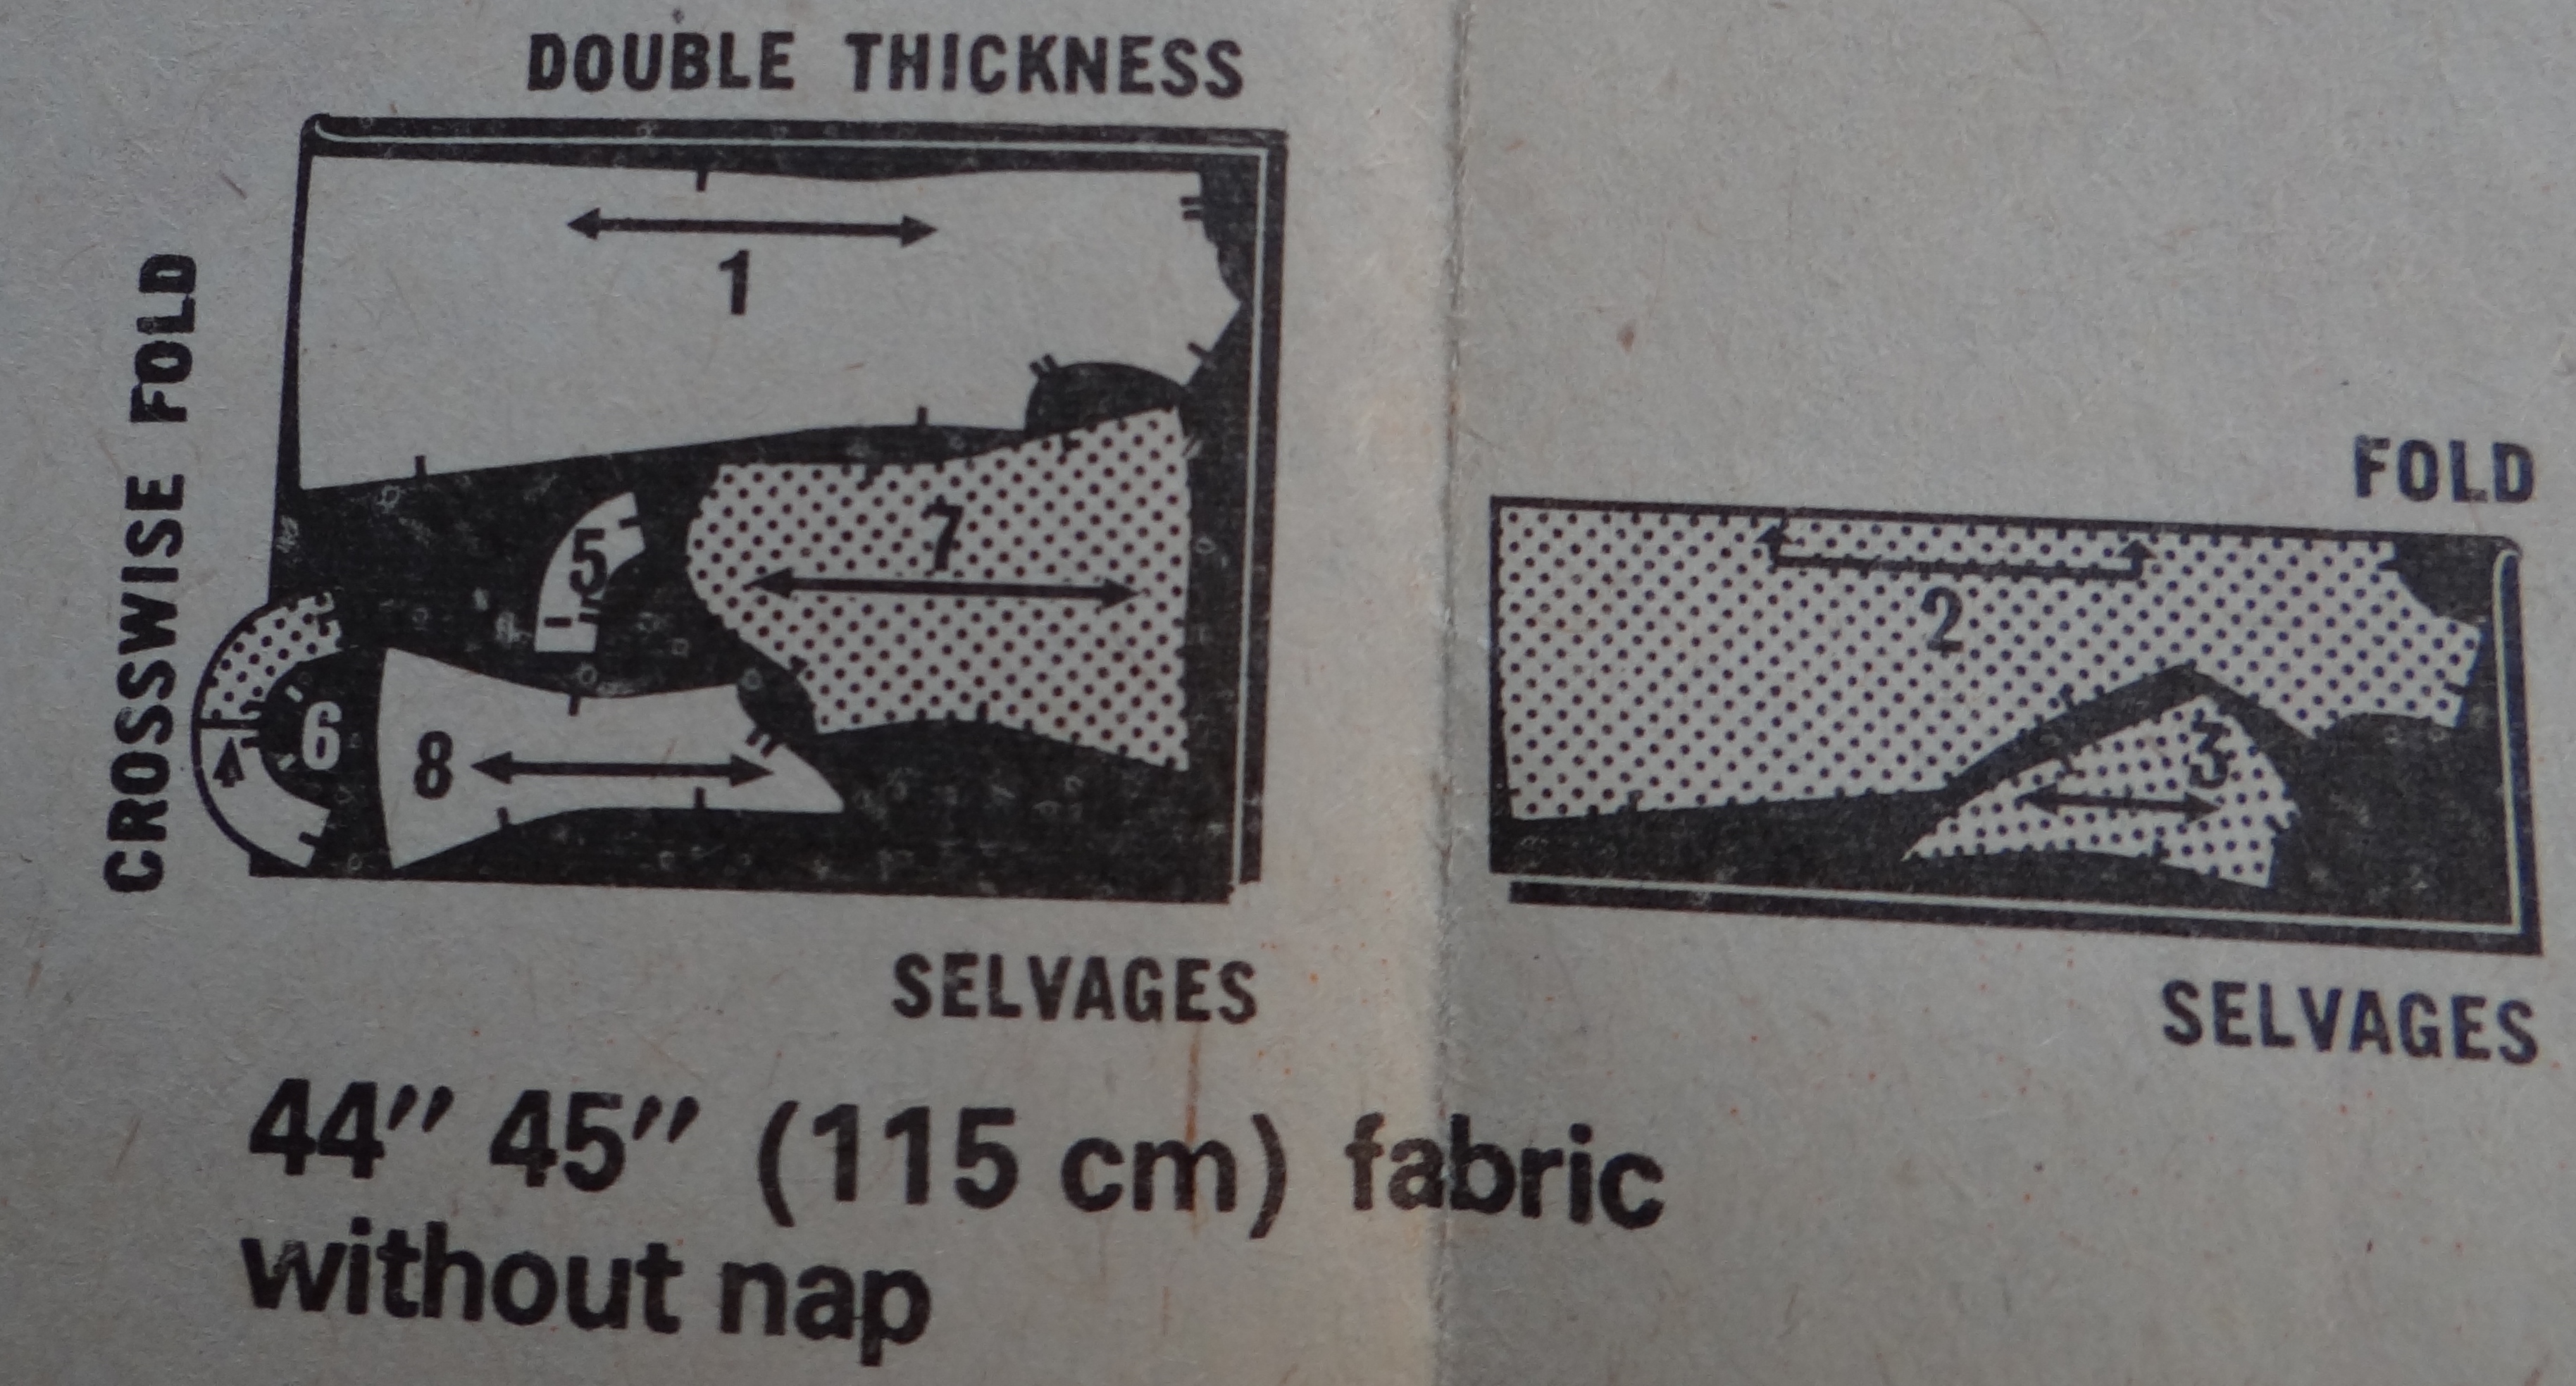
 Another term that if often used on the pattern layout is ‘nap‘ or ‘pile’. A fabric has a nap or pile if it appears to be a different shade from a different angle, e.g. velvet or corduroy fabric. If you brush your hand over the surface you will also feel it is smoother in one direction than the other. When you look at your instructions for cutting out your fabric there may be different layout options for a fabric ‘with’ or ‘without’ a nap. If your fabric has a nap make sure you follow the correct fabric layout so all your pieces go in the right direction. You may also need to follow the ‘nap’ layout if you are using a fabric which have a print or pattern running in one direction.

Pingback: Understanding Your Sewing Pattern and Instructions – A Beginners Guide Part 2 | thestitchsharer
Pingback: How to Straighten the Edge of Woven Fabric | thestitchsharer
Pingback: How to Straighten the Edge of Woven Fabric | thestitchsharer
Thank you, a very informative post again, very useful!
Thank you. Will try and post some more tomorrow. X
So much to learn!!! Thanks for posting this!
You’re welcome. X
Another really useful post! Thank you so much 🙂