
Step 1: Find an object you want to cover.
One of my New Years sales ‘bargains’ was a fabric foot stool (reduced from £239 to £39), which although looked great in the shop, took on a rather orange appearance when I got it home!

Do you see what I mean?
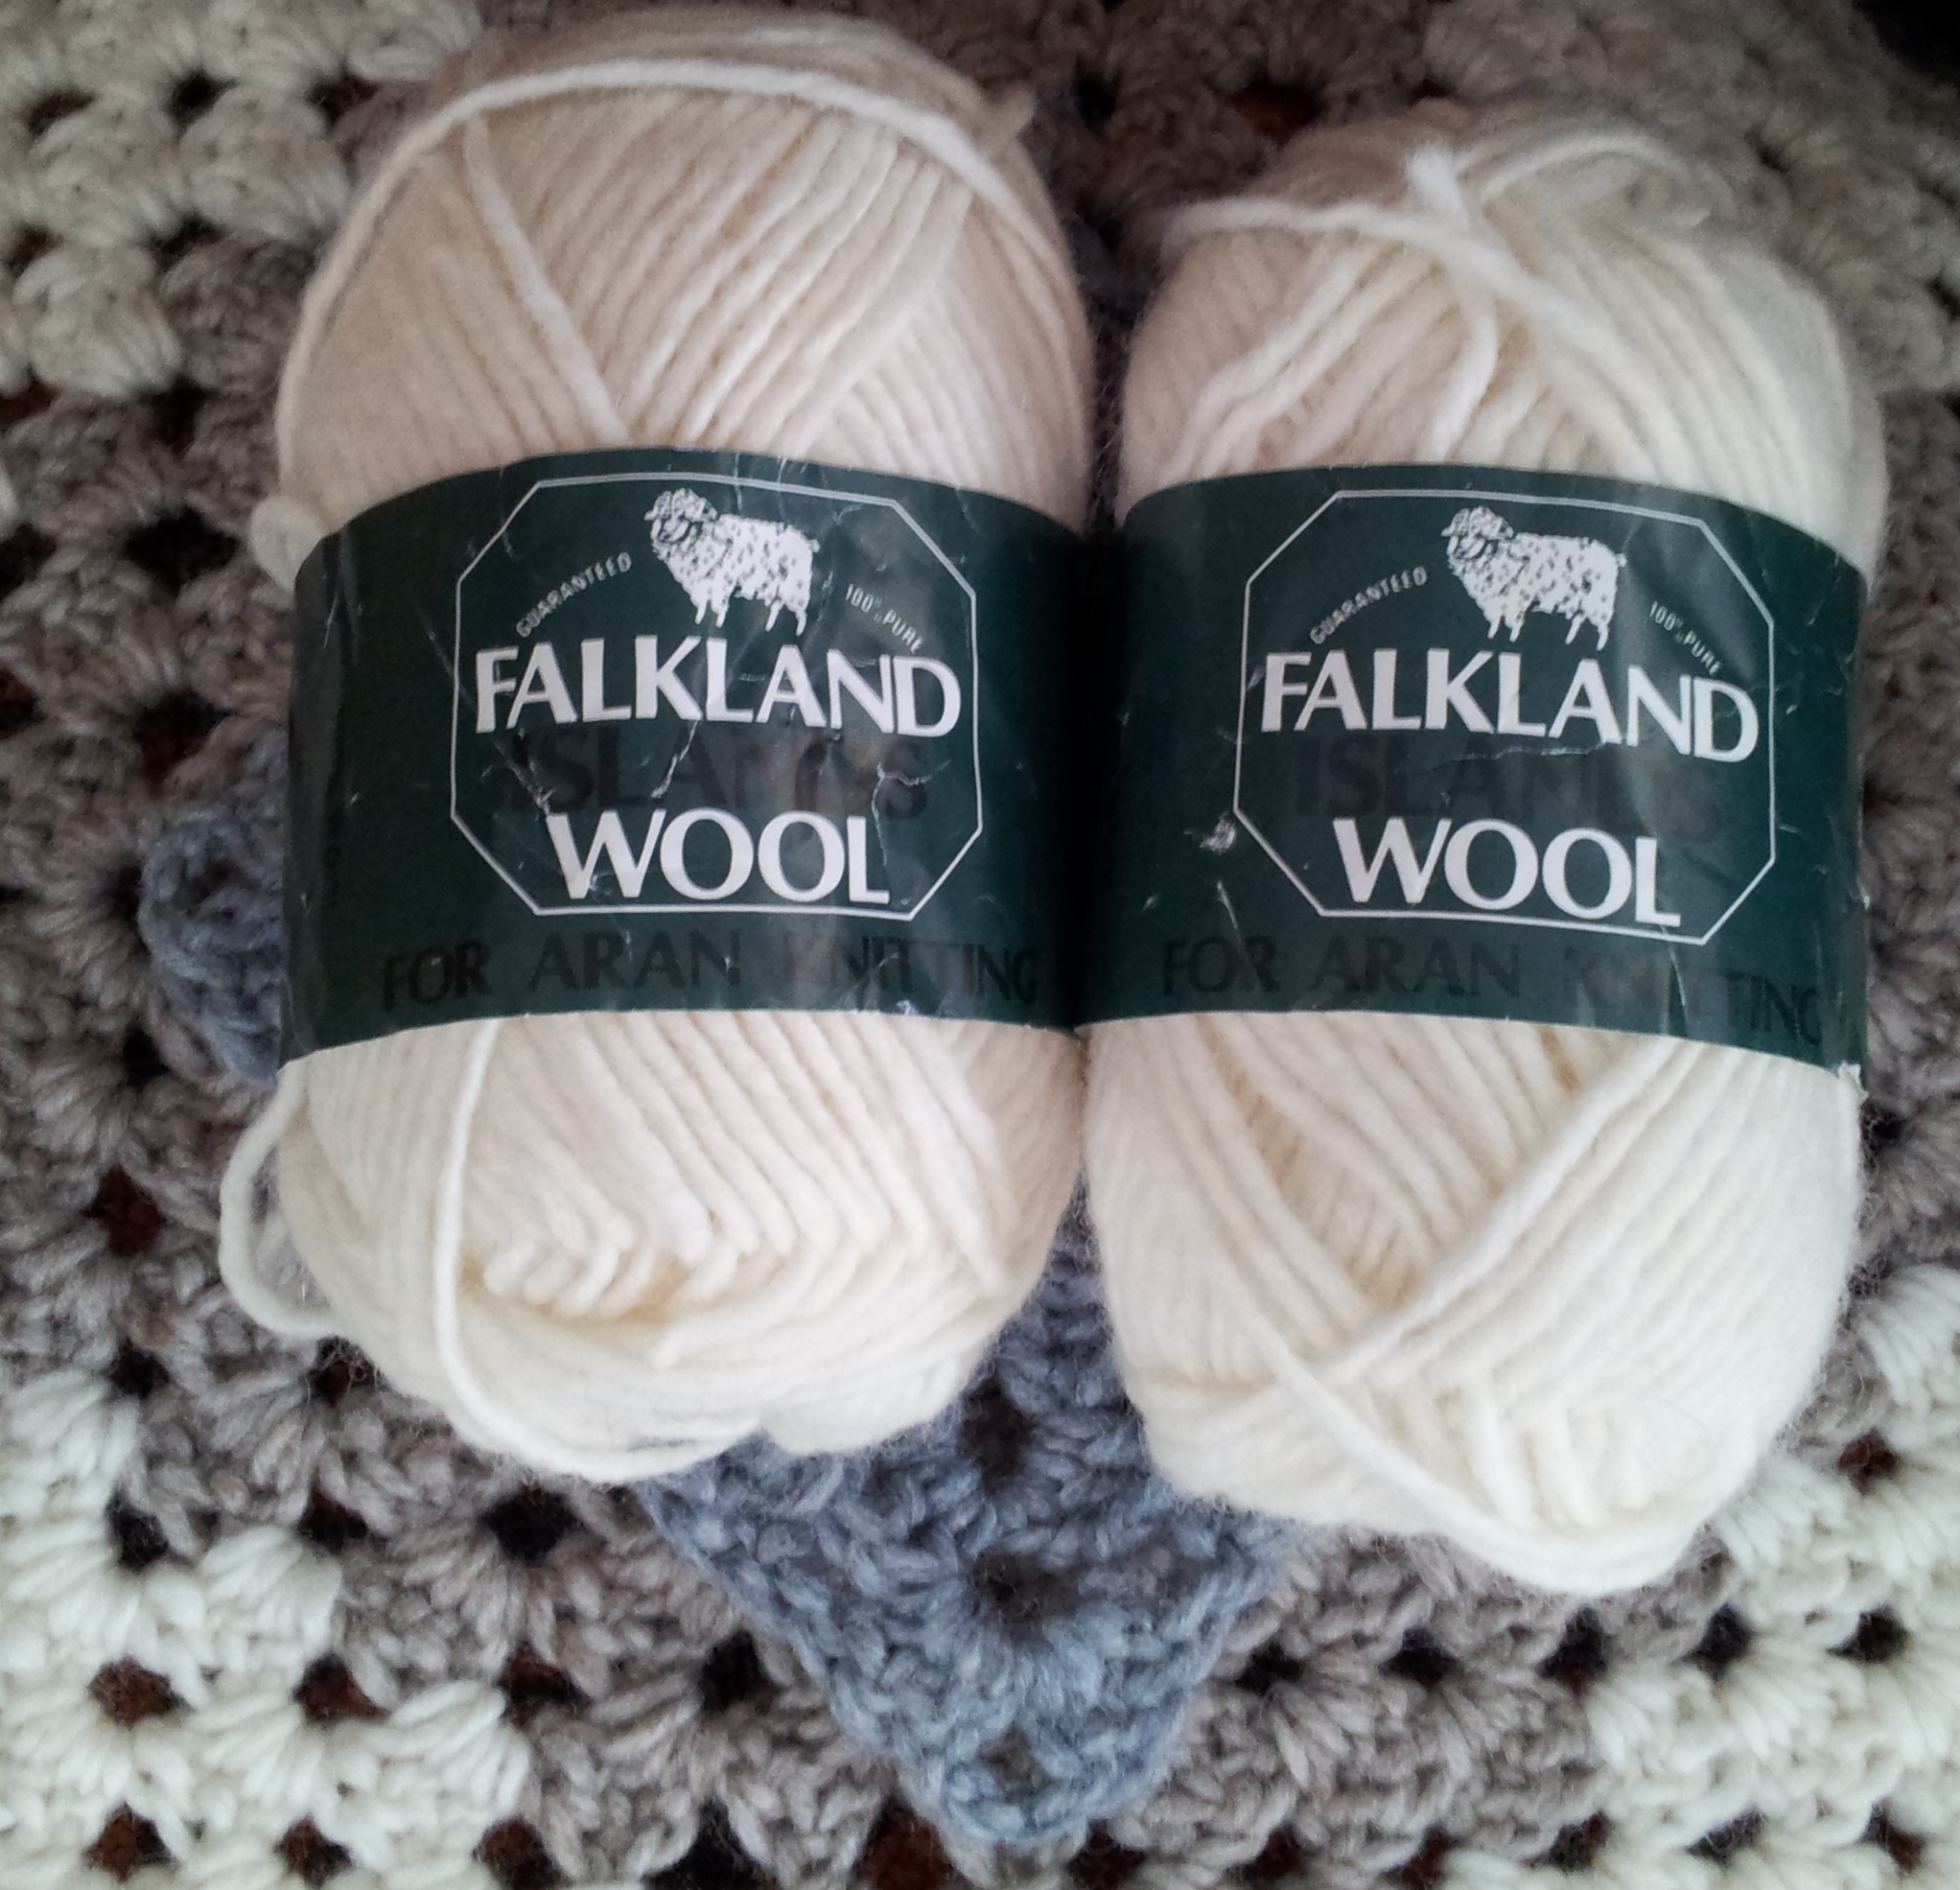
With a stash of Falkland Island Aran Wool in my ‘hand-me-down’ basket I decided to have a go at designing a fitted crochet footstool cover.
Step 2: Make a basic crochet shape with your yarn – Granny squares, rectangles, circles or rows are great building blocks!
As my design was largely influenced by the amount of yarn I had (3 x 50 g balls of grey, 3 of fawn and 5 of cream) I started off with a good old Granny Square.

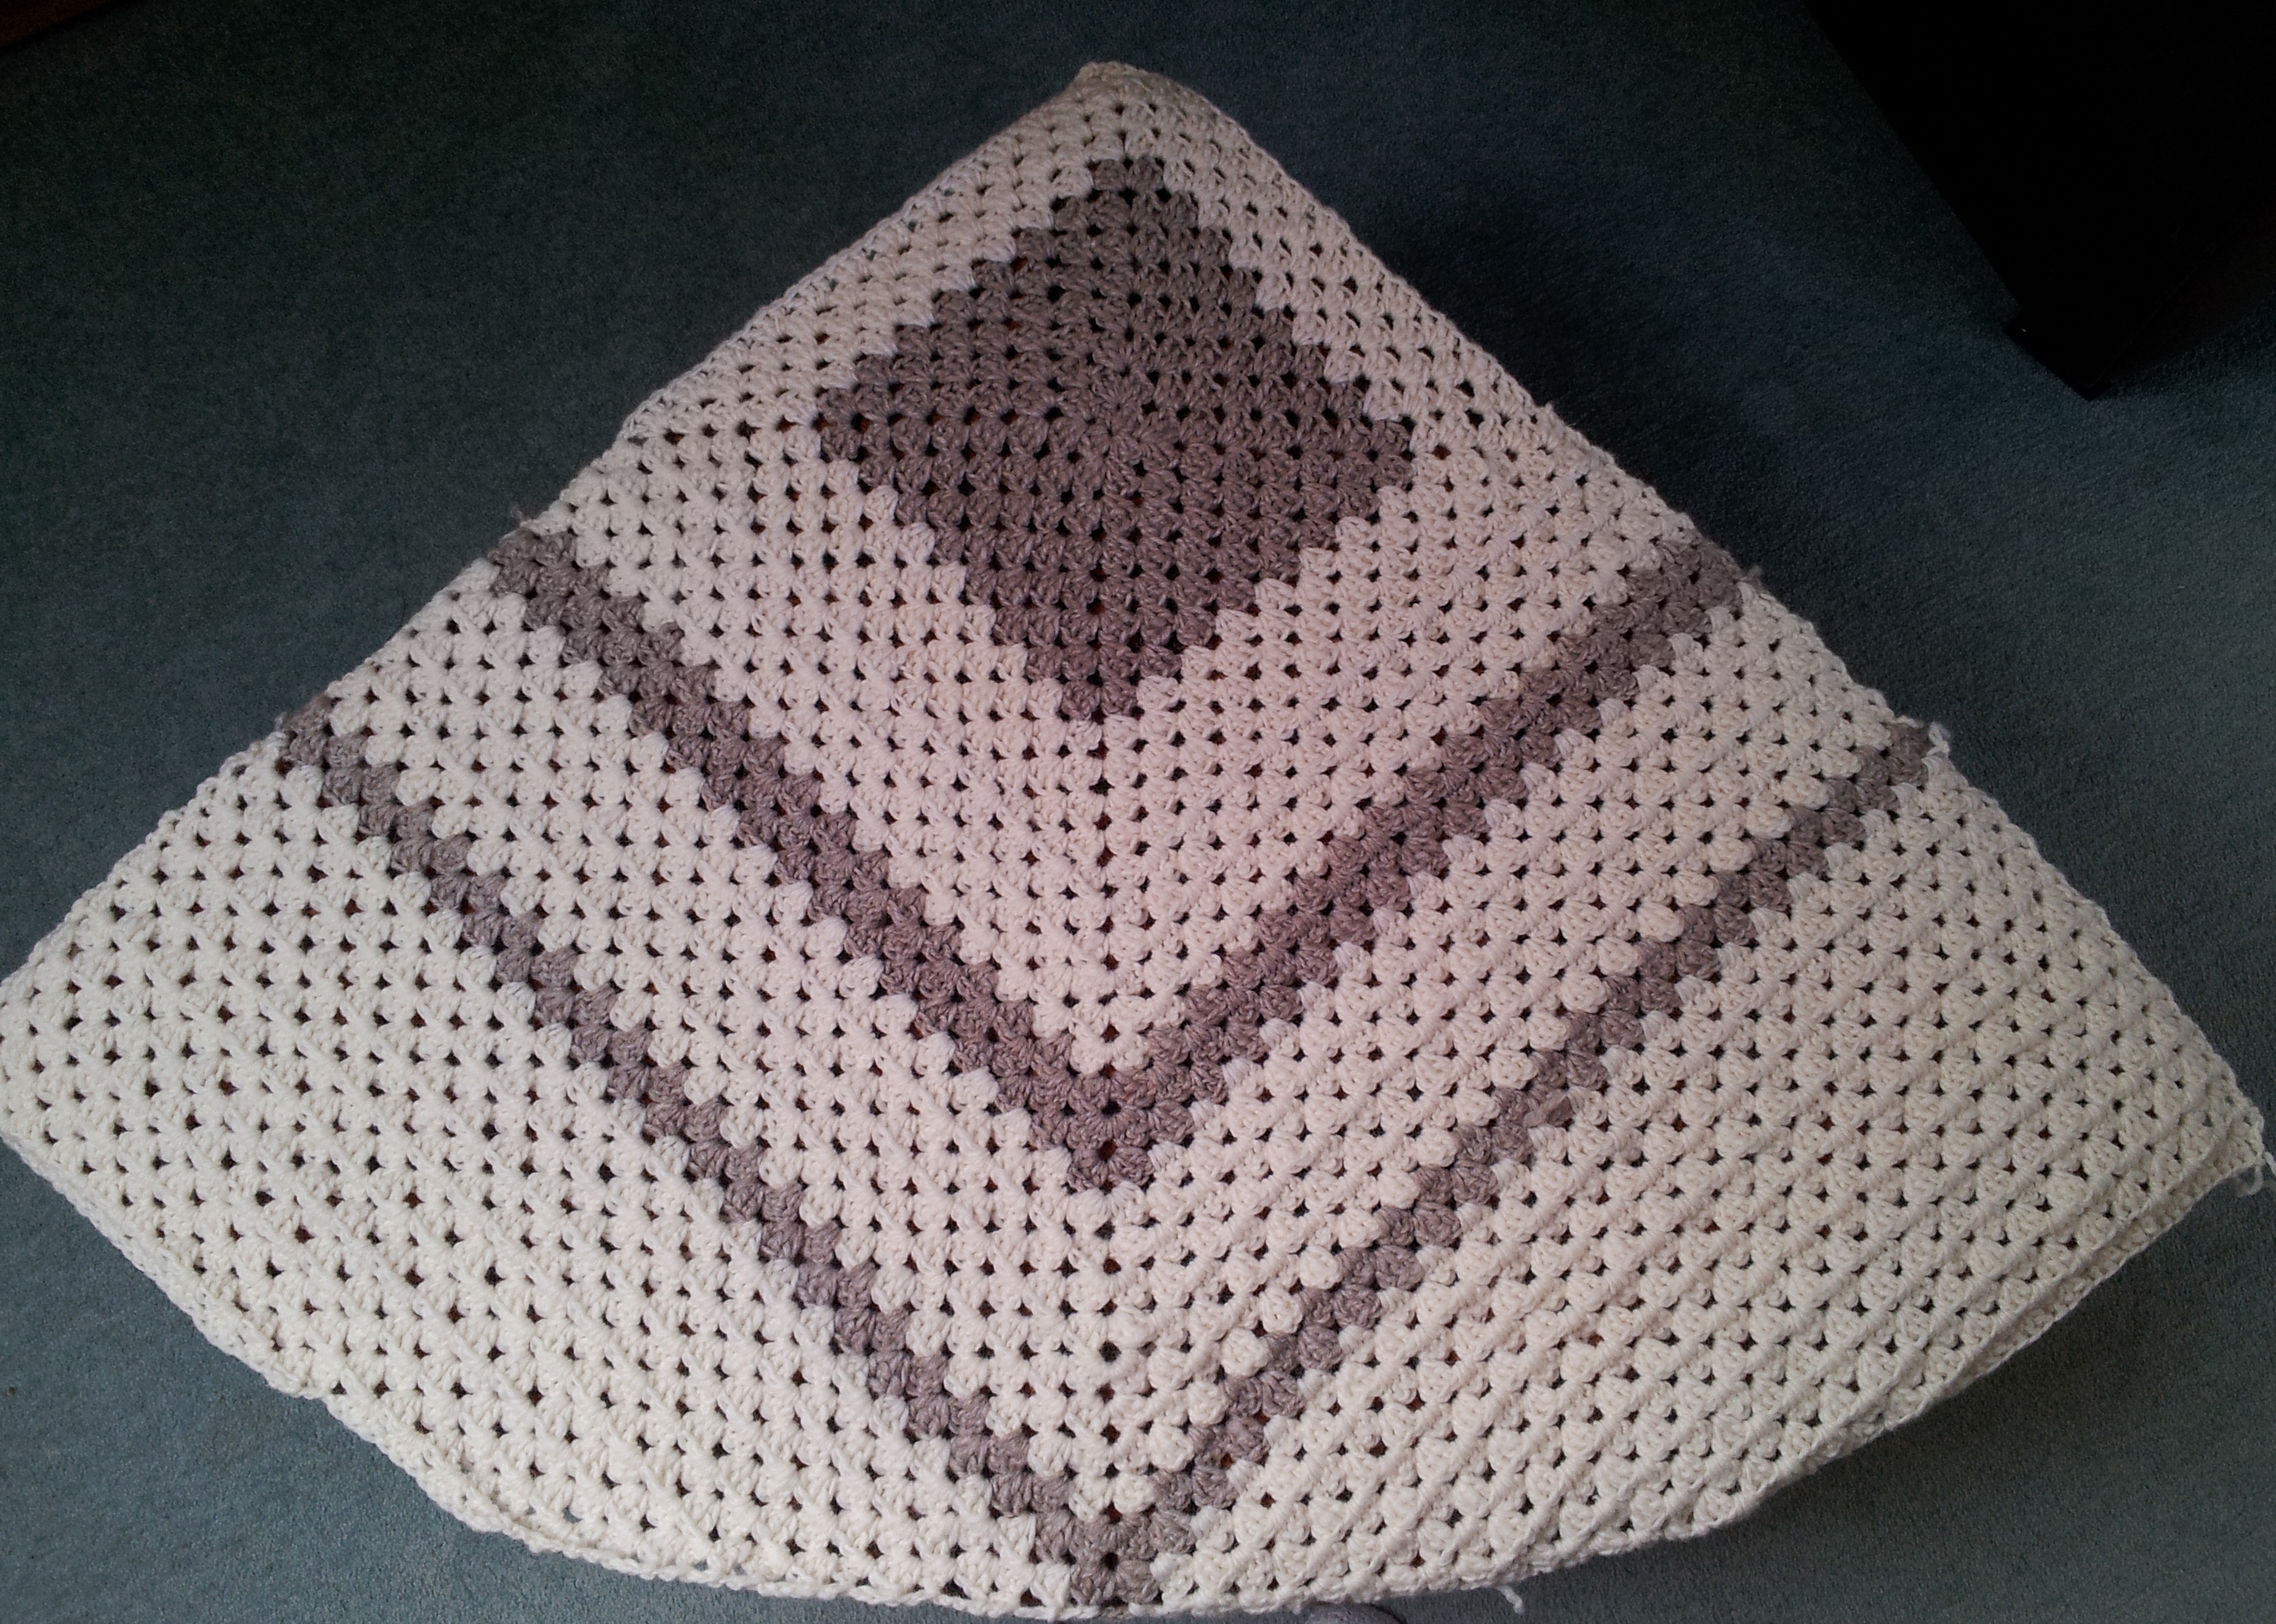
Step 3: Build you shape out until your first side is covered.
With this being my first piece of ‘freeform-ish’ crochet, I wanted to keep things as easy as possible. Placing the Granny square in the top ‘corner’ of the foot stool, meant I only had two sides to think about. Rows of ‘Granny / Uk treble clusters’ quickly took the cover to the curved edge and a couple of bands of fawn in the middle echoed the initial granny. Once the main square was complete the fabric to the sides of the square were tackled. Decreasing stitches at the ends of the rows shaped the fabric to fit the curved edge.
Step 4: Make sure you have enough yarn!
In an ideal world, its great to know you have the right amount of yarn for a project before you start……but in my ‘using up your yarn stash’ sphere where not pattern exists, it’s hard to know how much you will need before you start!.
However, by the time you have finished one side, you should have a good idea of how much yarn you will need to finish your project – either by weighing your work on the kitchen scales or counting up the number of balls you have already used.
By the time my Granny crochet cover top was finished, I had already used most of the cream yarn so had to find a substitute Aran for the sides.
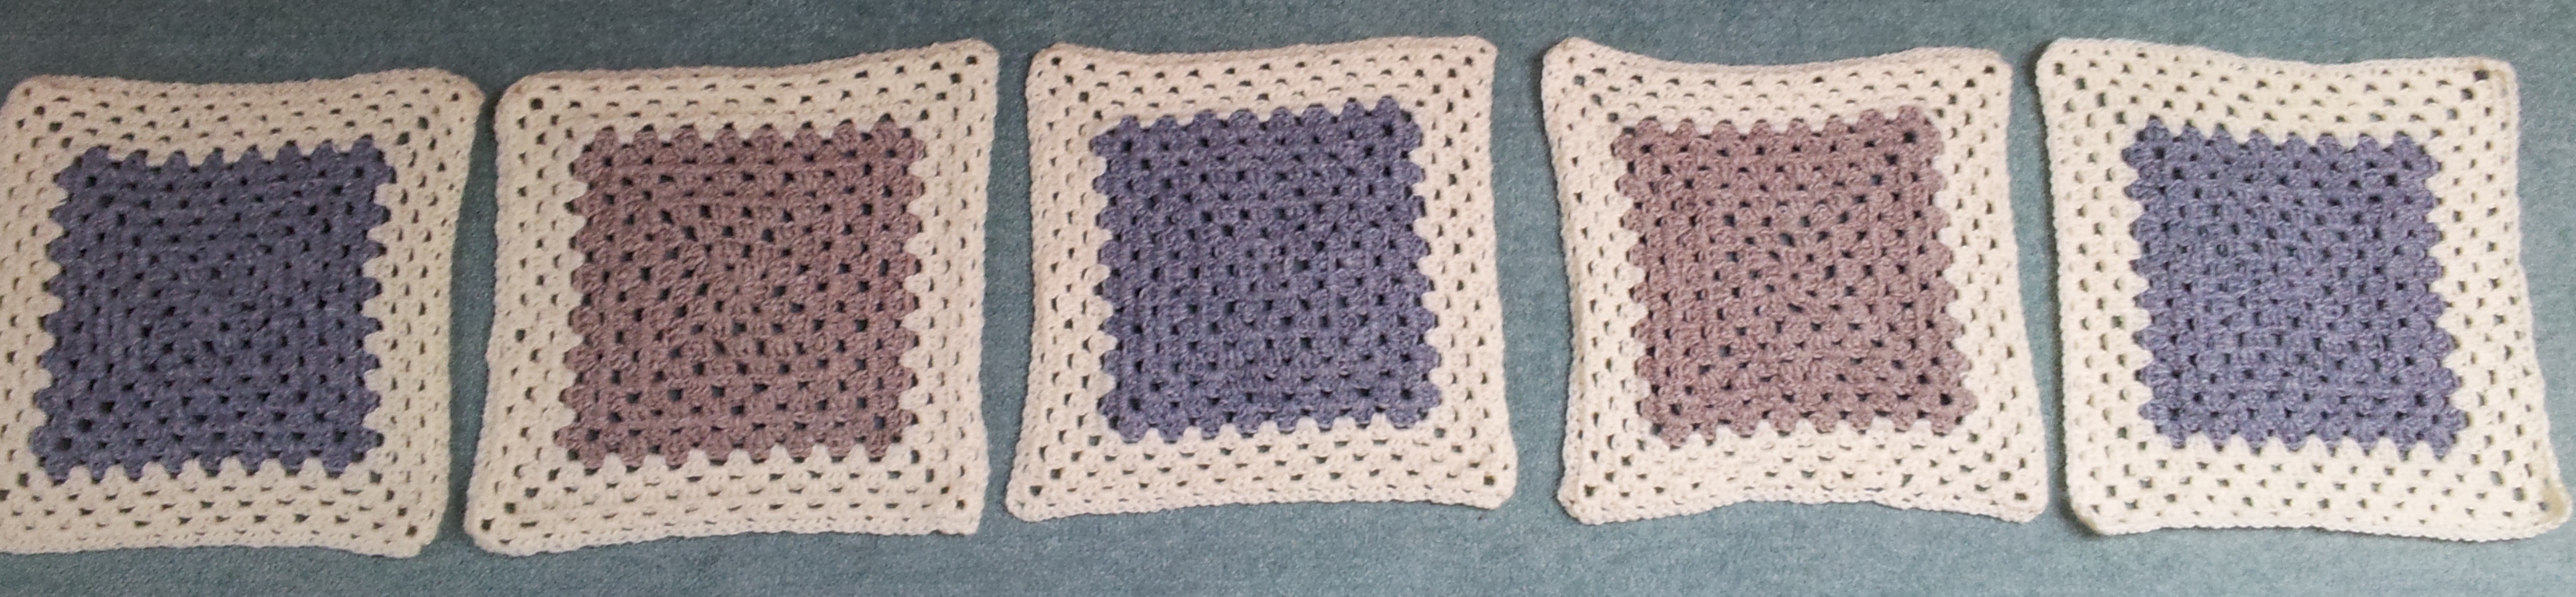
Step 5: Design your remaining sides
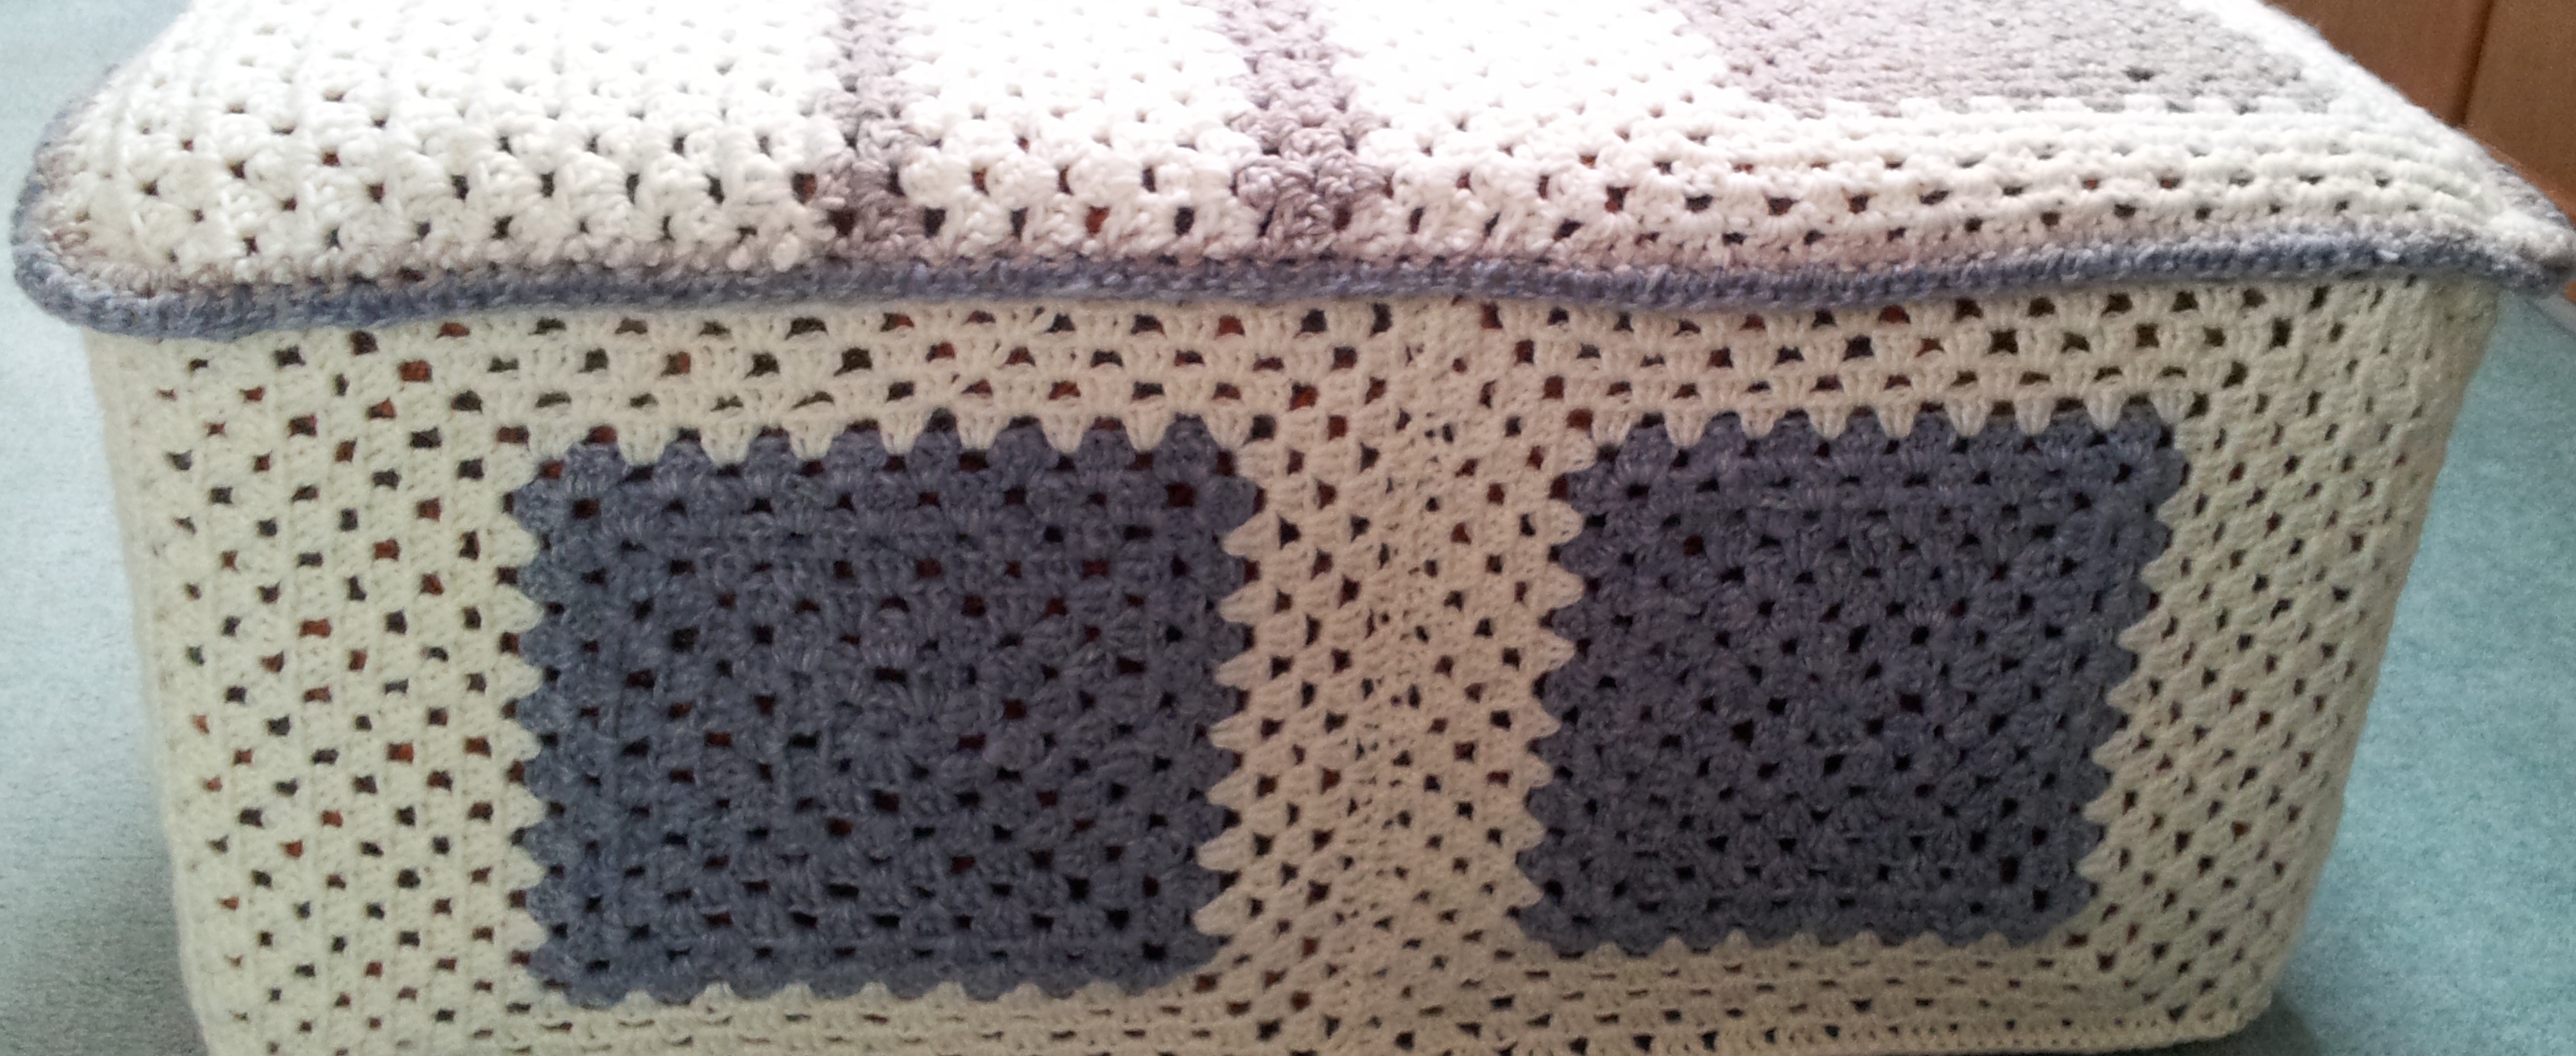
To be true to my covers’ ‘Granny Square’ influence, I crocheted a series of Granny squares in fawn and grey until all the Falkland Yarn had been used up.

Cream edges were added…….
and squares sewn together. My original plan was to join 4 squares to form the front circular panel, however, when I went to stitch the front and top together realised the front panel was too long.

A little bit of ‘adaptation’ (unpicking a seam to leave 3 Granny squares and widening the panel with a few more rows of cream) soon had the front panel fitting!
Step 6: Join your pieces together.
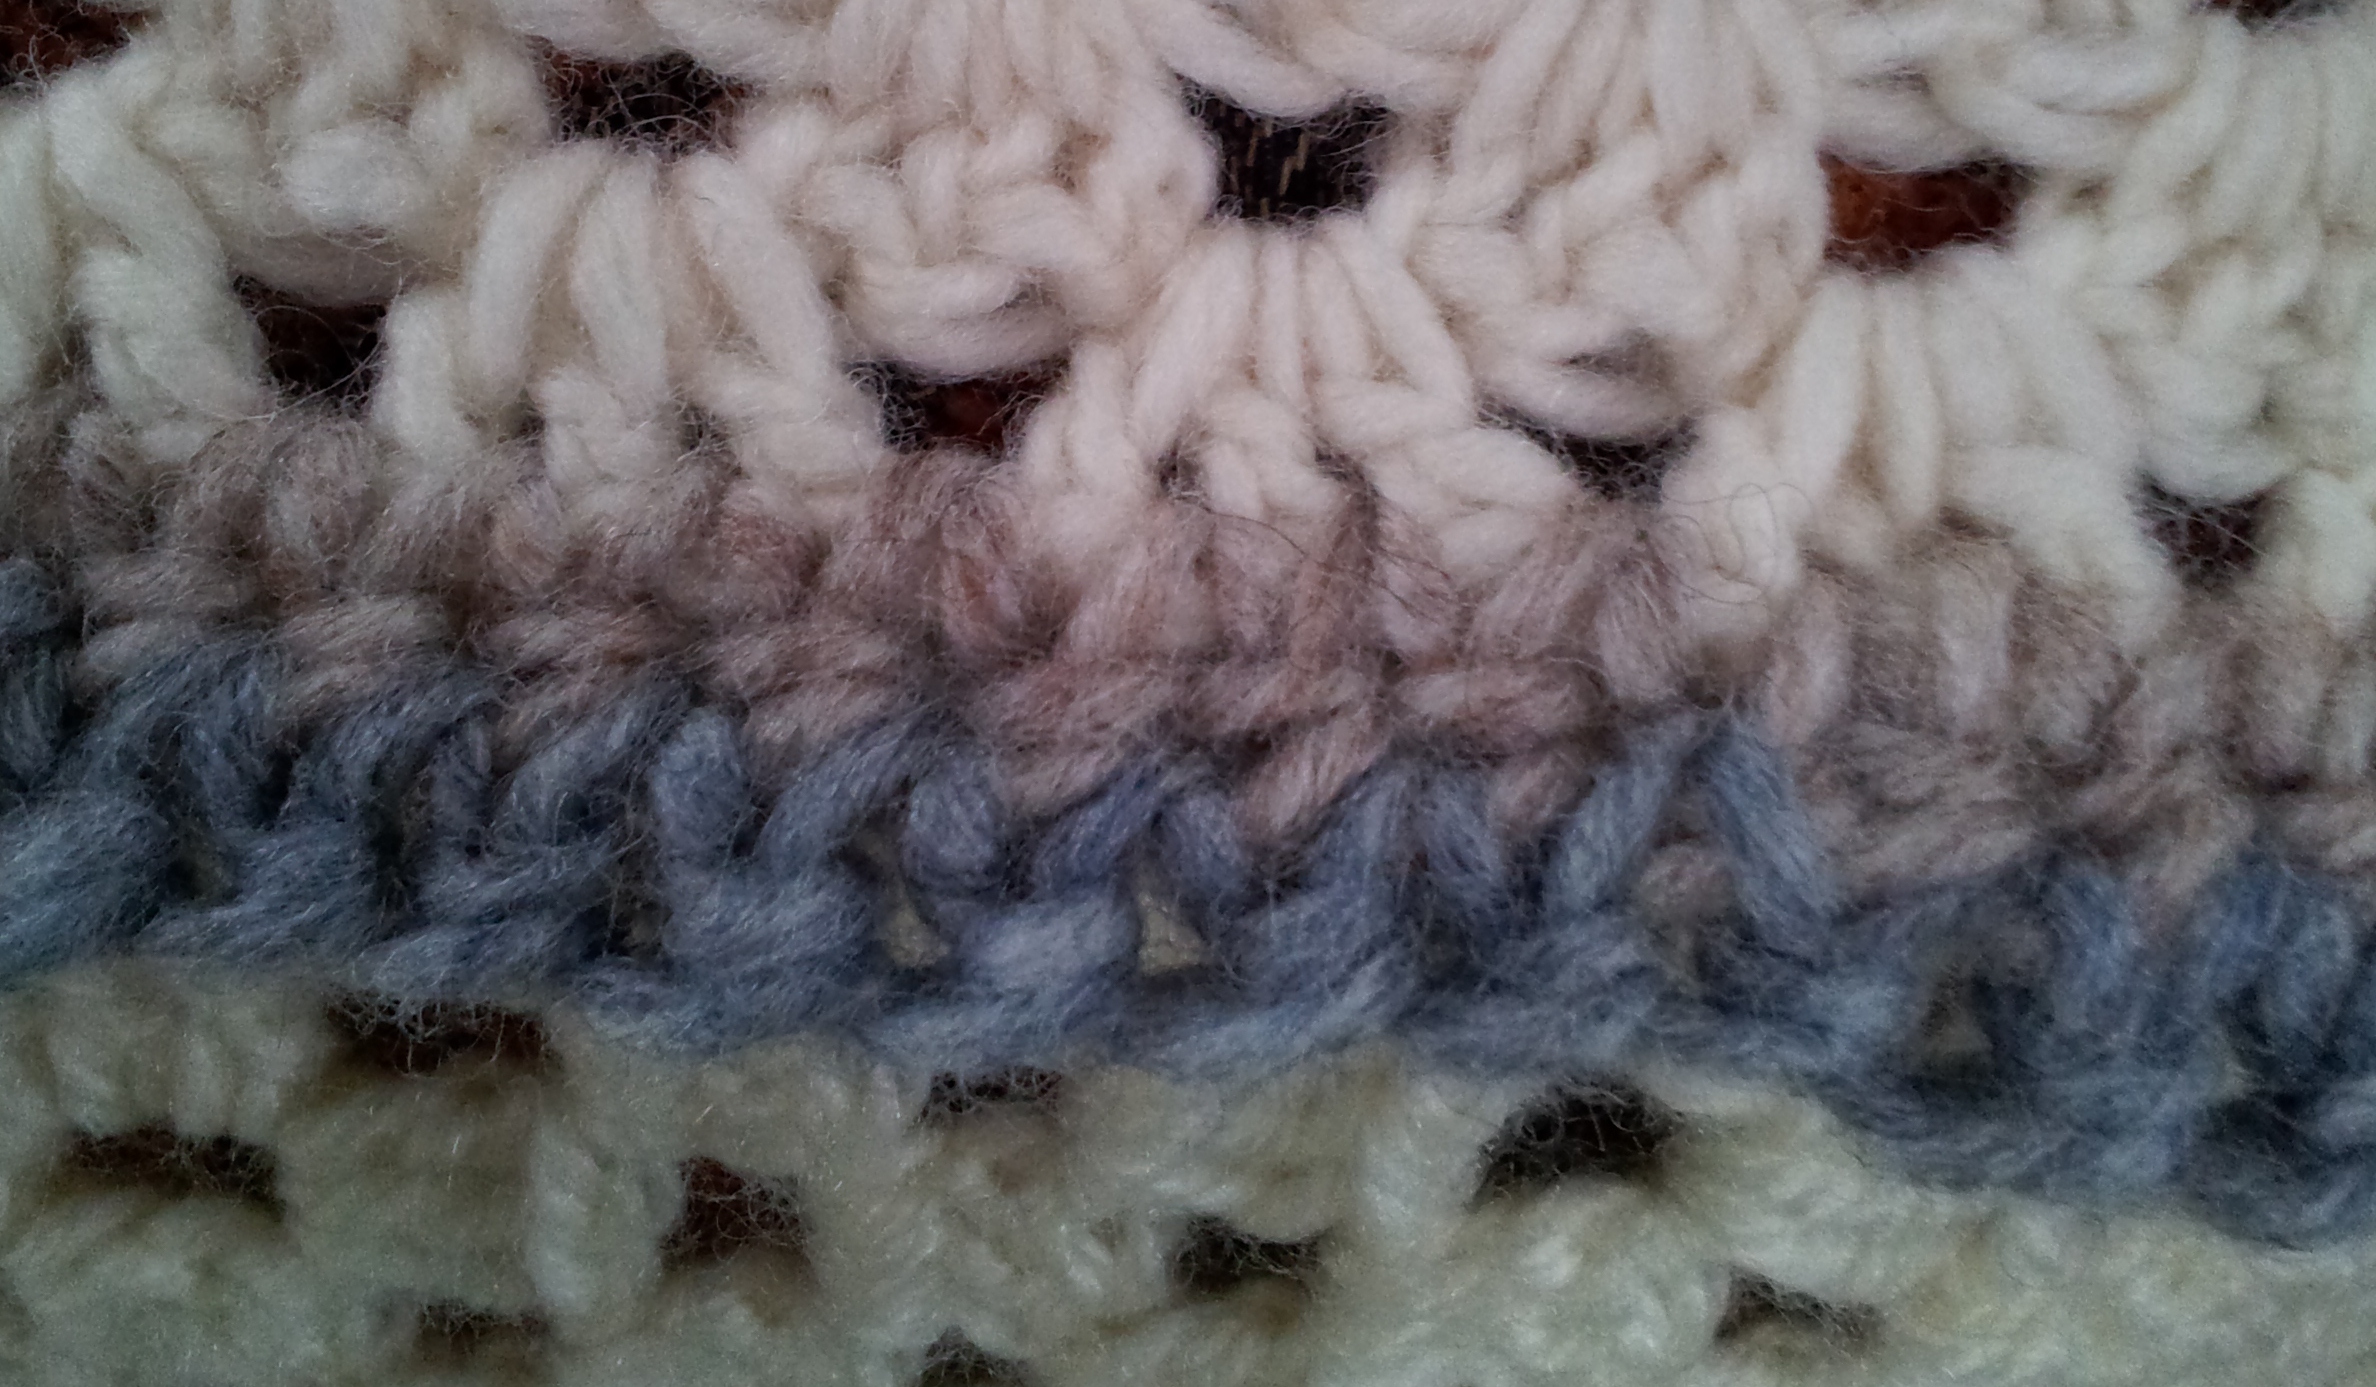
It’s up to you how you do this – crochet or hand sew. To hide the shade difference between the cream Falkland Island and Stylecraft yarn I first crocheted a coloured border.
Step 7: Make any adjustments.
Pop your cover over the object to check its fit. My foot stool cover wasn’t quite long enough so I took it off and added an extra row.
‘First Fitting’

and Second..

Step 8: Enjoy!
One finished cover…
from the front….

side……
…..and ready for use!

Pingback: 10 DIY Futon Cover Ideas that Will Change Your Futon Forever
this is great!
Thank you. x
Very creative!
Thank you. I love your tezzie hats. X
What a great idea! Love the mix of colours 🙂
Thank you. X
LOVE your cover. This is a great post. The possibilities are endless. Thanks for sharing such an inspirational idea with us.
Thank you for your lovely feedback. What’s great is that it feels as snuggly as it looks. X
I have no doubt!!
Splendid! 🙂
Awesome! Now you’ve got my head spinning with ideas for a certain couch. But would that be too ambitious?
Sounds fab. You could always start with one of the cushions! X
Excellent and you make it sound so simple!
Thank you so much. X
This is so lovely! I wish I had such gorgeous yarn in my stash and such a lovely project to use it for :). Well done on making your own pattern up and for such a great tutorial! Thanks!
You’re welcome. Thank you for your kind feedback. X