
 I have just got back from my first ever free-hand machine embroidery session and totally loved it! I would encourage anyone to have a try – it was so therapeutic as there is no need to keep your lines straight – you just go with your instinct and let your thread and needle do the ‘painting’.
The course was delivered by Lara Sparks @ The Eternal Maker in West Sussex. Lara was a superb tutor and her work is amazing.
To help remember some of the key things I learnt today I thought it would be a good idea to jot down a few notes.
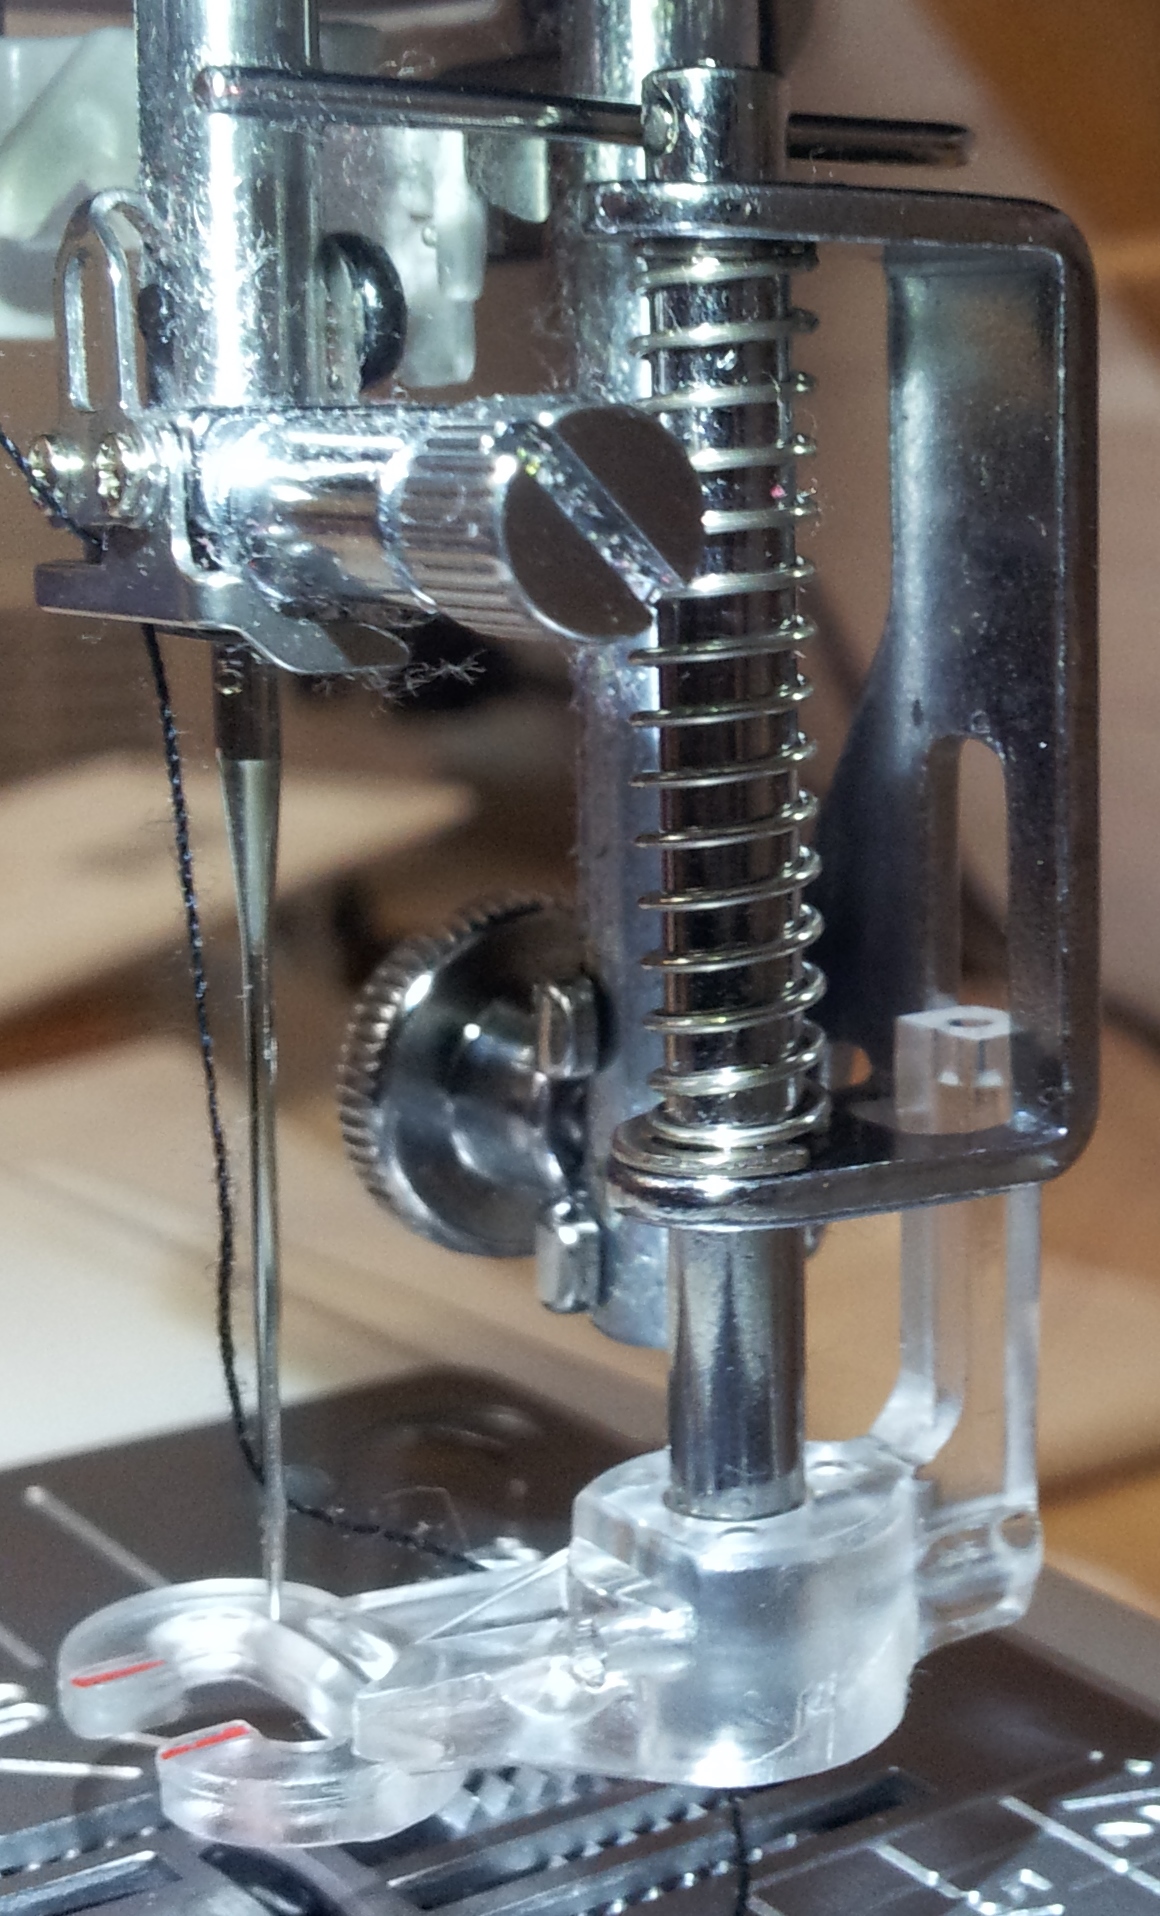
Here’s my darning foot, although not essential, it is a great tool as it stops your fabric riding up with the needle.
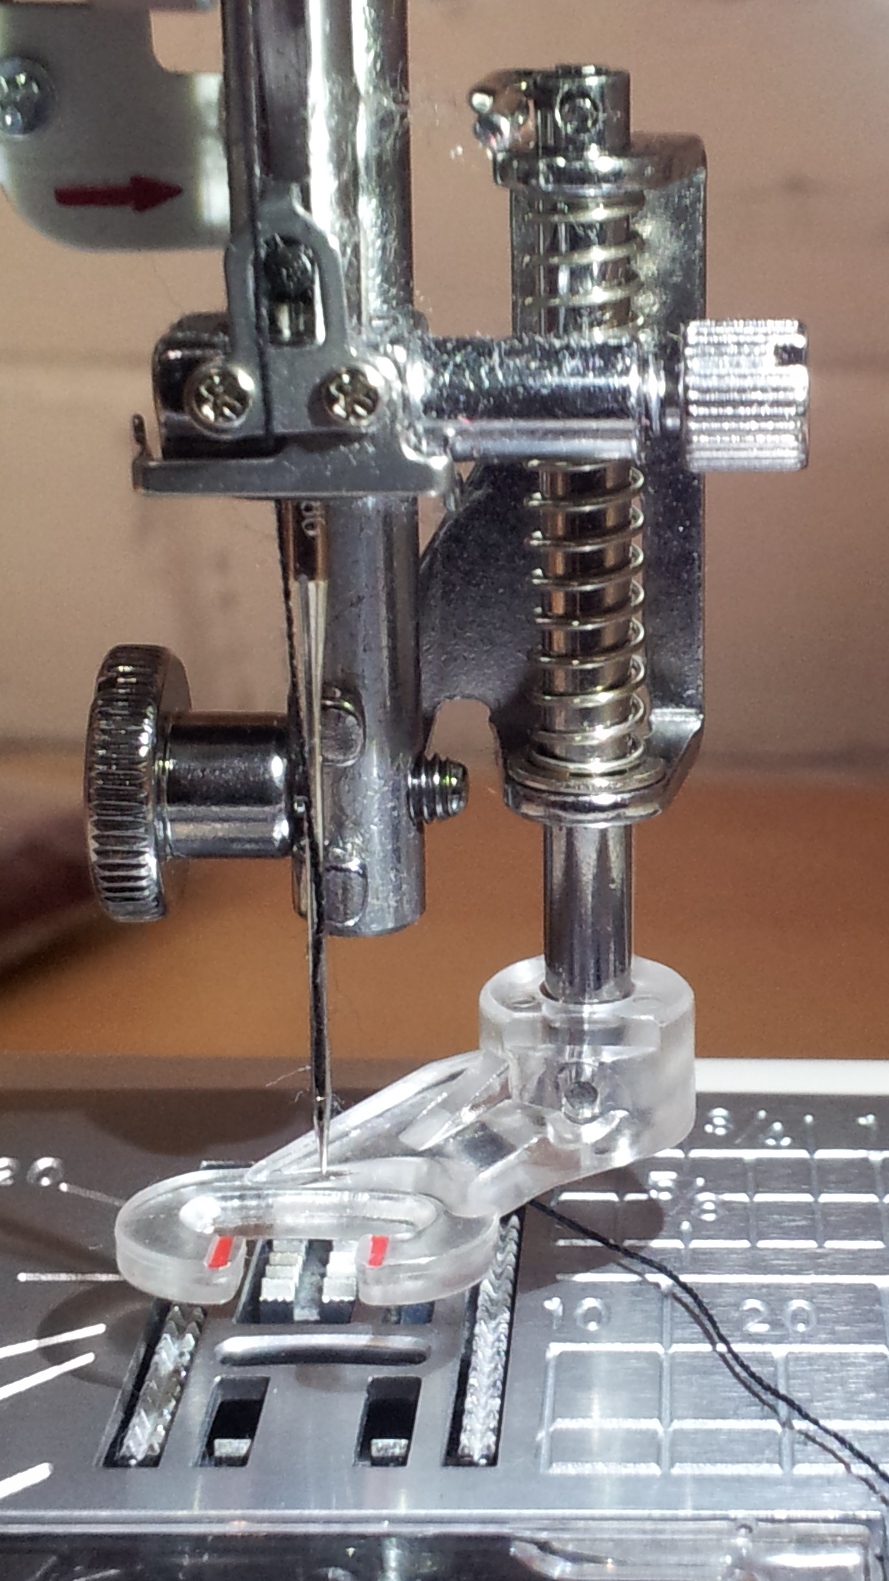
Before you start your embroidery you need to lower your feed dogs and make sure your presser foot is in its down position so the correct tension is applied to the thread. If you have a machine that has a stop / start button it is a good idea to attached your foot pedal so you have both hands free to move the fabric. Start each stitching group with your needle in the down position.
To get used to the feel of free hand / motion embroidery it’s important to practice your stitches by forming some shapes. If you have your fabric clamped in an embroidery hoop it helps to keep it taut (work into the ‘dip’ so your fabric is flat on your machine). Here’s my first piece of practice!

Although this may seem a bit backwards, I found the embroidery was easiest when I had my machine on max speed as it created lots of stitches. As I was in control of moving the fabric I could still slide the material at the speed I wanted but with the needle working faster shorter stitches were made.
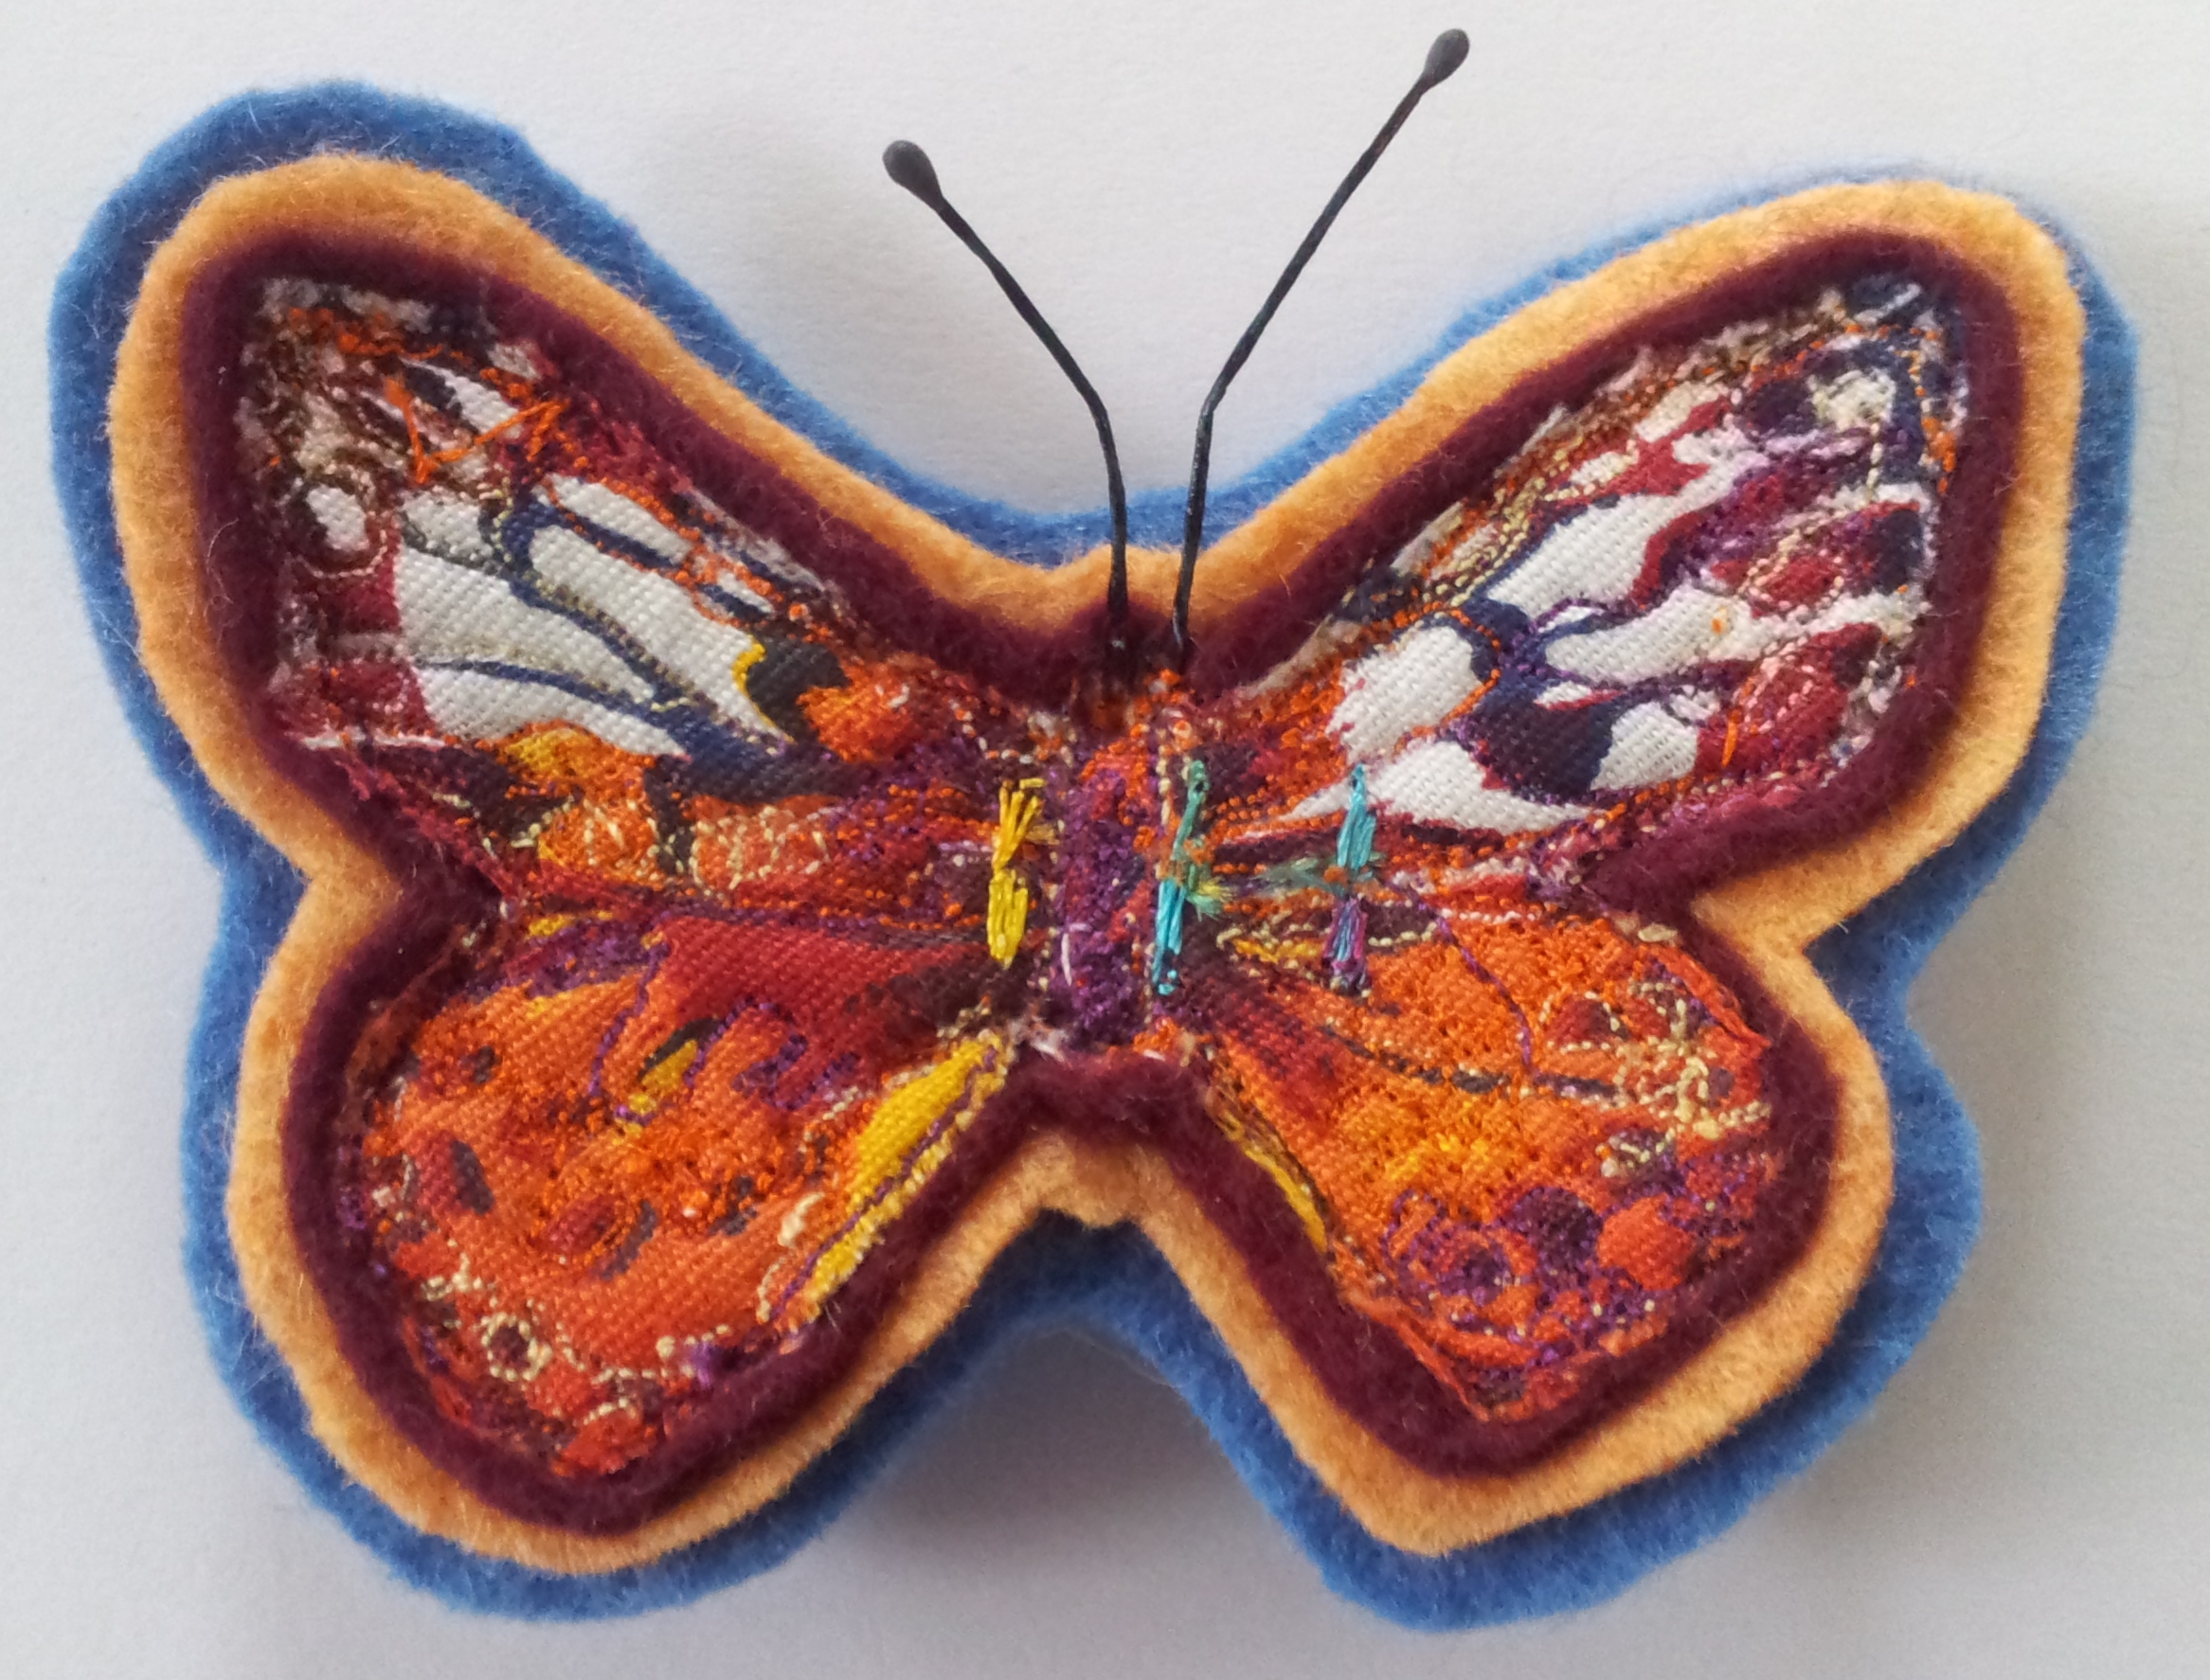
The session I attended was great as Lara quickly encouraged you to moved onto creating a gorgeous butterfly brooch.
To give the butterfly brooch stability it was formed from 3 layers of felt. The butterfly shape was first cut out, attached to the top layer of felt with a double-sided fabric adhesive (e.g. Bondaweb) and then the outline was sewn.
The embroidery detail was added once the second layer of felt was attached before the outline was again sewn when the third layer was joined.
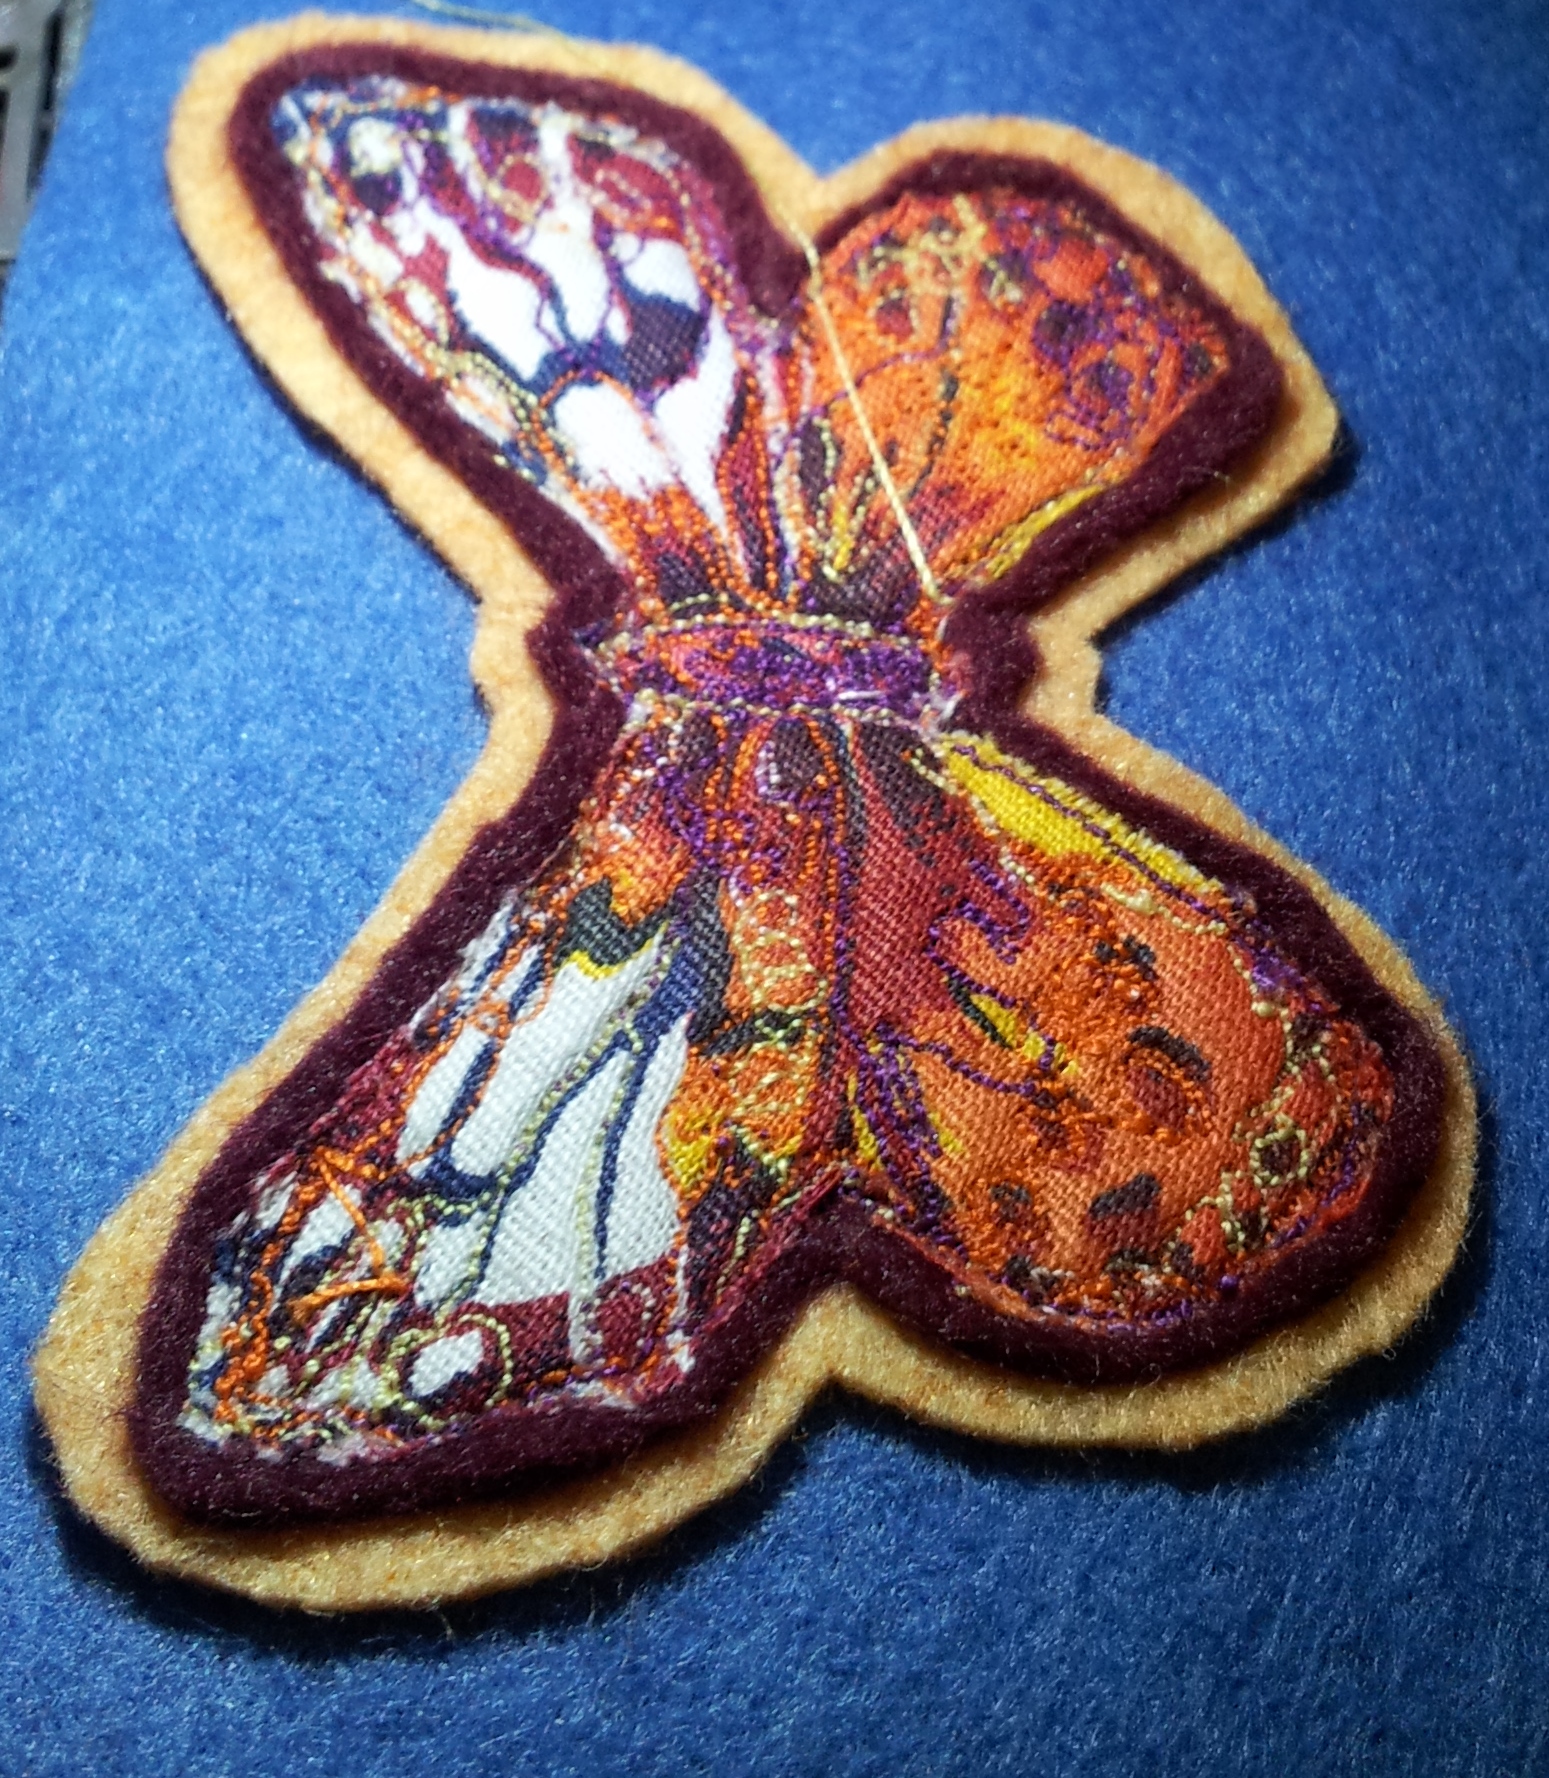
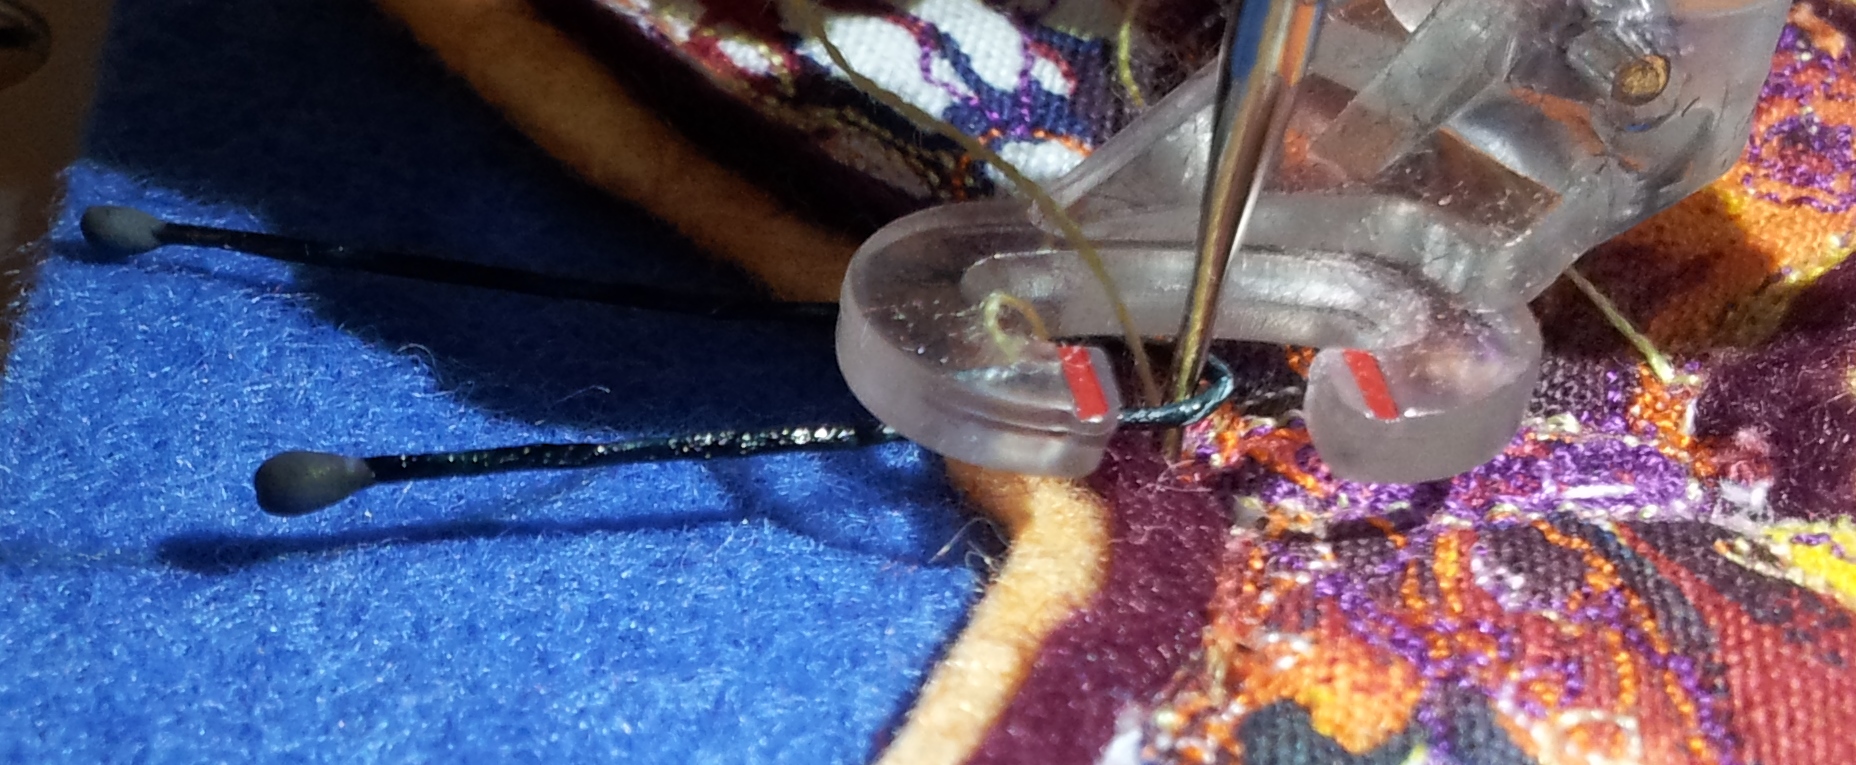
For the butterfly antenna Lara’s great tip was to use a florists flower stamen.
And before long a brooch clasp was attached and my first ever piece of free-hand / motion embroidery creation was finished! Awesome!
Our next challenge was to create either a picture or cushion cover panel – as you can see from the picture below I made a seaside canvas for my bathroom.
The process for creating my textile “work of art” went something like this:
-
Stabilise your background fabric with a medium weight interfacing (I used some Linen and F220 Vilene)
-
Iron some double-sided fabric adhesive onto the back of the fabrics you are going to use for the picture pieces – keep one side of the backing paper attached.
-
Draw your picture pieces onto the back of your fabric adhesive backing paper and cut out your shapes – Lara had some great templates which really helped.
-
Remove the backing paper and iron your picture pieces onto your fabric background to fix in place.
-
Add lots of detail with free hand embroidery – you can outline your pieces in loops, dots, zigzag as well as straight lines. One lady on the session made some fabulous flowers by adding lots of free-hand petal shapes which extended over the edge of her fabric flower pieces.
-
Add texture with lots of lovely stitches such as waves, pebbles etc. The next time I get my machine out I’m going to try a speckled effect – I think you do this by using an ‘invisible’ top thread and normal colour in your bobbin. To help the bobbin thread show through you increase the top threads tension.
Although I am a complete beginner I’m already hooked! Would love to hear any of your ‘top tips’ for free-hand / motion embroidery for things I can try out next!

I also have been on the day course with Lara last year. Wow! I am much more creative in my sewing now, made all my christmas cards(50) and am now retiring from being a headteacher to sewing and this course was for me life changing! I love sewing, just like you. In life you need to do what you enjoy, and never stop learning!
50 Christmas cards is amazing! Lara is totally amazing. It will be wonderful for you to have so much more free time to create and play. Like you, I totally love learning and truly believe you need to follow your passion and dream whatever your age.
Your picture is great! I find this technique quite addictive!
Thank you, I know what you mean – its so therapeutic.
Great blog! I want to try an art quilt, actually I’ll probably start with a mug rug and make a scene. Very nice. I love both the simplicity but attention to detail all at the same time.
Great blog! I want to try an art quilt, actually I’ll probably start with a mug rug and make a scene. Very nice.
Thank you. Loving the term art quilt, good luck with yours. X
Freehand embroidery is the next craft I’d love to try! Working full-time limits my creative time unfortunately. Your first attempt is brilliant and I love the seaside theme.
Thank you. X
I so agree with your comments. I have also spent the day with Lara. Super day, super tuition, super everything!
Hi and thank you so much for following my blog – it is an honour for me to have you around! I love this post about starting out with FMQ because it is something that I have just started on as well – in fact my first project is Poppy’s Place and is on my blog. I loved doing this so much and this was my practice piece because I have Poppy’s full size quilt to work on next!!! GULP! I love Leah Day and I signed up to her Craftsy.com course as well as a few others – which has been an incredible revelation. You may want to pop over there to see what they have going on – I LOVE Craftsy! Take care and happy stitching. Michele
Thanks for taking the time to send me a comment. Will be popping over to see Poppy Place on you blog, bet it’s fab. Thanks for sharing. X
Sounds like you had a fun and productive day!
It was, I can’t wait to do some more. x
Just, found you! What an amazing blog. Free hand machine embroidery is the next craft I hope to practice in. Those tips will be really useful
Love the seaside pic and the butterfly ! Definitely will be trying both of these myself once current projects finished. Have recently started teaching myself this kind of embroidery and enjoy it so much.
Thank you. It’s great fun. X
This is amazing! I am taking a free motion class on craftsy …you have just inspired me to finish watching it!
Thank you. It has made my day to hear that I have inspired you. X
I love them both! Those pebbles are adorable. Abigail x
Thank you – they were great fun and very easy to do. x
Thanks for sharing it! I bought a free-hand embroidery foot quite a while ago, but never even tried it… Your seaside picture looks so beautiful… I have to try this!
Its great fun – let us know how you get on. x
Hi Stichsharer, I found your blog on a post on the DM and love your patterns as they look quick and easy. My main hobby at present is beading but I tend to go with wherever my mood takes me and I used to love knitting and crocheting small projects. Many thanks for sharing.
You’re welcome, thanks for finding me! As I’m sure you have gathered from my blog i’m a bit of a butterfly myself!
Thanks Stitchsharer, it is nice to find a varied blog where the only limits are imagination. I hate feeling ‘hemmed in’ by any particular craft or supplier as I think blending styles gives the most satisfaction.
Thank you, really glad you like the variety. Stitching is so much fun especially when you get to try out lots of different techniques. X
Oh wow! Very impressed with your first attempts. I REALLY struggle with this. Not sure if it is me or my machine… I find it hard to control the speed. I could really do with a workshop on it.
I know what you mean about the speed. It confused me a bit until I realised that I could move my fabric at whatever speed I wanted.