
I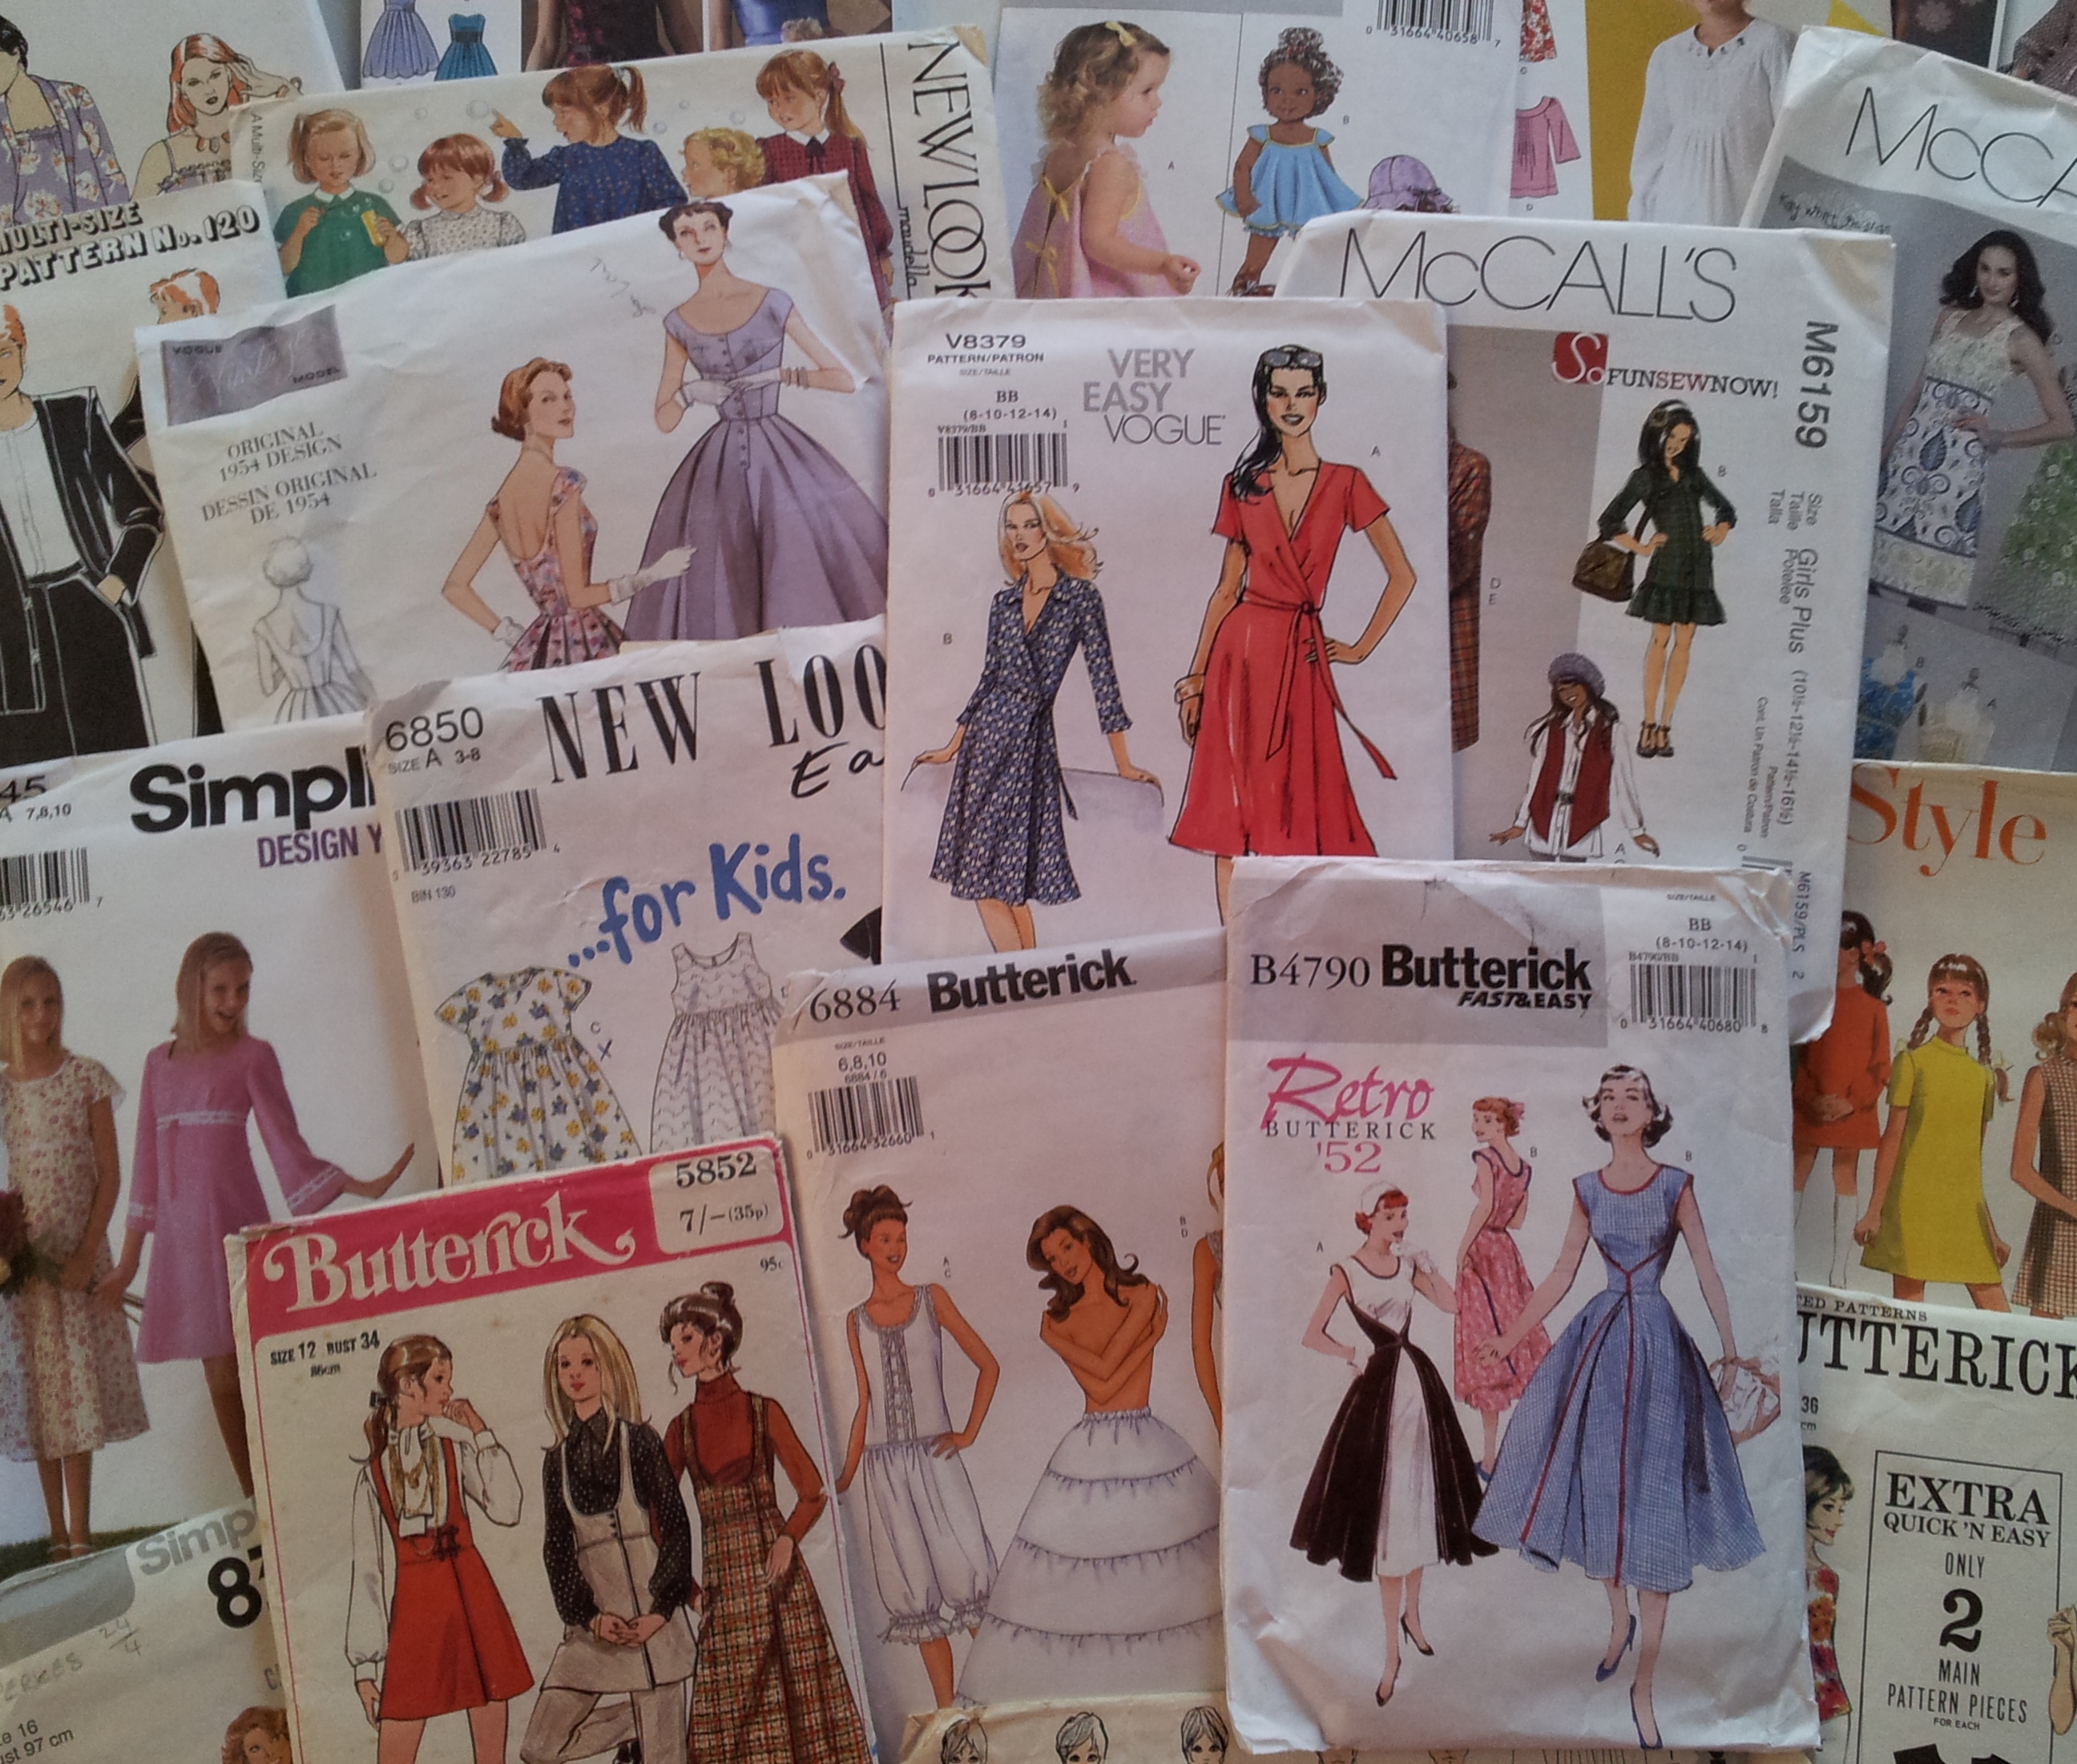 f you were inspired by last nights ‘Great British Sewing Bee’ or always wanted to make an item of clothing, but weren’t quite sure where to start this post is for you!
When it comes to choosing your first pattern, most sewing shops will have a pattern book or catalogue. Each page will show you a picture of the finished article, provide information on the range of sizes the garment comes in and gives an indication of the patterns level of difficulty.
If this is your first attempt at using a pattern, I would definitely choose one that states it either very easy or easy.
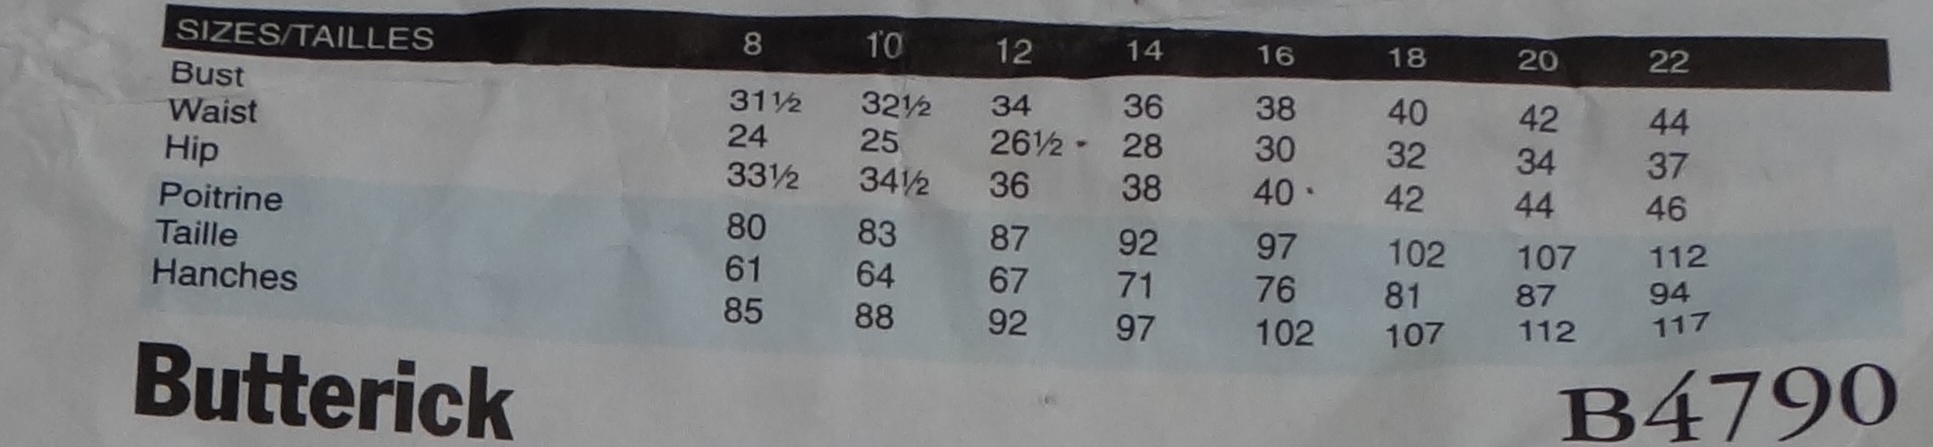
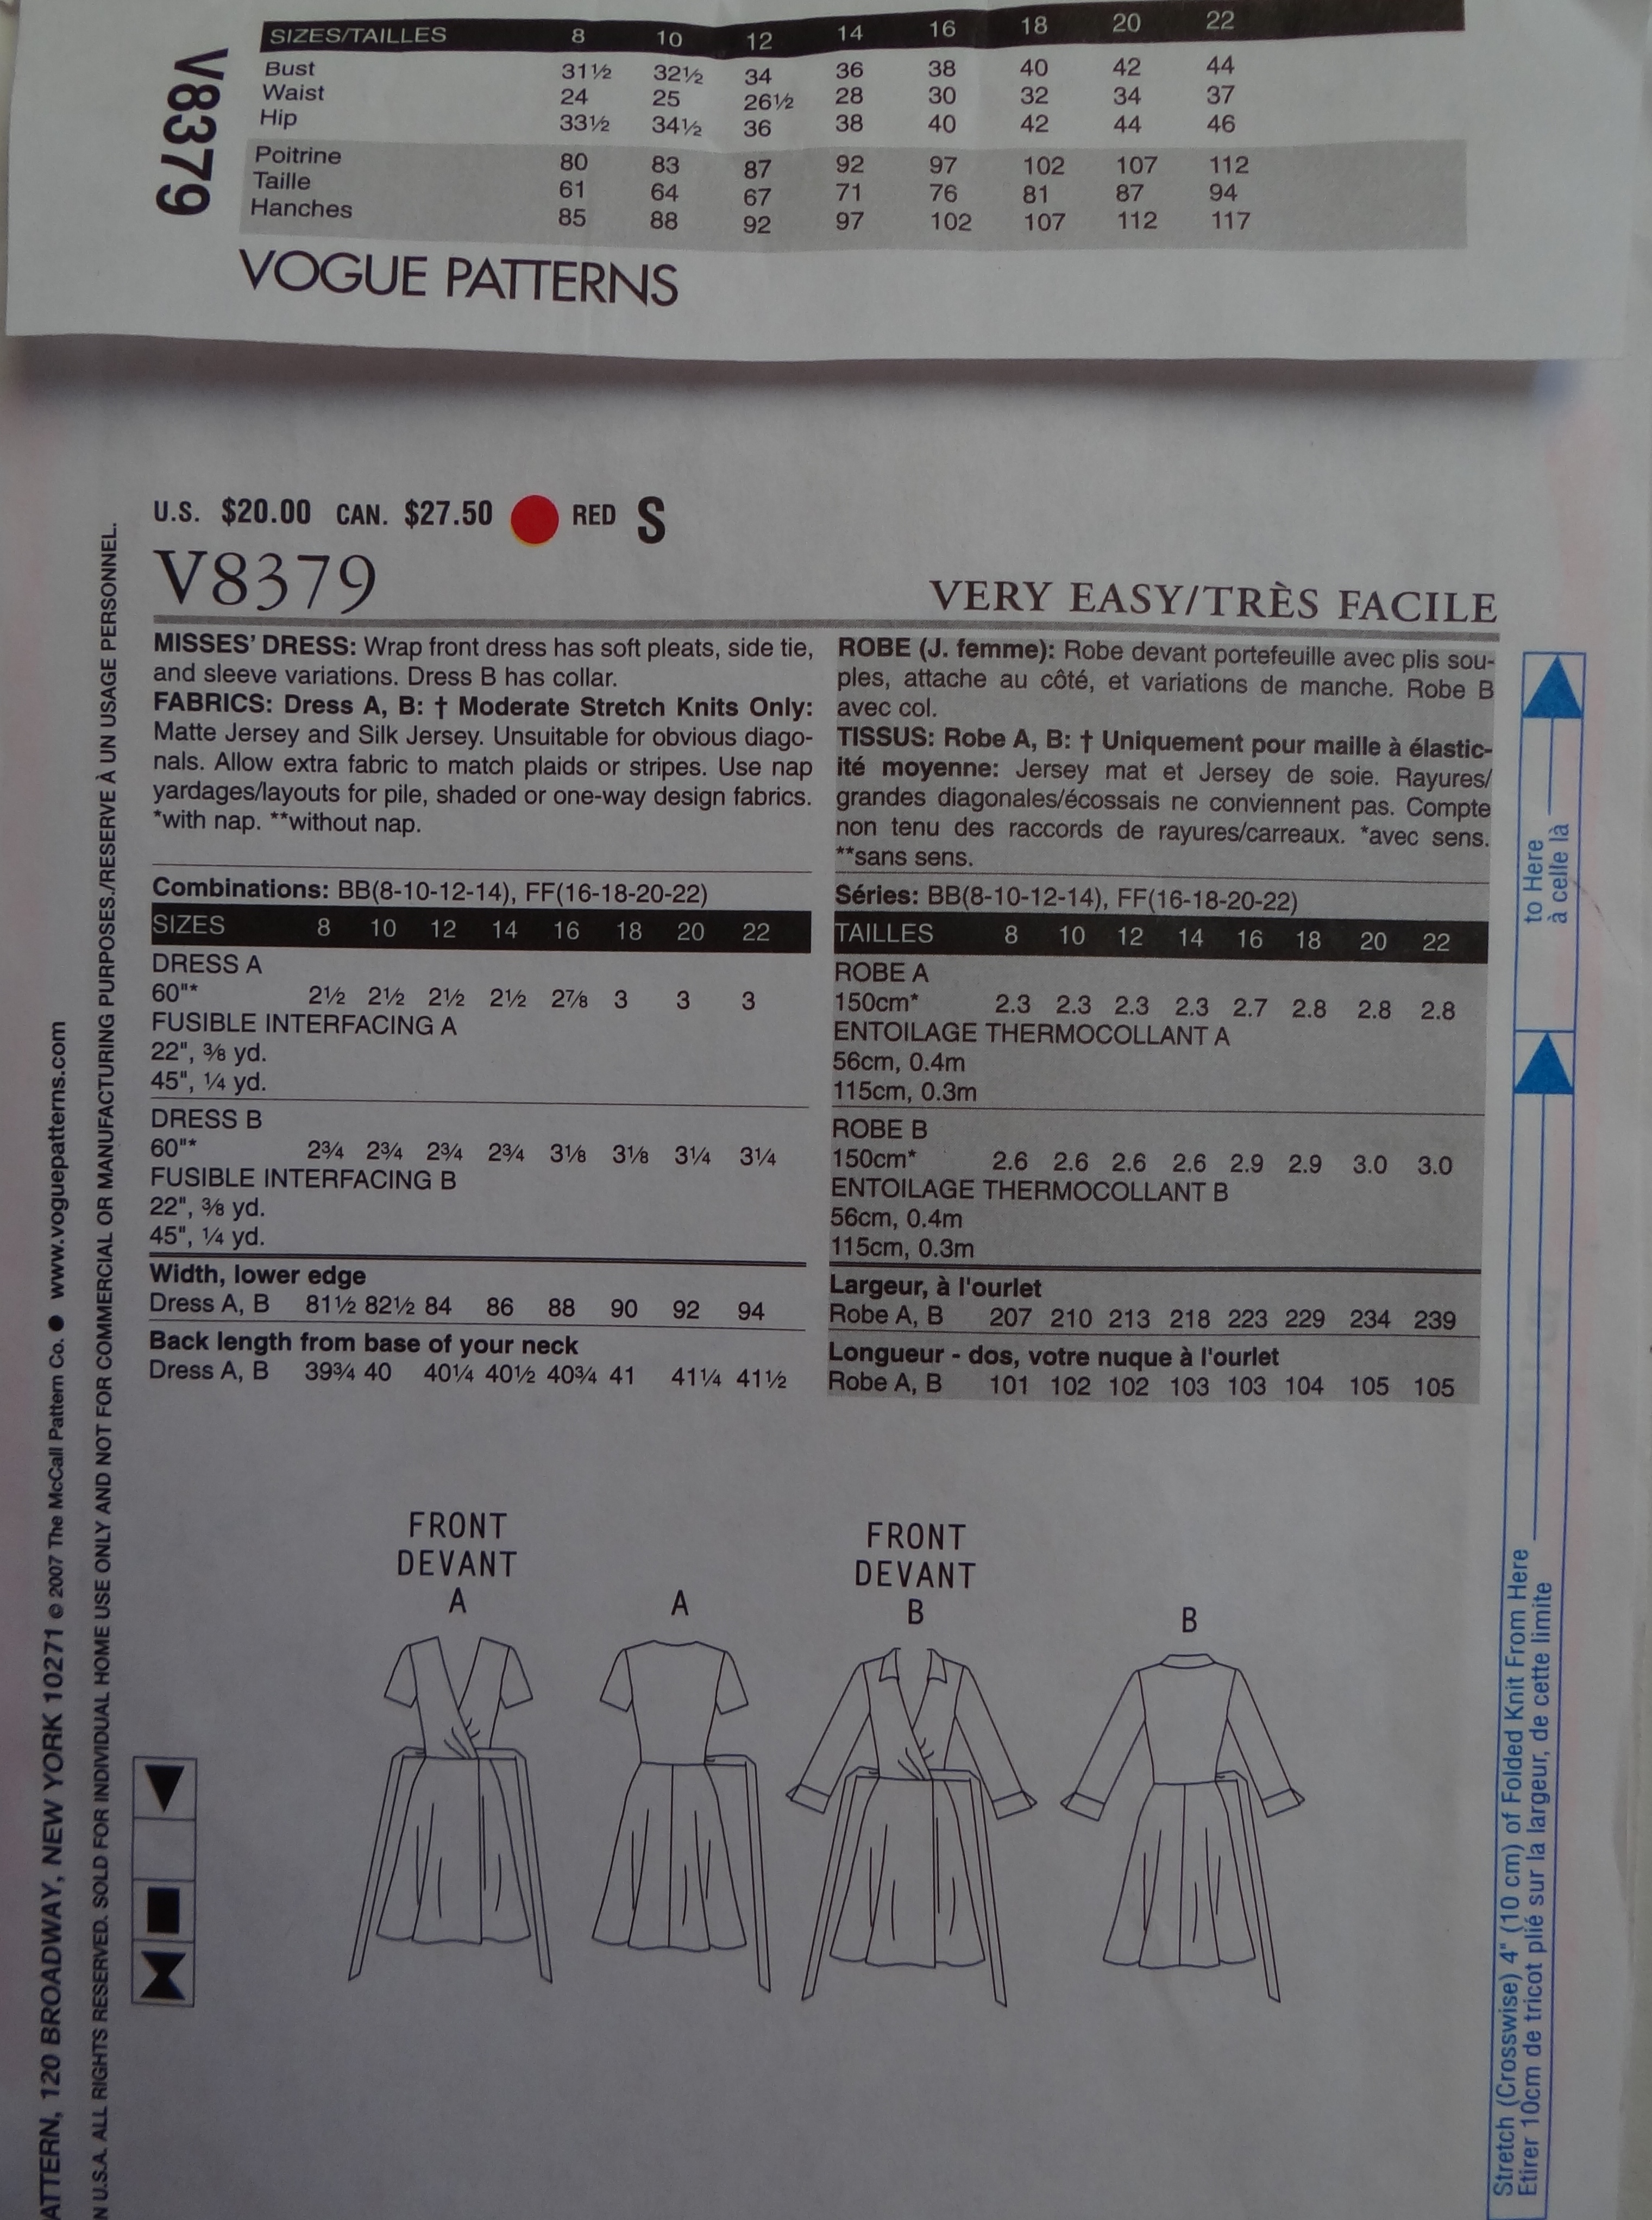
Most patterns come in a range of sizes and when it comes to choosing the pattern size you need make sure you are guided by the patterns measurements rather than your shop brought dress size. For example, I am normally a size 12, but need to use at least a size 14 pattern when it comes to making my own clothes to allow a 36 inch bust.

The pattern itself consists of 3 main parts: the envelope – which shows you a diagram of the garment you are making and gives fabric requirements, the instruction sheet explaining how to put your item together and the pattern itself, which is normally printed on tissue paper.
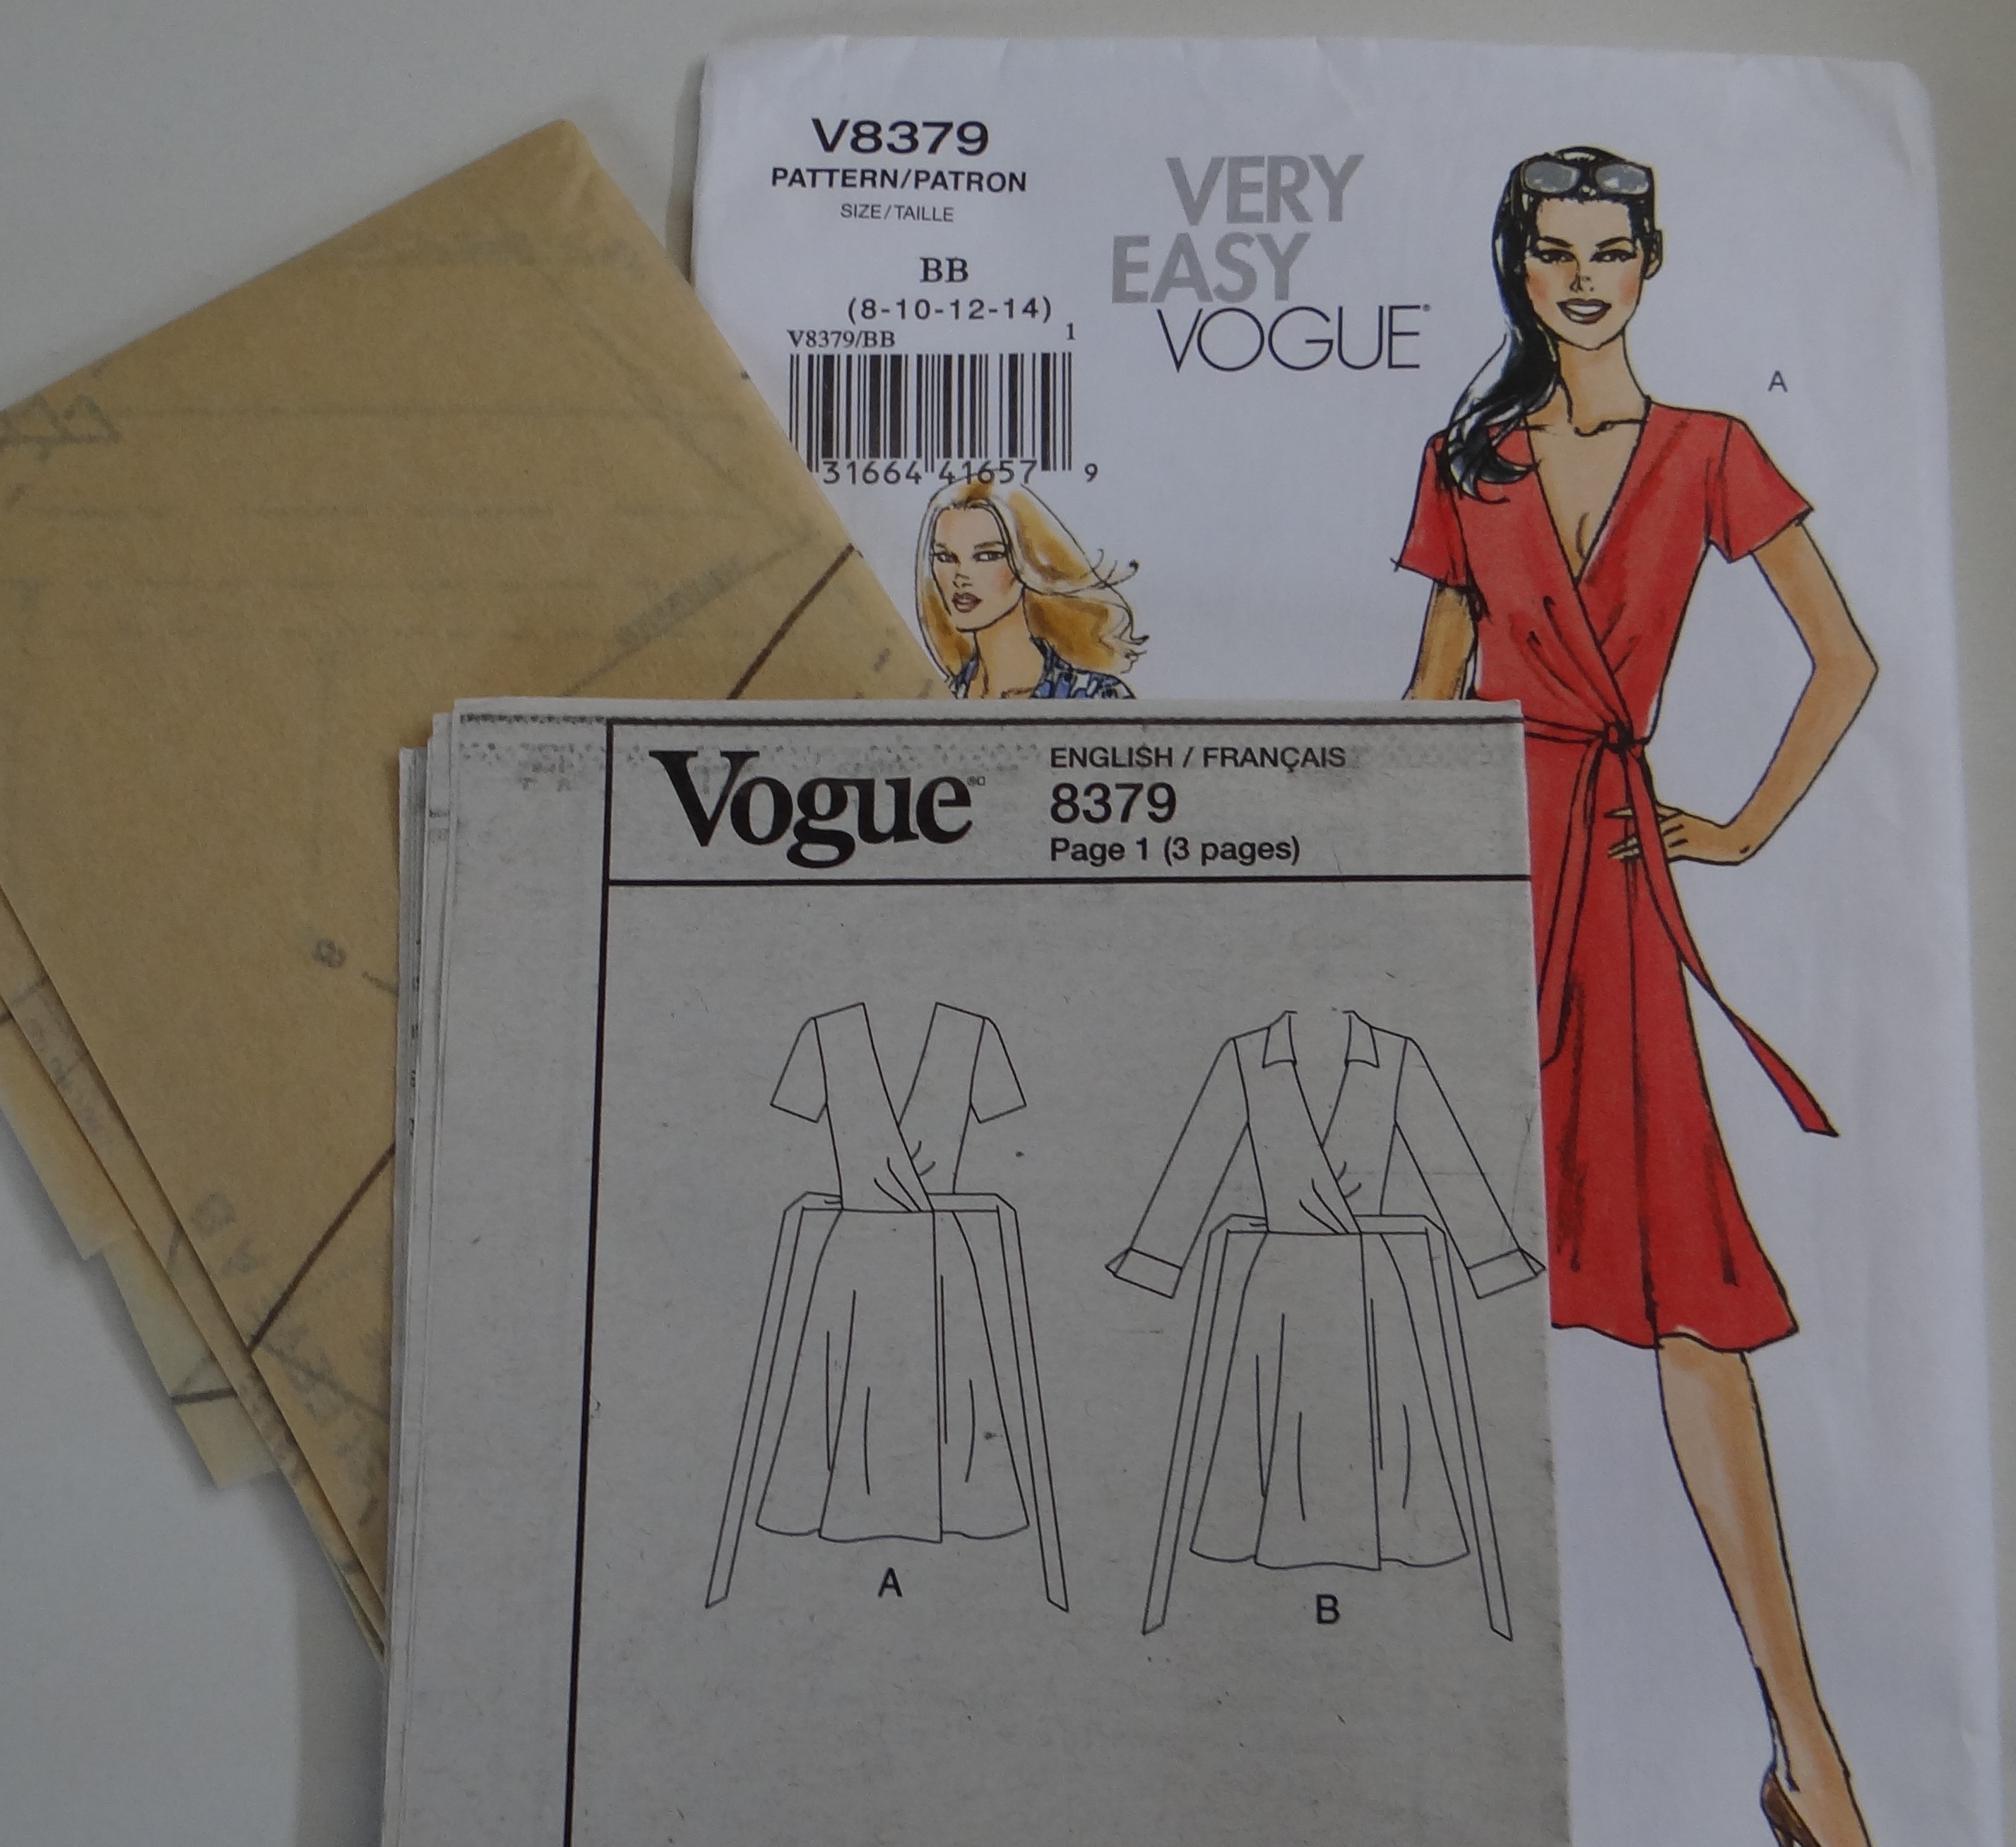
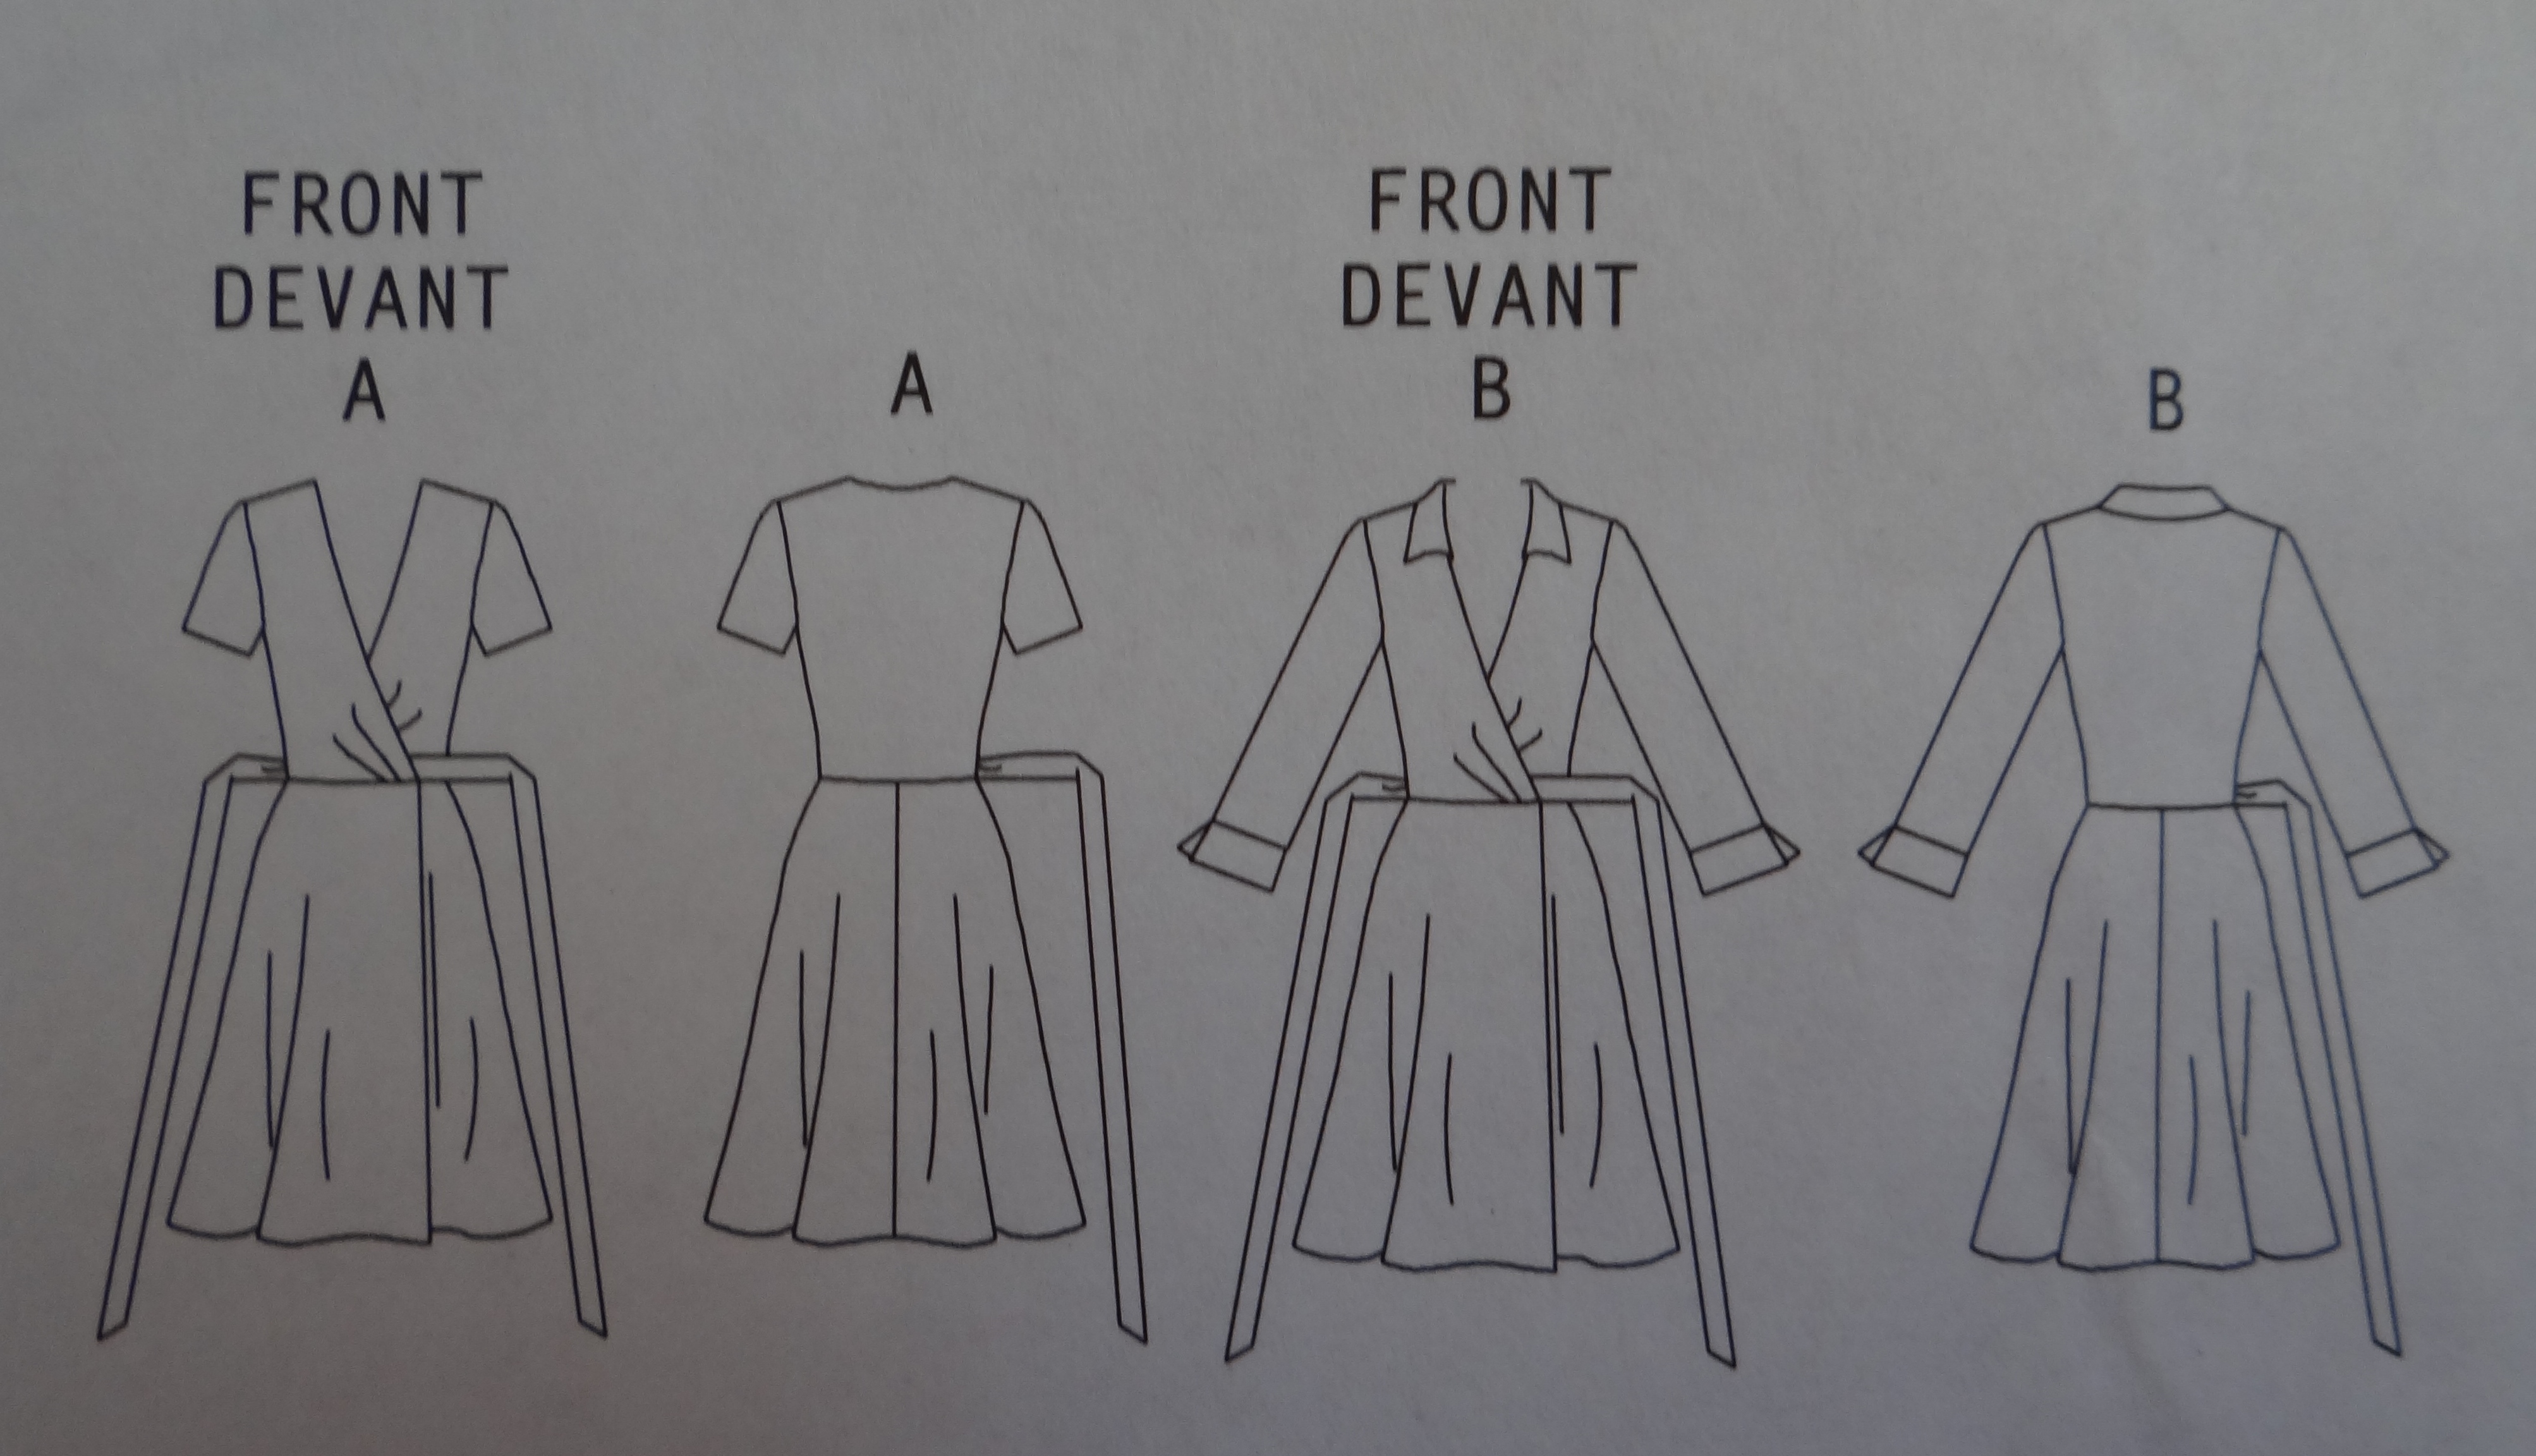
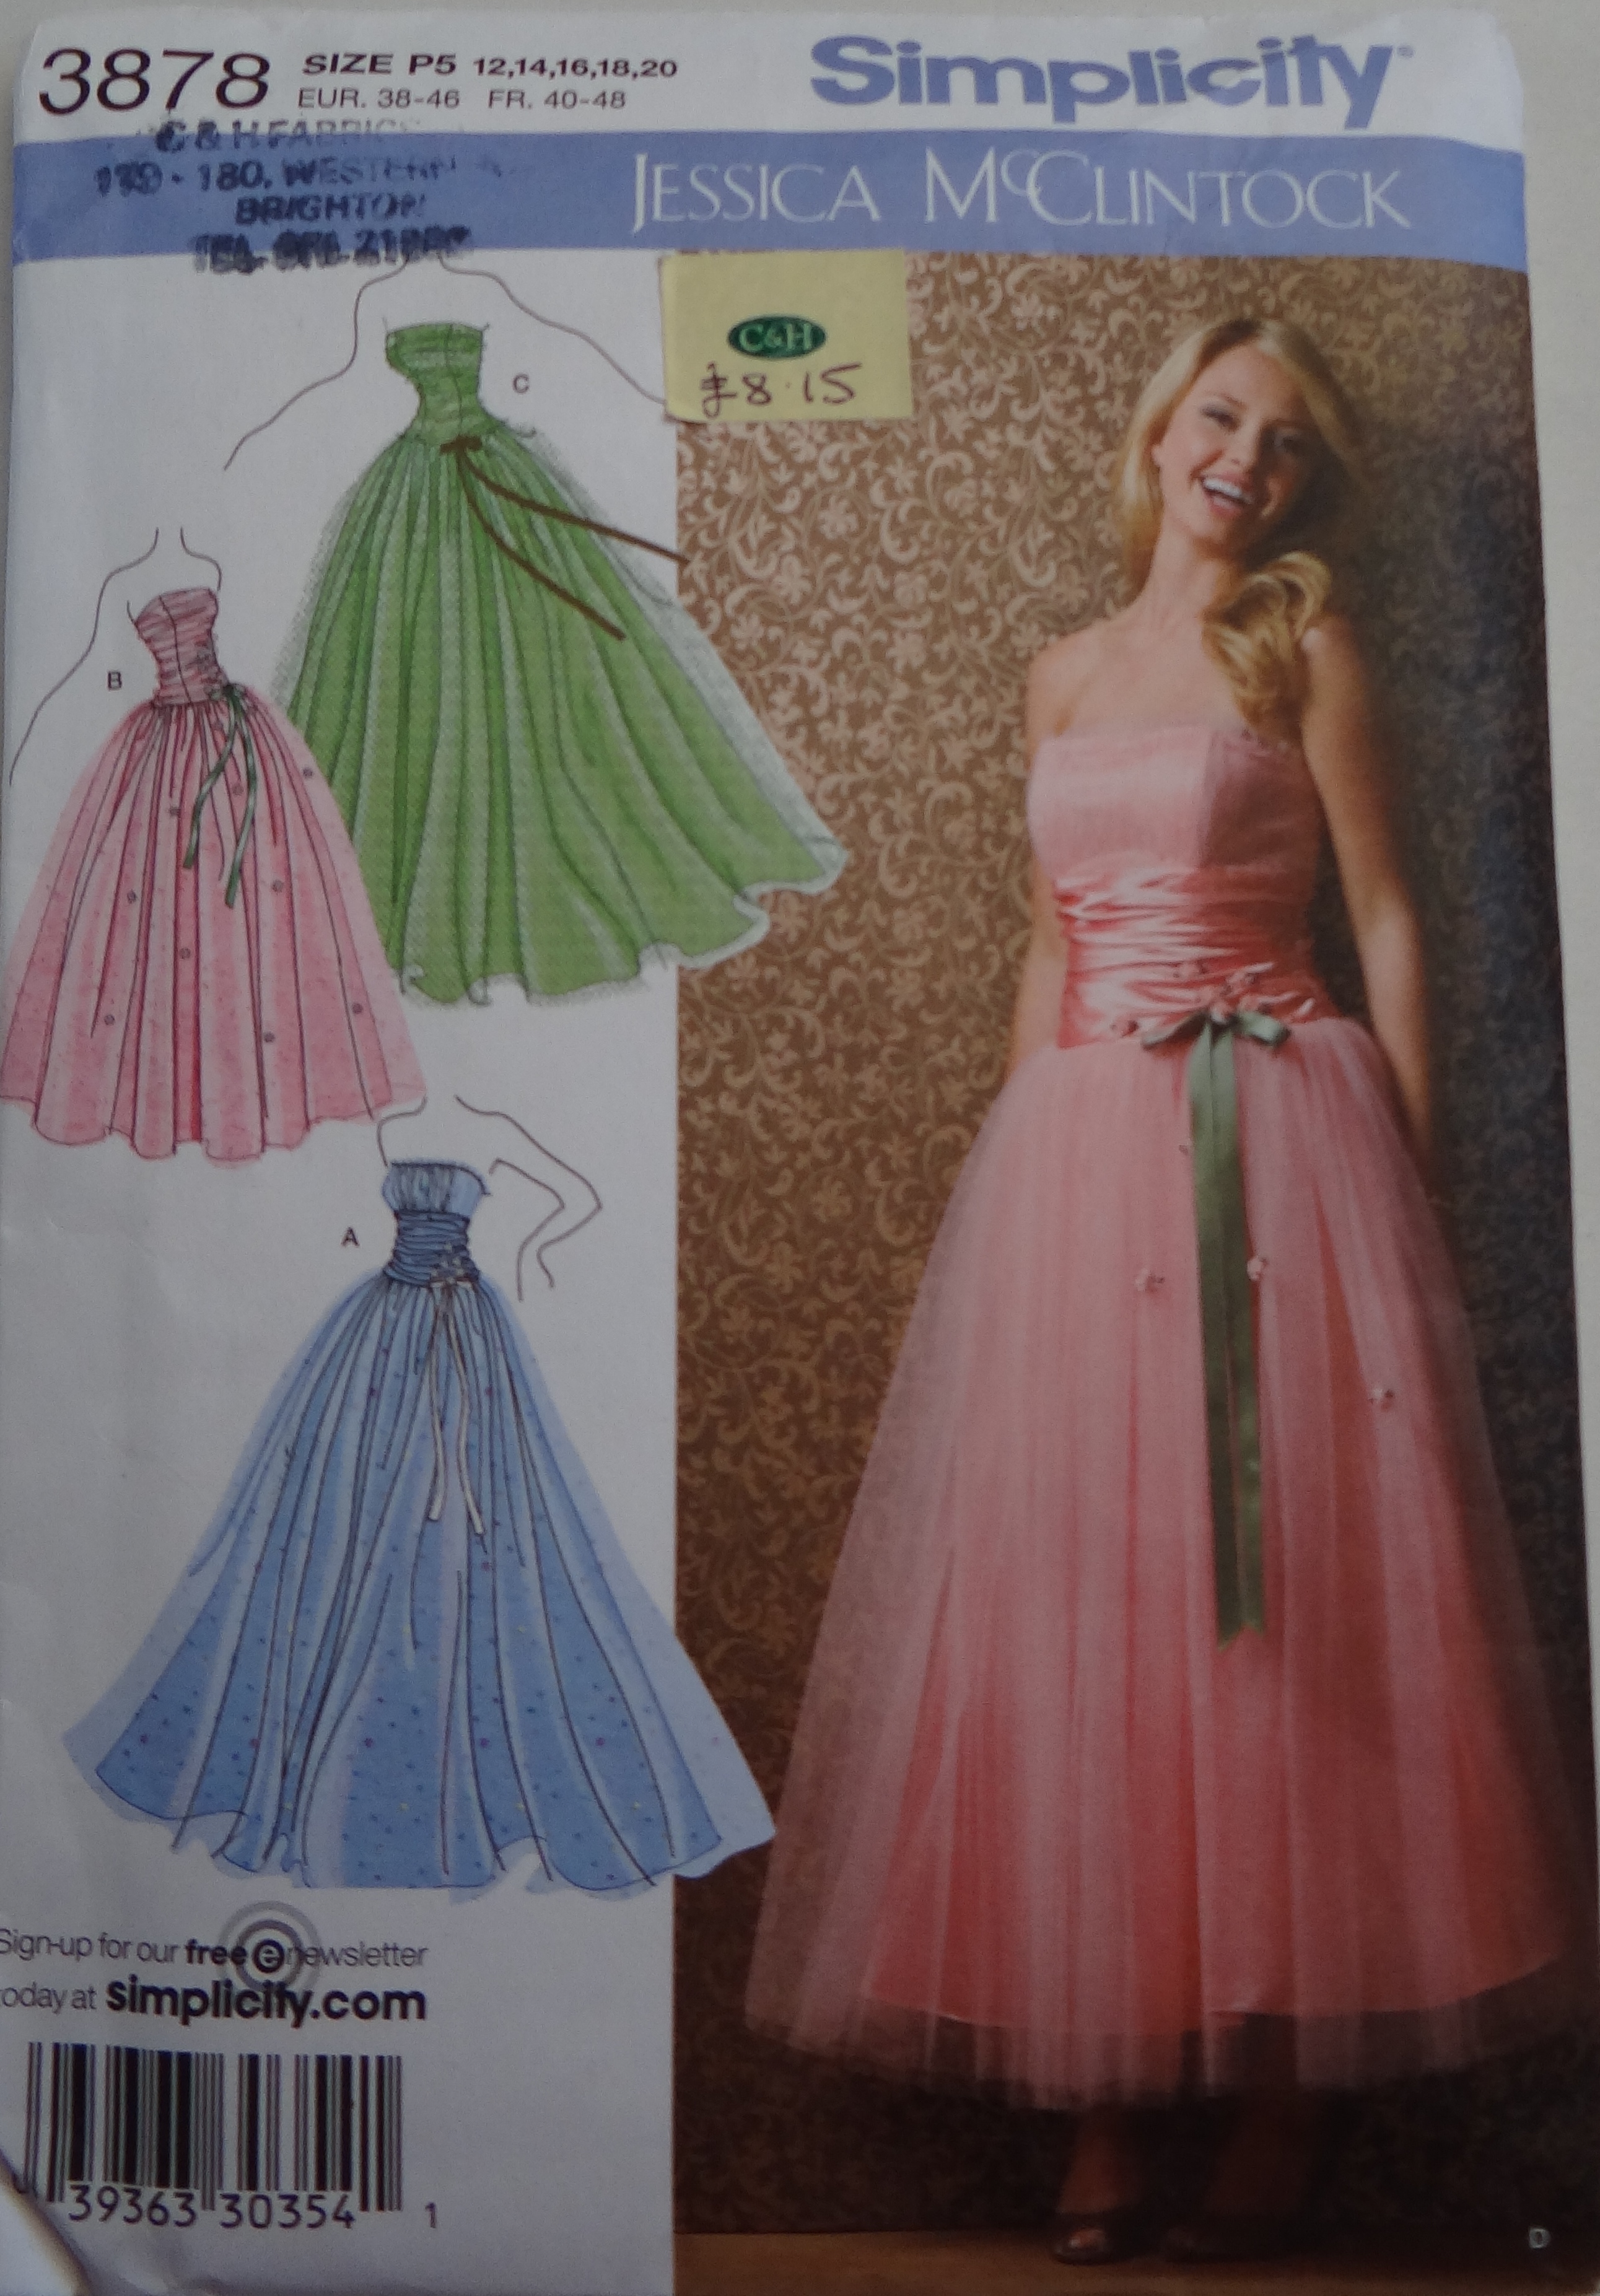
Once you have selected your pattern, you will be faced by a choice of styles for the design you have chosen. For example, the dress below can be made with or without the collar. Others may have different hem or sleeve lengths. The back of the envelope will show an illustration of your item from different ‘views’ and give a brief description. The style you choose will influence how much material you need.

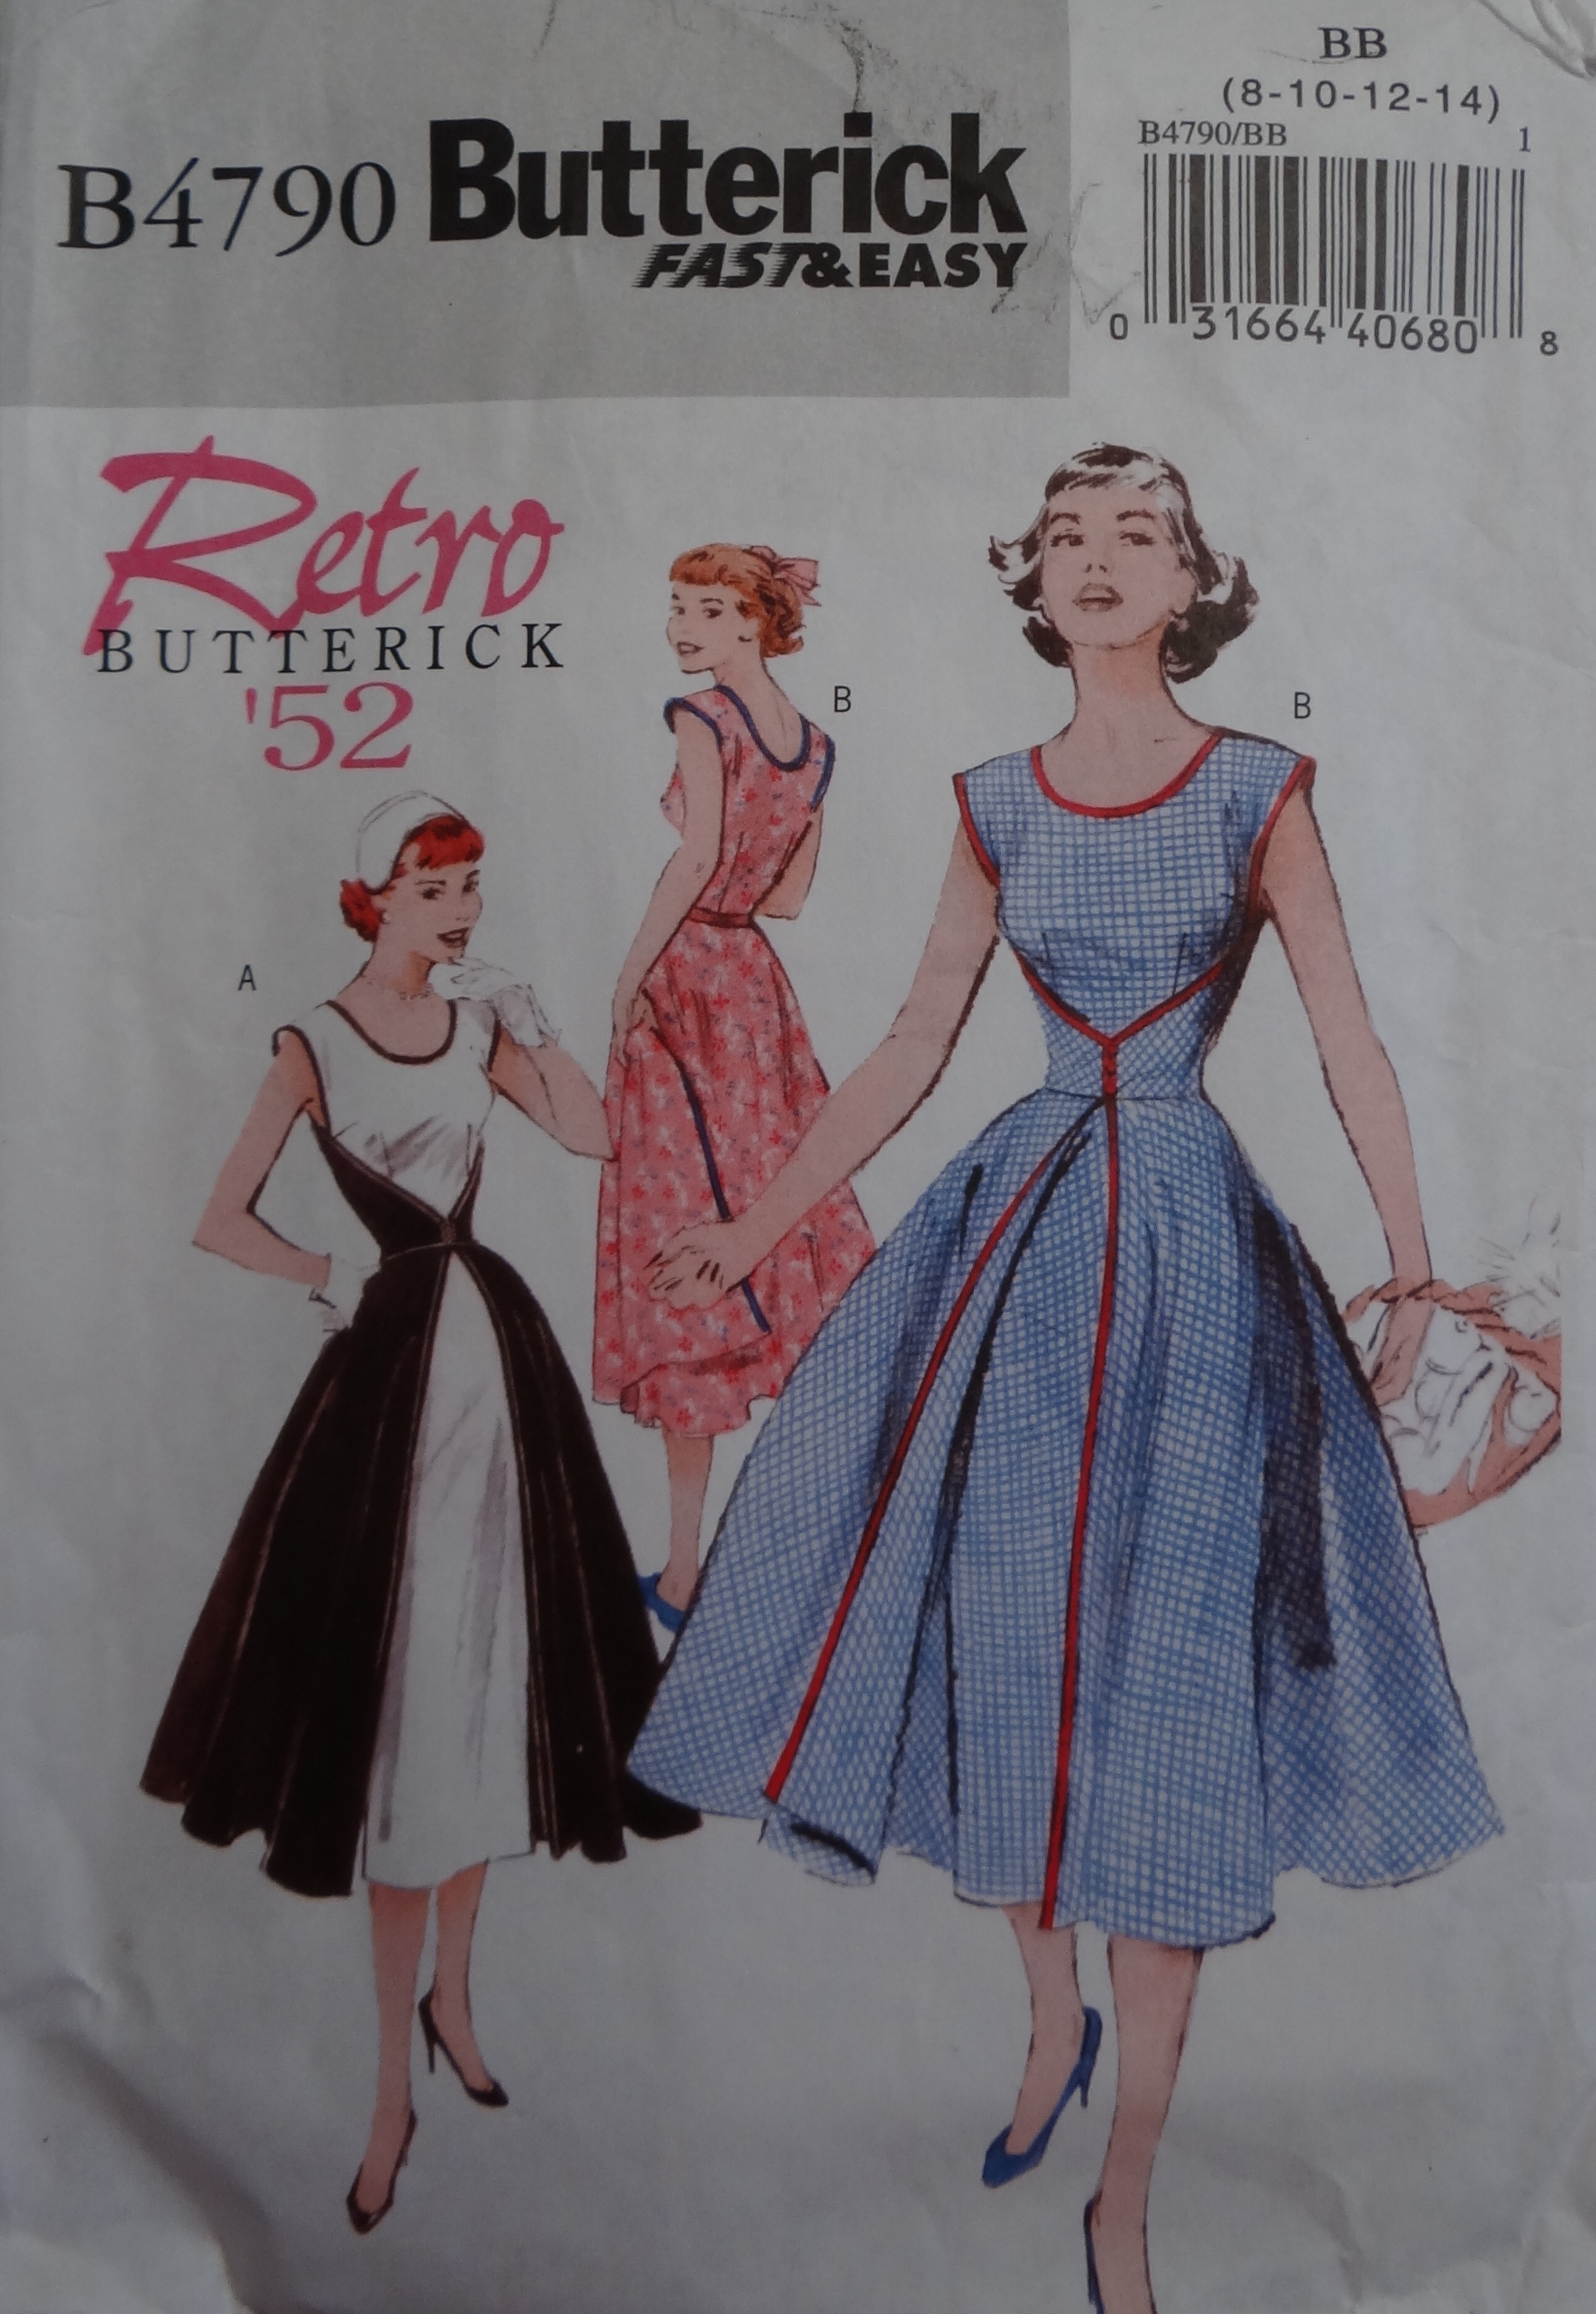
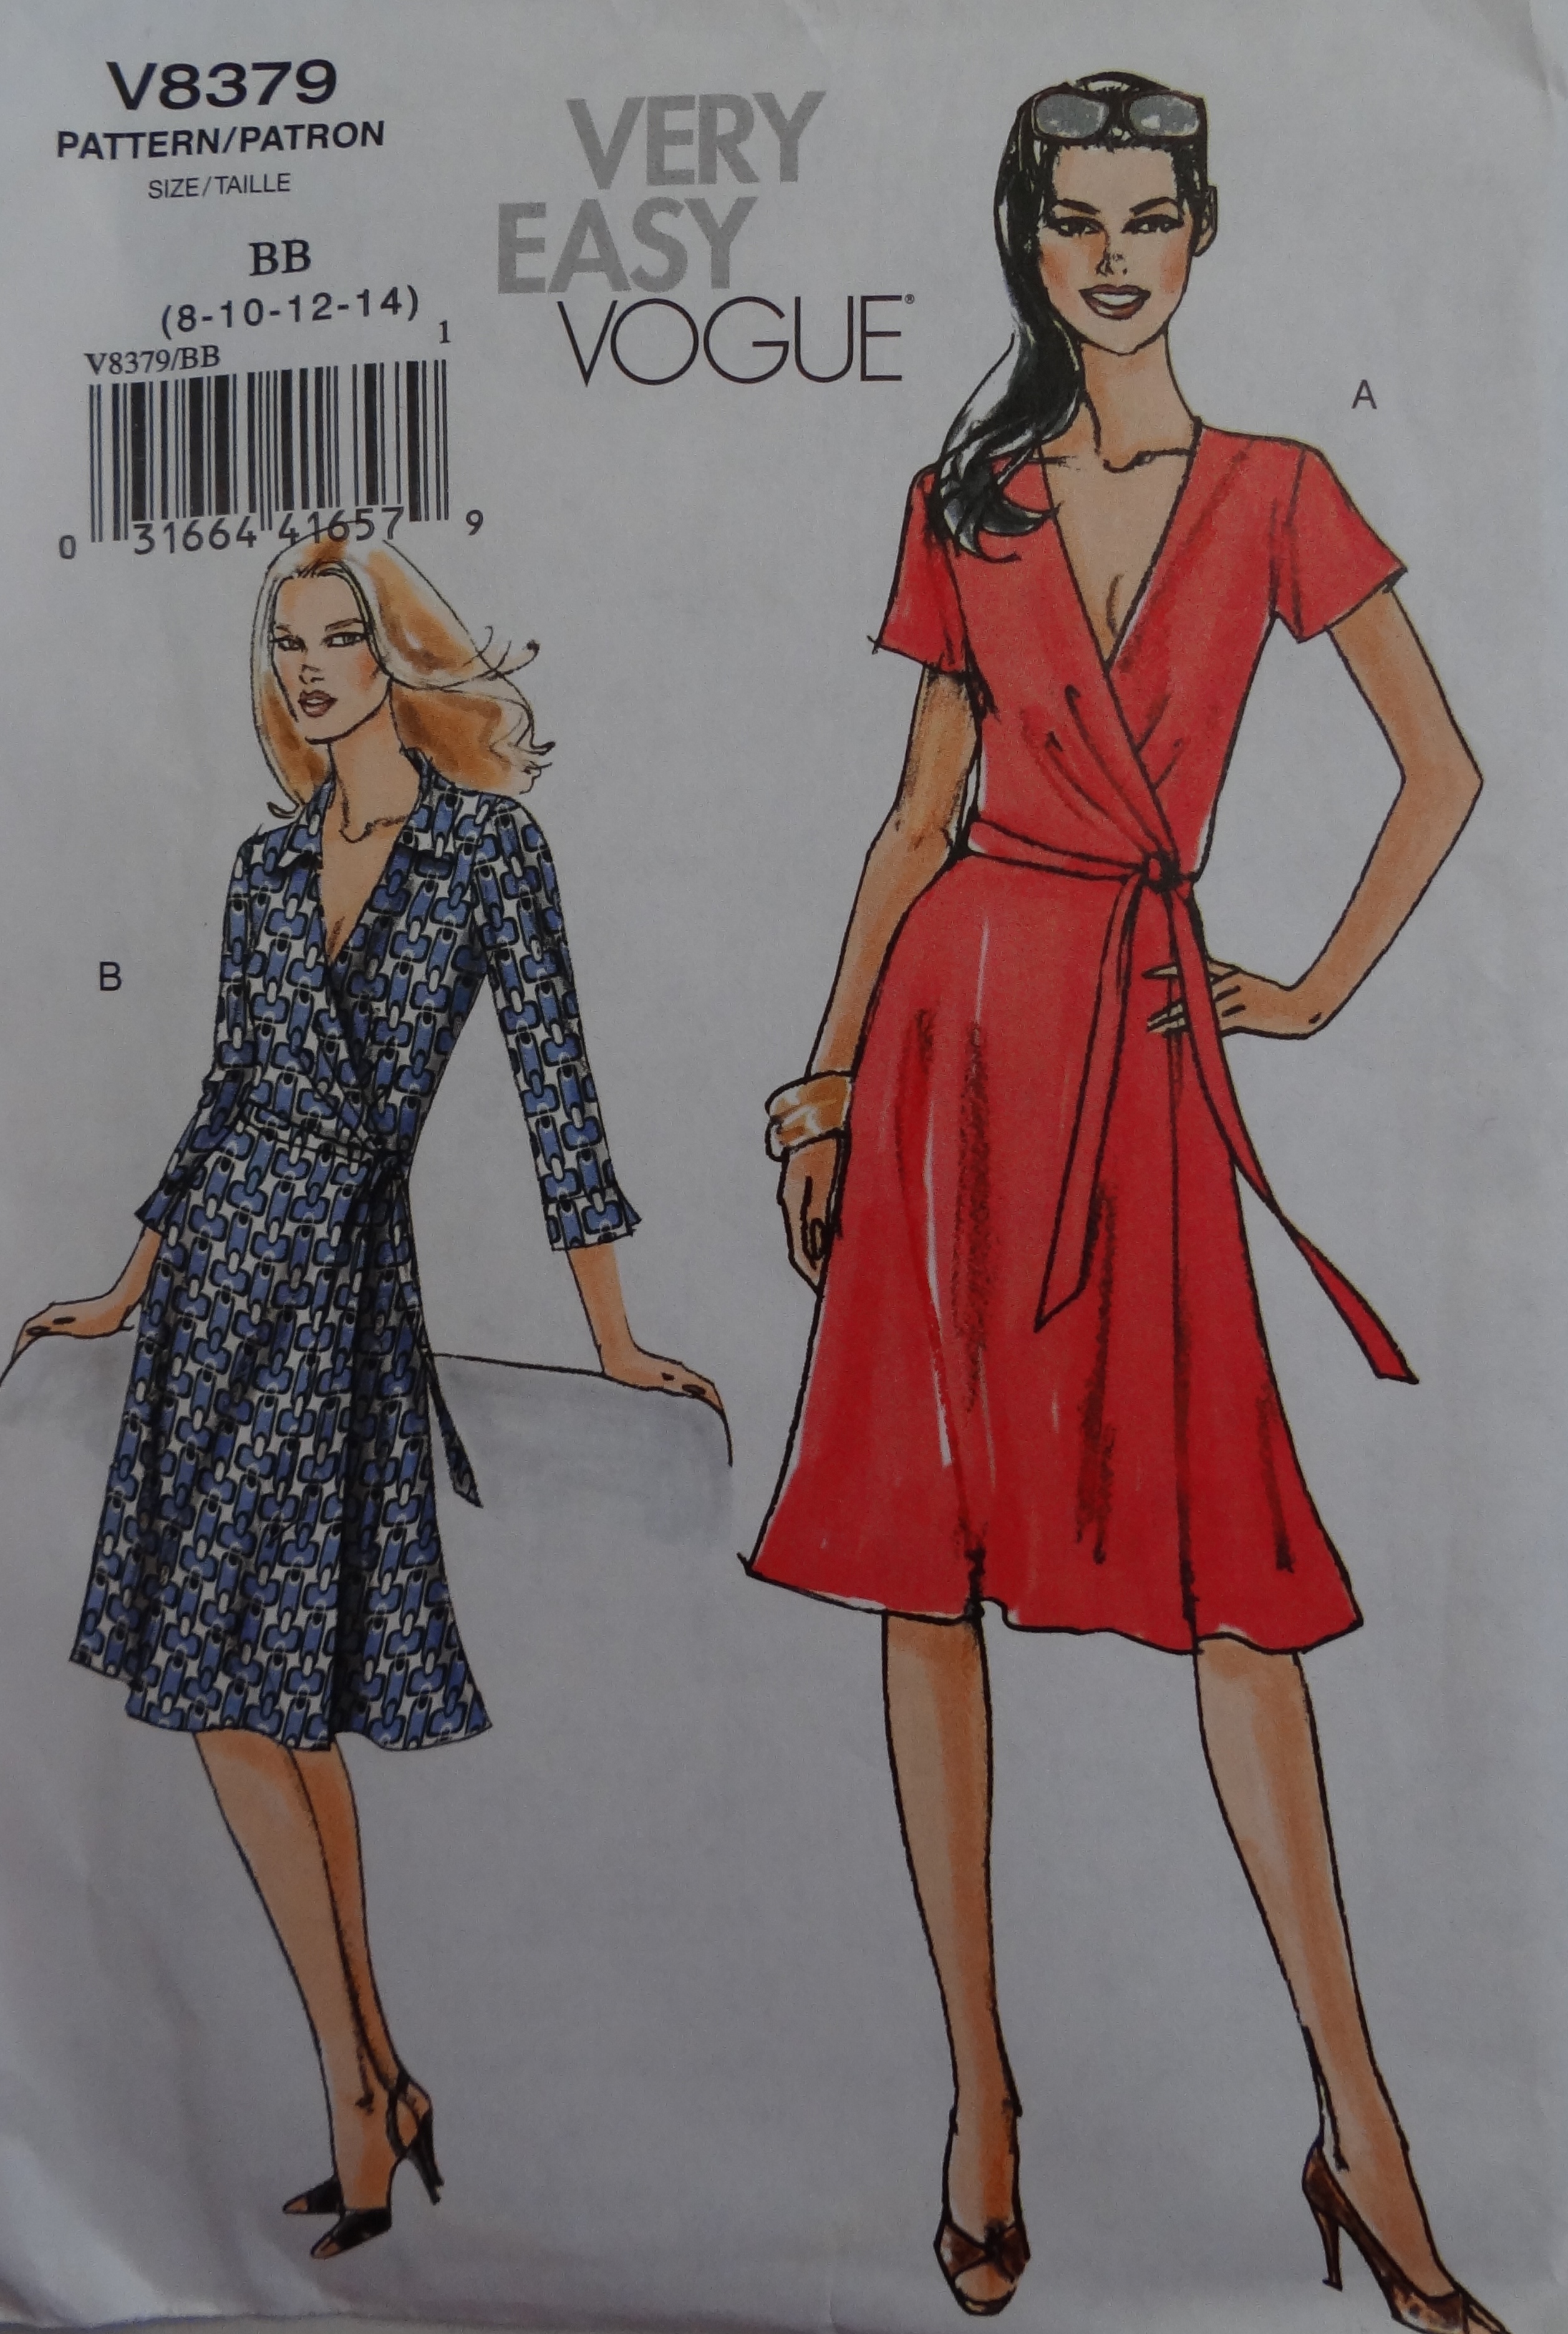
Take a good look at the back of your pattern envelope. For consistency, I’m showing you a close up of the wrap dresses envelope. As will all patterns featured, I am using them to highlight certain features, not because I am recommending them.
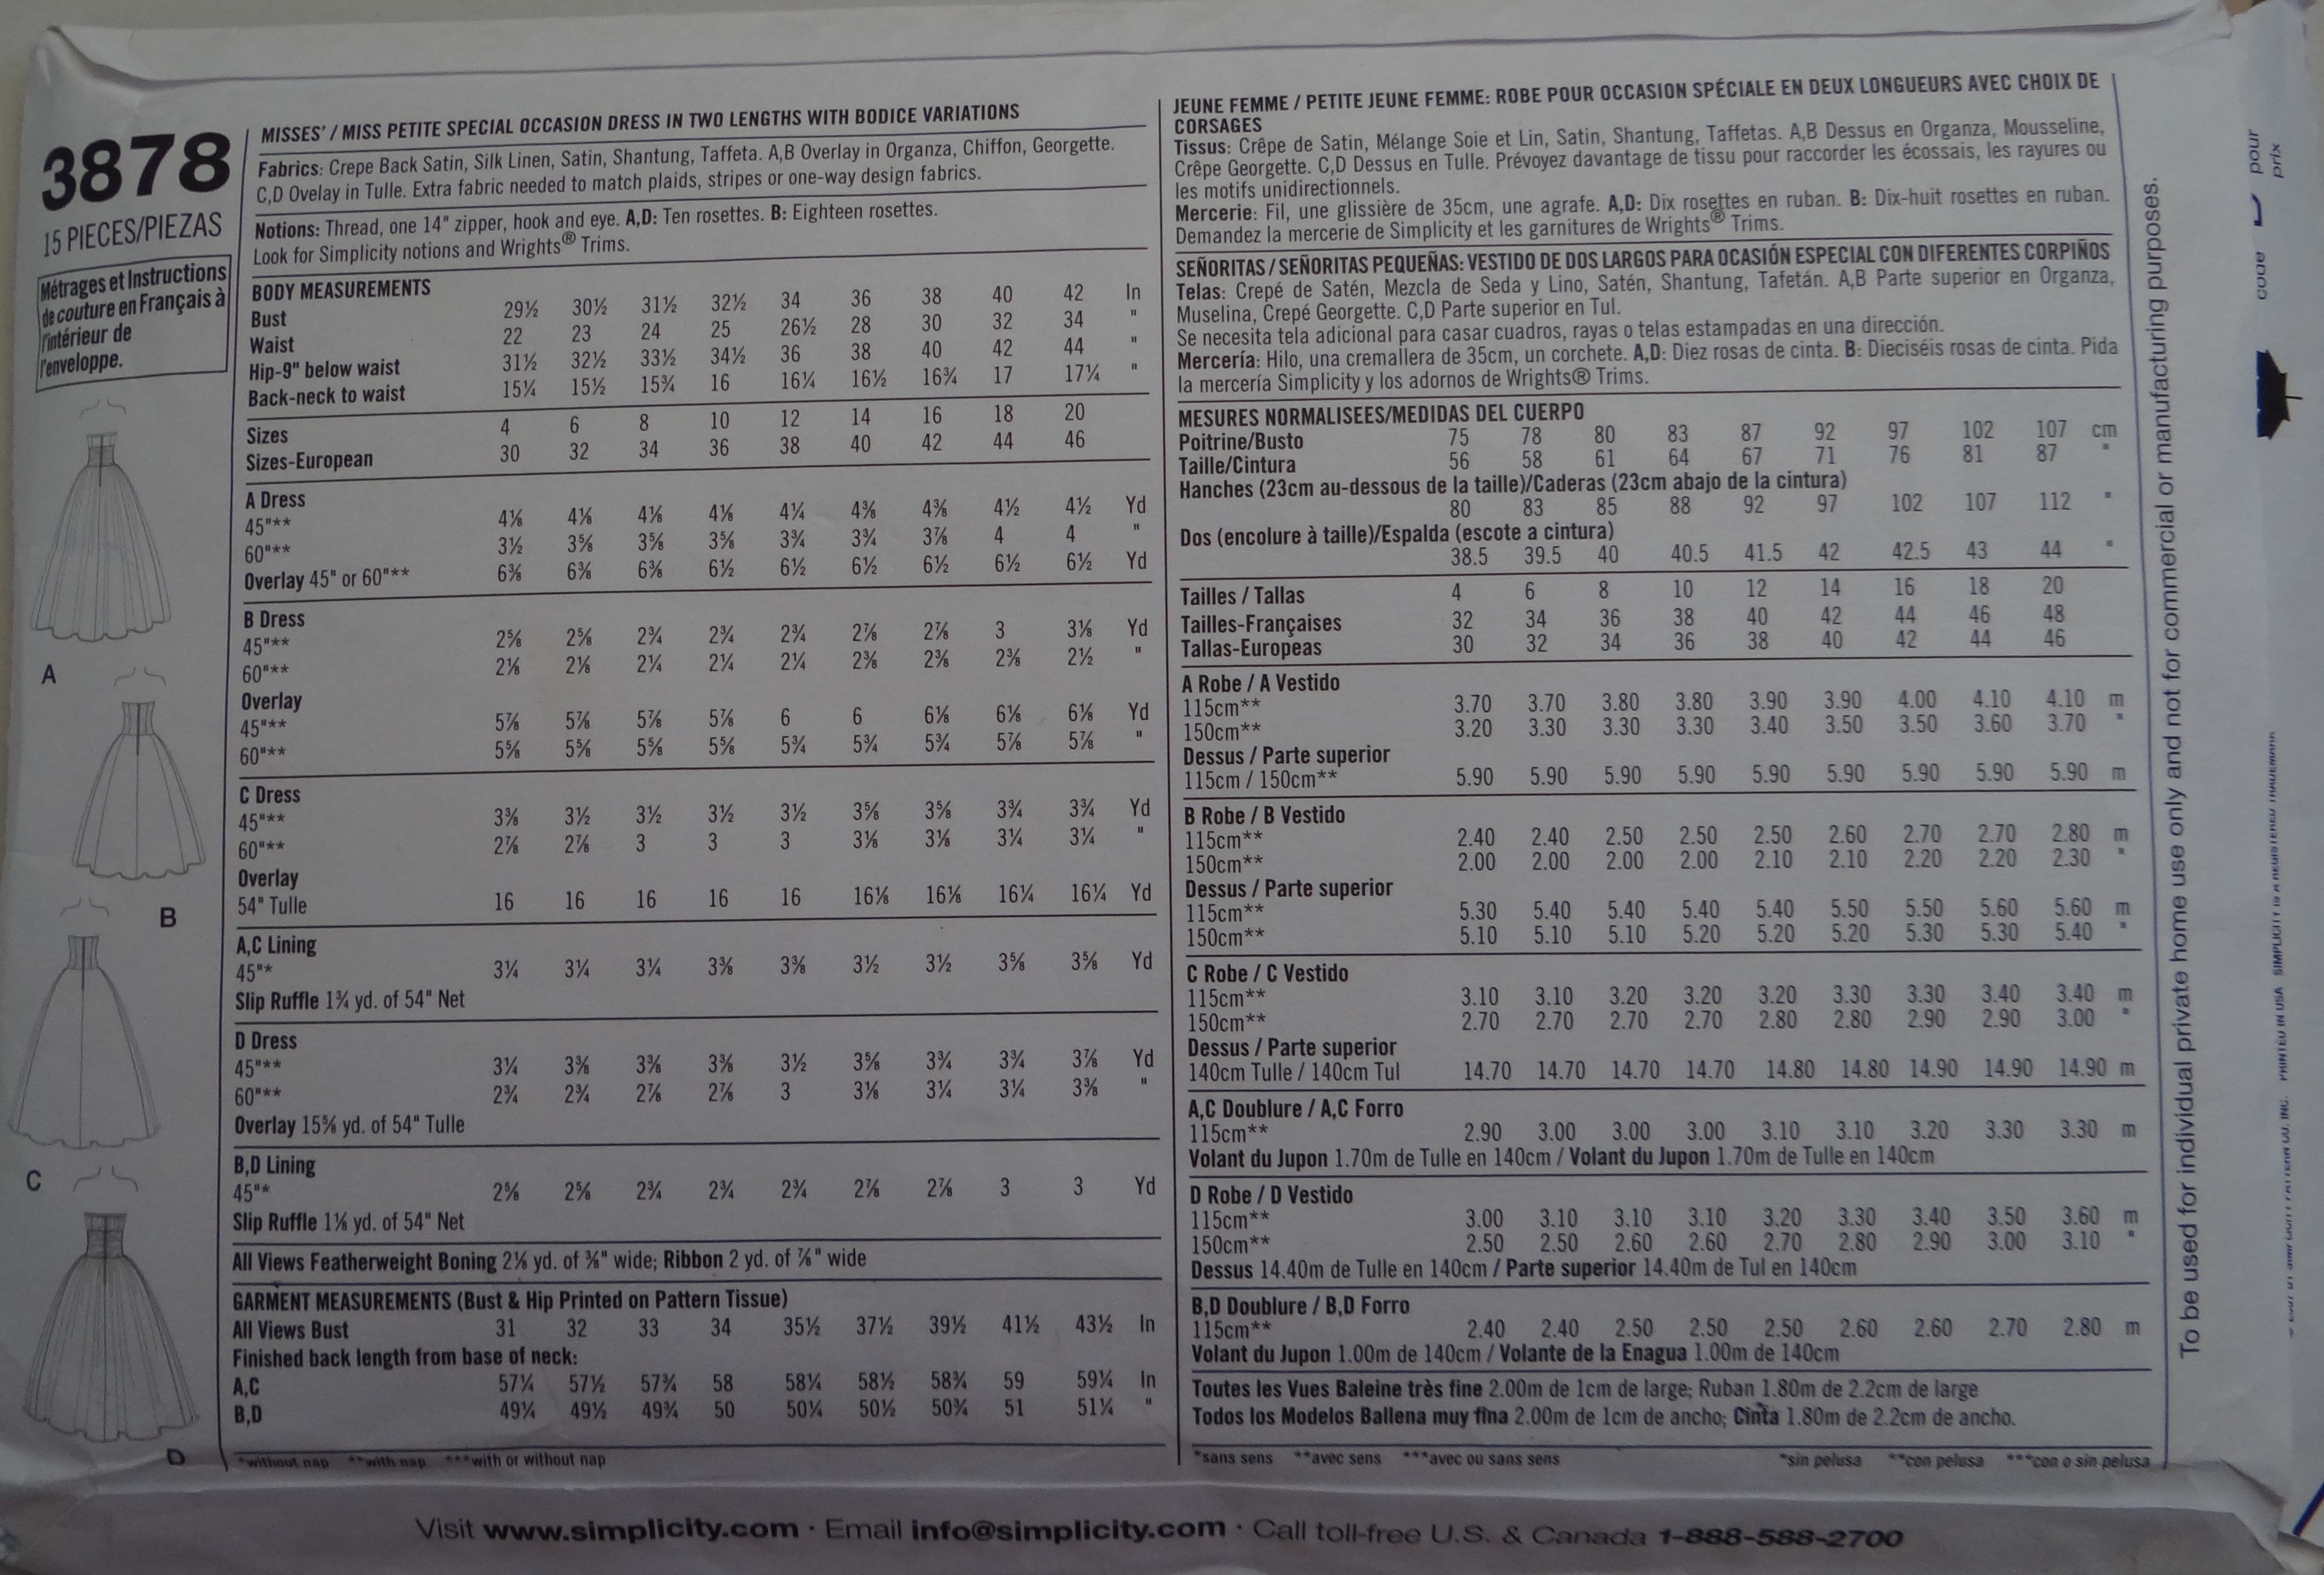
Here is the envelope for an evening dress which contains lots more information.
 In general, the back of the pattern envelope is divided into 2 halves, info on the left is written in English with imperial measurements and info on the right hand side in French (and sometimes Spanish) with metric measurements. As someone who works in metric but has English as their first langauge I find both sides useful!
The back of your pattern envelope contain key information such as:
-
Fabrics: types that are suitable / unsuitable. Normally a range is given which works well when you need to make your item on a budget.
- Notions: these are items of haberdashery that you will need such as buttons, zips etc to complete your garment. For example:

- Fabric charts: indicating how much fabric you need – check the whole chart as lining and interfacing requirements are likely to be stated in different areas. The first photo is the fabric measurements in metric (taken from the right hand side of the pattern envelope), the second photo gives measurements in imperial (from the left side) and the last indicates the amount of lining needed.
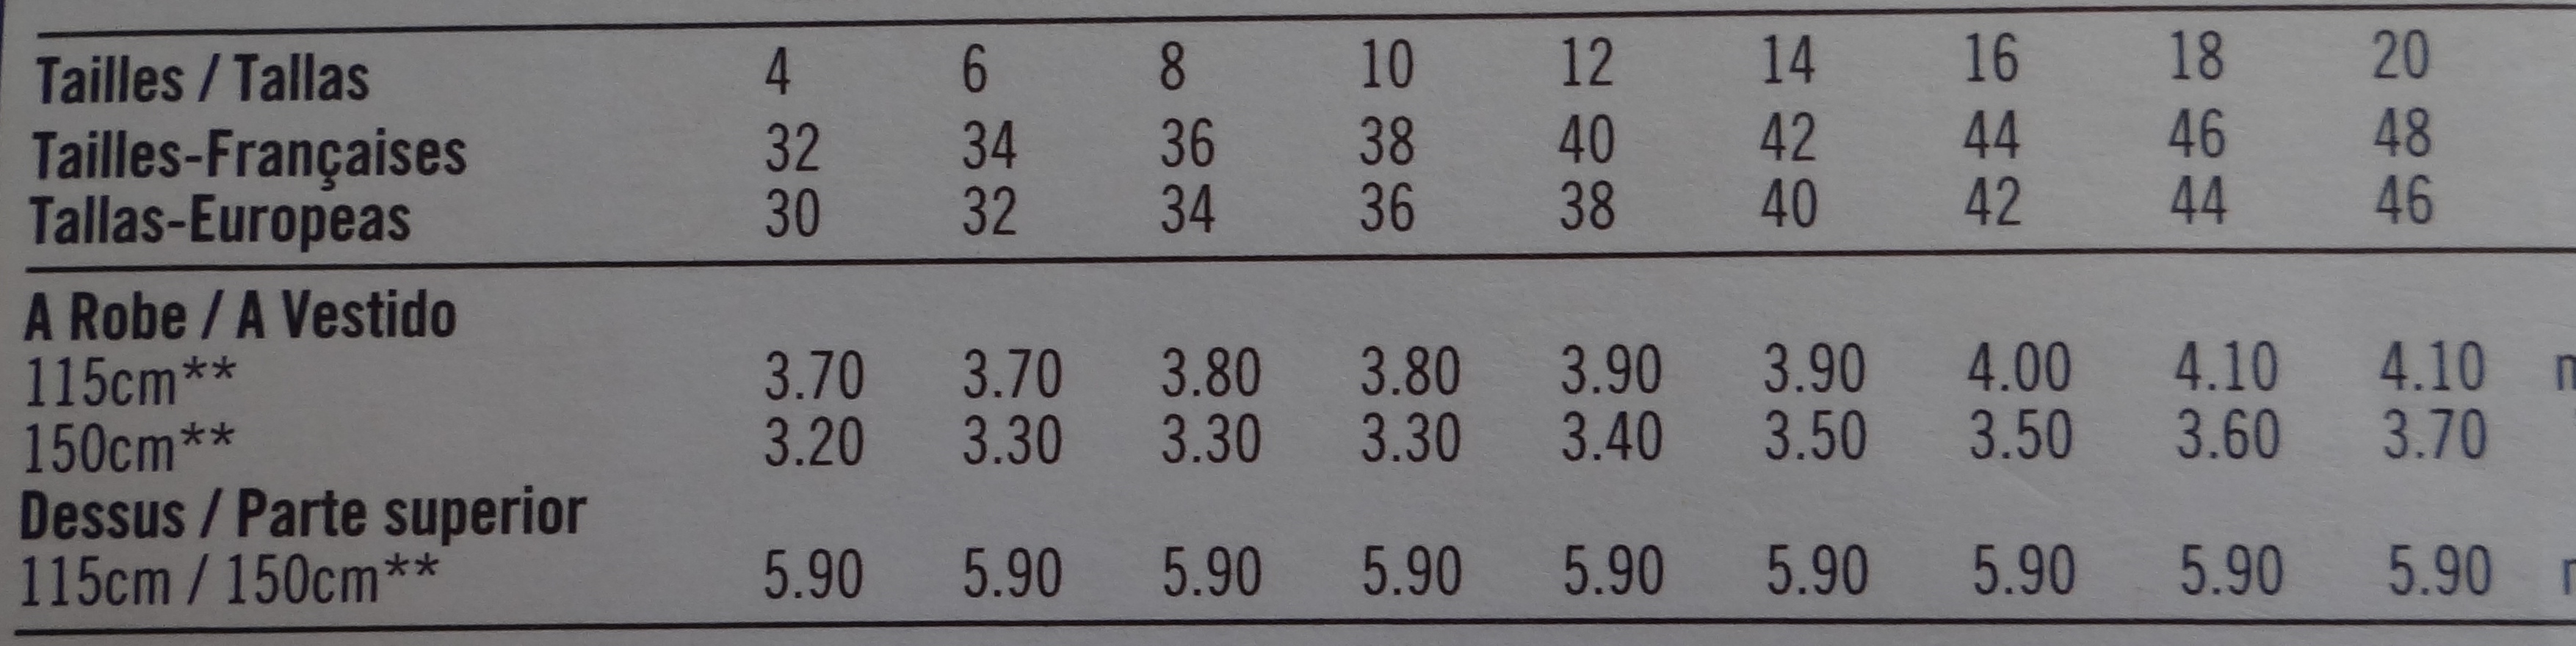


- Finished garment size: some patterns give you information on the finished size of your garment – this is handy if you want to know how snuggly your item will fit. Looser fitting items are good starter projects.

- Pattern item number: Very useful if you want to use the web to look up how other people’s patterns have turned out!

- Number of pattern pieces: Great to know if you want to check you have all your pattern pieces once your pattern sheet is cut up.

My eldest daughter has recently asked me to make her this gorgeous Prom dress – although I am truly honoured by this very special task, I am also a nervous as this is only the 3rd dress I have made! Pop back for more posts if you want to follow my journey!
If you have found this post useful and would like some help in understanding the terms used on your pattern’s instruction sheet, it would be great to know as it will influence the way I write my next post. If you ‘like’ my Facebook page too you will be helping to share this info even more widely!

Pingback: Understanding Your Sewing Pattern and Instructions – A Beginners Guide Part 2 | thestitchsharer
Thanks for sharing this, in the next couple of months when I have finished university I will be making my very first dress…this information is invaluable!
Good Luck with your finals!
I’ve been sewing for a LONG time so I do understand pattern envelopes but this is an excellent post to share for those that don’t. 🙂
Thank you for your comment – it’s always good to have feeback from someone who can read a pattern well to check that what I’ve written is accurate! x
Thanks very much for sharing! I’ll definitely be bookmarking this as I want to get started on garment making!
You’re welcome. It’s so rewarding to make something totally unique. x
Hi, good post. Informative and breaks down the barrage of info on the back of dress patterns nicely! Would you say that you are better off using your bust measurement as a guide (ie 36ins) when choosing a pattern? I often find I am between measurements when it comes to choosing sizes. Also, quite often the amount of material stated as required is far too much for what you actually need – but its about laying your pattern pieces out conservatively.
Thanks for the post
Amy
Thanks for your feedback. When it comes to choose the right size you do need to measure your widest areas (ie bust and hips) with a tape measure. Happy sewing!
Great post, thank you. I loved the show last night, I used to sew loads when I was younger but mainly made soft toys and cushion covers – things that didn’t need to be too precise! My sewing now is generally limited to name labels but I thought I might start again with some more cushion covers, just not sure that I have enough patience for clothes… Good luck with the prom dress, looking forward to seeing that.
Thank you – I have just started to cut it out! Scary stuff!
Thanks for this! I’m going to study it carefully!
You’re welcome – I’m not a professional dressmaker, so it’s only a personal “Stitch Sharer’s” guide, but hopefully will help!