
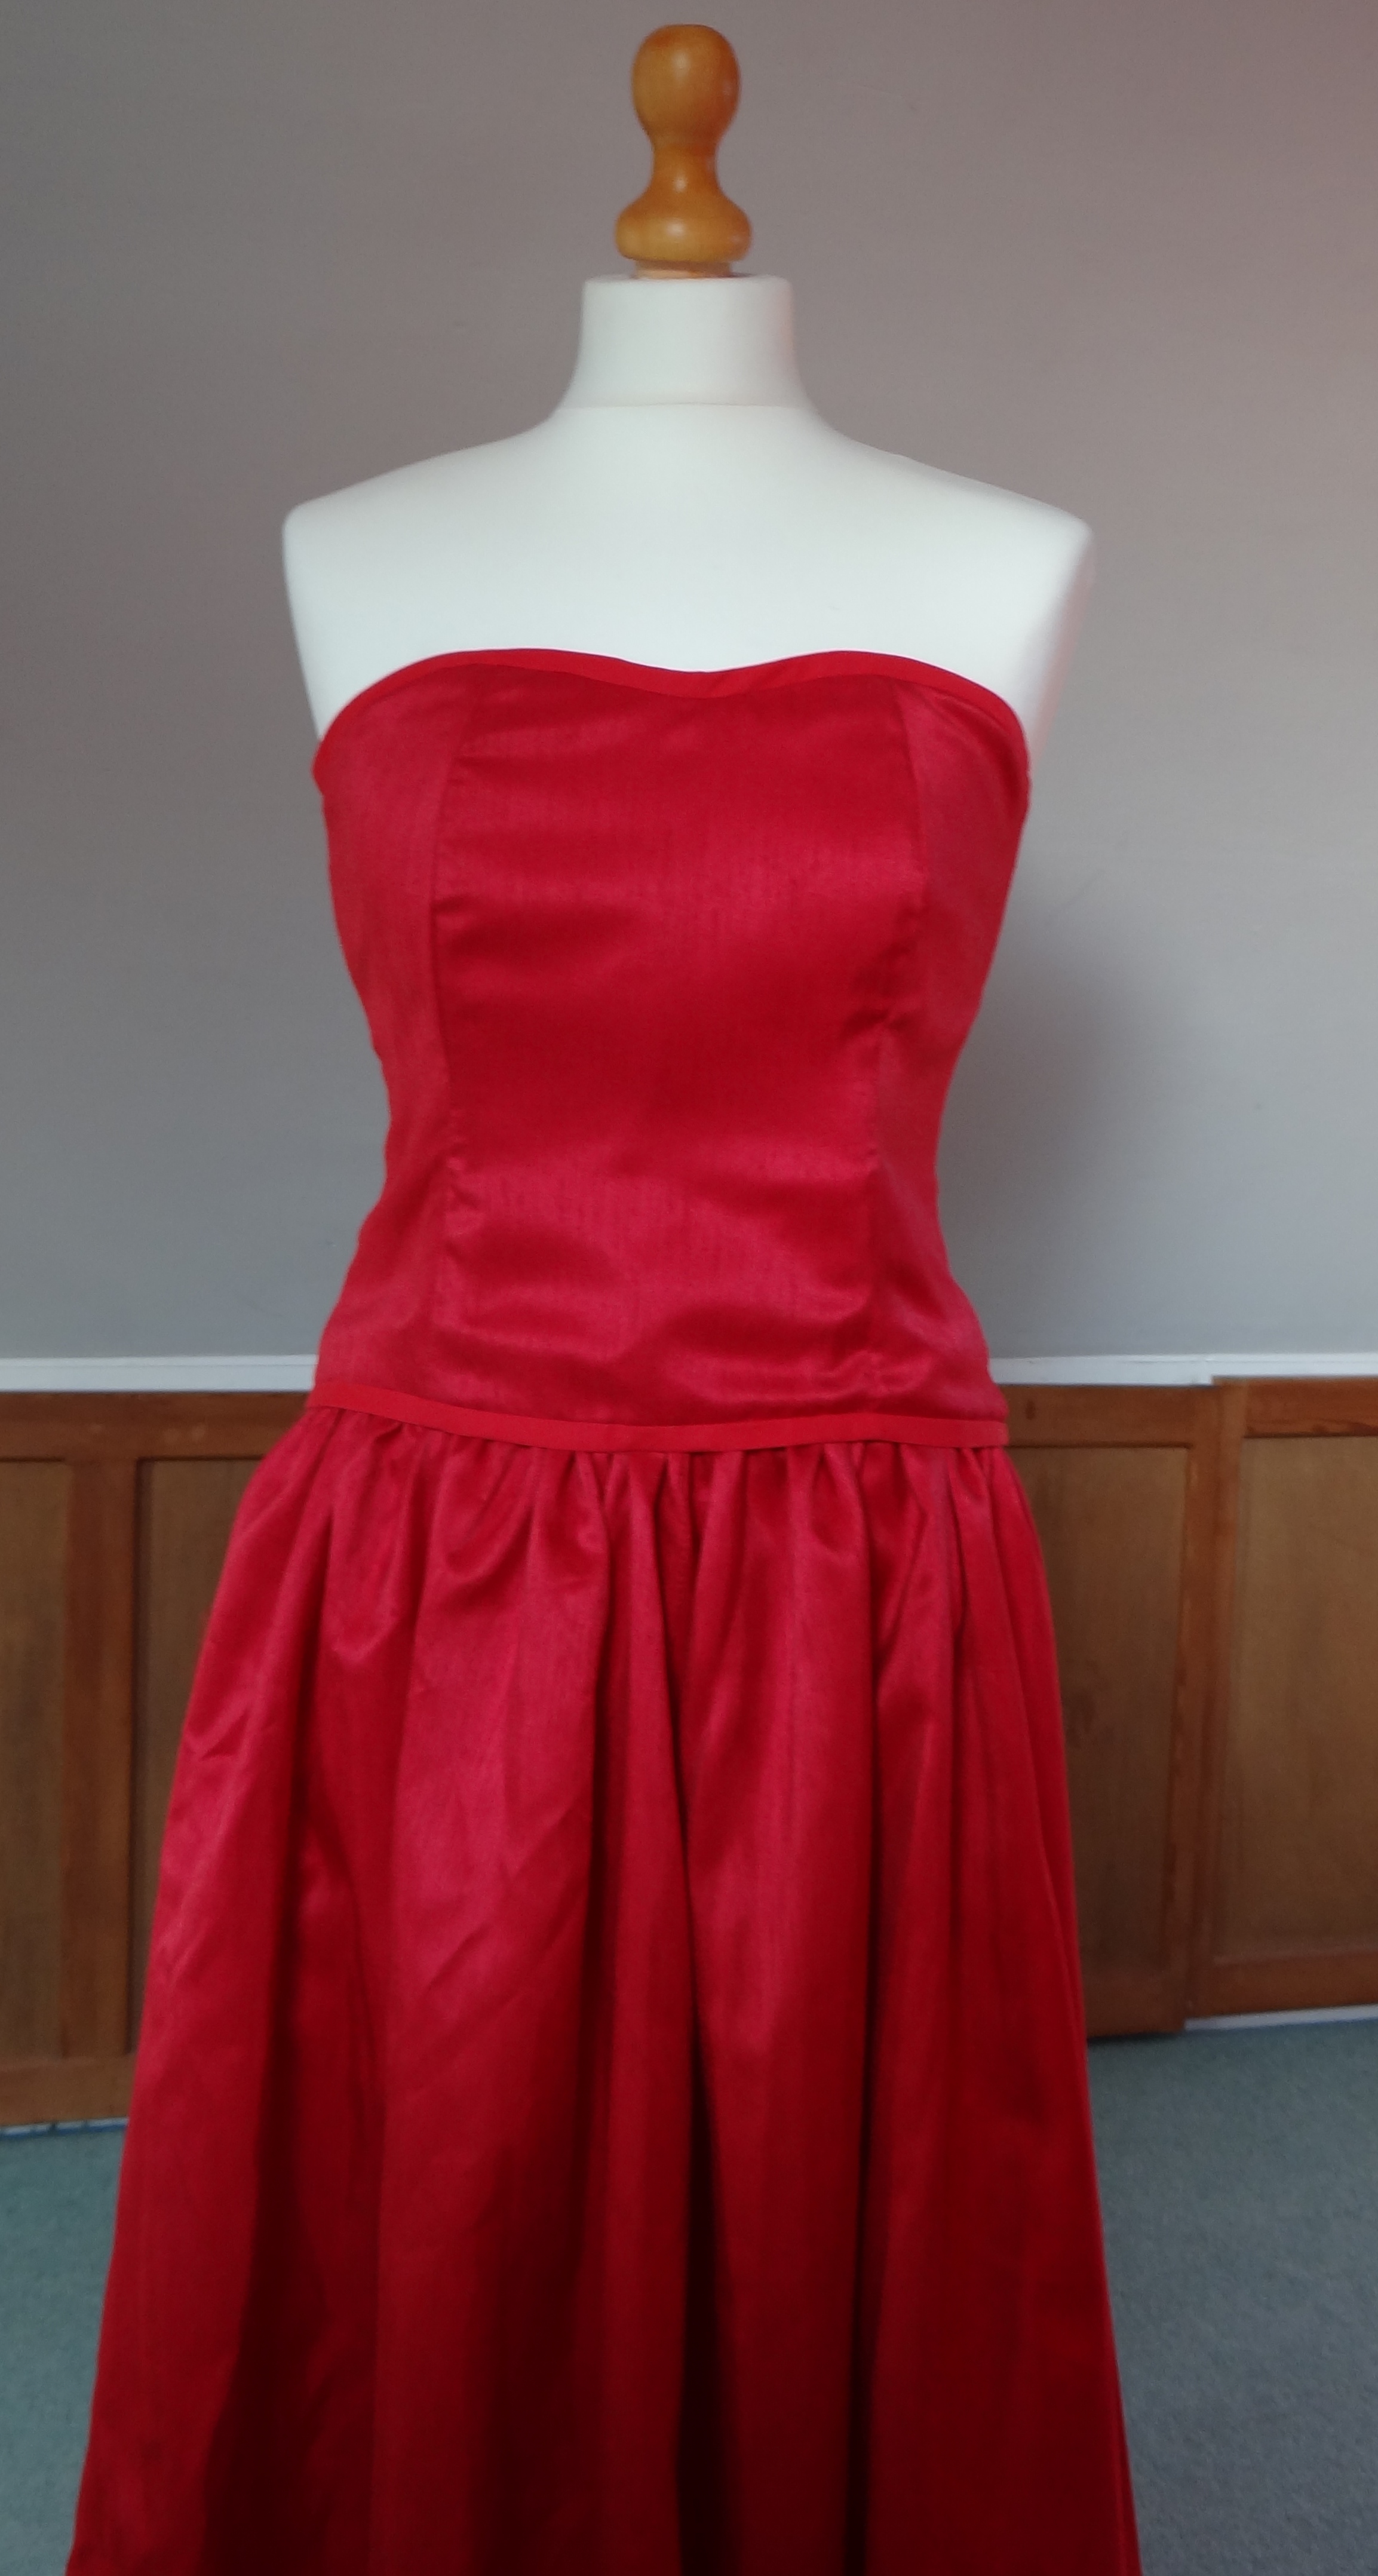
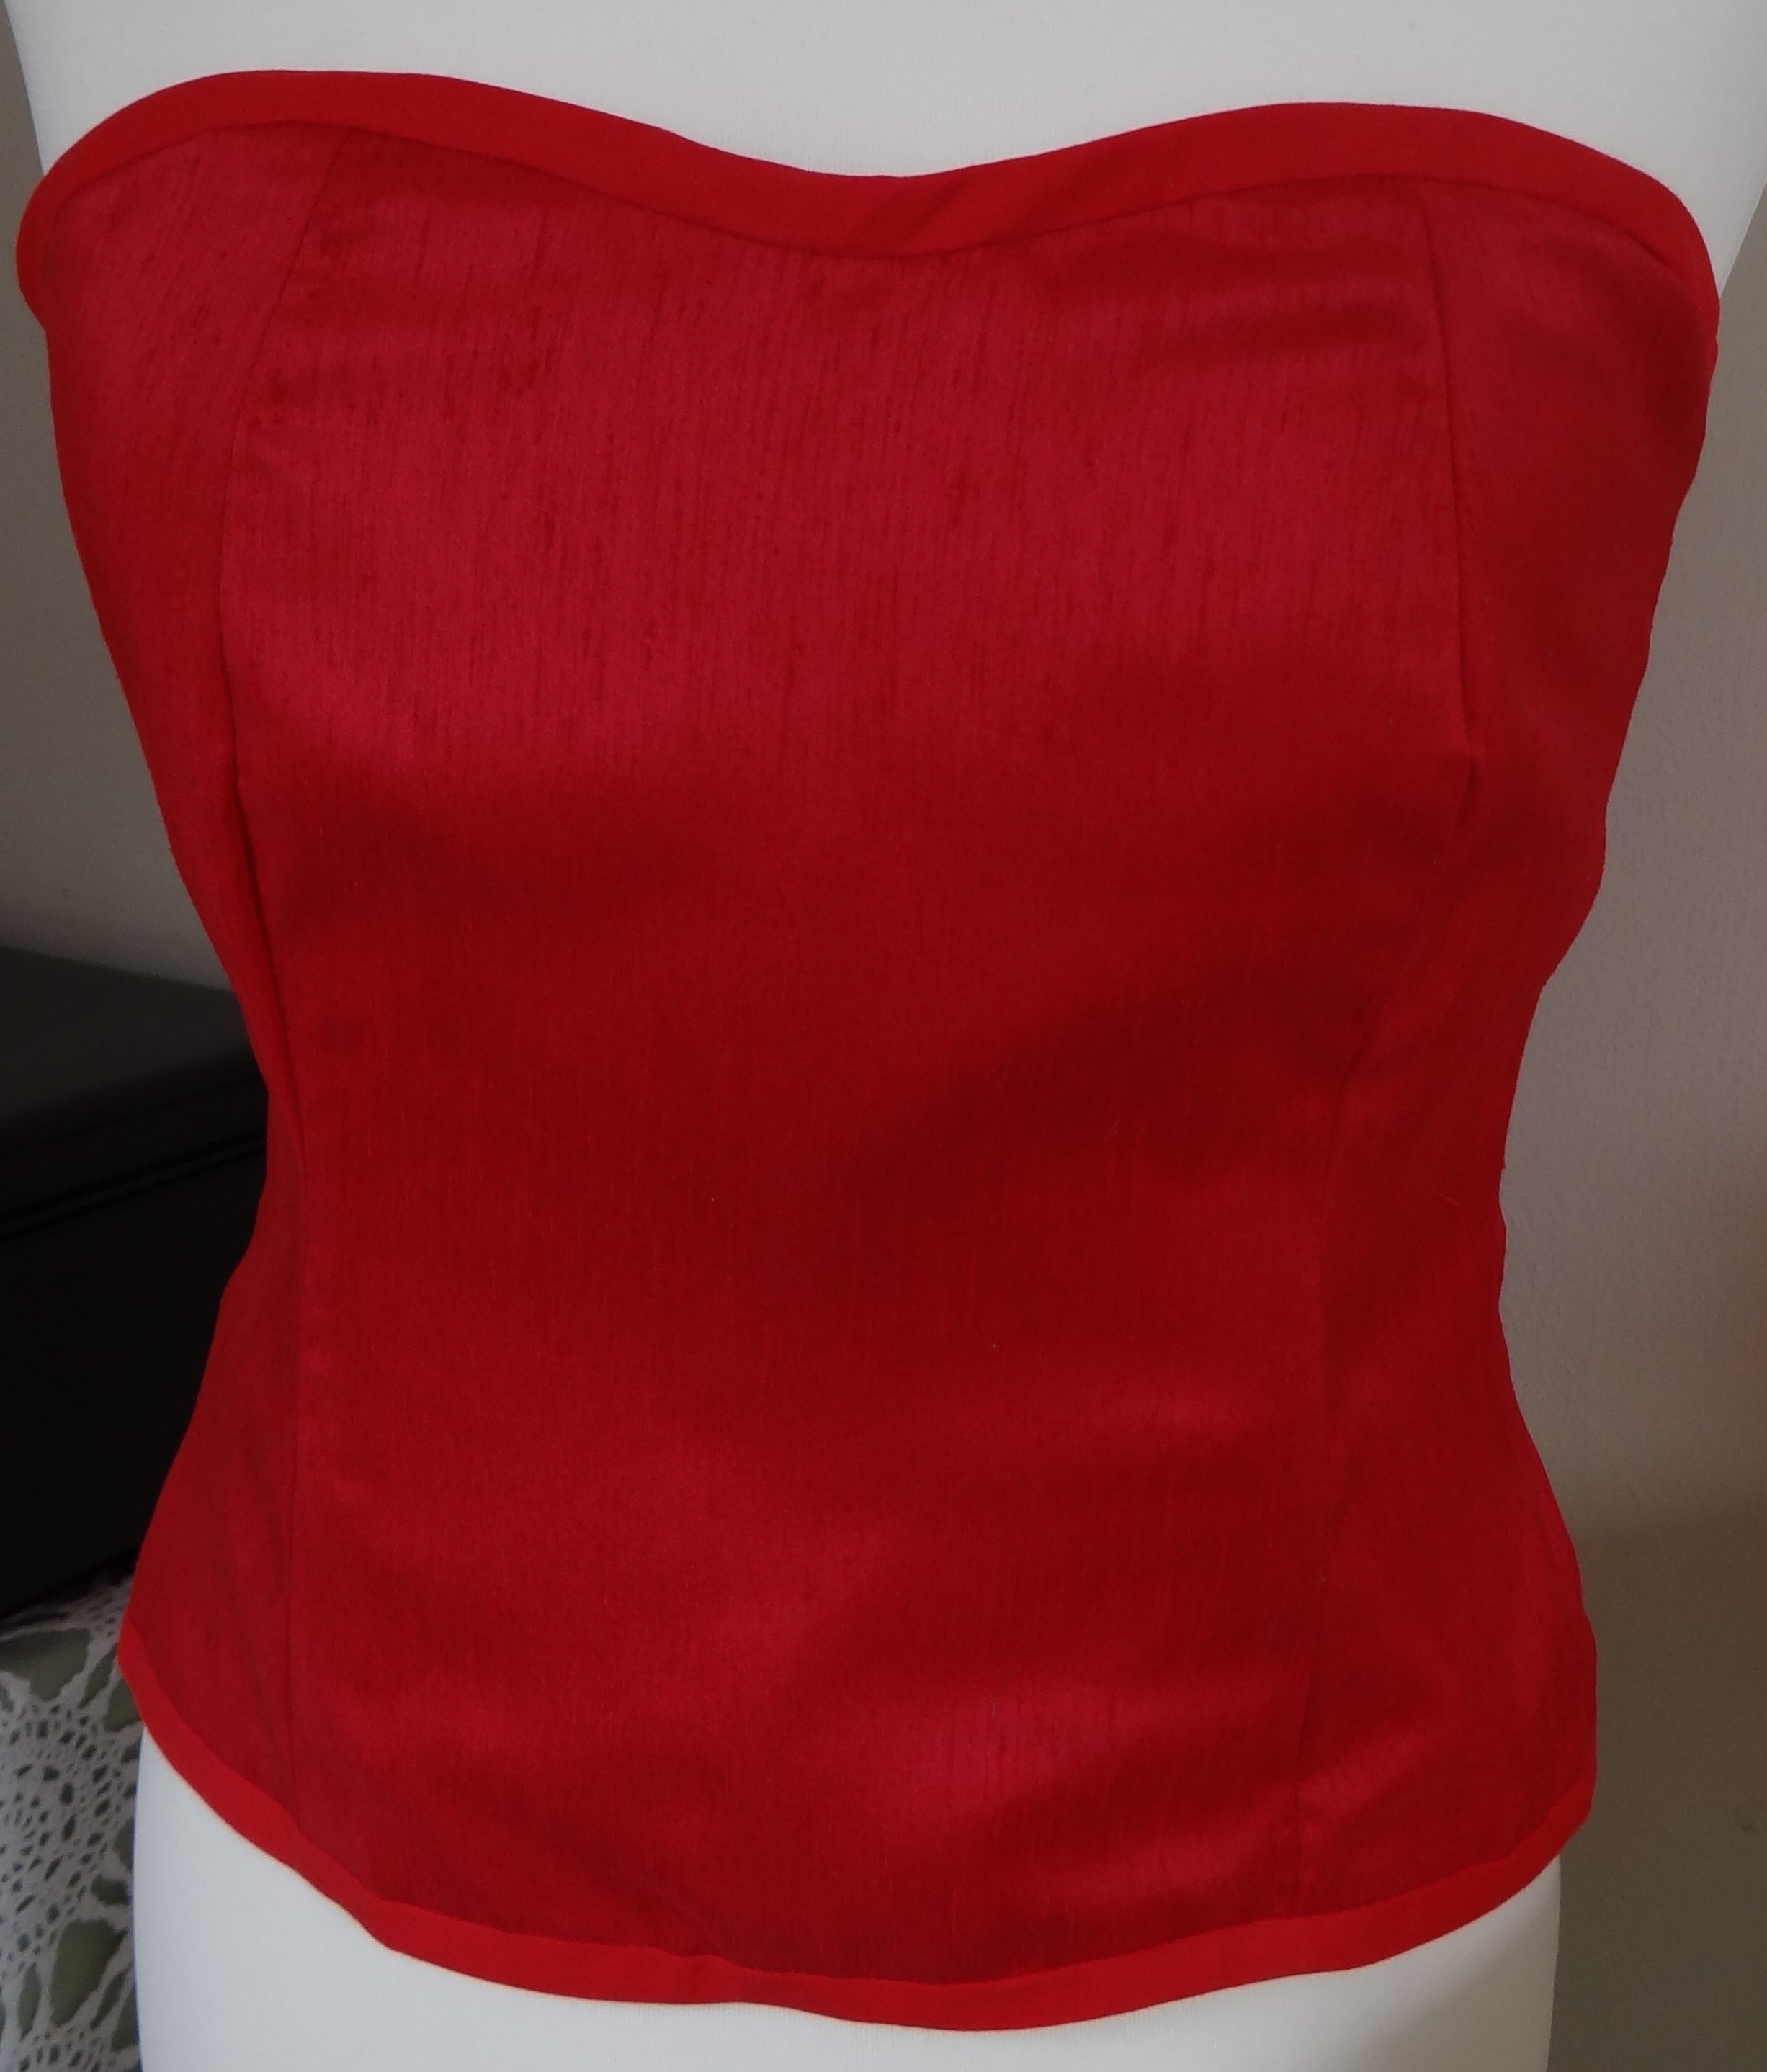
 Inspired by The Great British Sewing Bee, and with Simon Henry’s “Party Dress Book” as my guide I have created my first corset / basque.
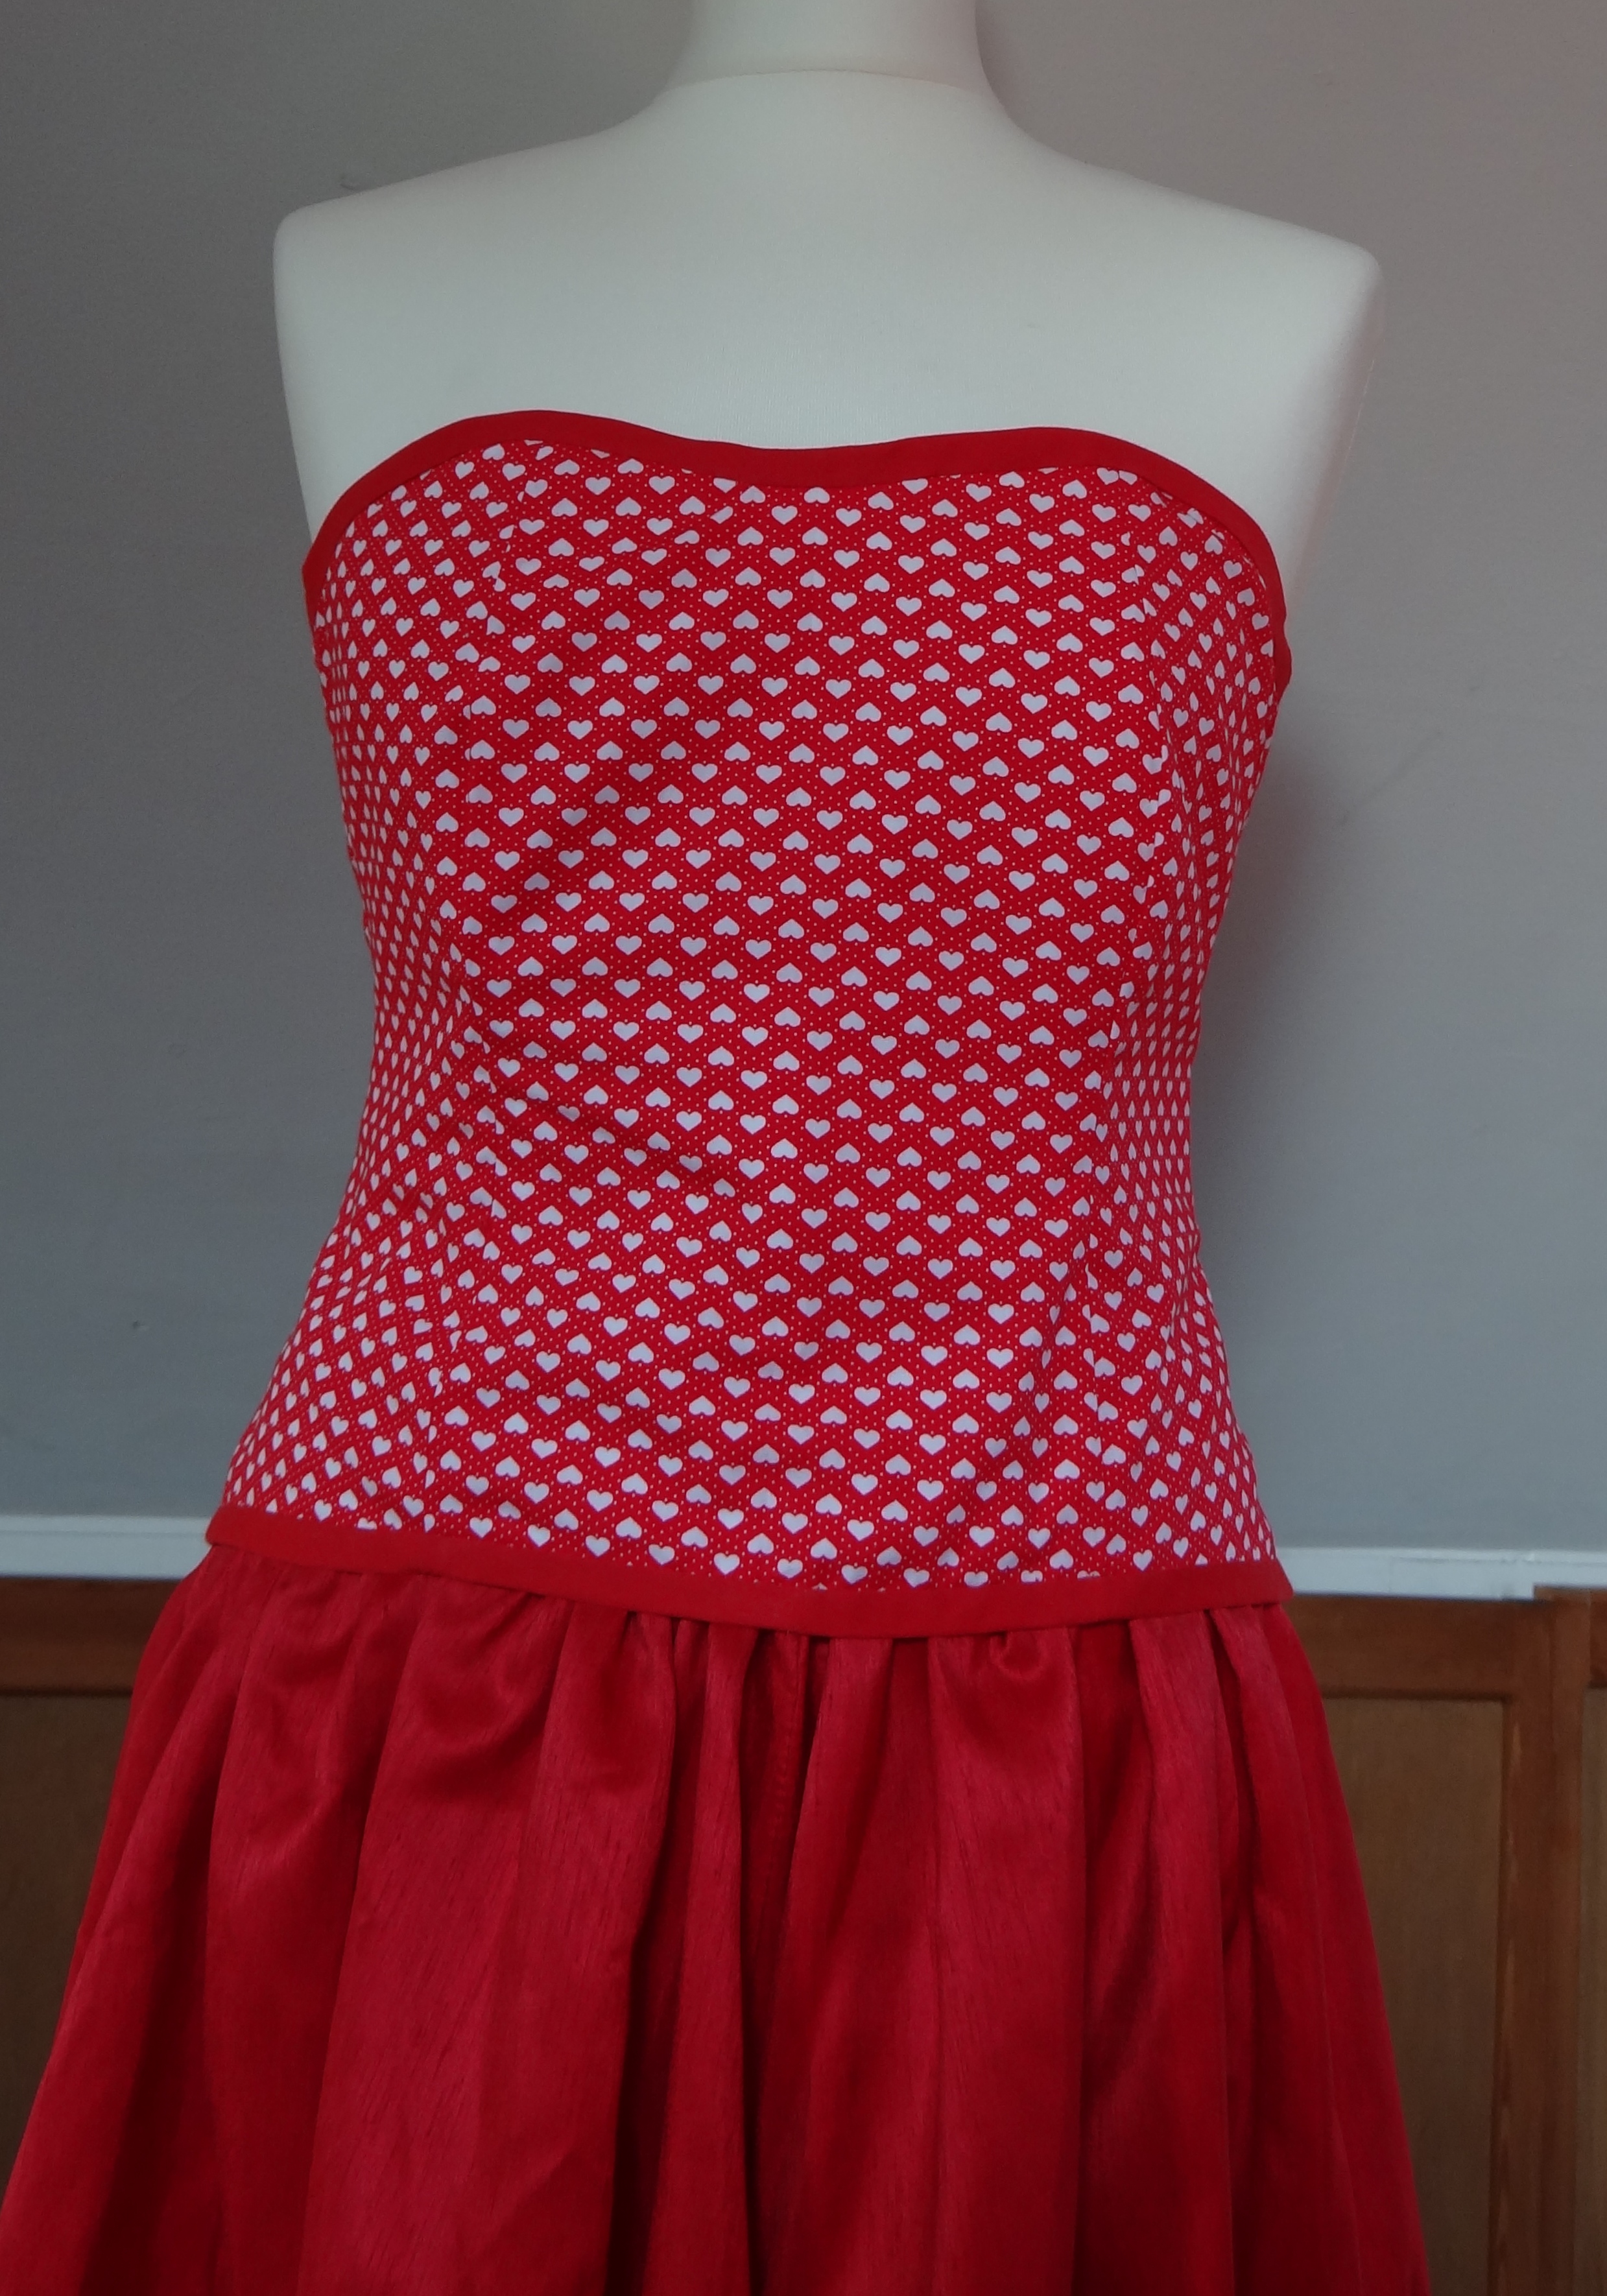
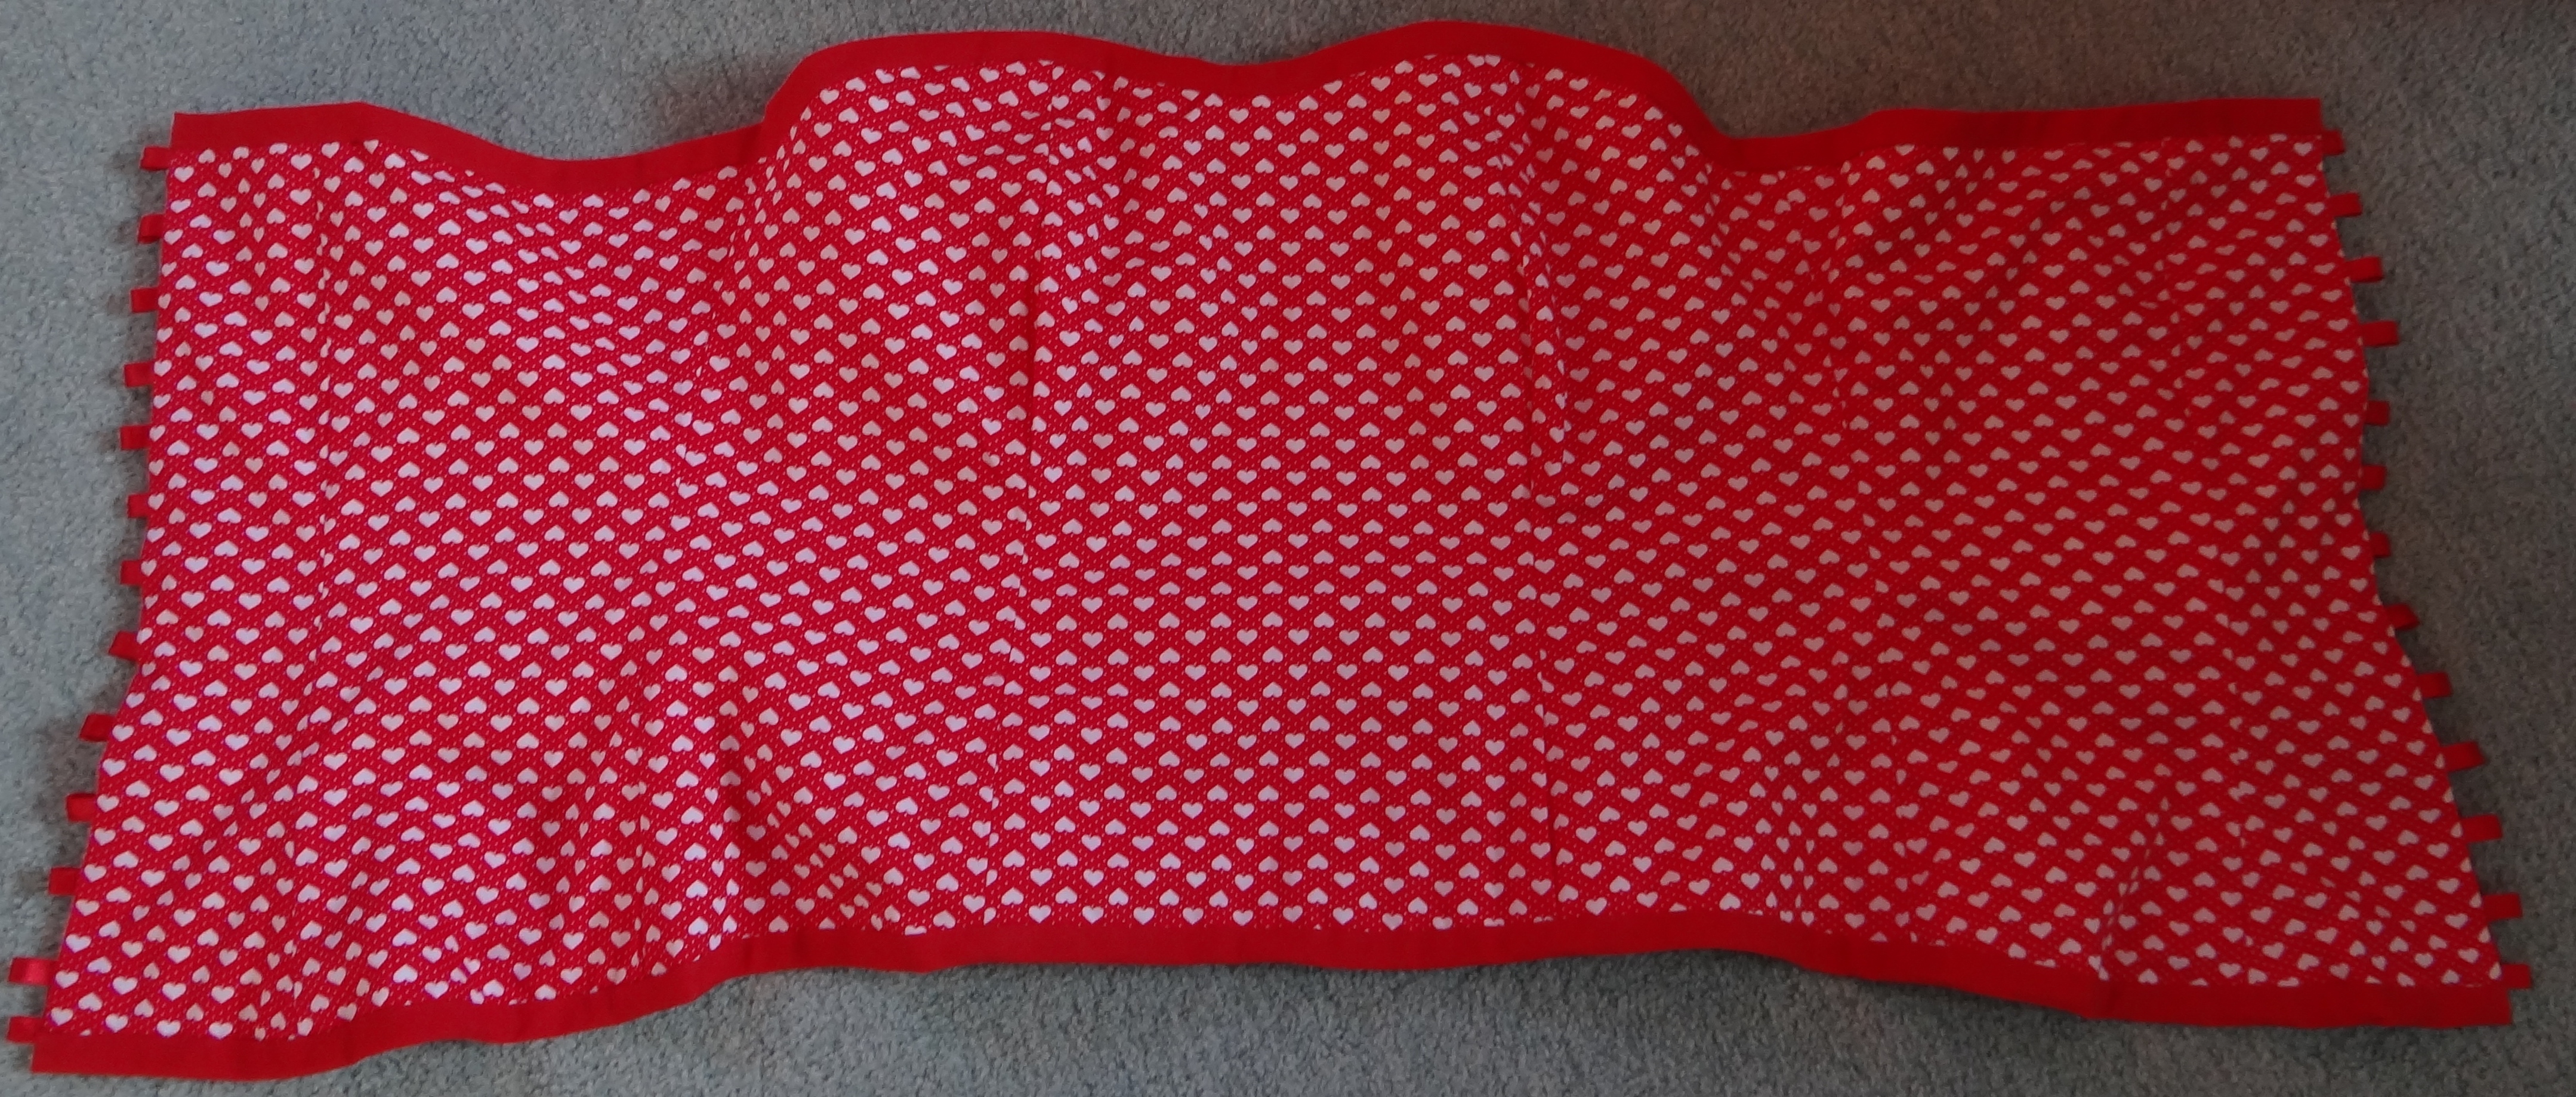
In true upcycling manner, it was made from an old bridesmaid dress and with the addition of a cute cotton lining it’s totally reversible – turning it inside out gives a completely different look.
Do you want to see how it was made?
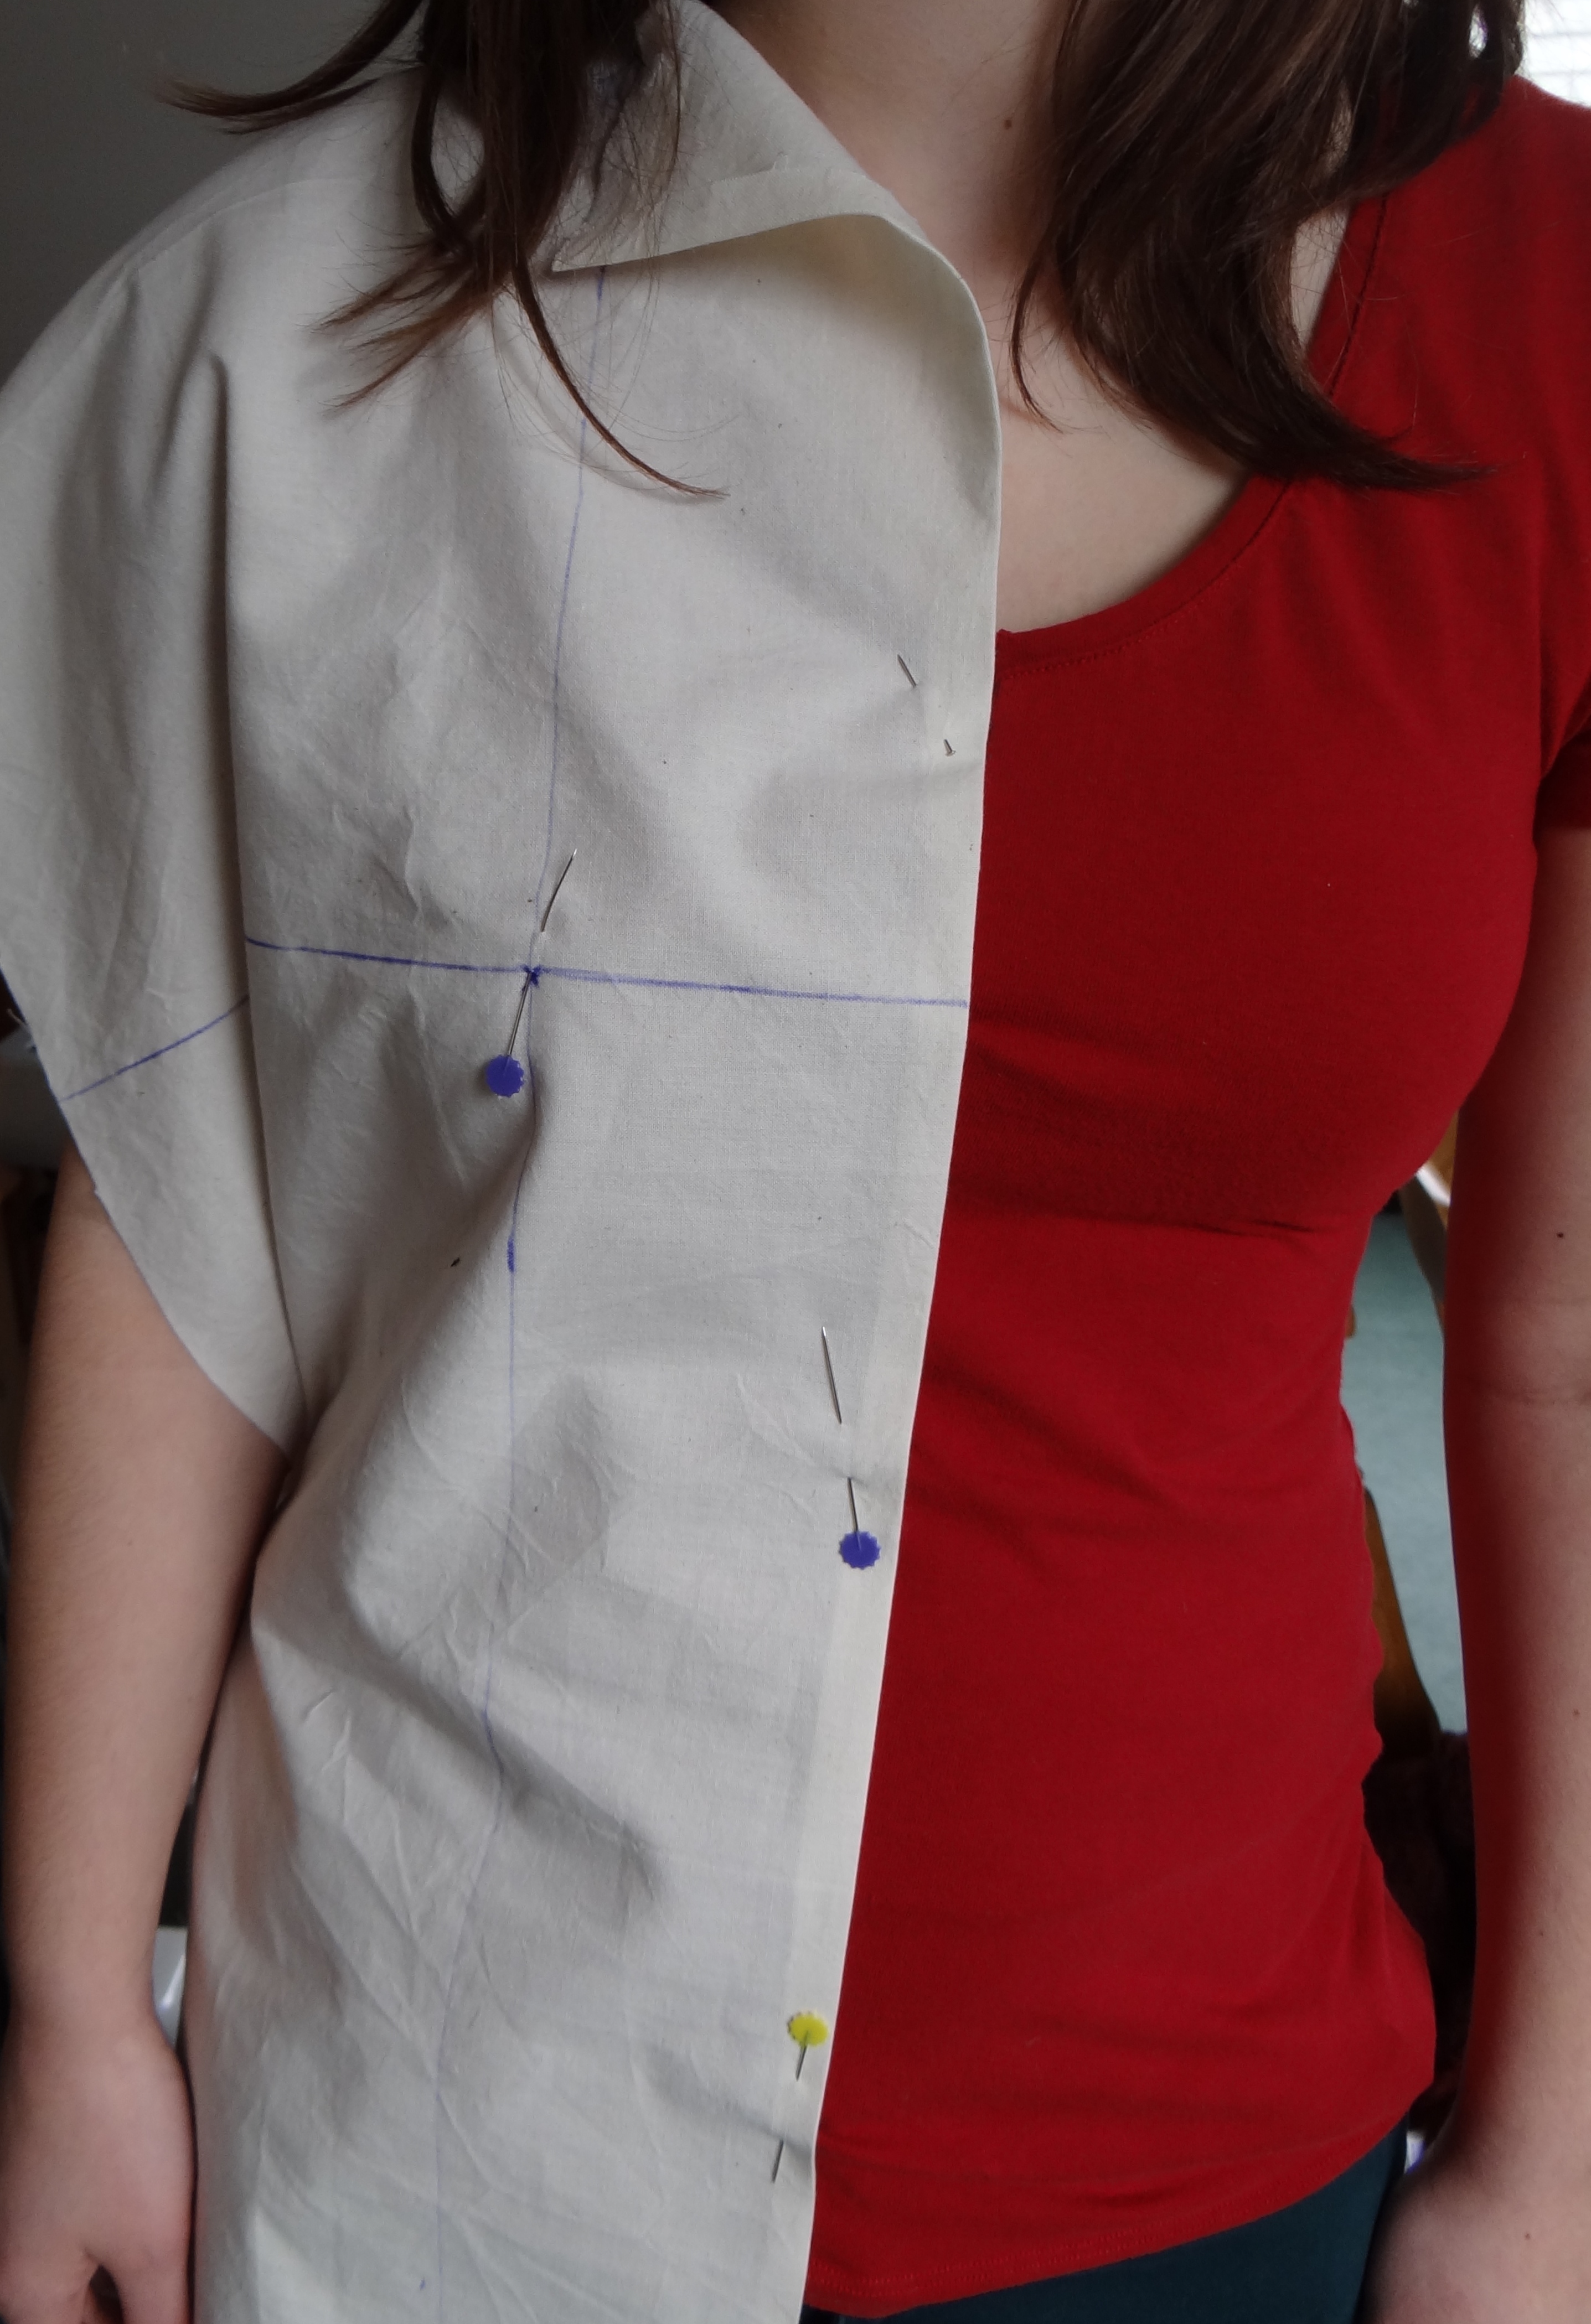
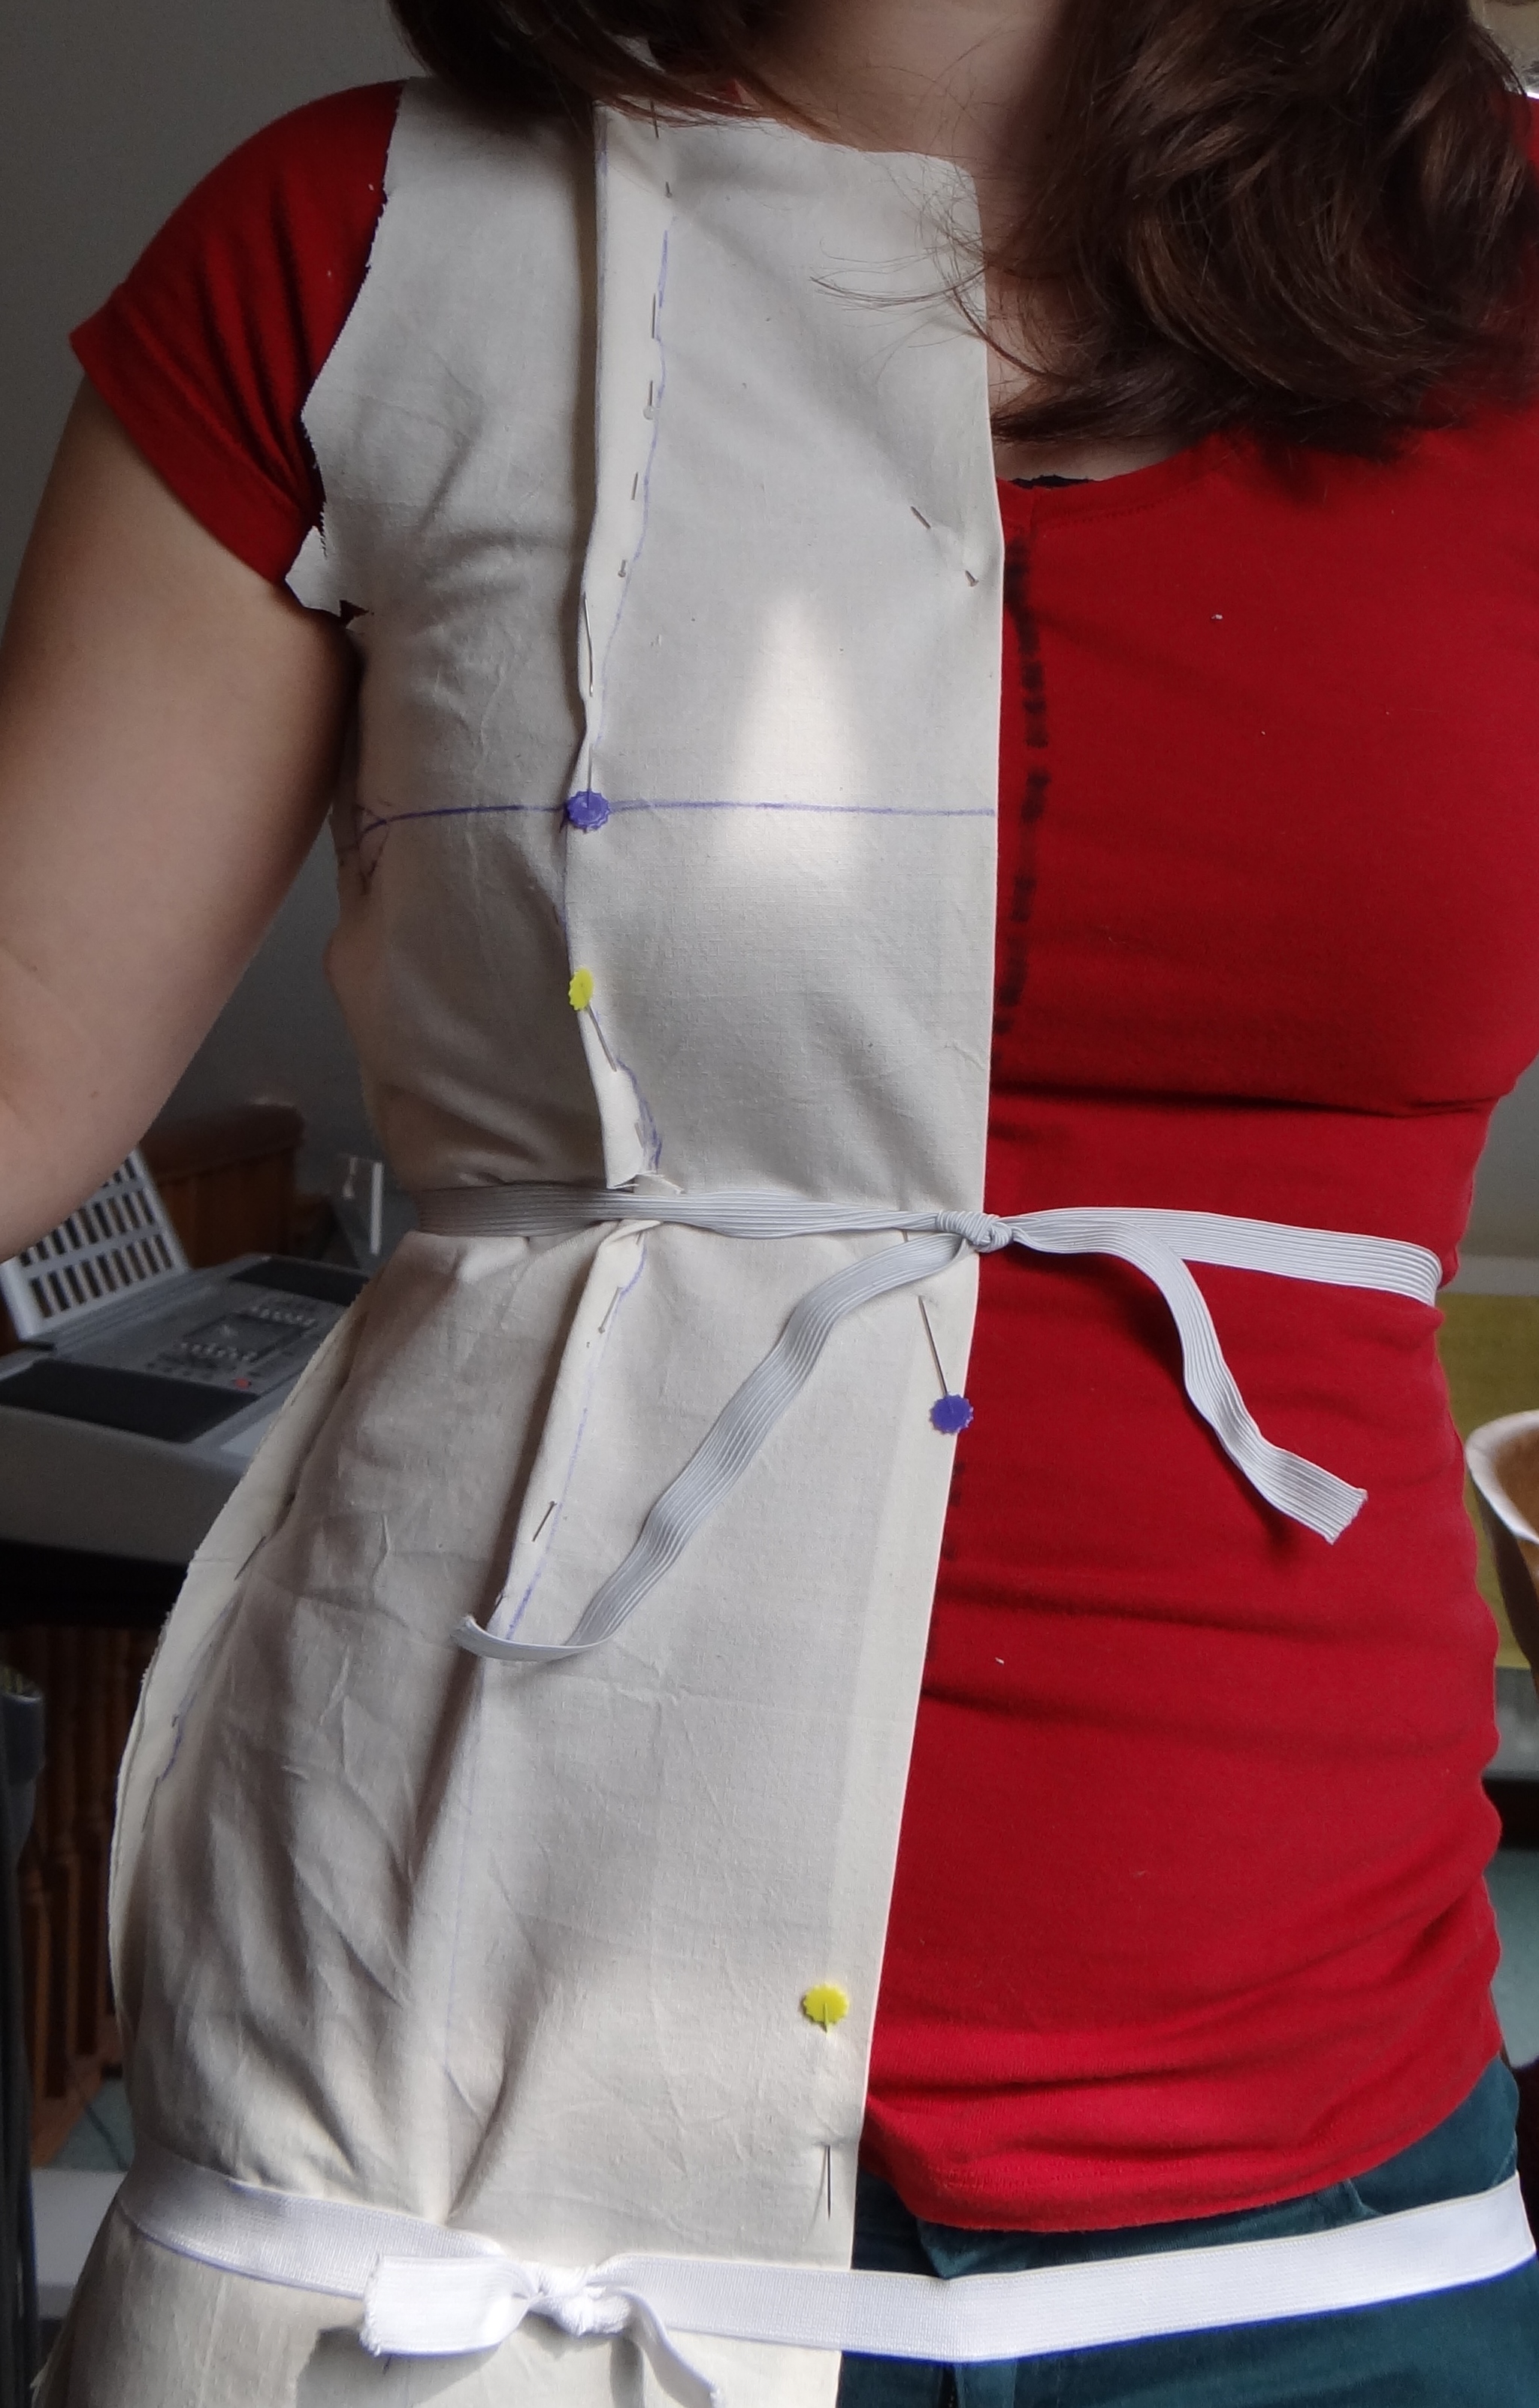
Firstly, a toile / body block was created – the book recommended doing this over a tight fitting T-shirt which has been previously marked with a vertical line down the front (centre front) and the back (centre back). As well as giving you a reference line, the T-shirt gives you something to pin to. To make the front of the toile the ‘models’ measurements are used to mark the bust point, the fabric is pinned in place, neck line cut and additional pins are used to remove excess fabric until the toile fits snuggly. Two pieces of elastic, one positioned at the waist and the other at the widest part of the hips helps when drawing in further guide lines.
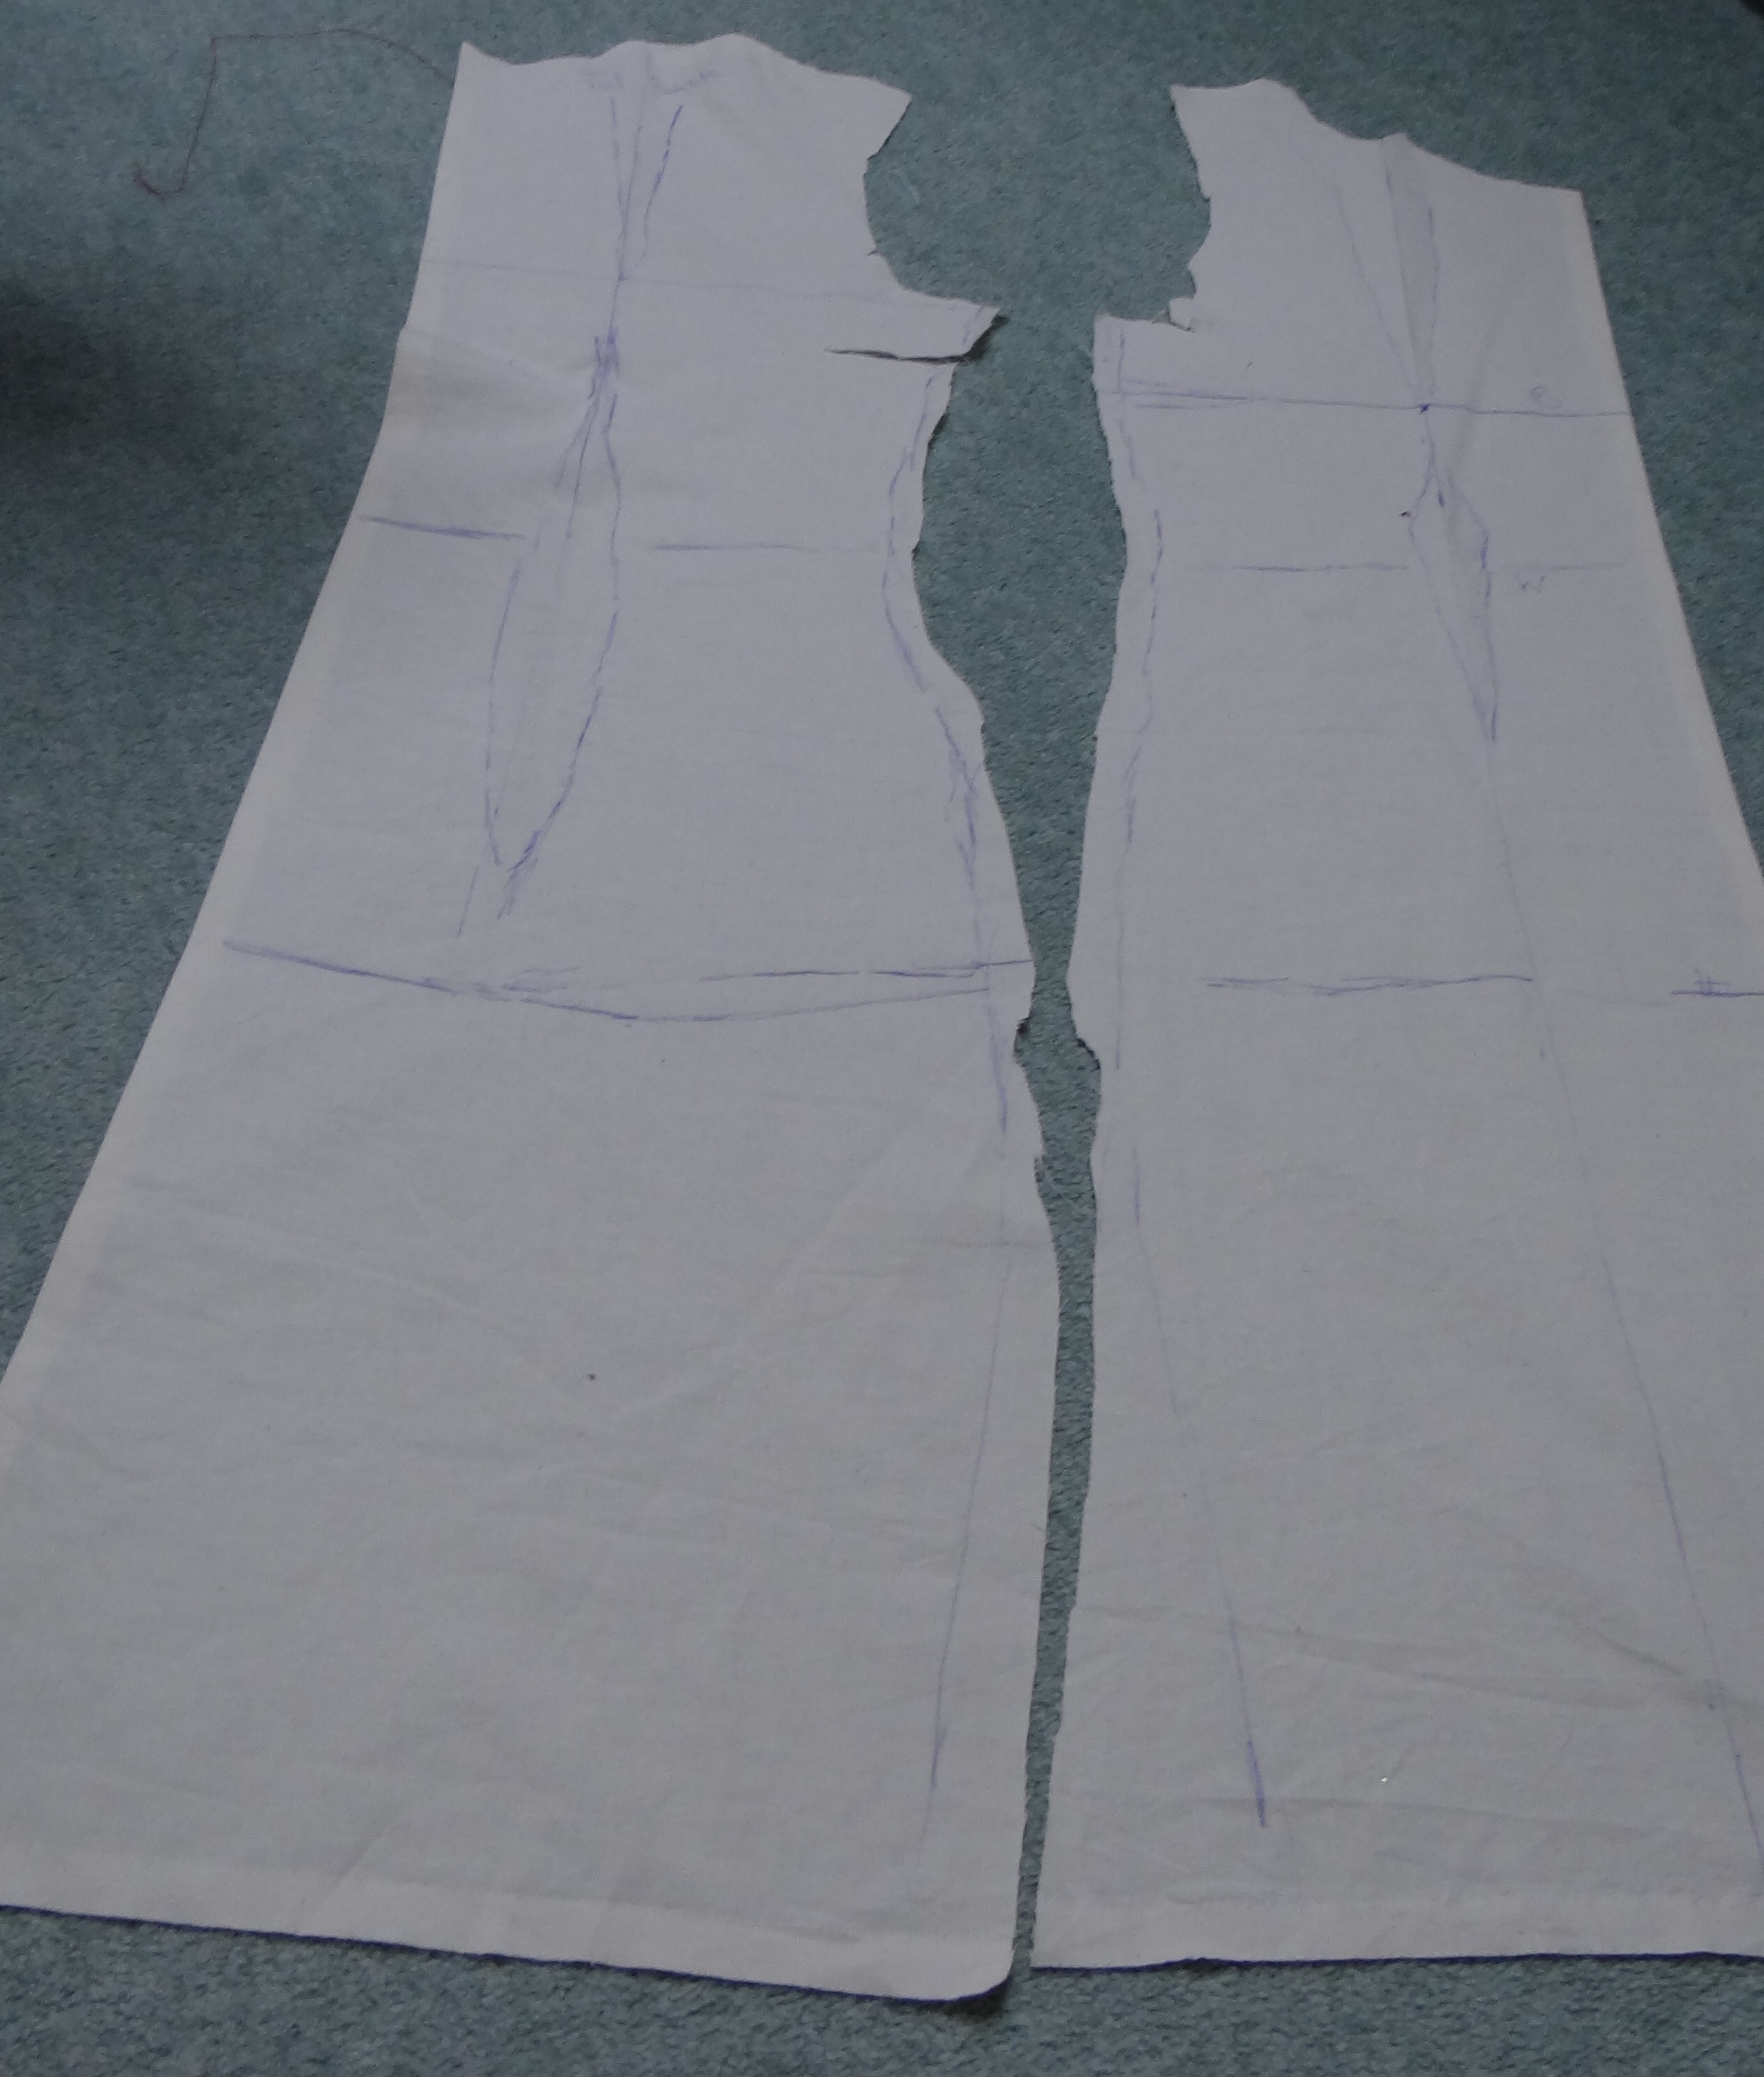
The back toile piece is fitted in a similar manner and once happy with the fit, the toile pieces are unpinned and cut along the dart and seam lines to create four pattern pieces.
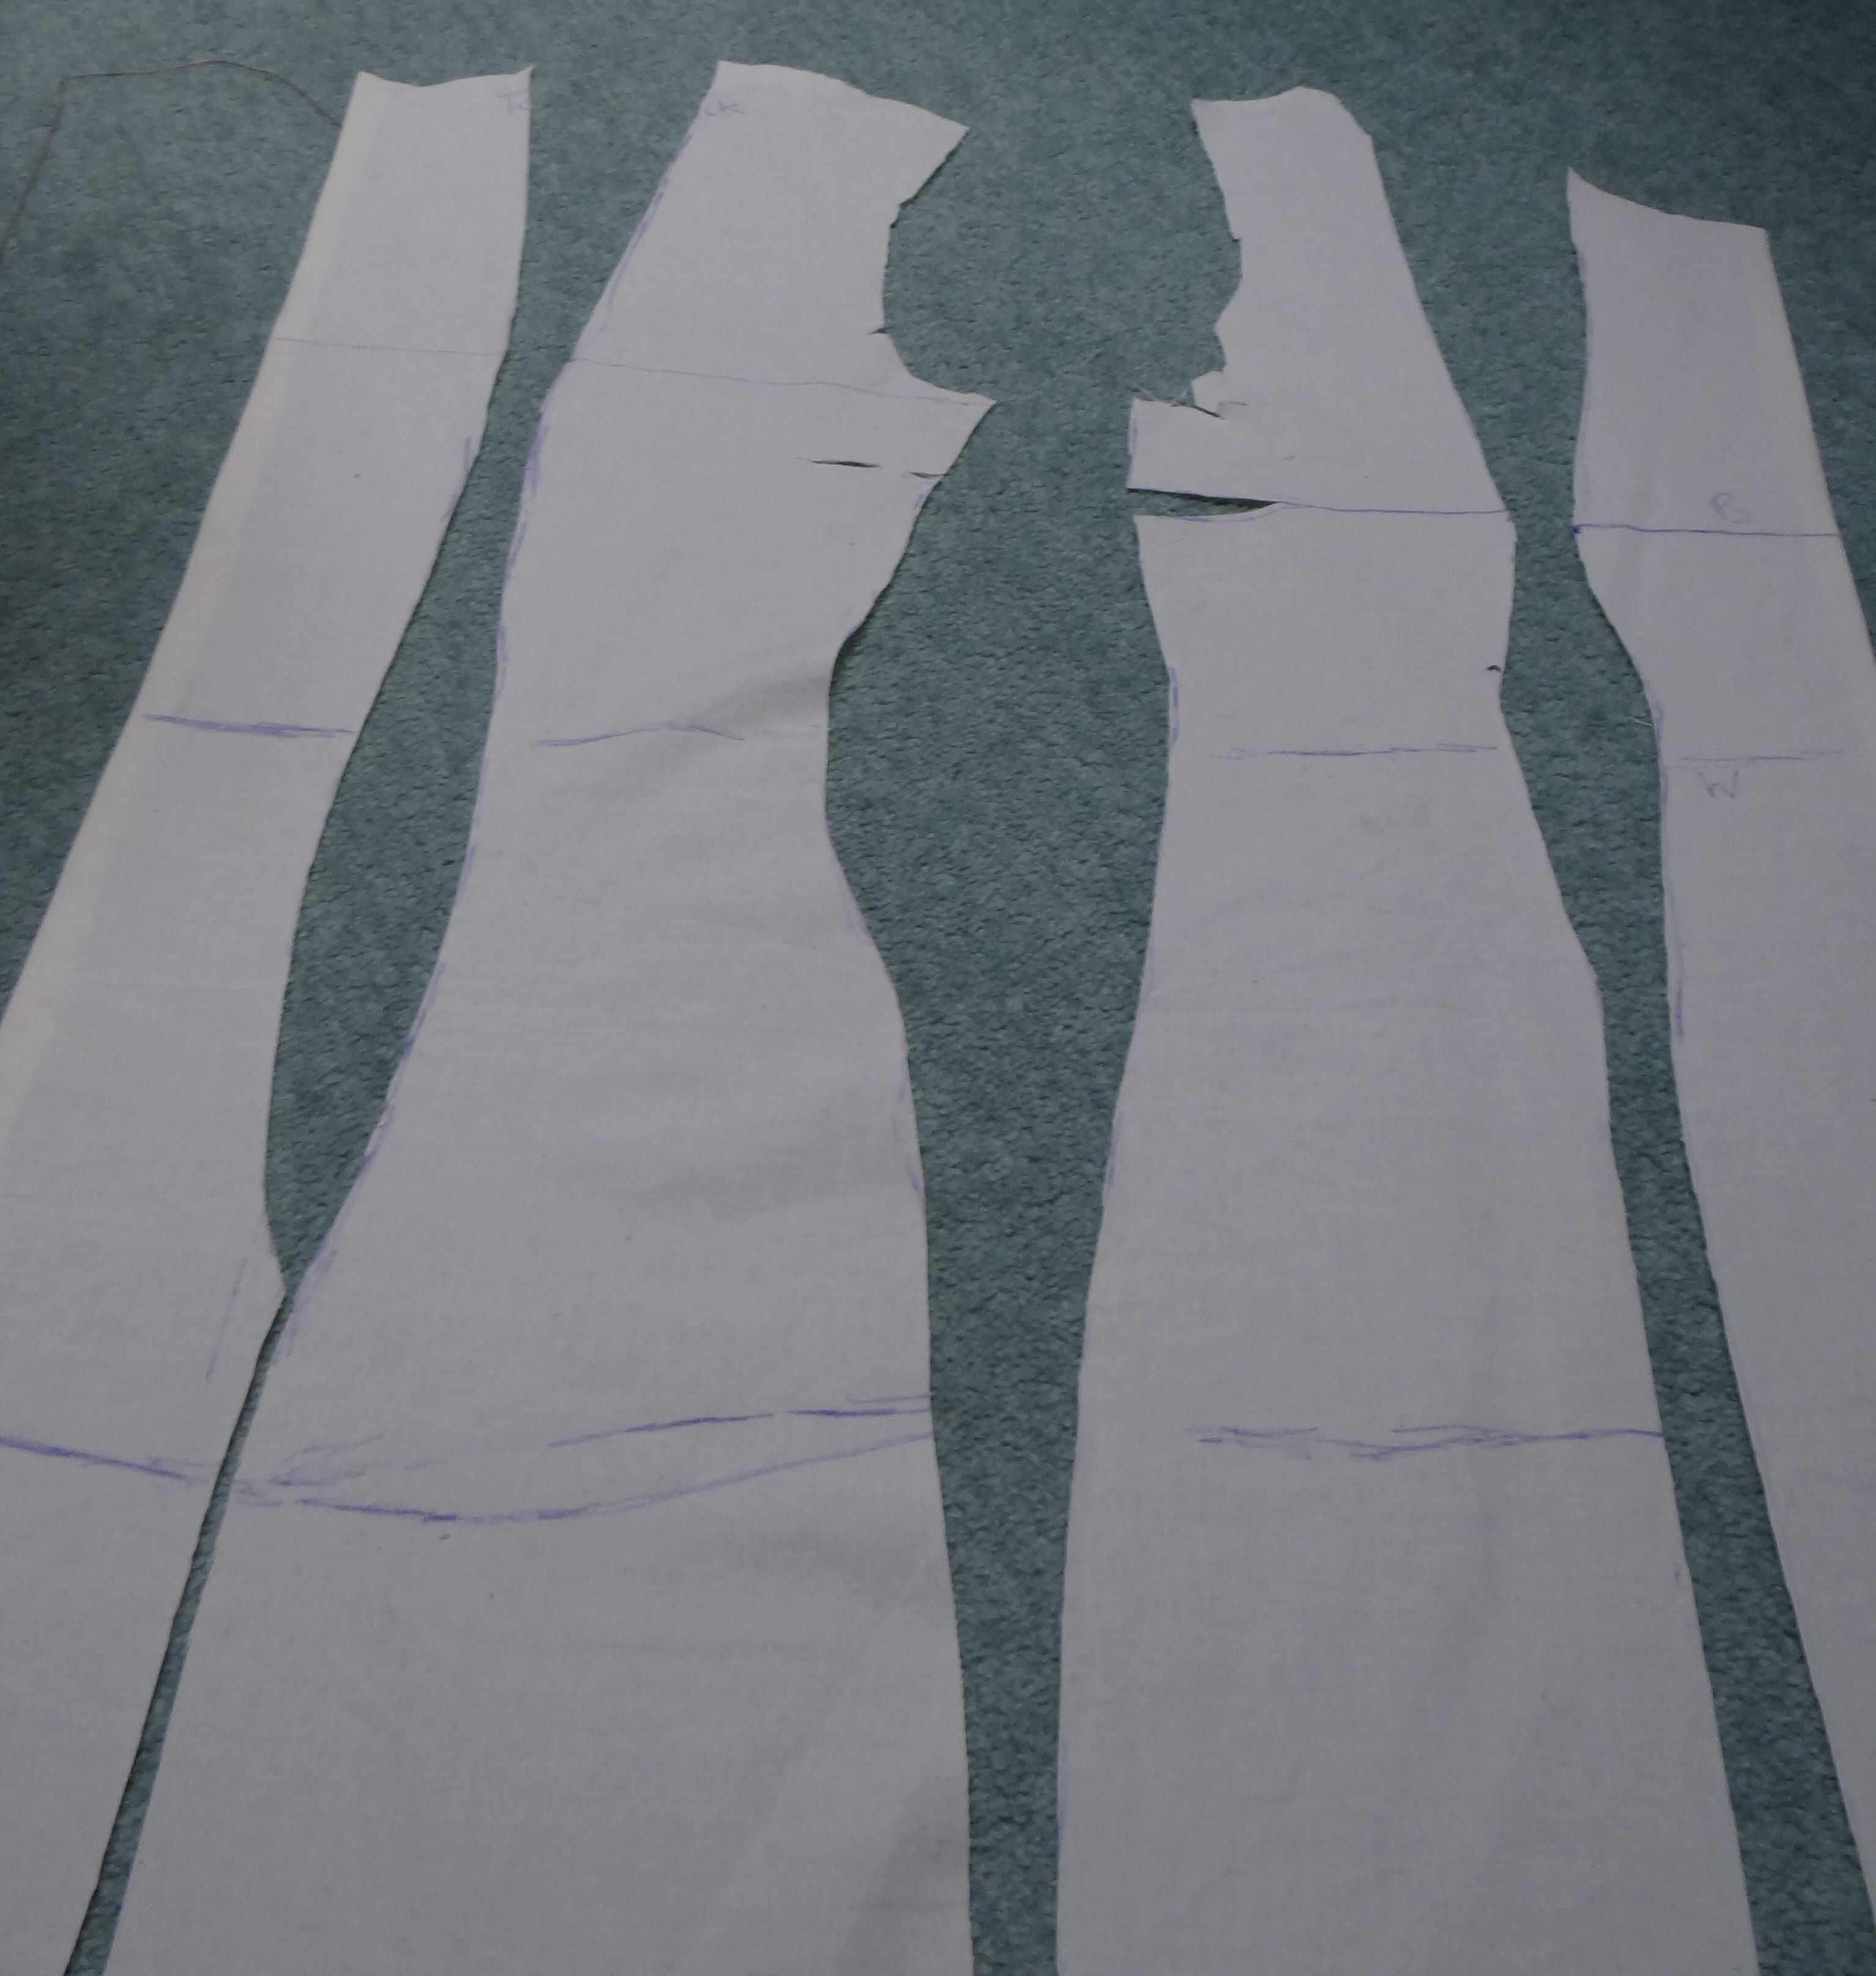
Step 2 is to create a full body block (Step 1 gives you half) by placing the 4 pattern pieces onto a folded piece of calico, which are then drawn around and cut out.

The pattern pieces (7 in total as the centre front panel is cut on the fold) are sewn together, popped on your model and adjusted at the seams until you have a smooth and close body fit. The photo below shows the full body block on its first fitting – you can see the toile needs to be adjusted as it is gathering at the arm socket.

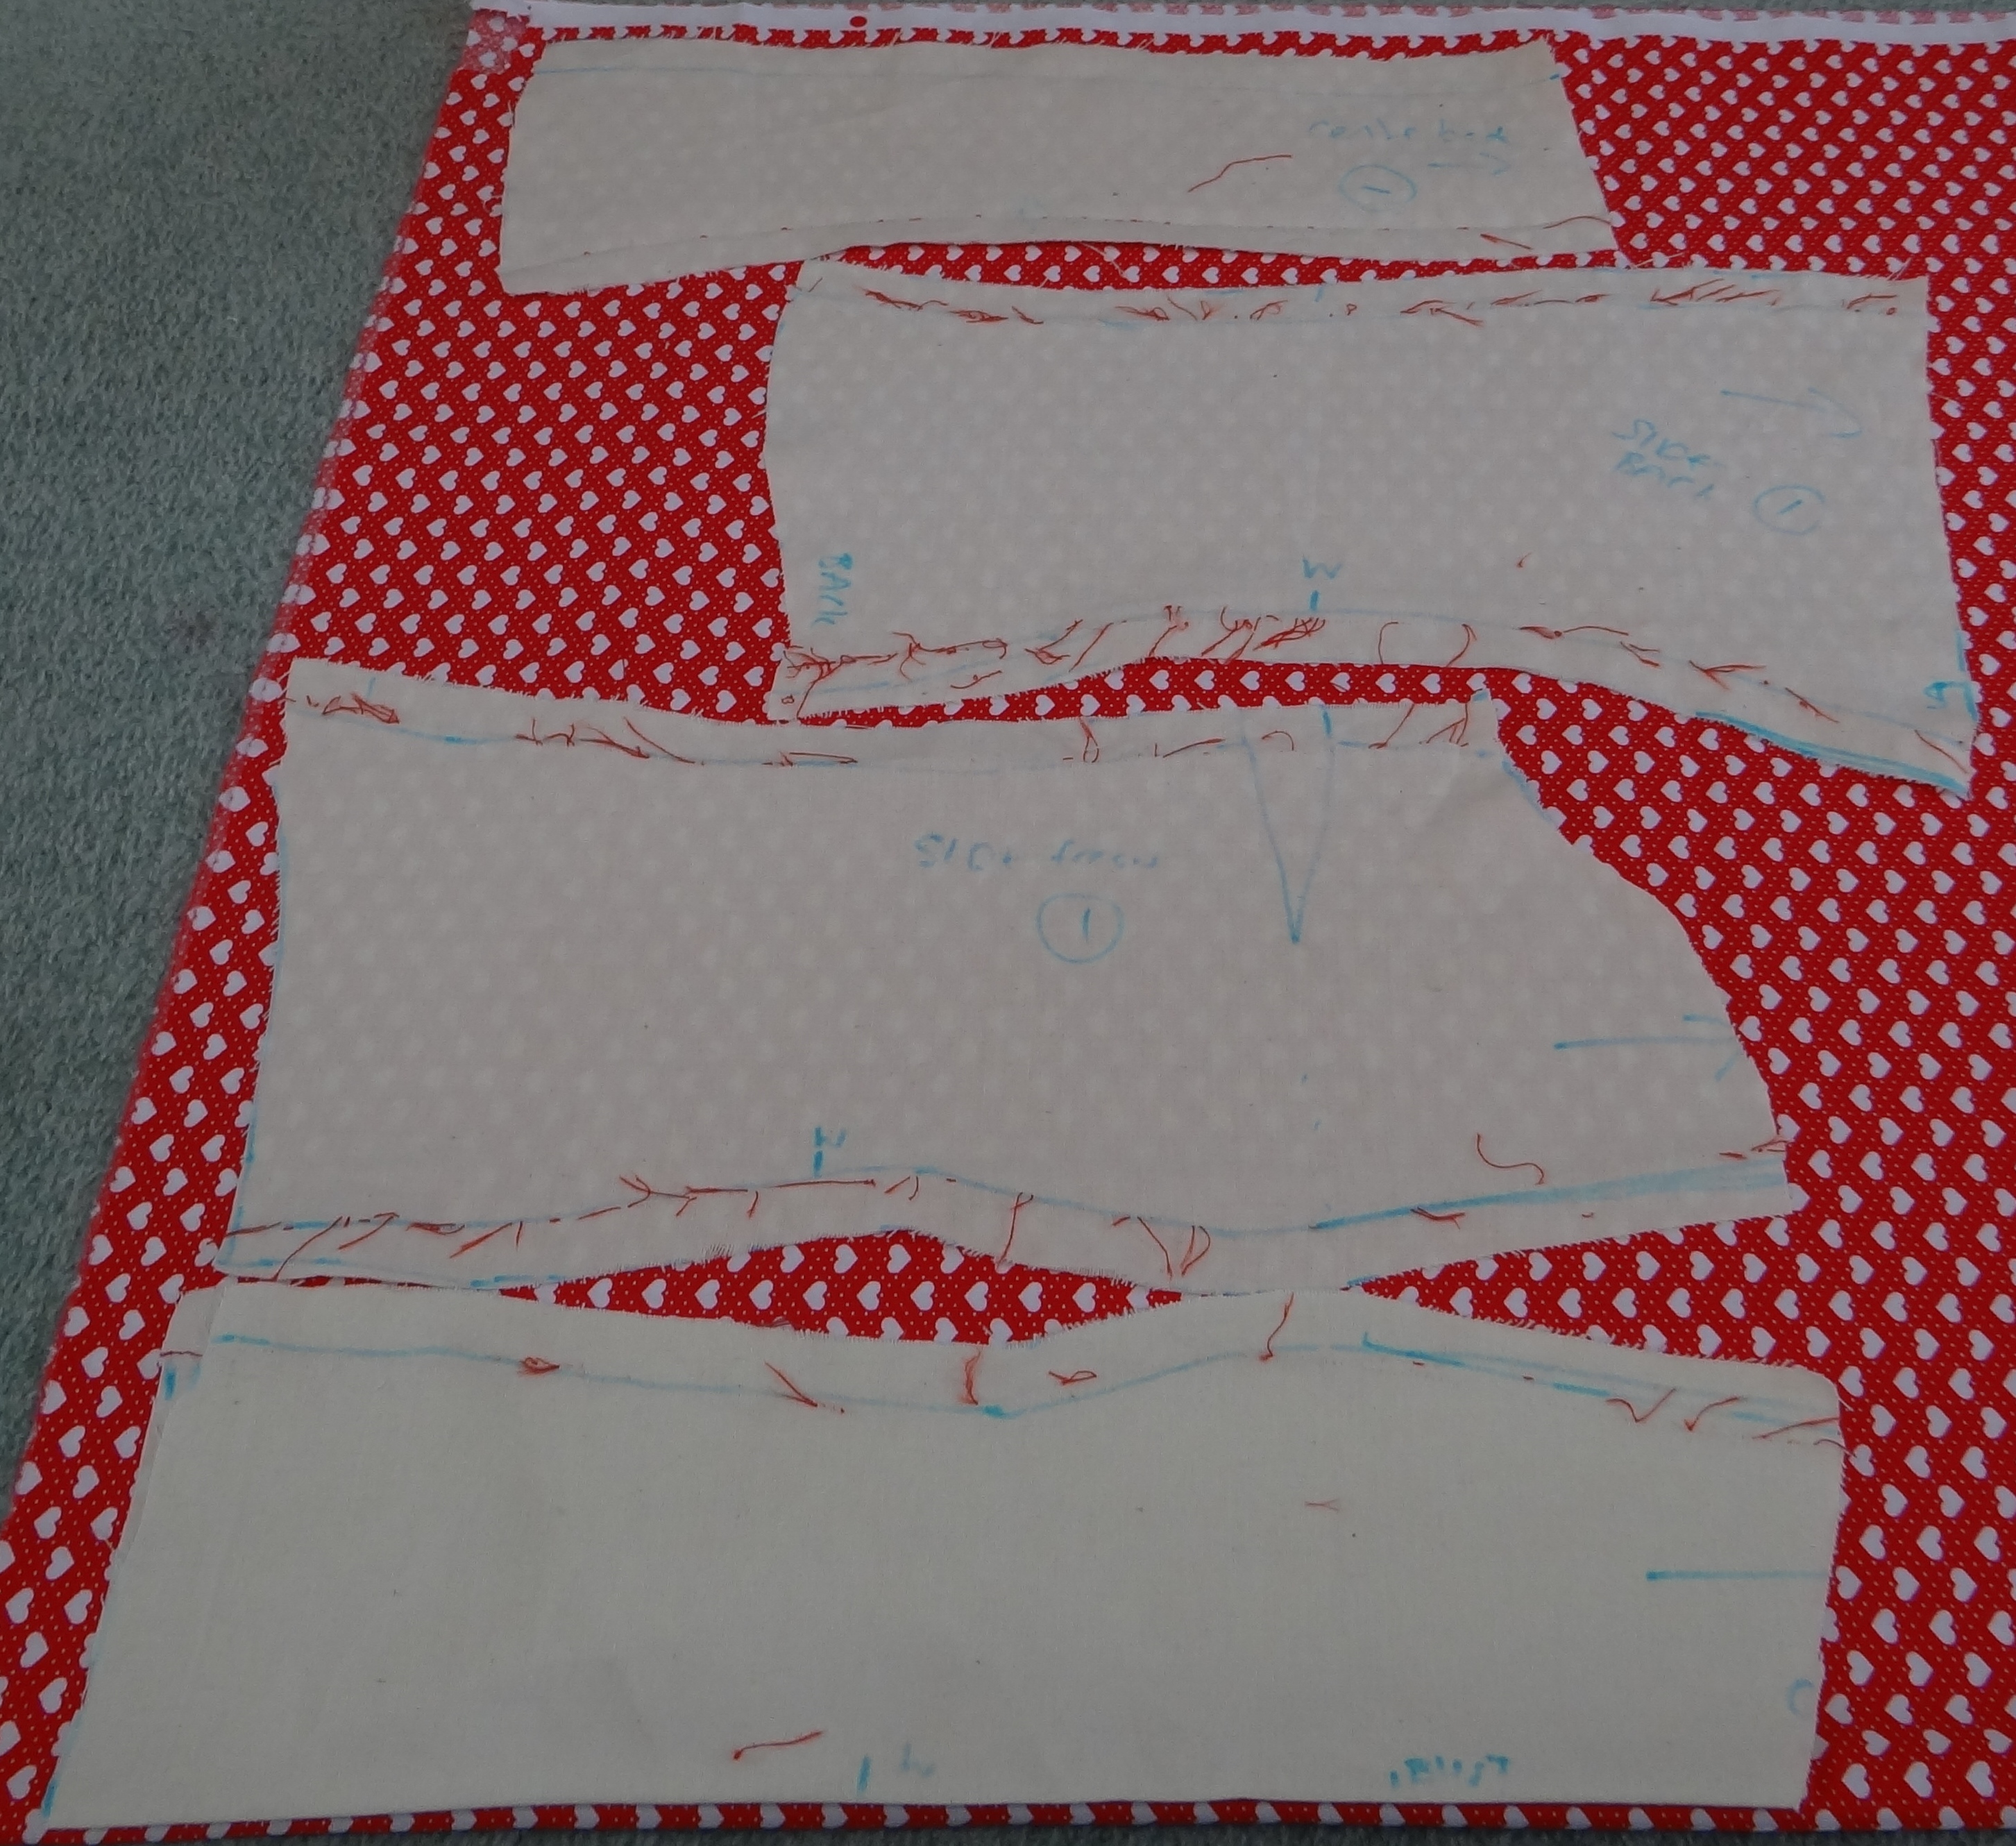
This full body block is used to make the corset pattern pieces – the photo below shows the corset toile. A little bit of spray starch helps to stablize the fabric.

Again the toile is unpicked and pieces used as a template.
 .
.
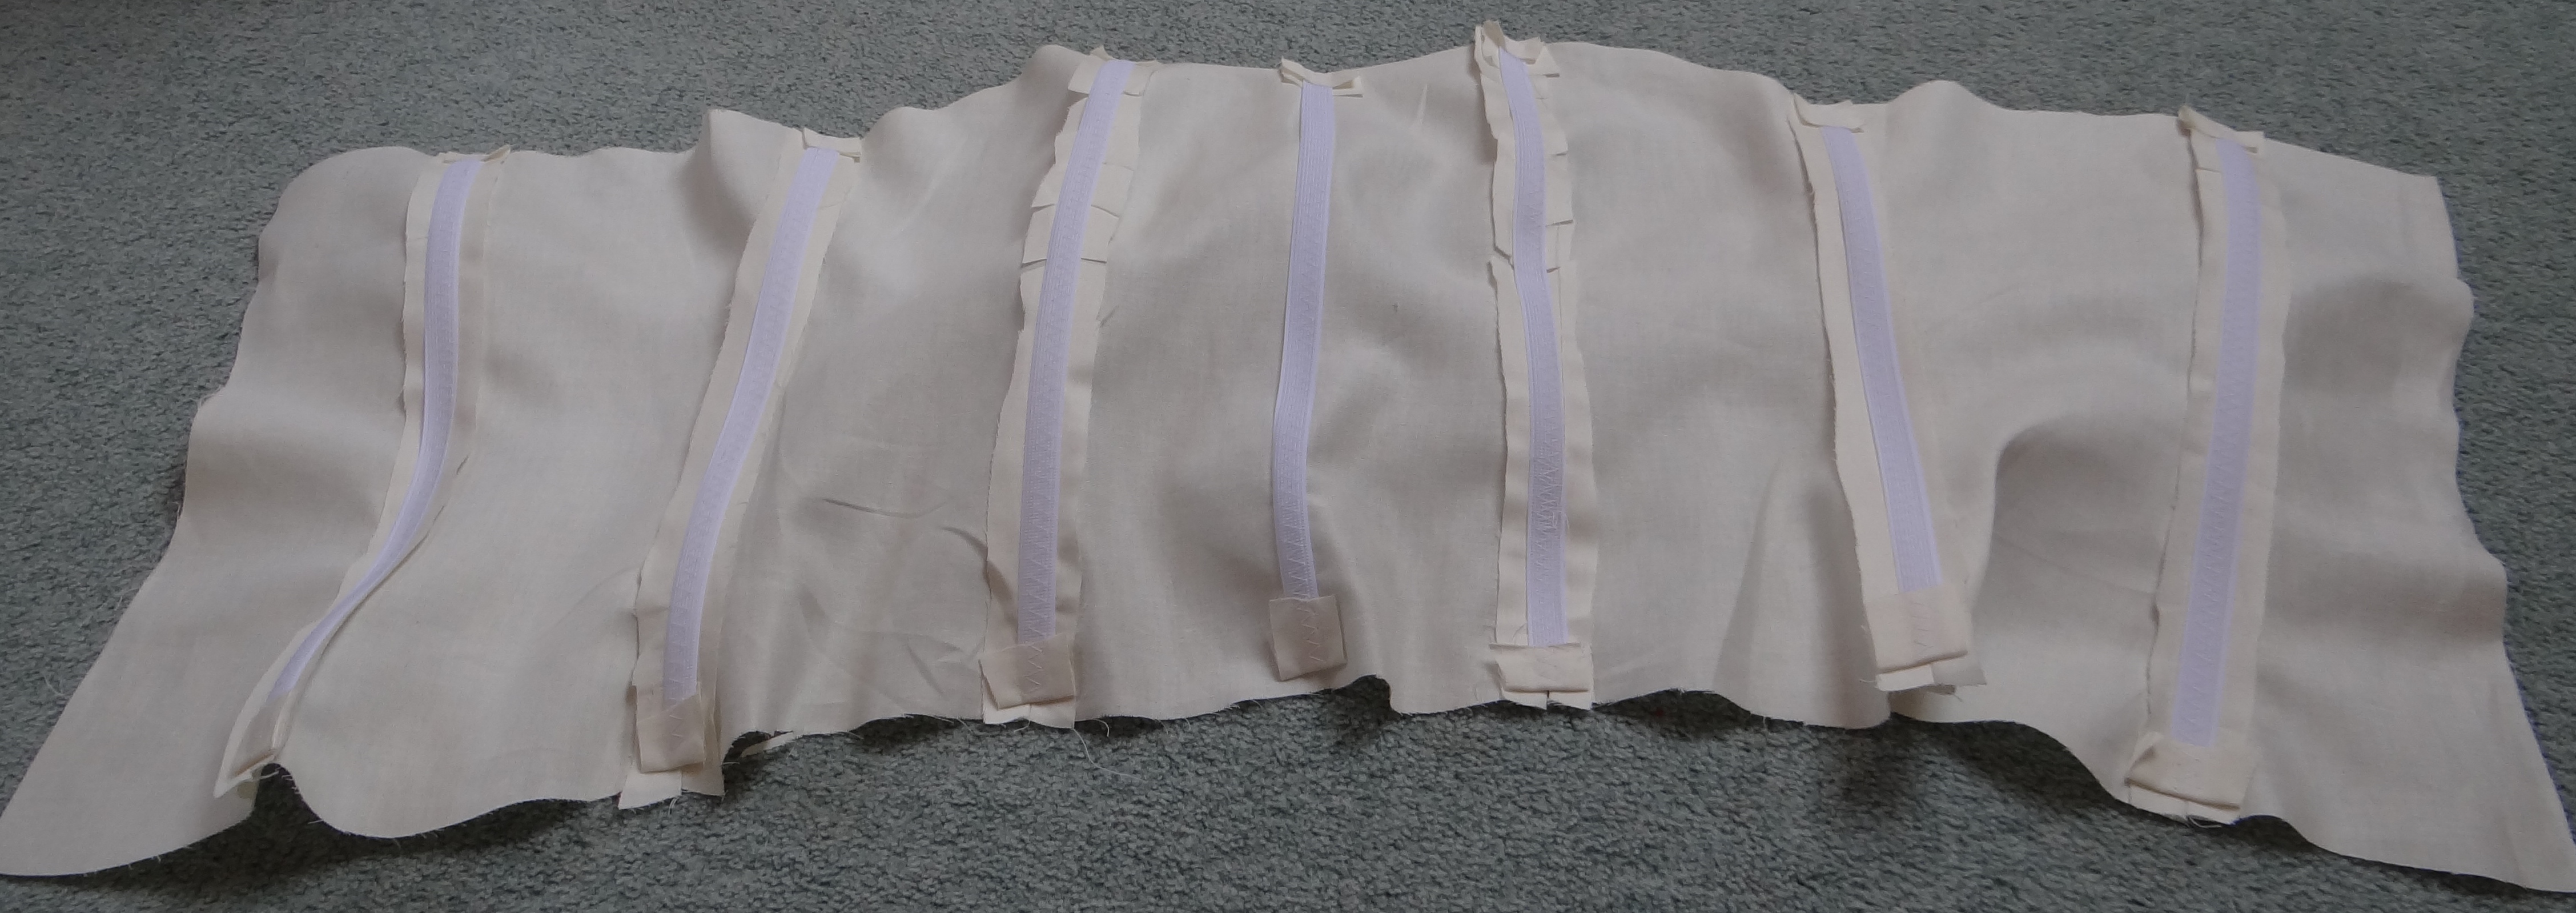
The corset itself is made from 3 layers: the main fabric, lining and interlining.
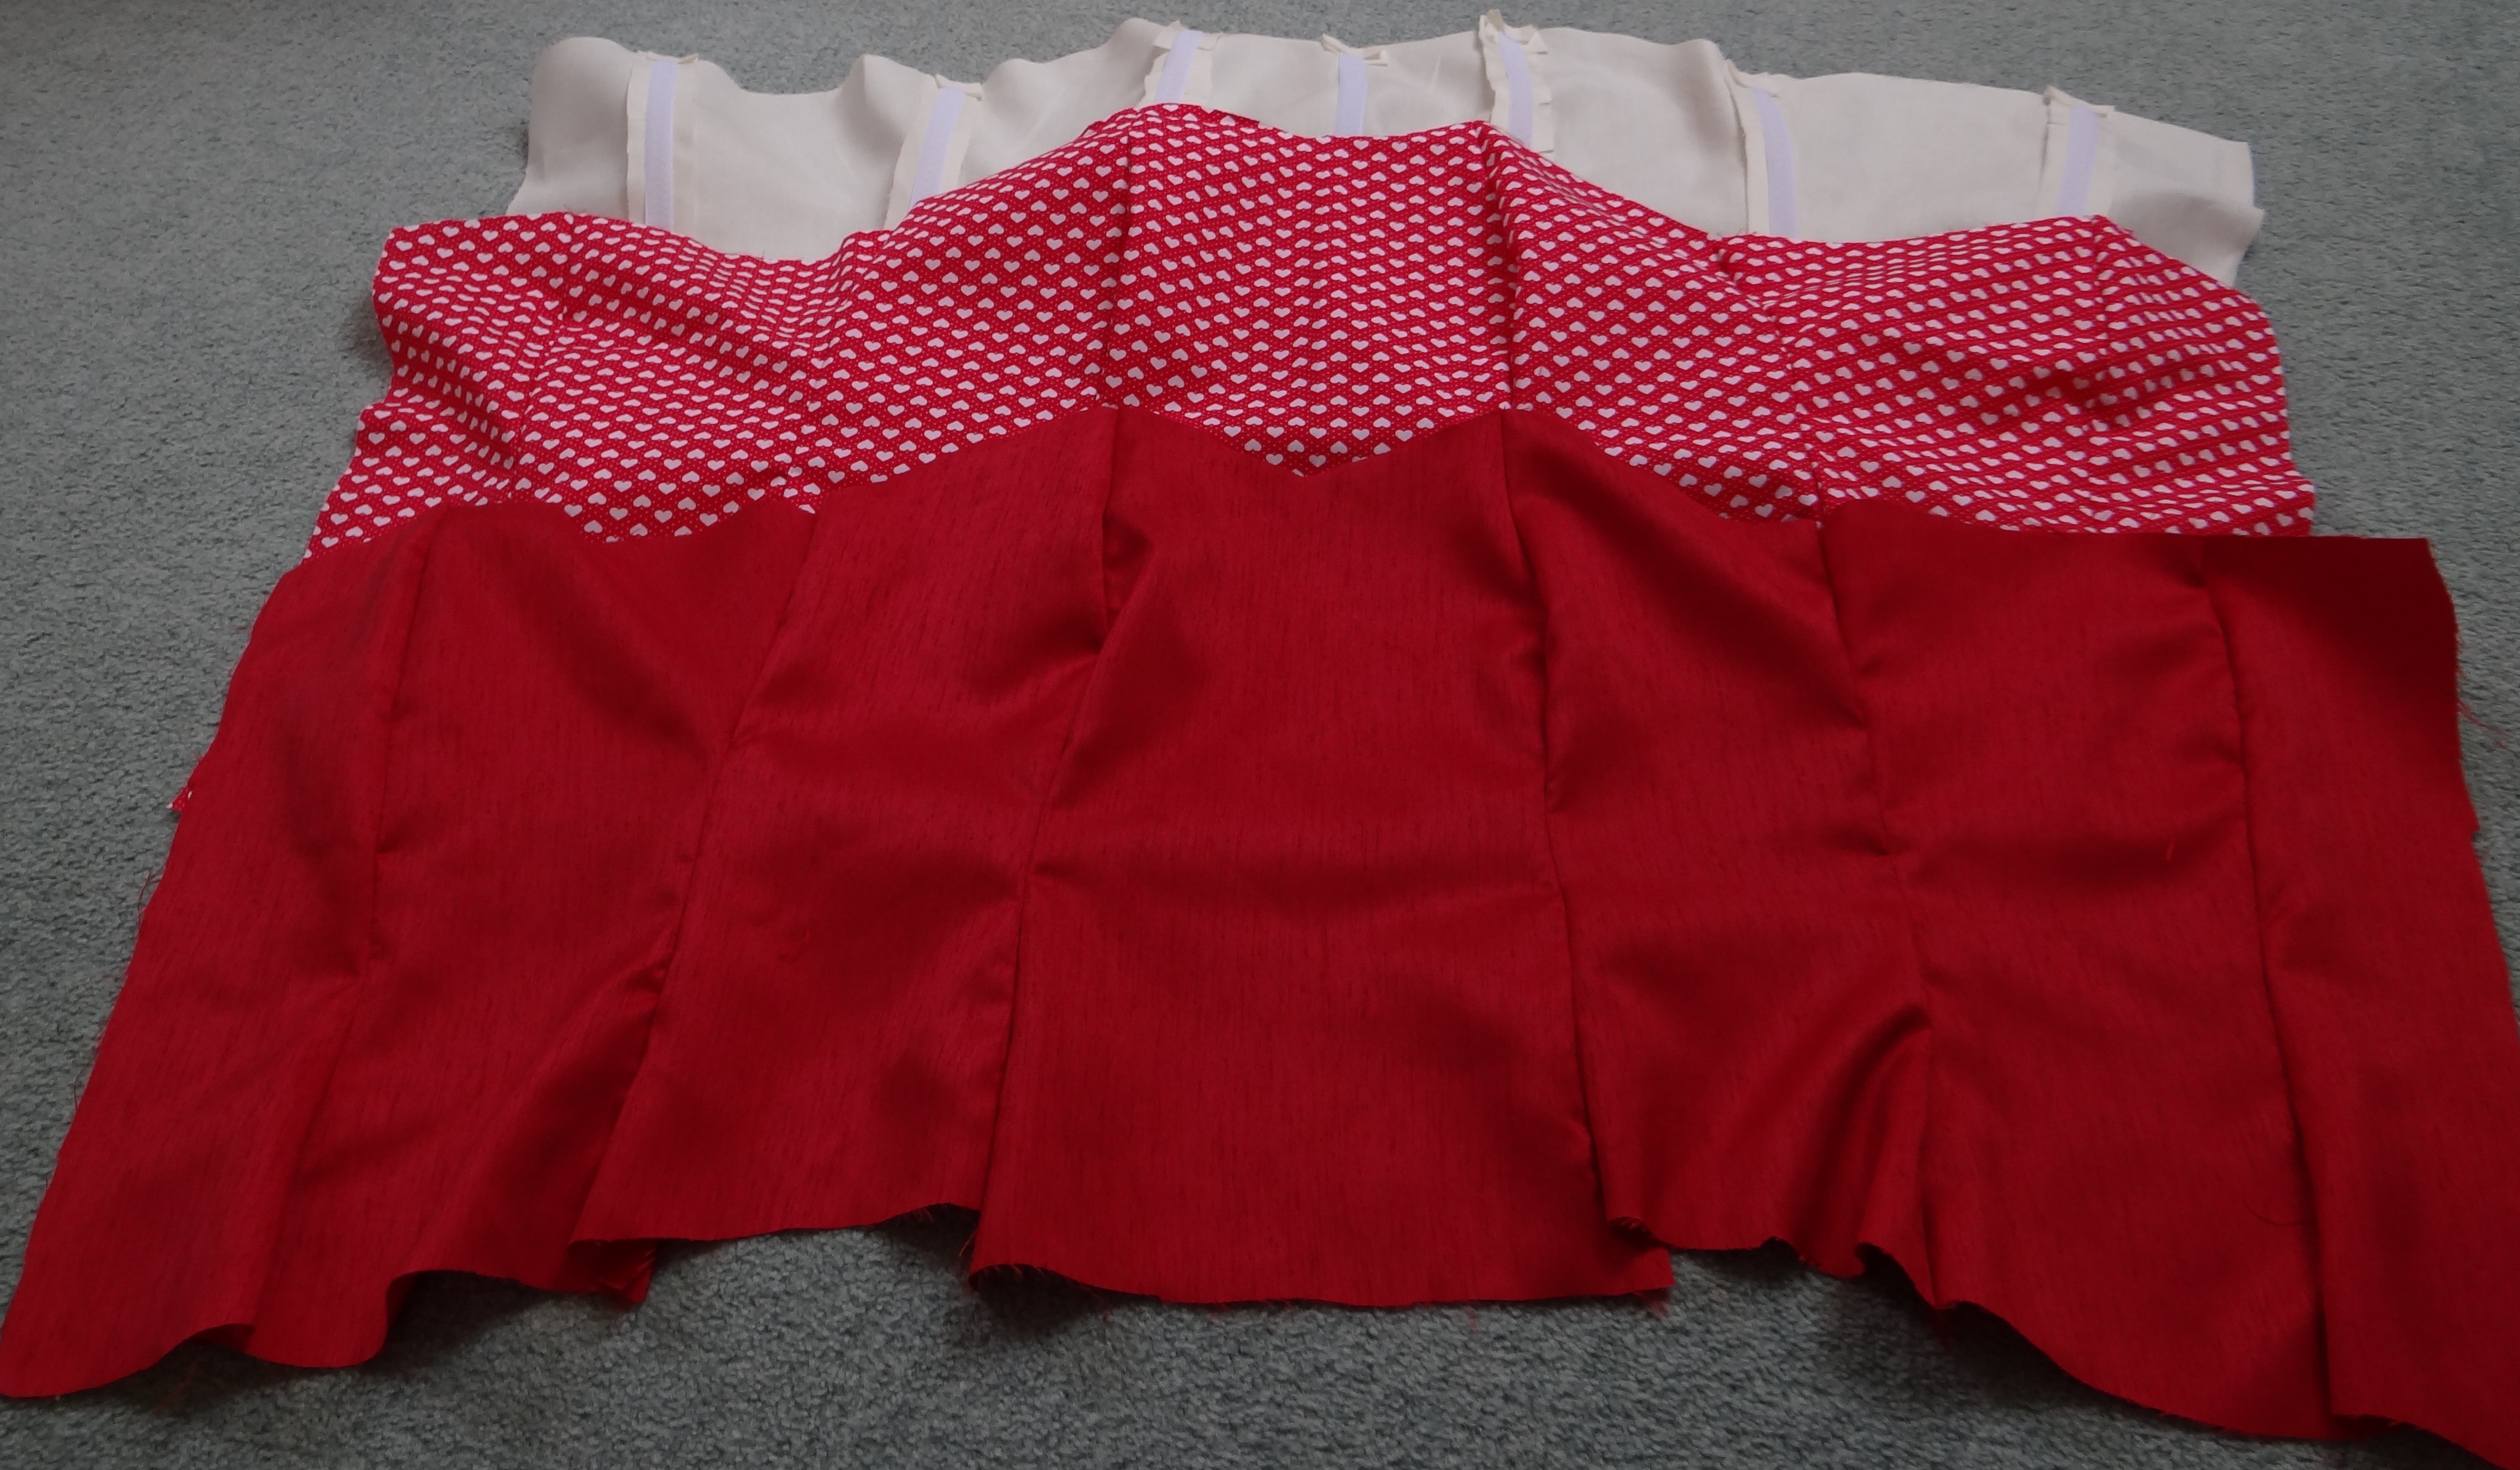
The interlining is the layer that the ‘bones’ are stitched to.
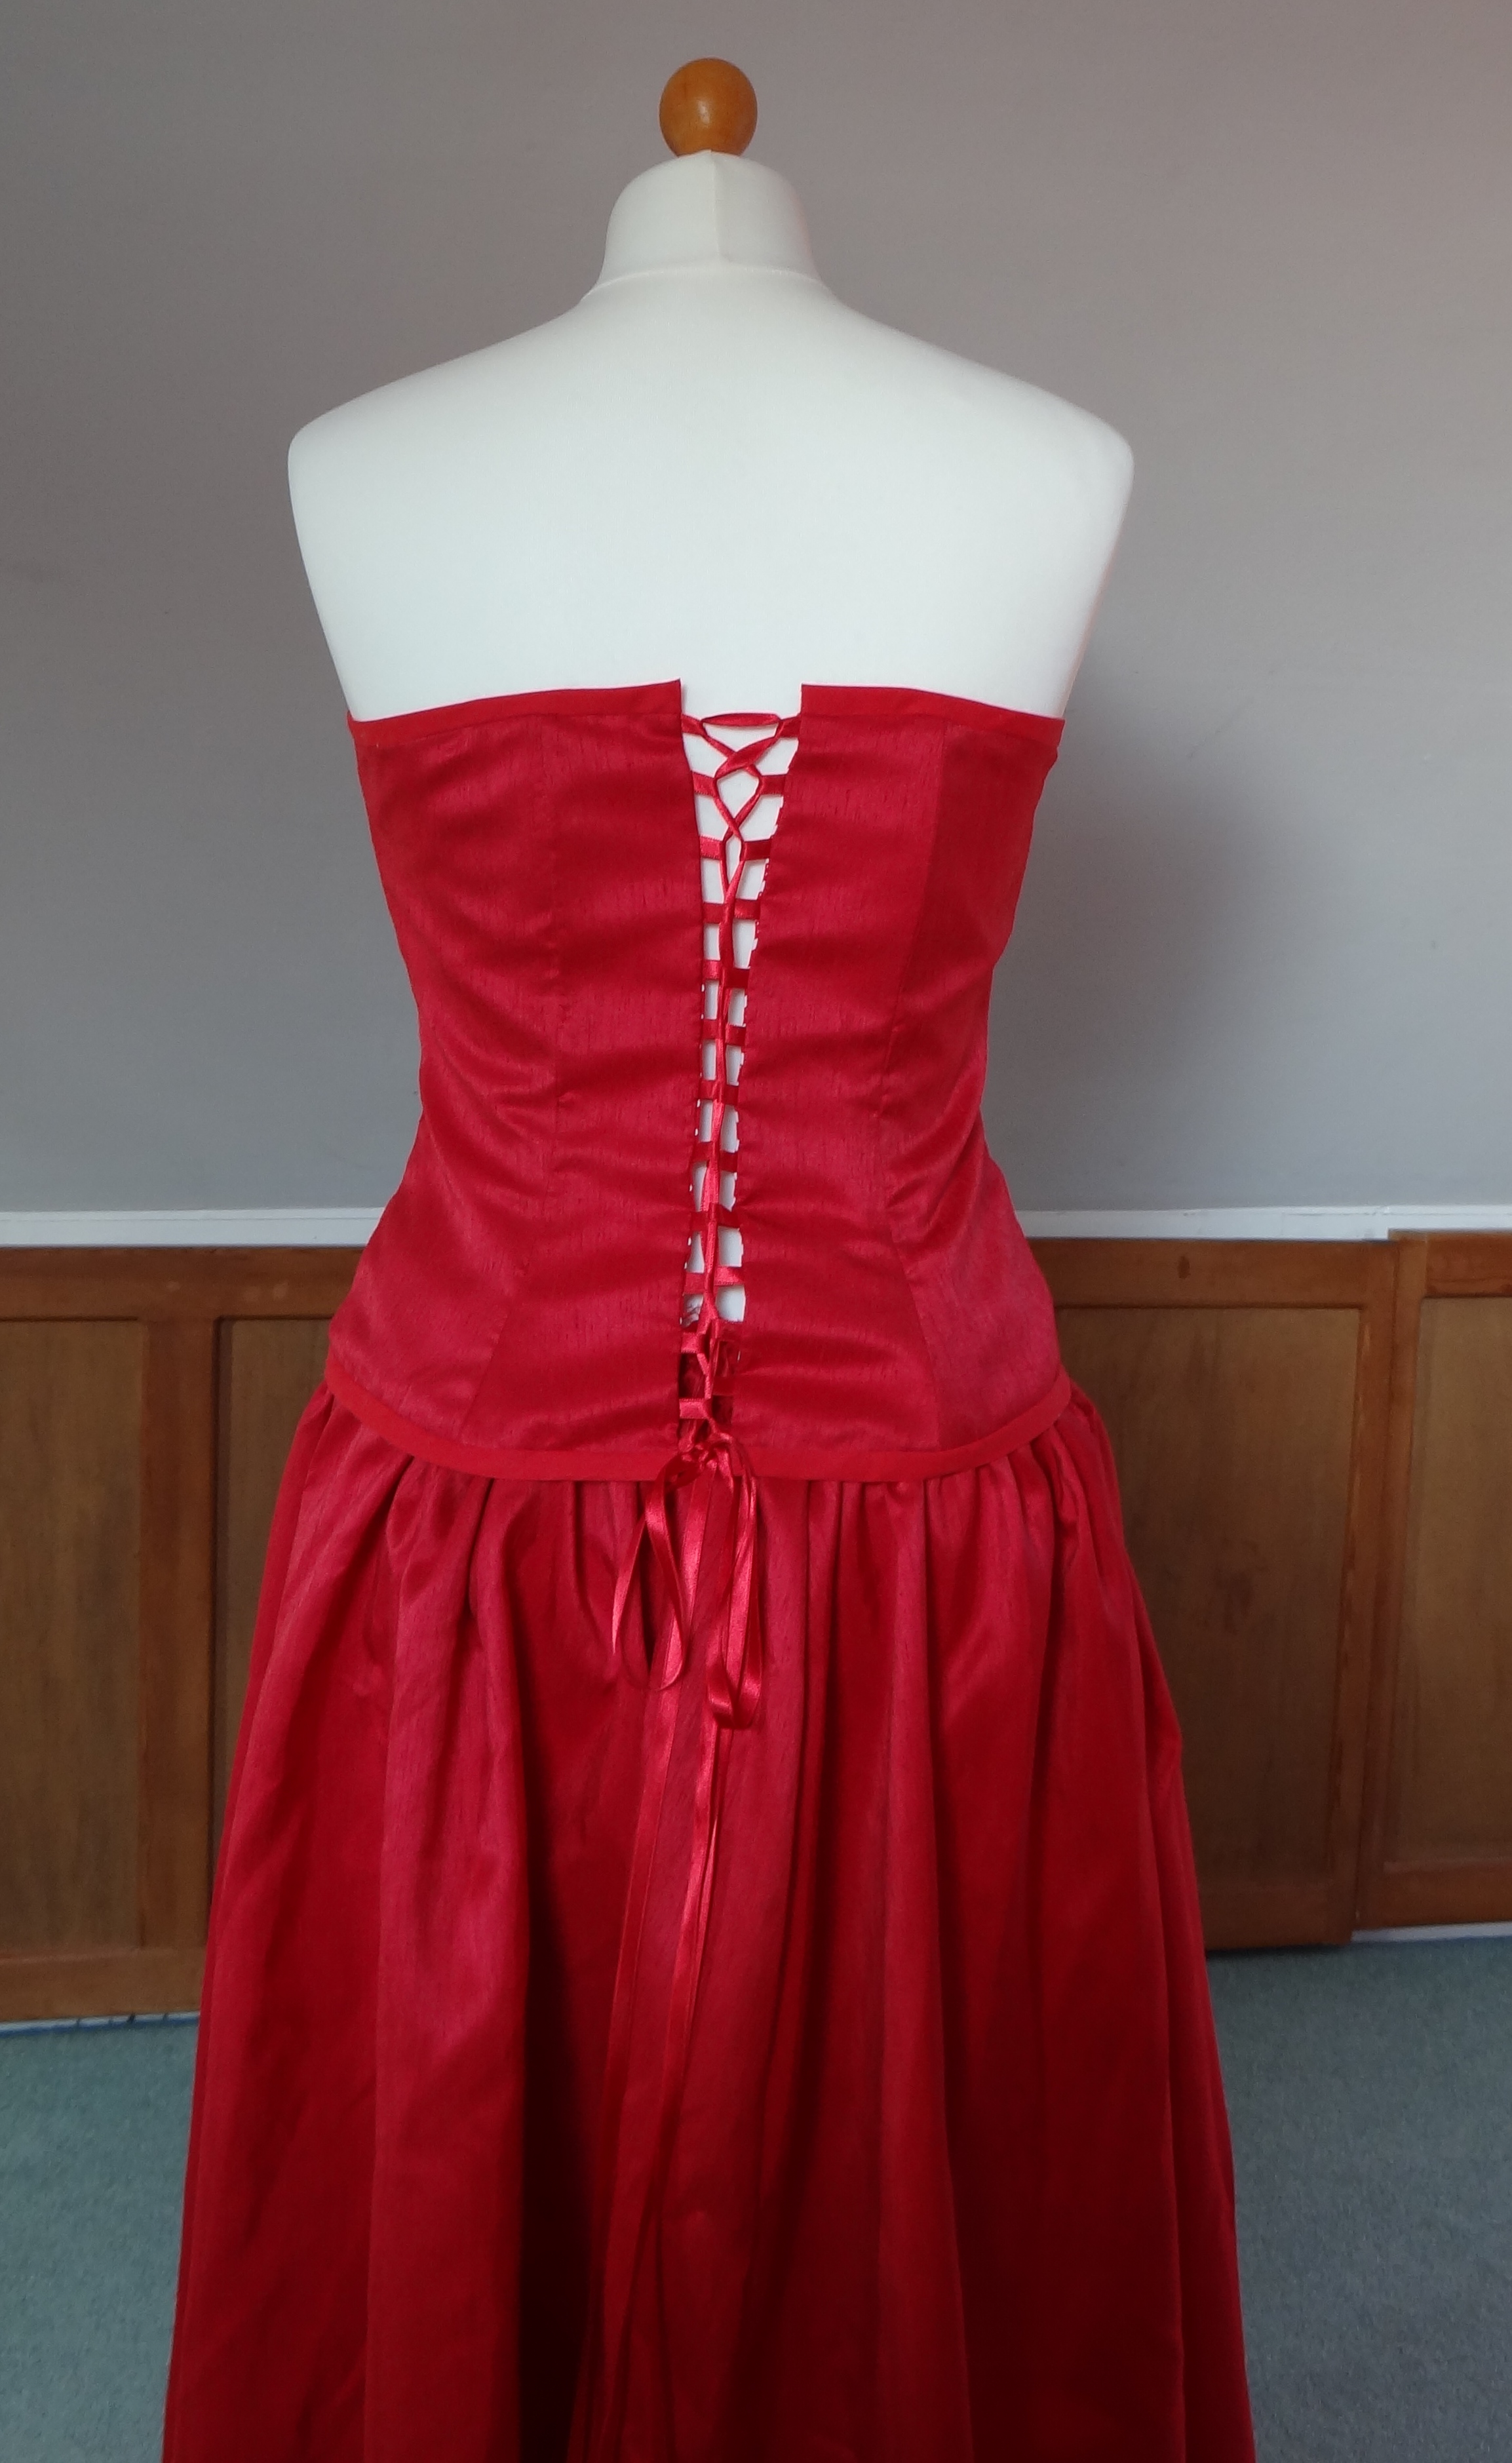
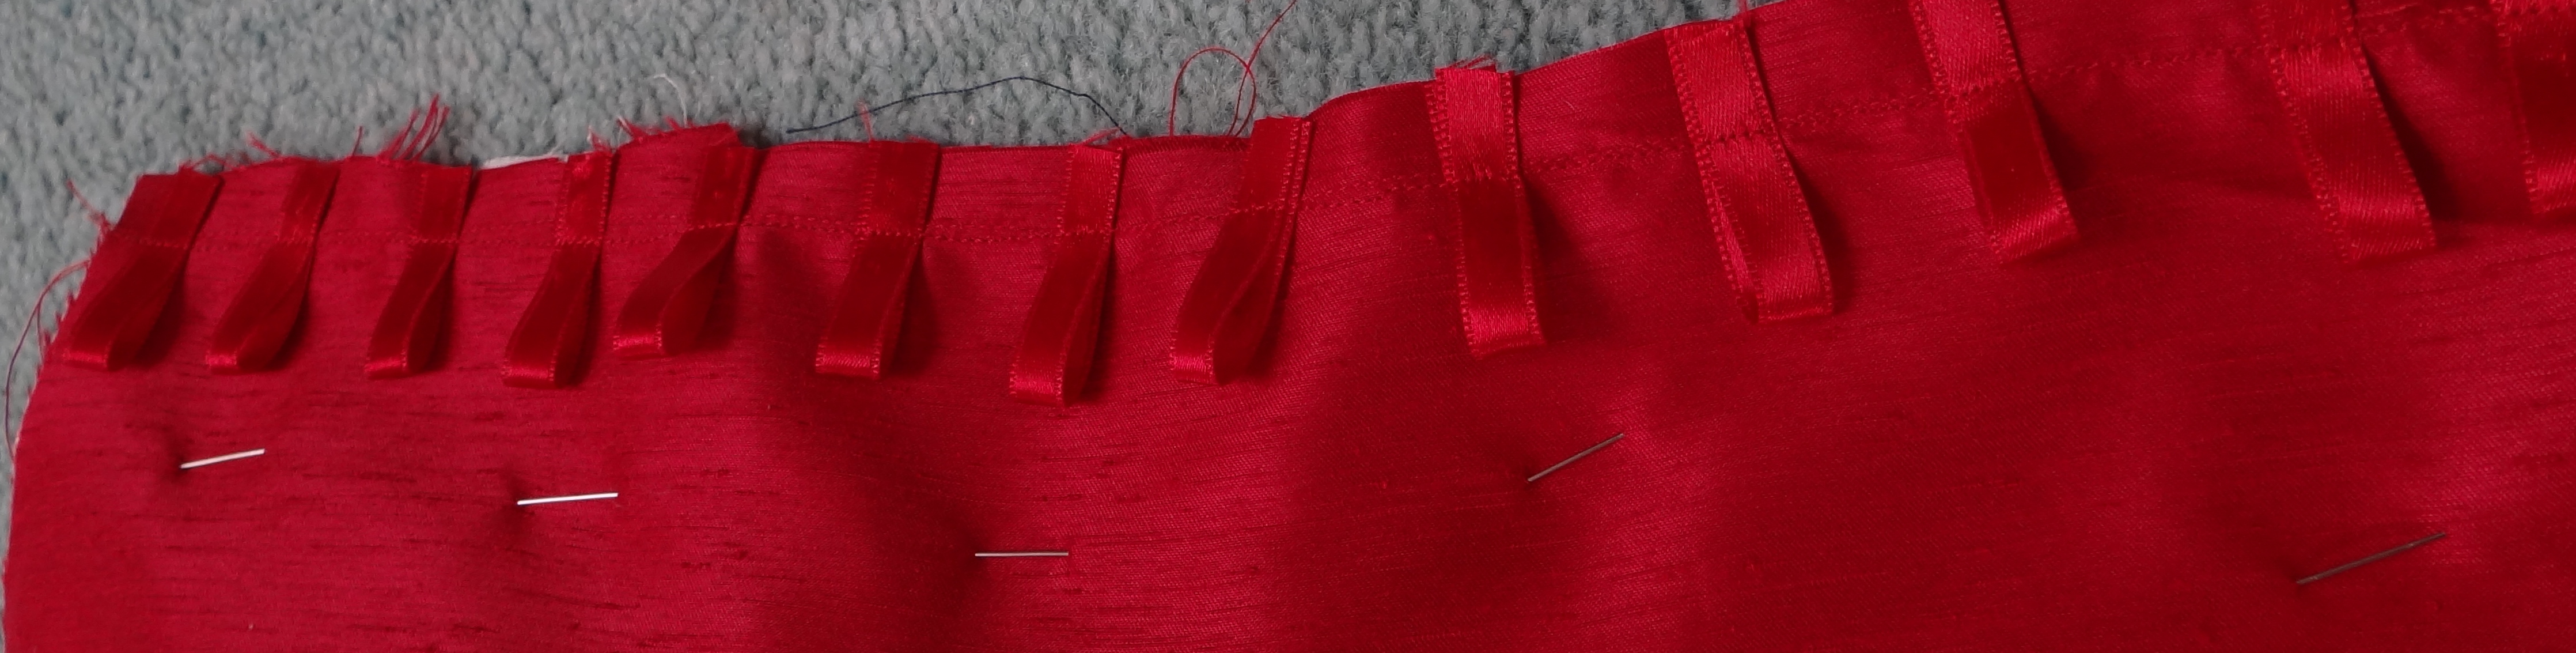
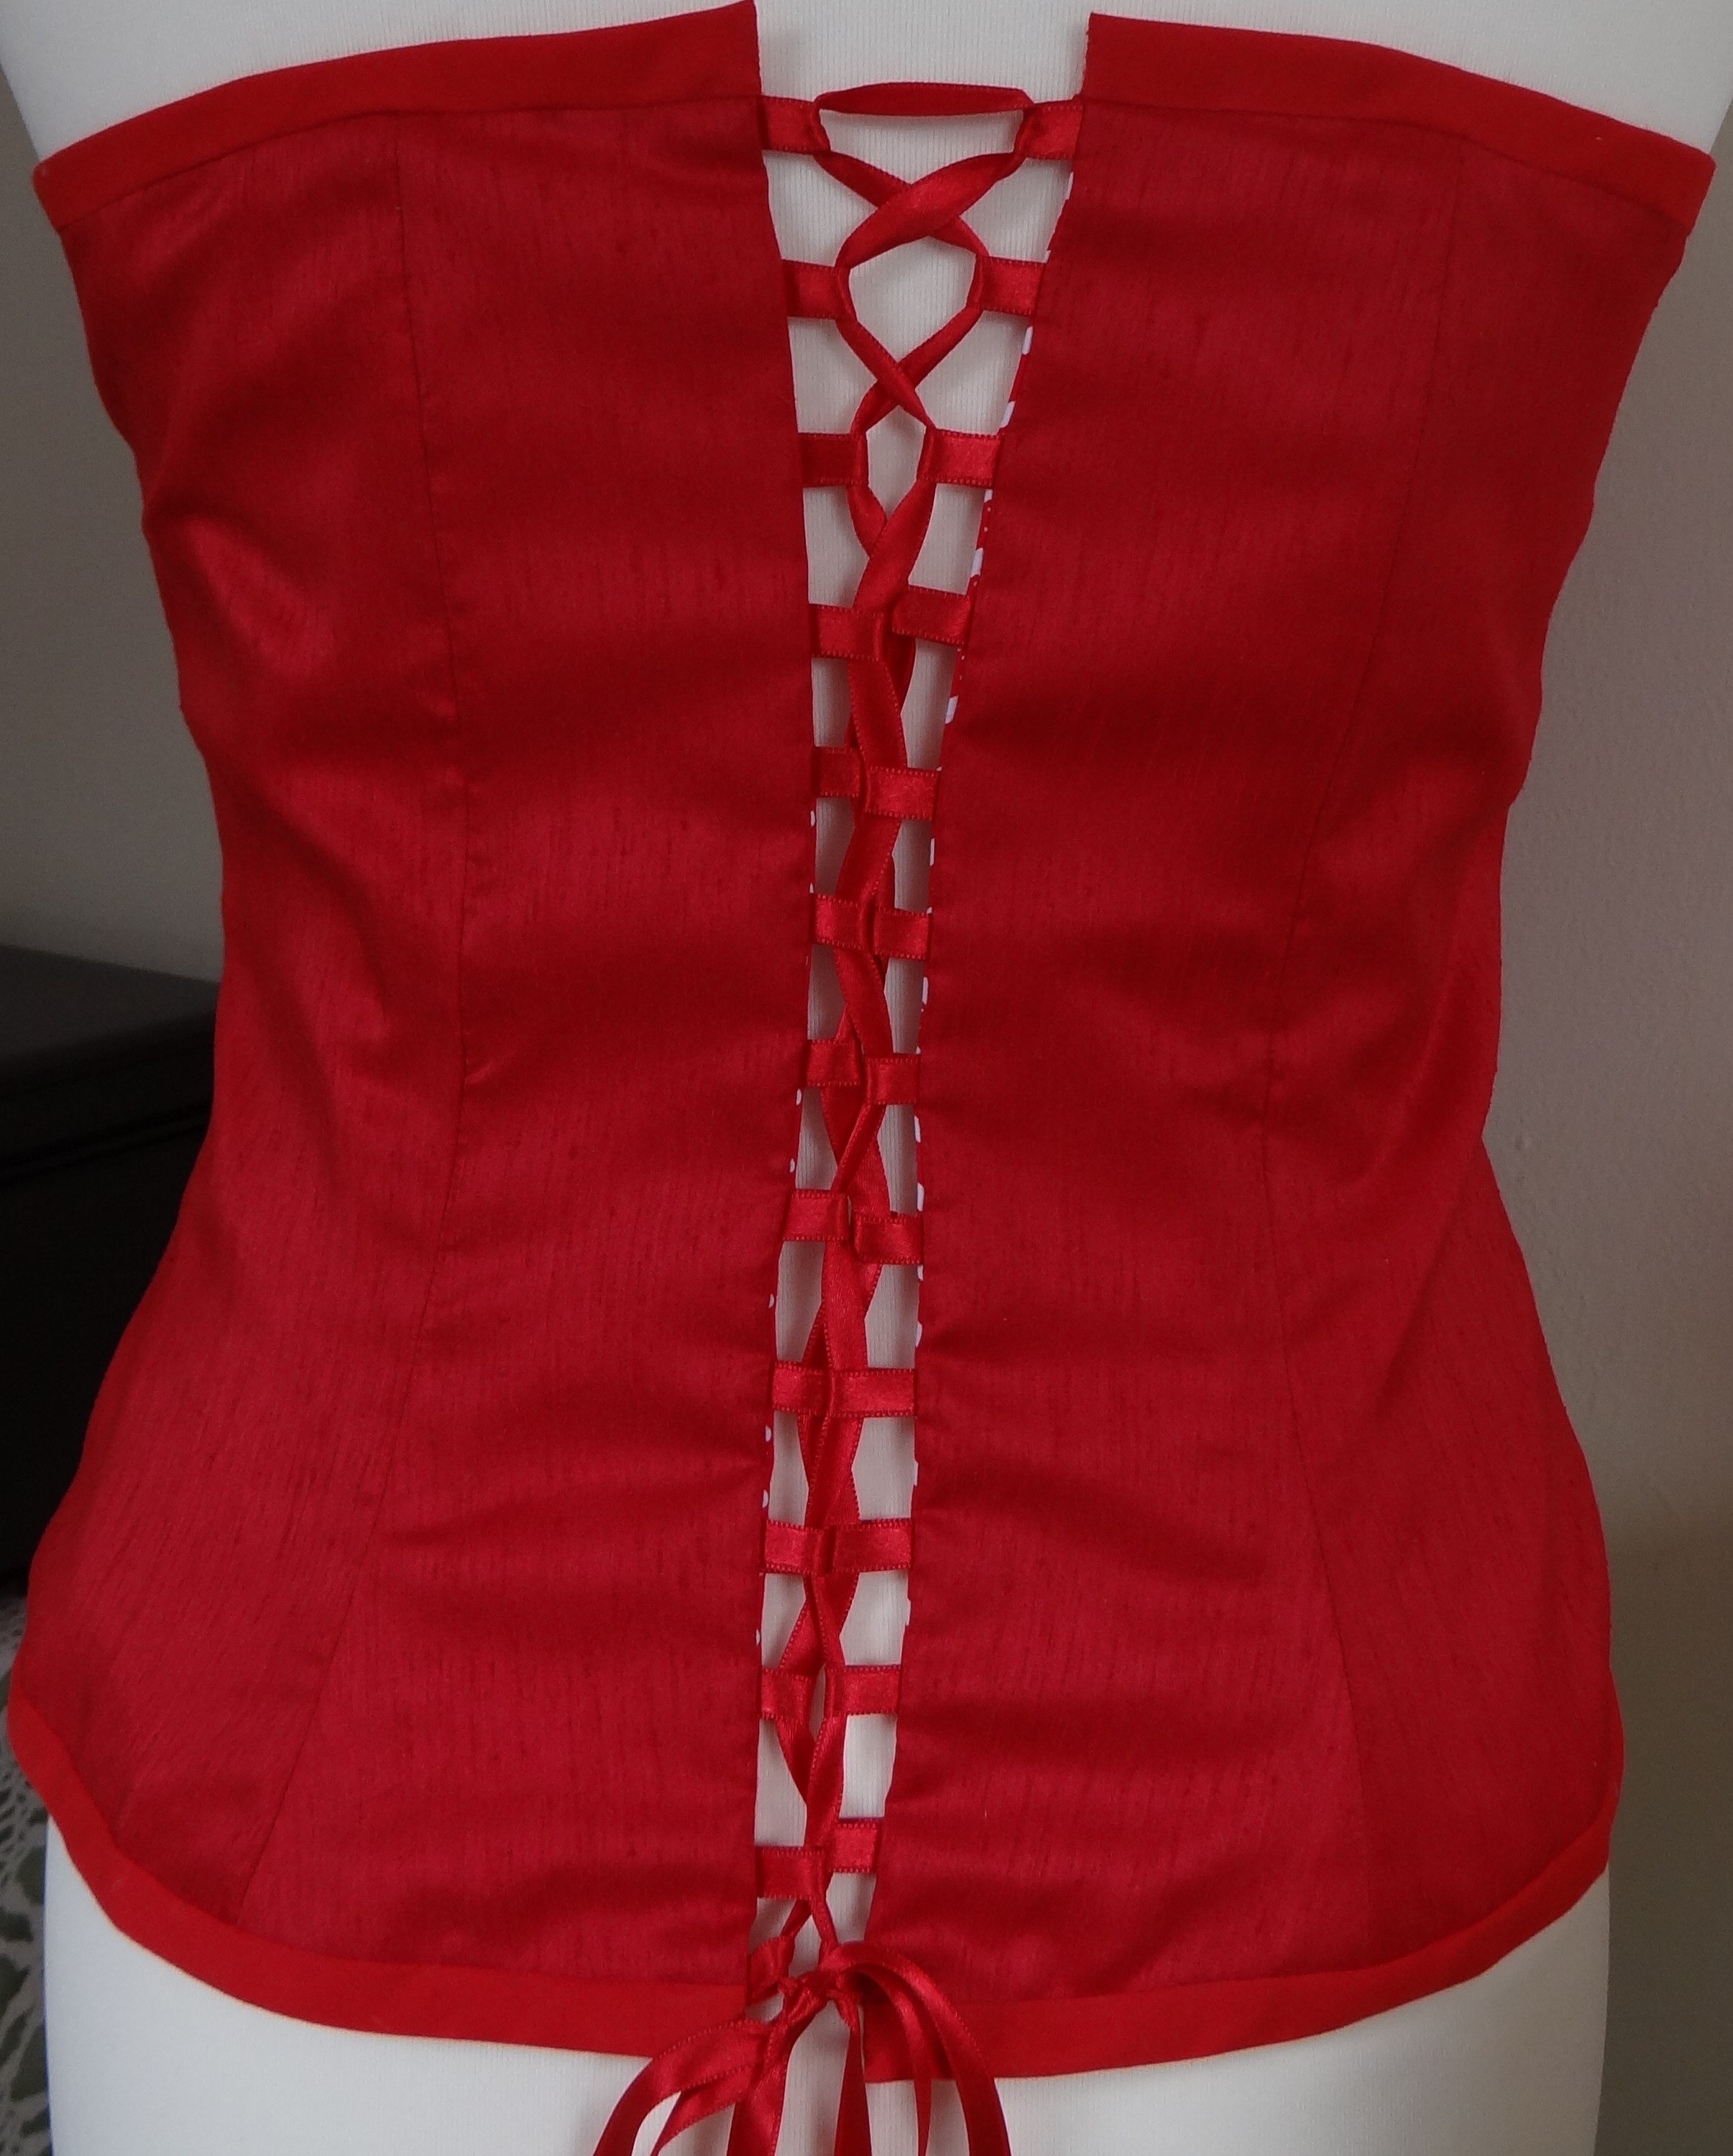
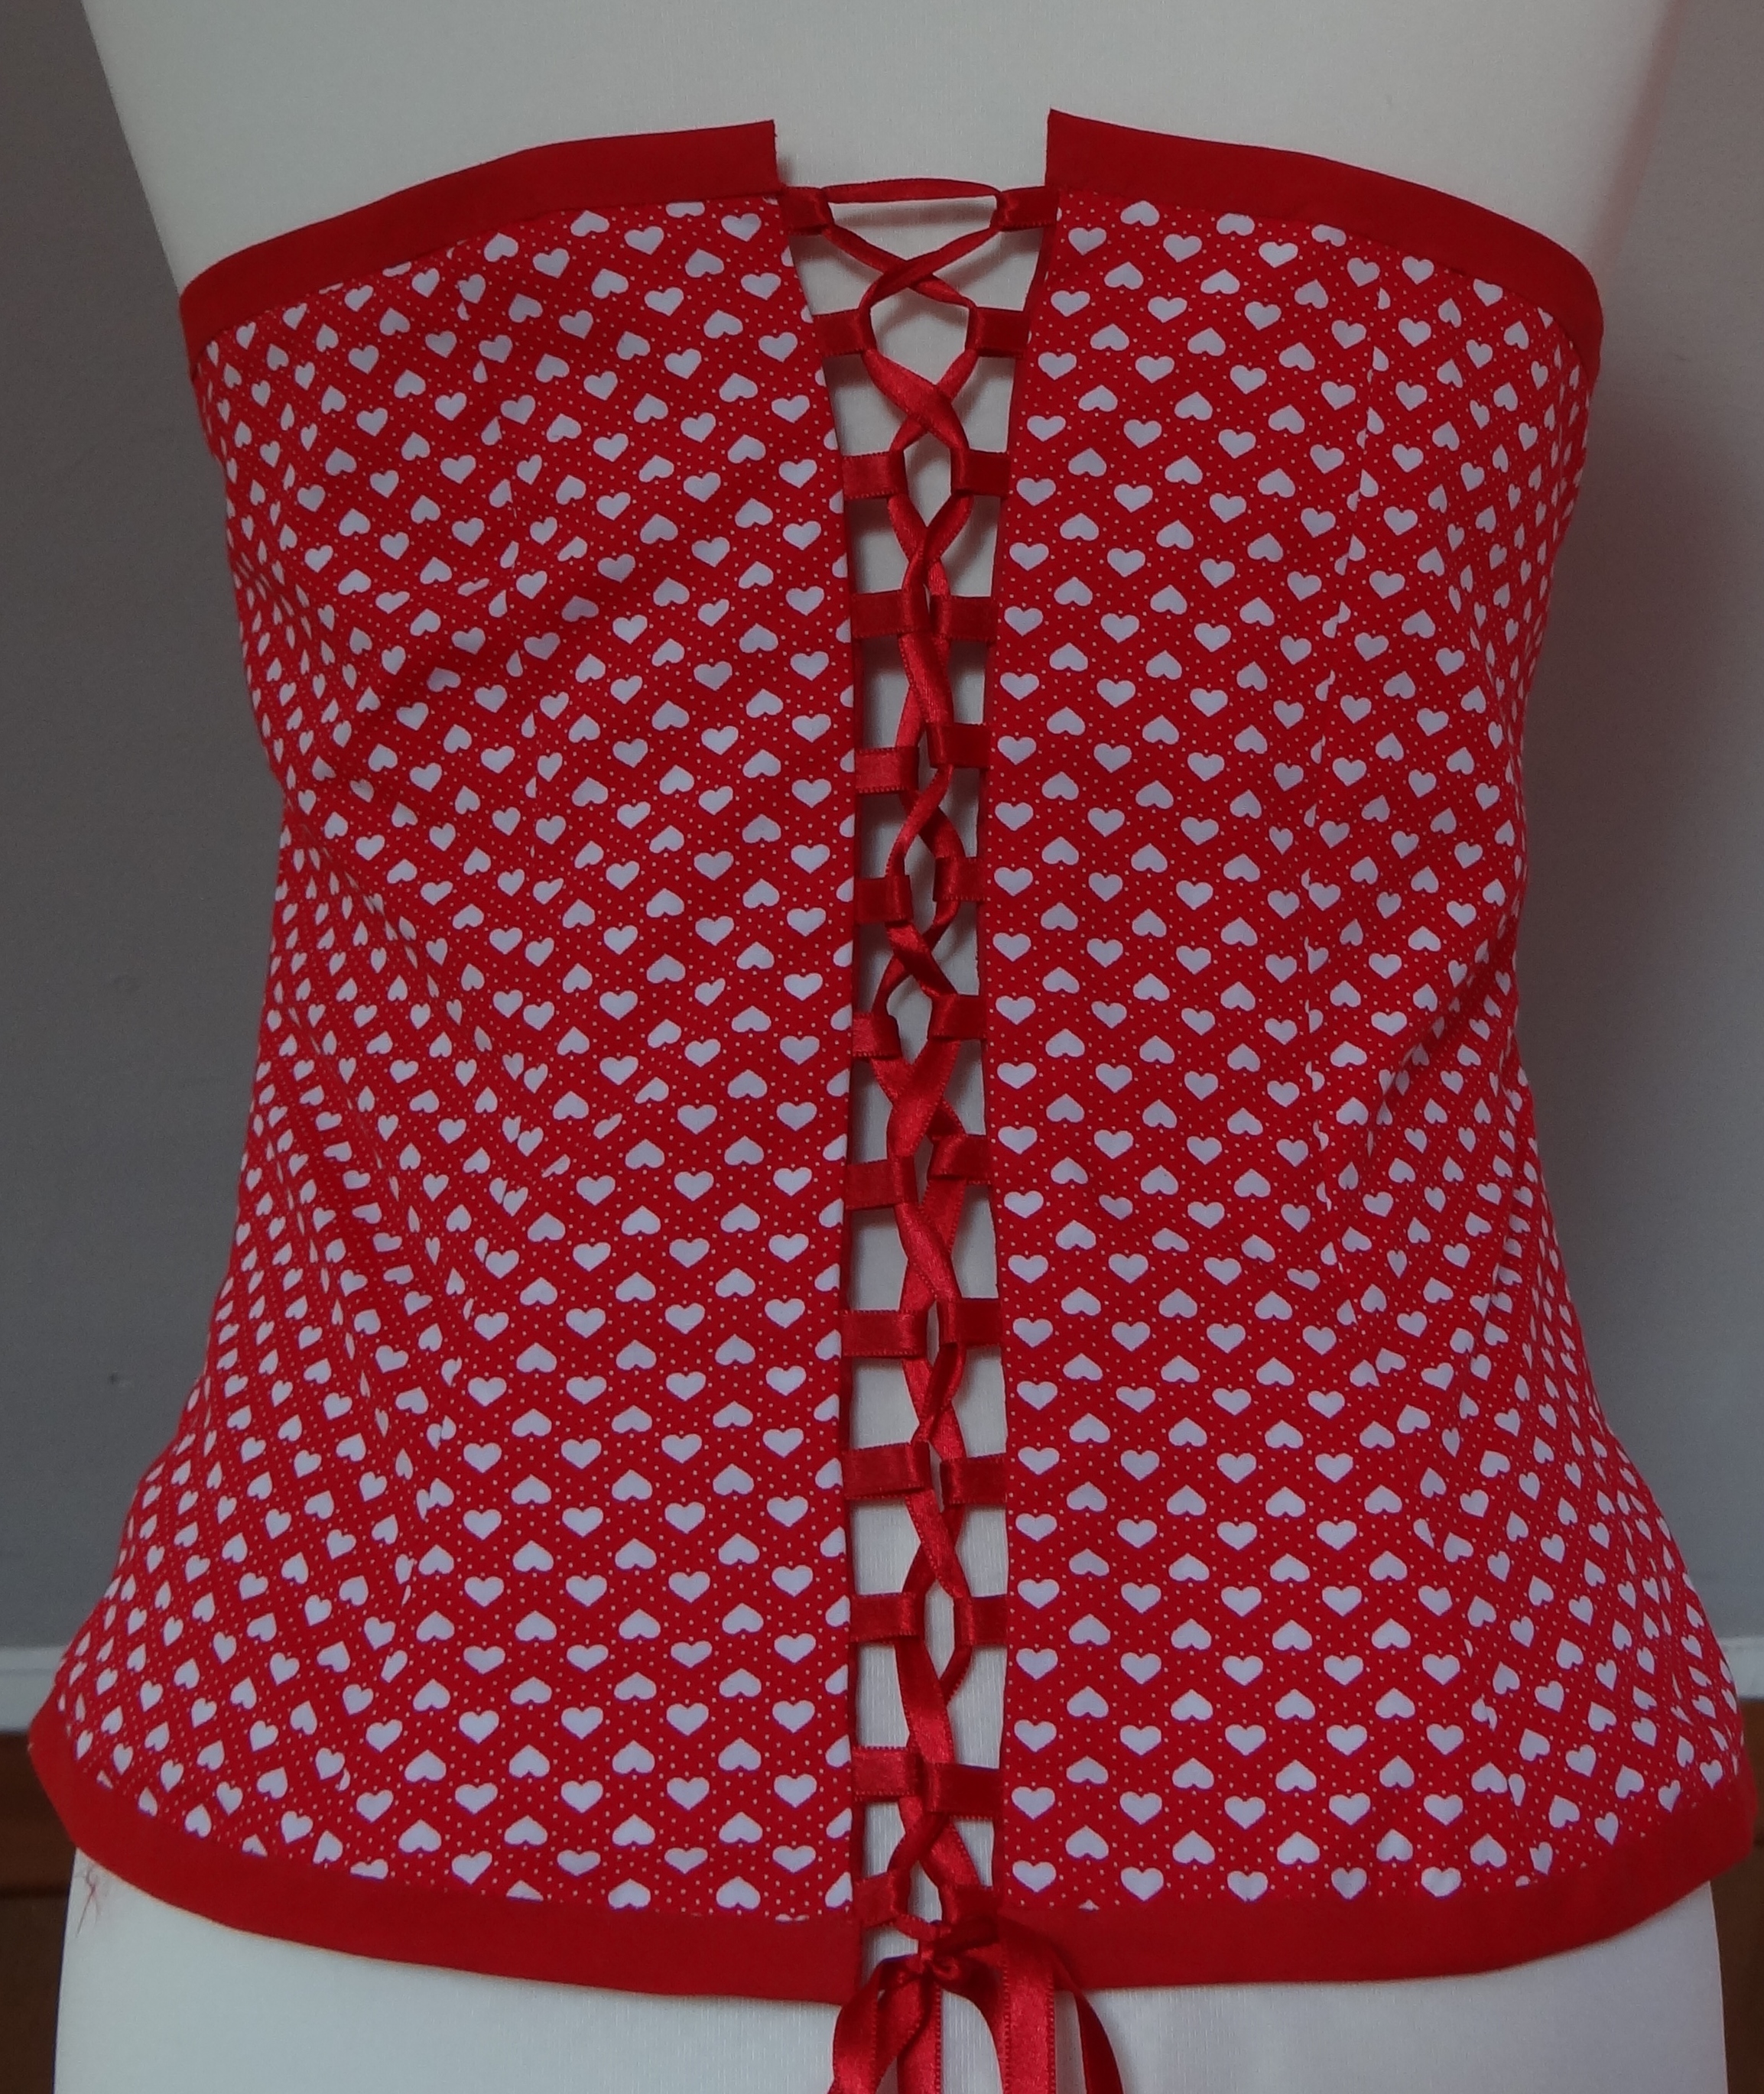
The loops can be made from either ribbon or rouleau loops – as this was my first corset / basque and I didn’t have a rouleau hook I opted for some satin ribbon.
Once all 3 layers are stitched together, the edges are neatened with some bias binding.
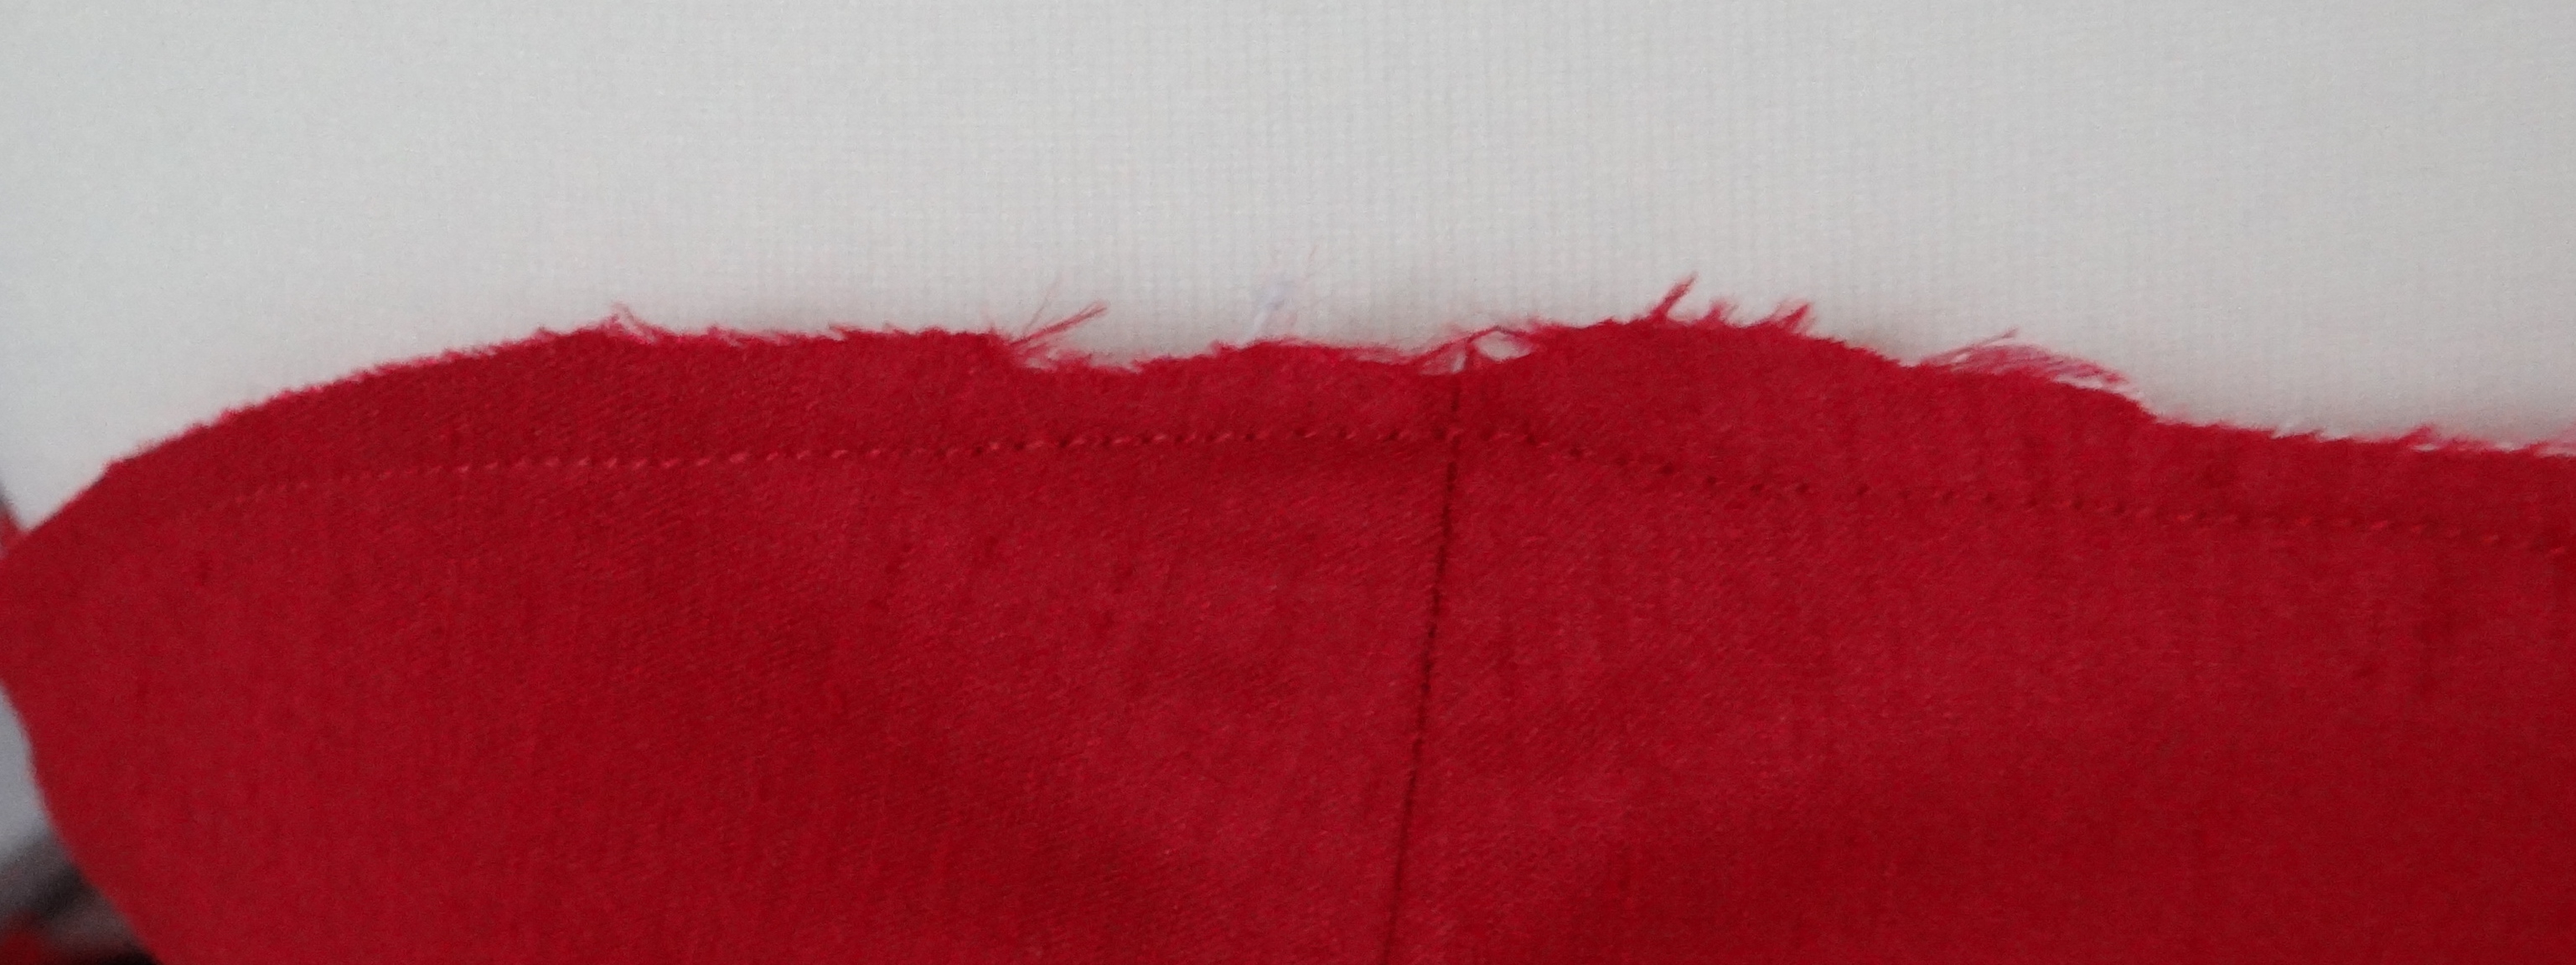
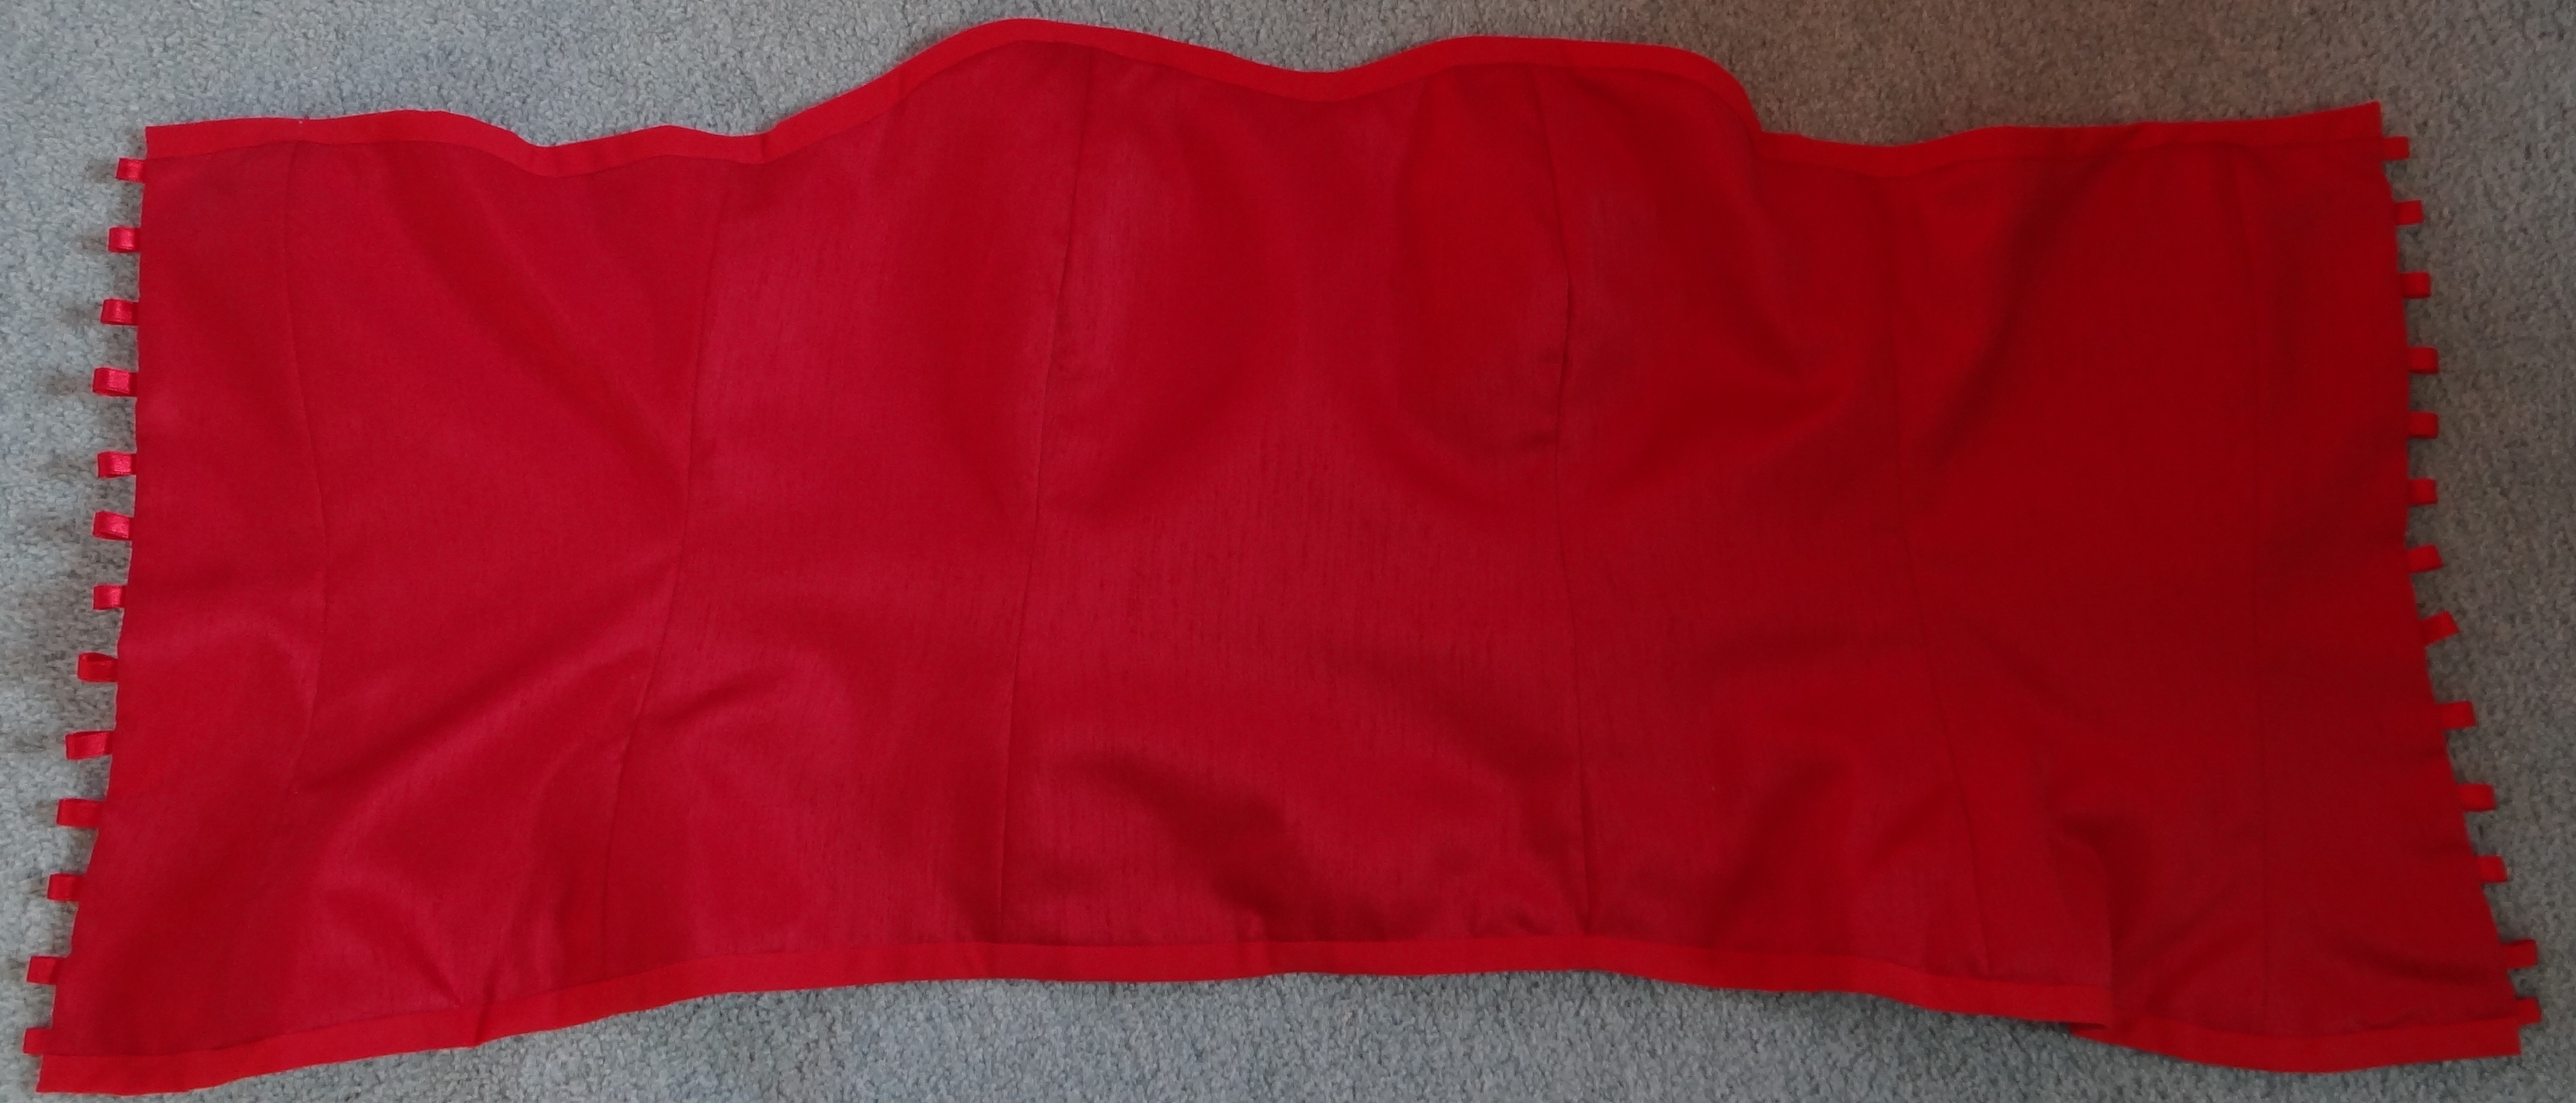
The corset is ready to be laced!

Now for that skirt…….Puff Ball?

You make that look very easy, but I’m absolutely positive it’s not!
The red fabric with white hearts is so so cute! I love that the corset is reversible.
Thank you, totally love your latest crochet blt make too!
That is beautiful! Although, I’m somewhat intimidated, lol!
Thank you, it’s not as hard as you think it’s going to be. Grab yourself some scrap fabric and have a go!
Great job. A gorgeous dress in a gorgeous shade of red. 🙂
Thank you. X
Fabulous!! I love how it’s reversible, so versatile! And, thanks for the tutorial on it, will have to bookmark it for when I want to sew a corset.
Thank you. Hope the post helps when he comes to make your corset. X
thank you for following my blog!
Pleasure. X
Wow. Very ambitious and it turned out beautifully. I wouldn’t be brave enough to try it!
Thank you, I was quite surprised how it turned out. The boning was really easy – go on, have a go too!!
Lol! A corset for me would need scaffolding instead of boning! 😉