
 I am loving lampshade making / recovering!
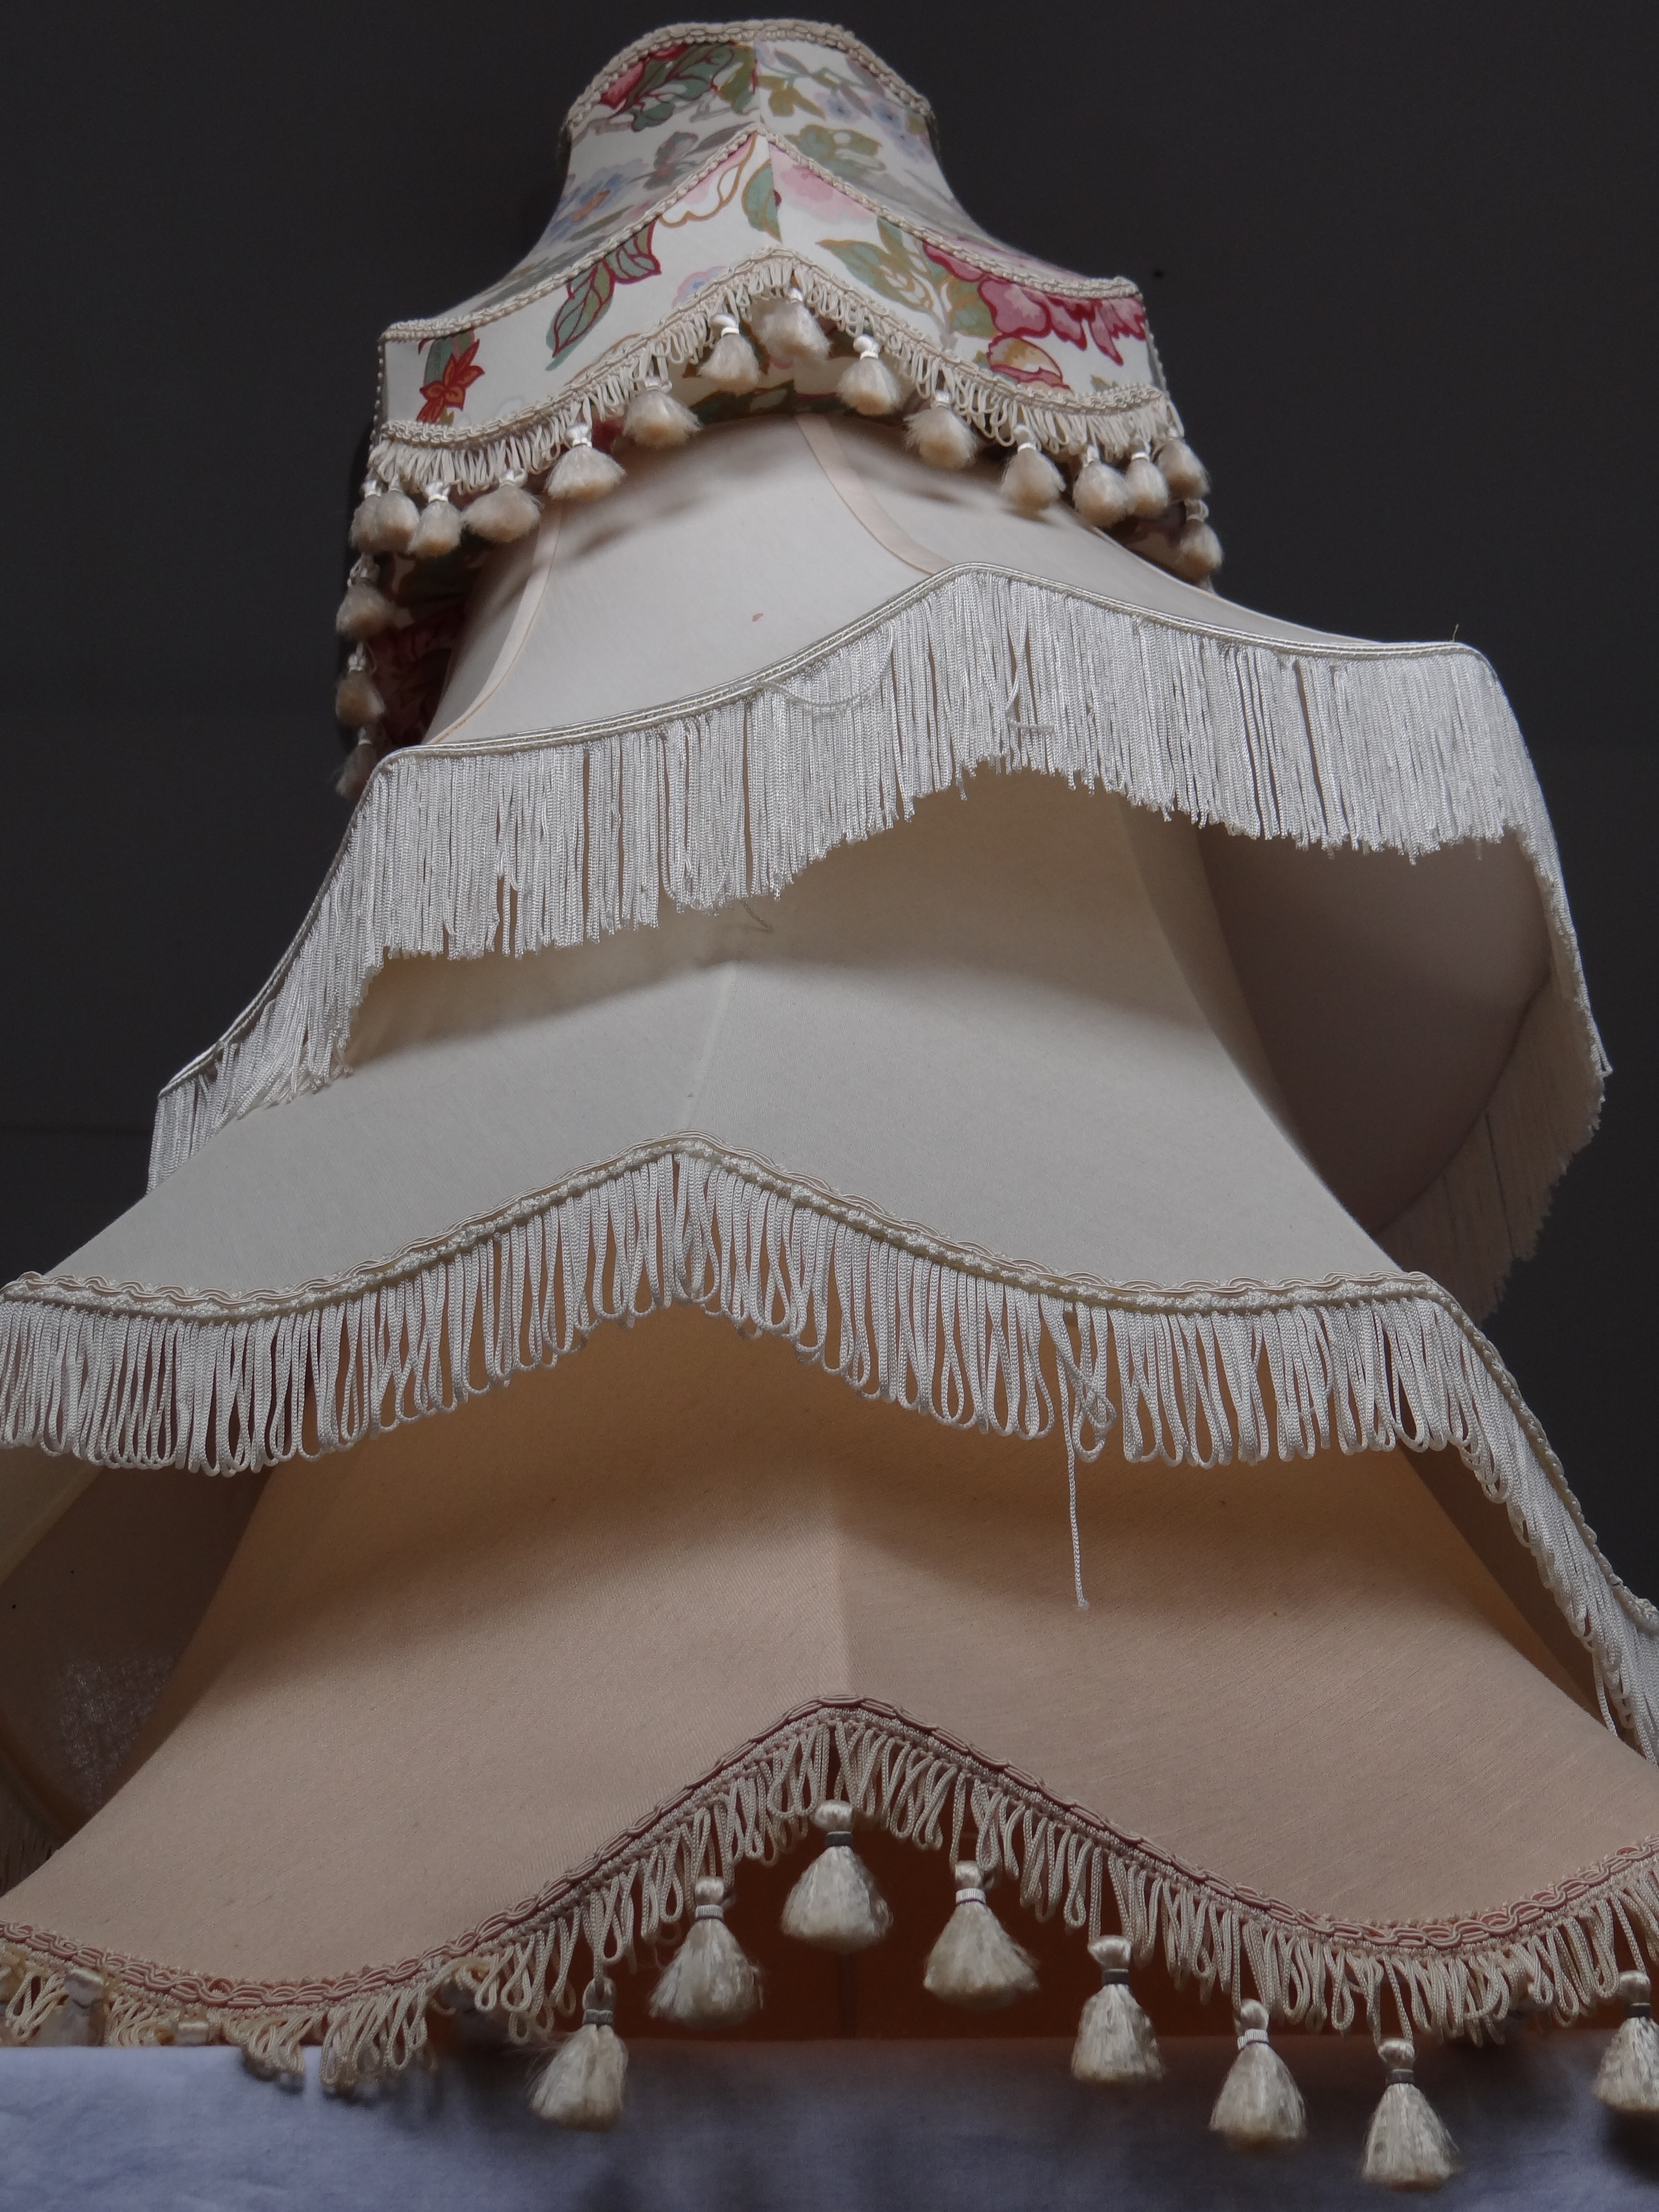
Here’s the original lampshade which I brought off an on-line auction site. I would describe it as a barrel shape frame with a slightly sculpted top and bottom edge.

As this is the first lampshade I have ever made, I carefully unpicked the original fabric layers (and took lots of photos!) so I could remember how it was constructed.
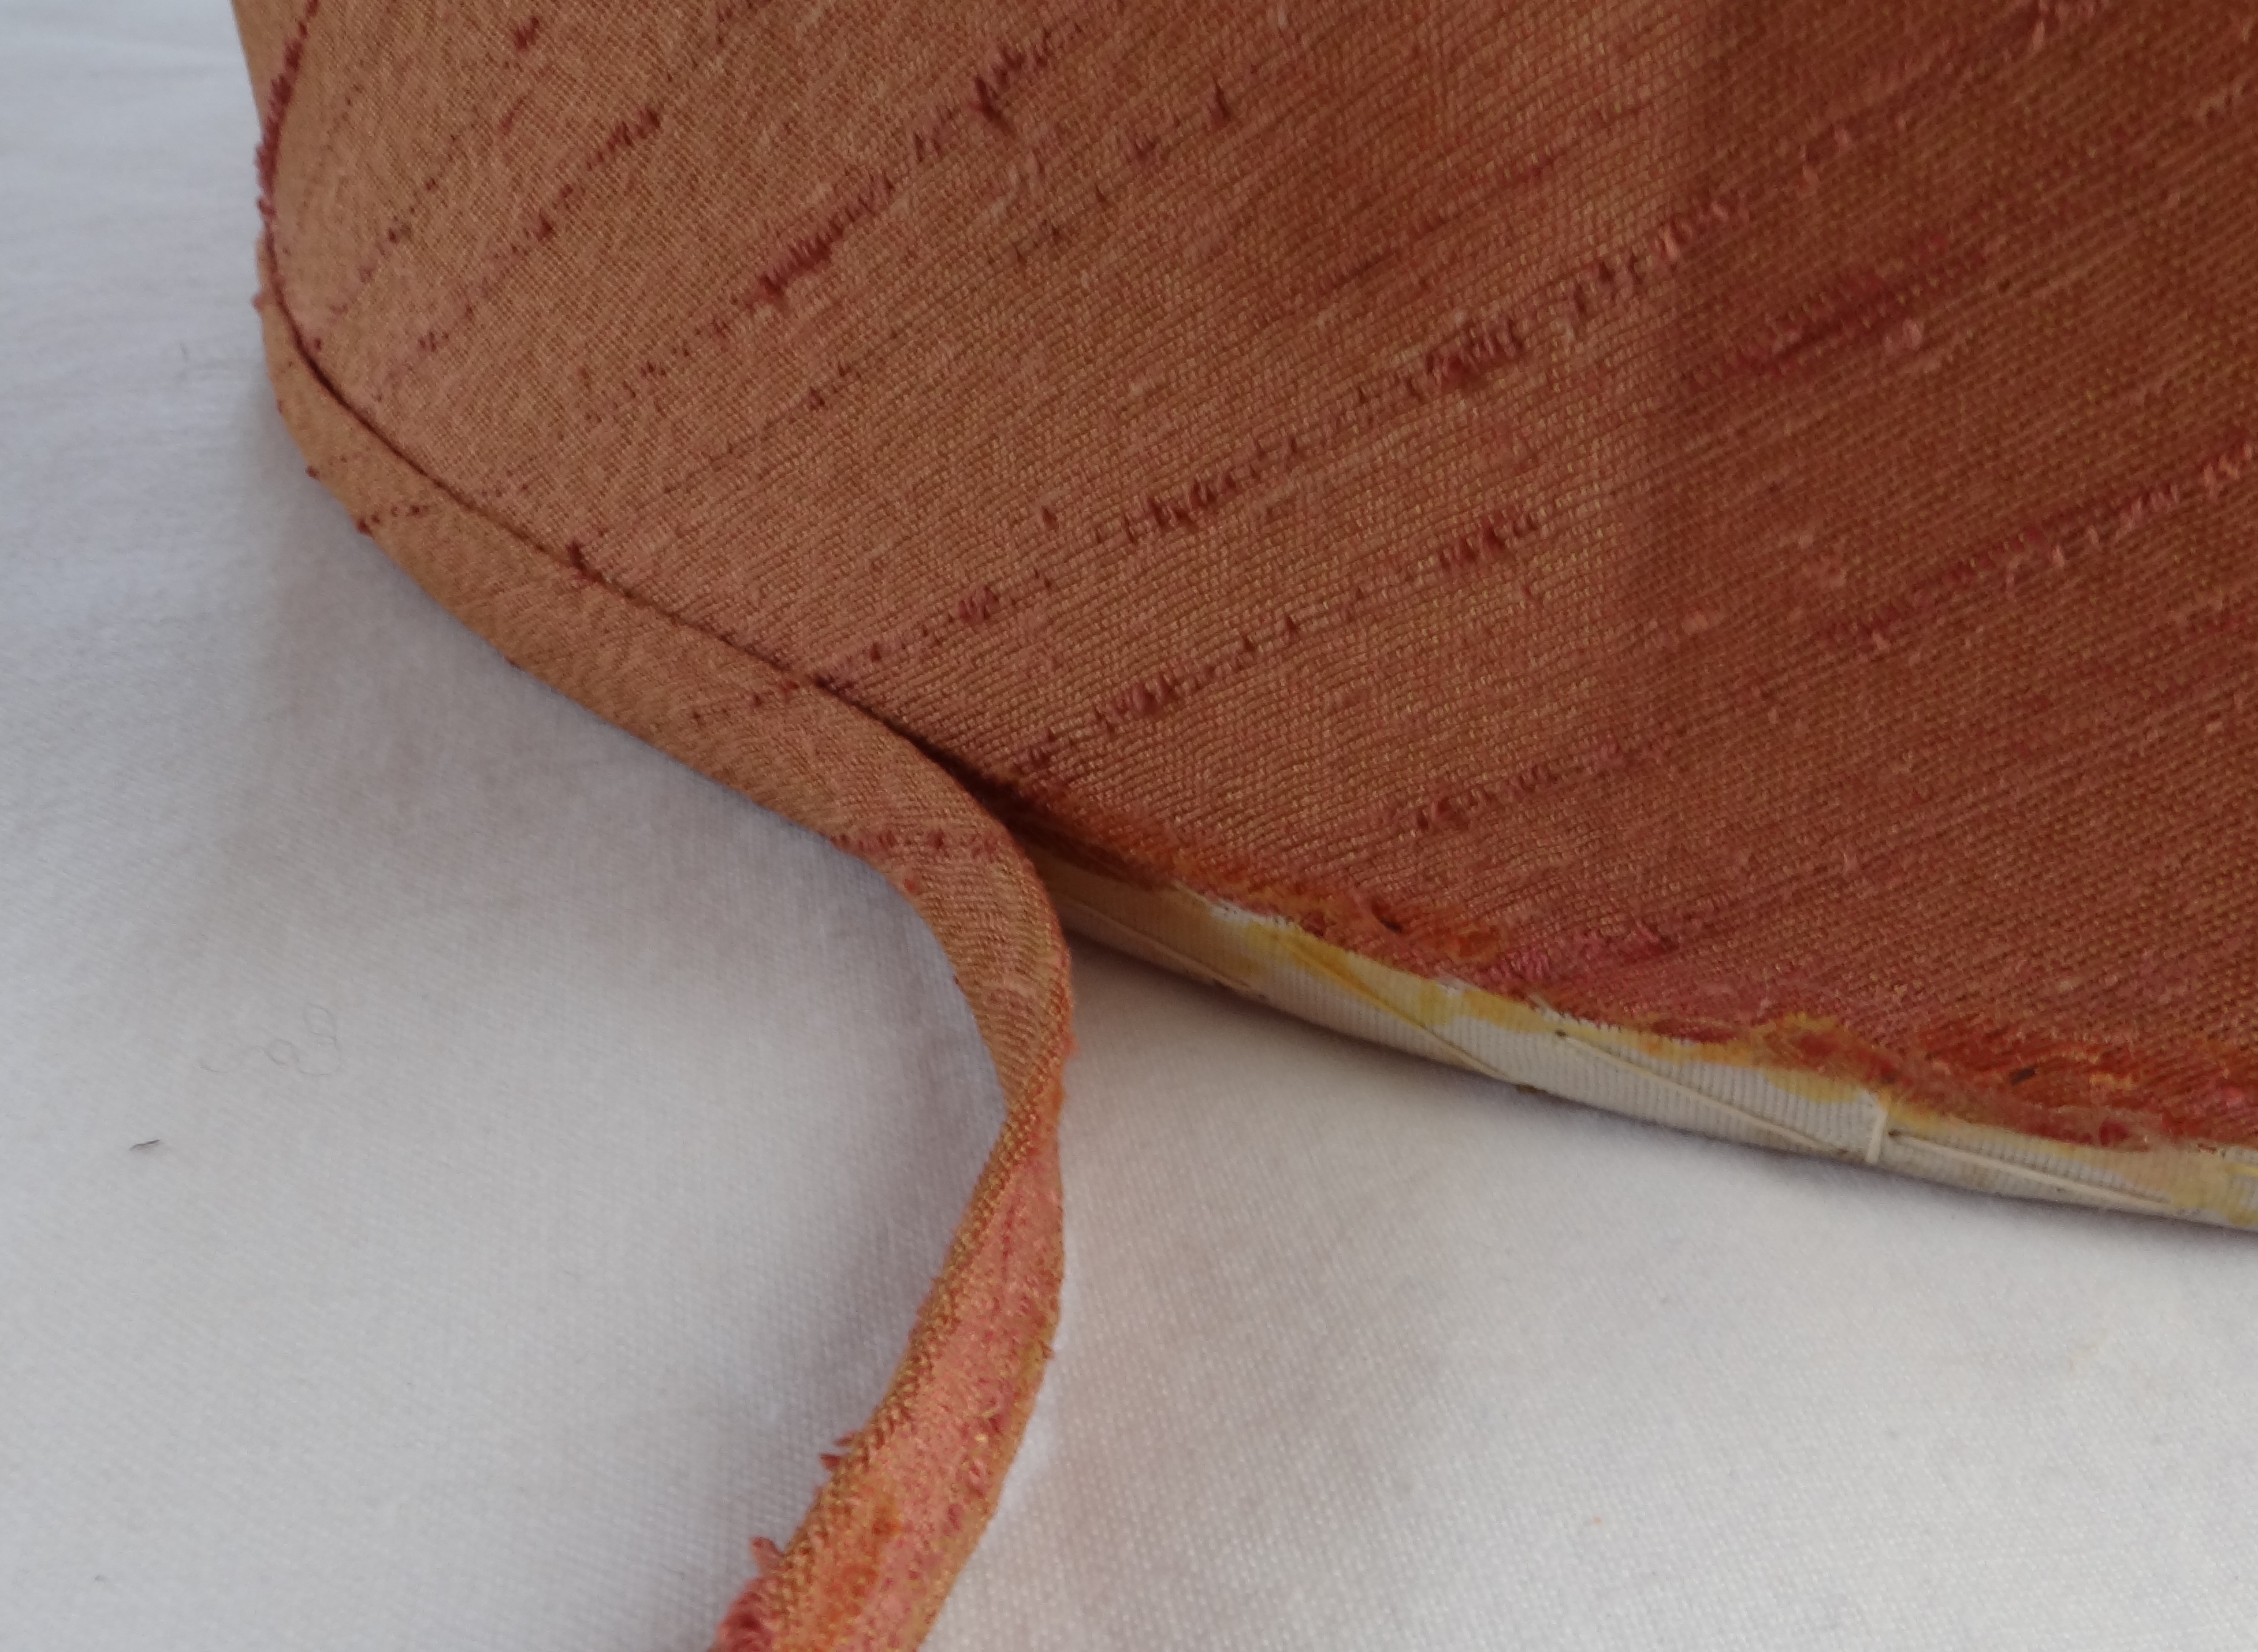
Peeling off the bias binding trim revealed the whip stitched lining and cover.

The stitches were unpicked to remove the lining.

I’m guessing the lampshade was made on a production line as the fabric was simply stuck to the plastic coated frame. The plastic coating is quite damaged in some places which I tried to ignore. Does anyone know how best to “treat” this? Ignore or strip the plastic off and spray the frame – or is there another option?
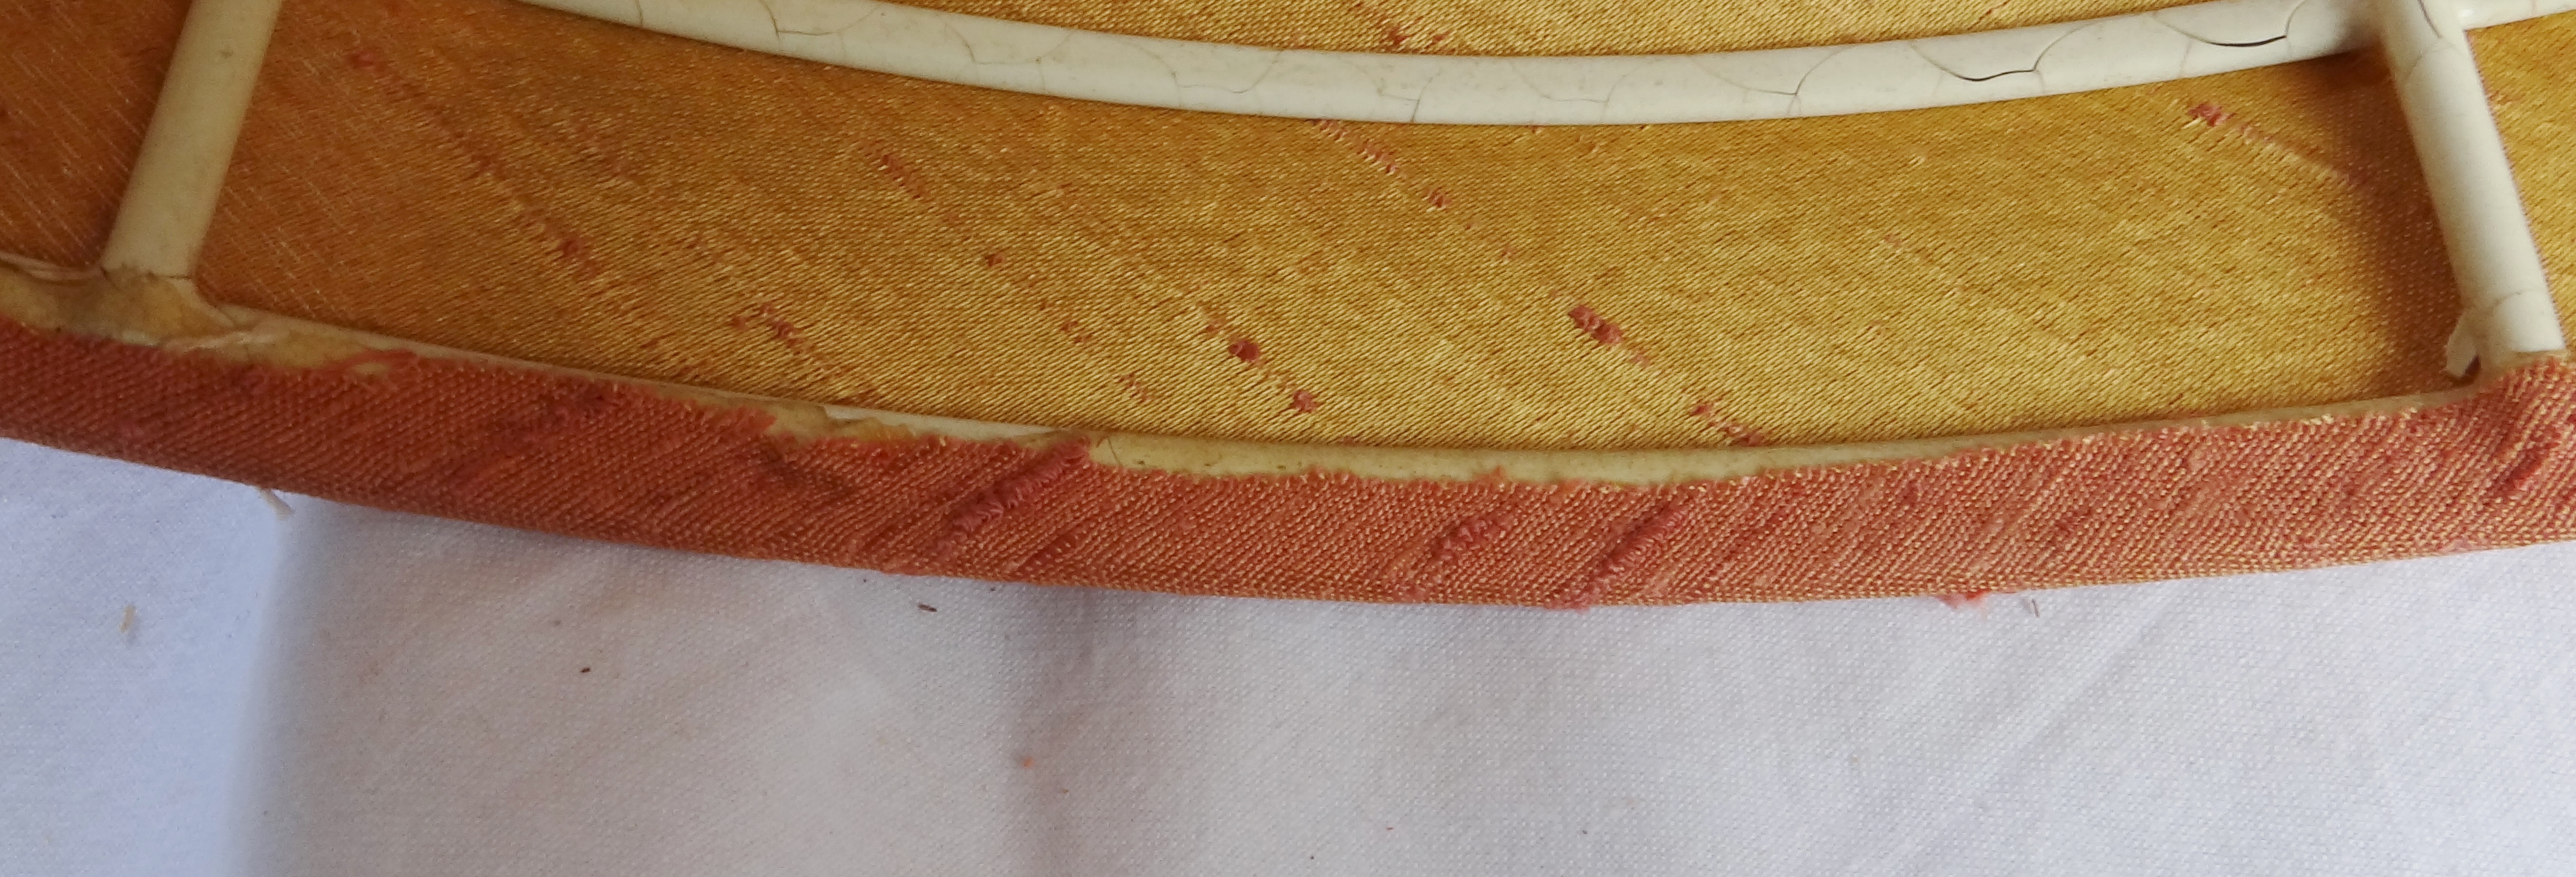
Finally the lampshade frame could be seen.

Next came the remake!
As I wanted to up-cycle the lampshade in a traditional way, the top and bottom edges were first bound with fabric seam tape to provide a surface which I could stitch into.
The old lining and fabric panels were used as templates. I cut a large seam allowance at the top and bottom edge to make the fabric easier to stretch. A little notch (or fabric mark would work) was made into the top and bottom edge so I knew roughly where the frame should sit.
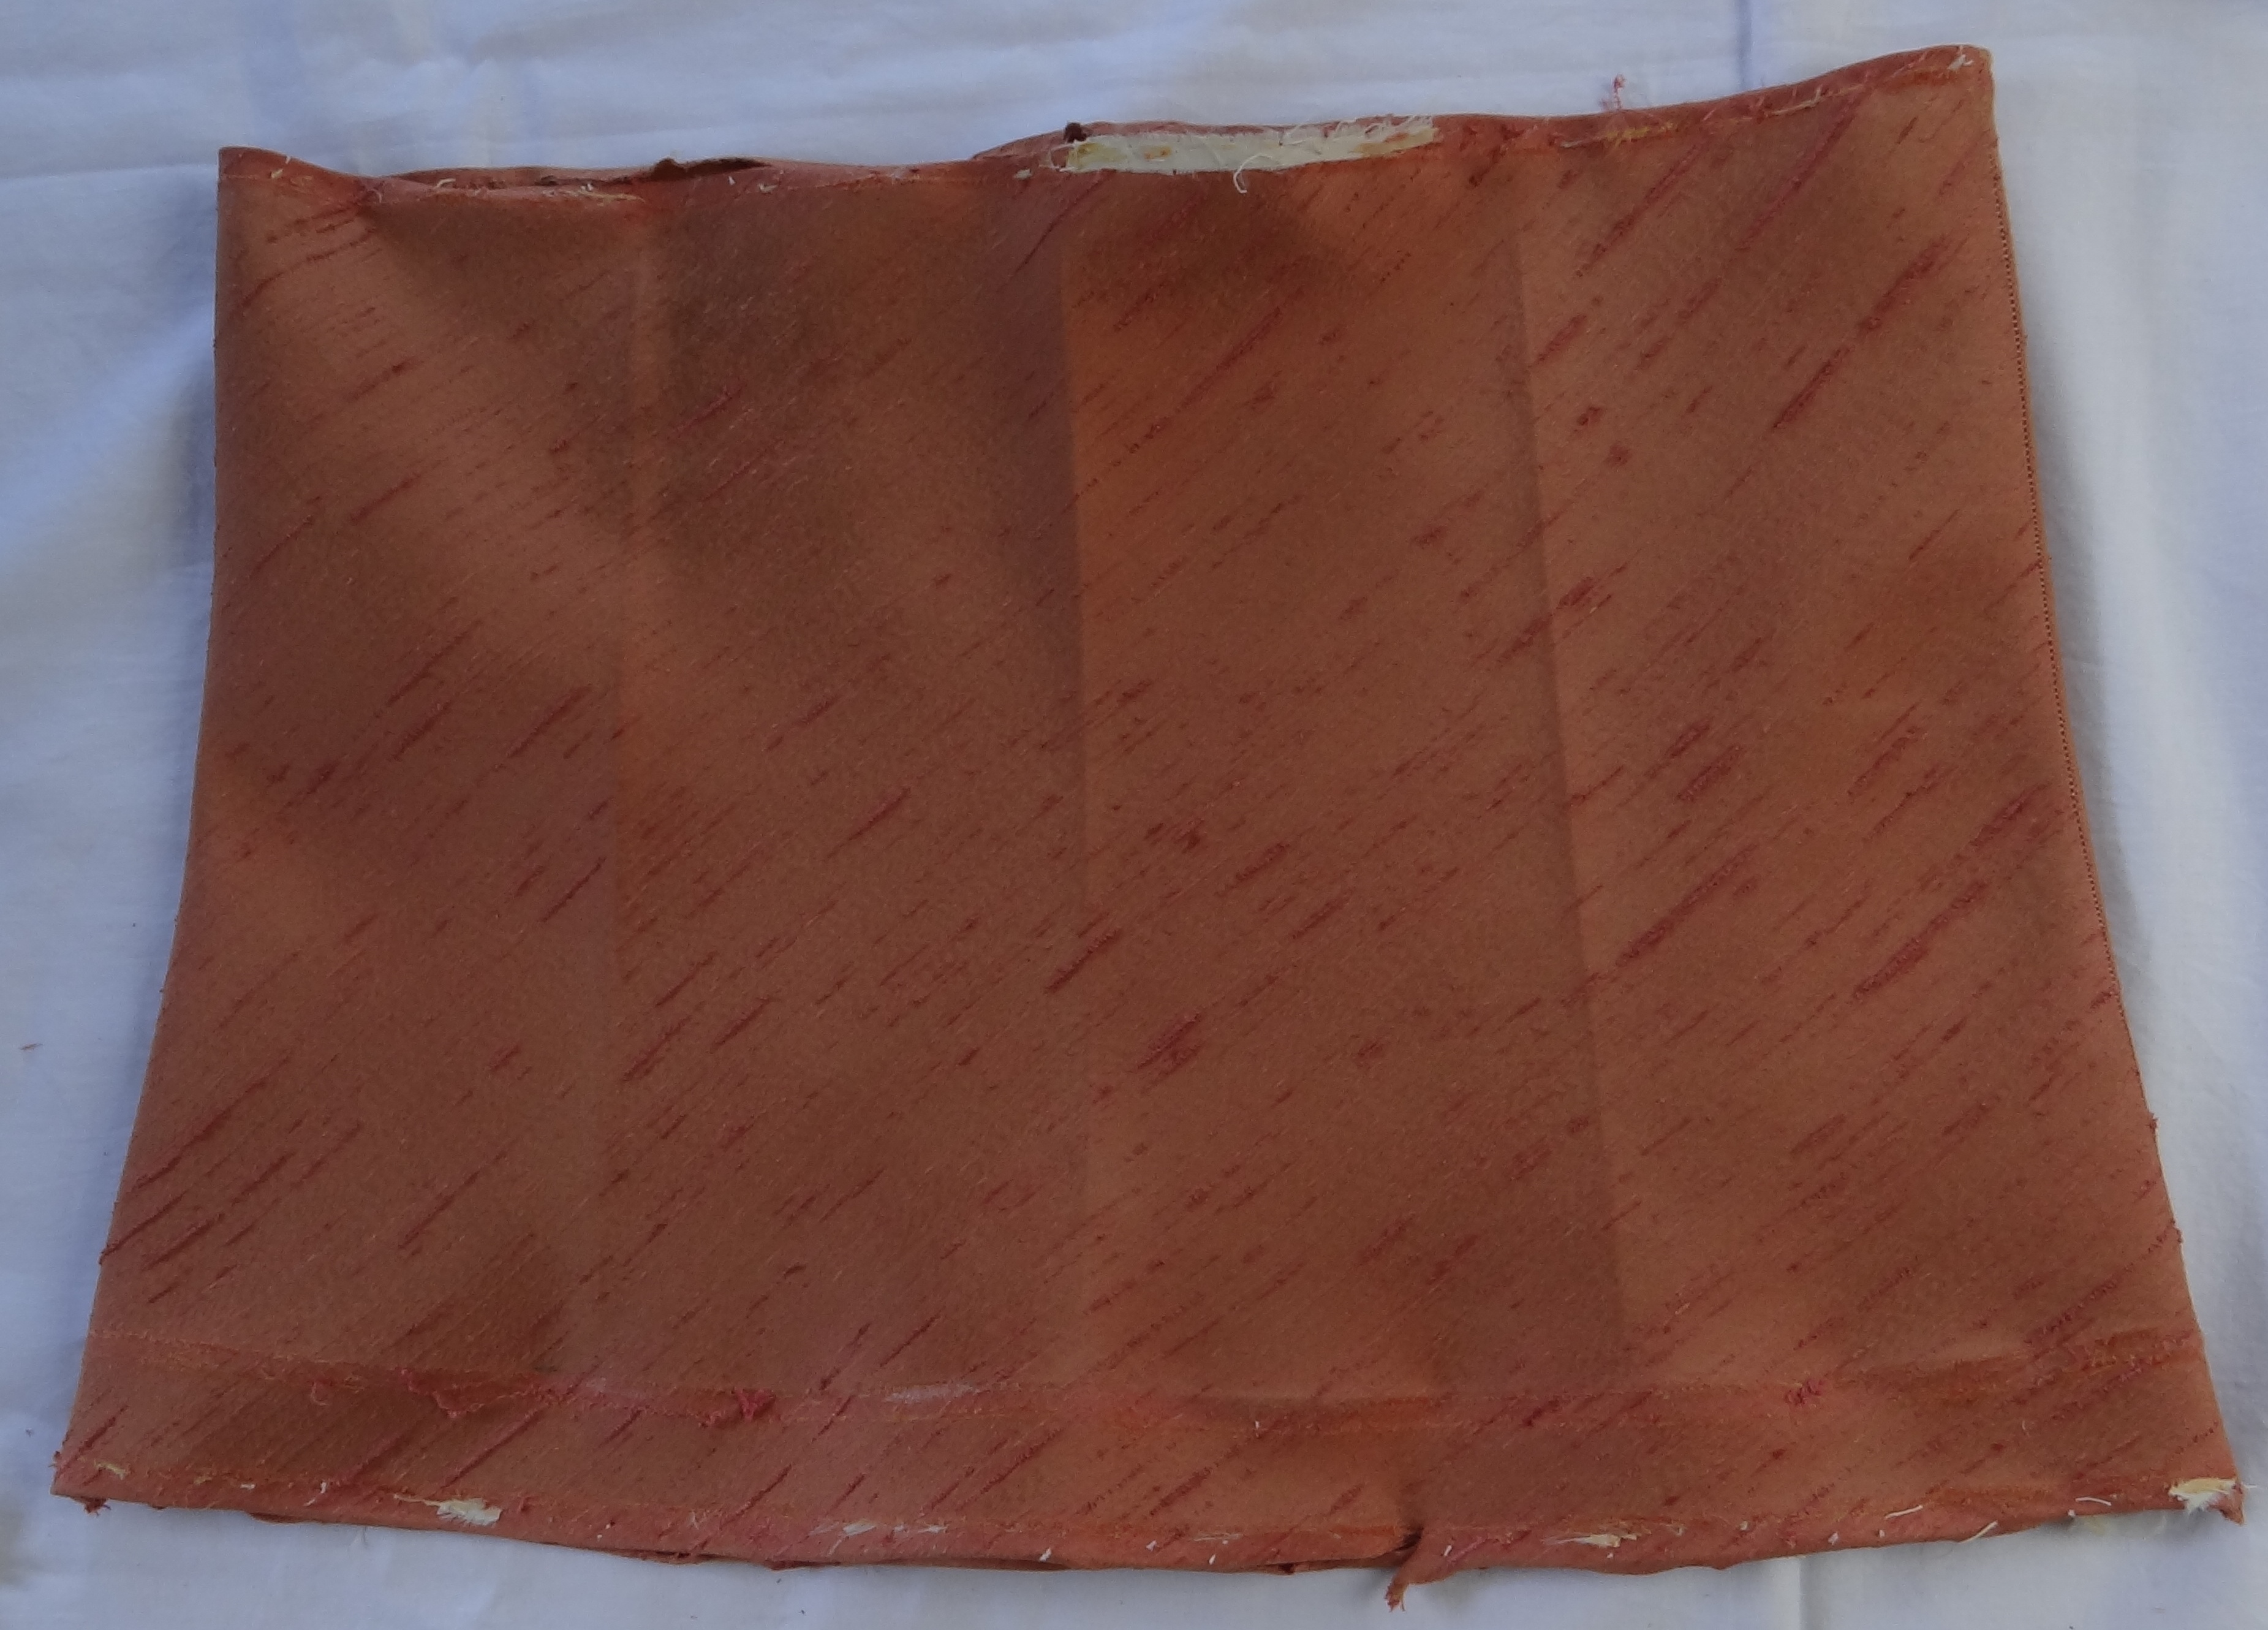
The lining and fabric cover for this lampshade are made in 2 pieces, so once cut the side seams were sewn on the machine.

Do you recognise the fabric? It’s the same as my piped cushions!
By popping the lampshade cover over the frame inside out, I was able to adjust the side seams to make sure the cover fitted well.

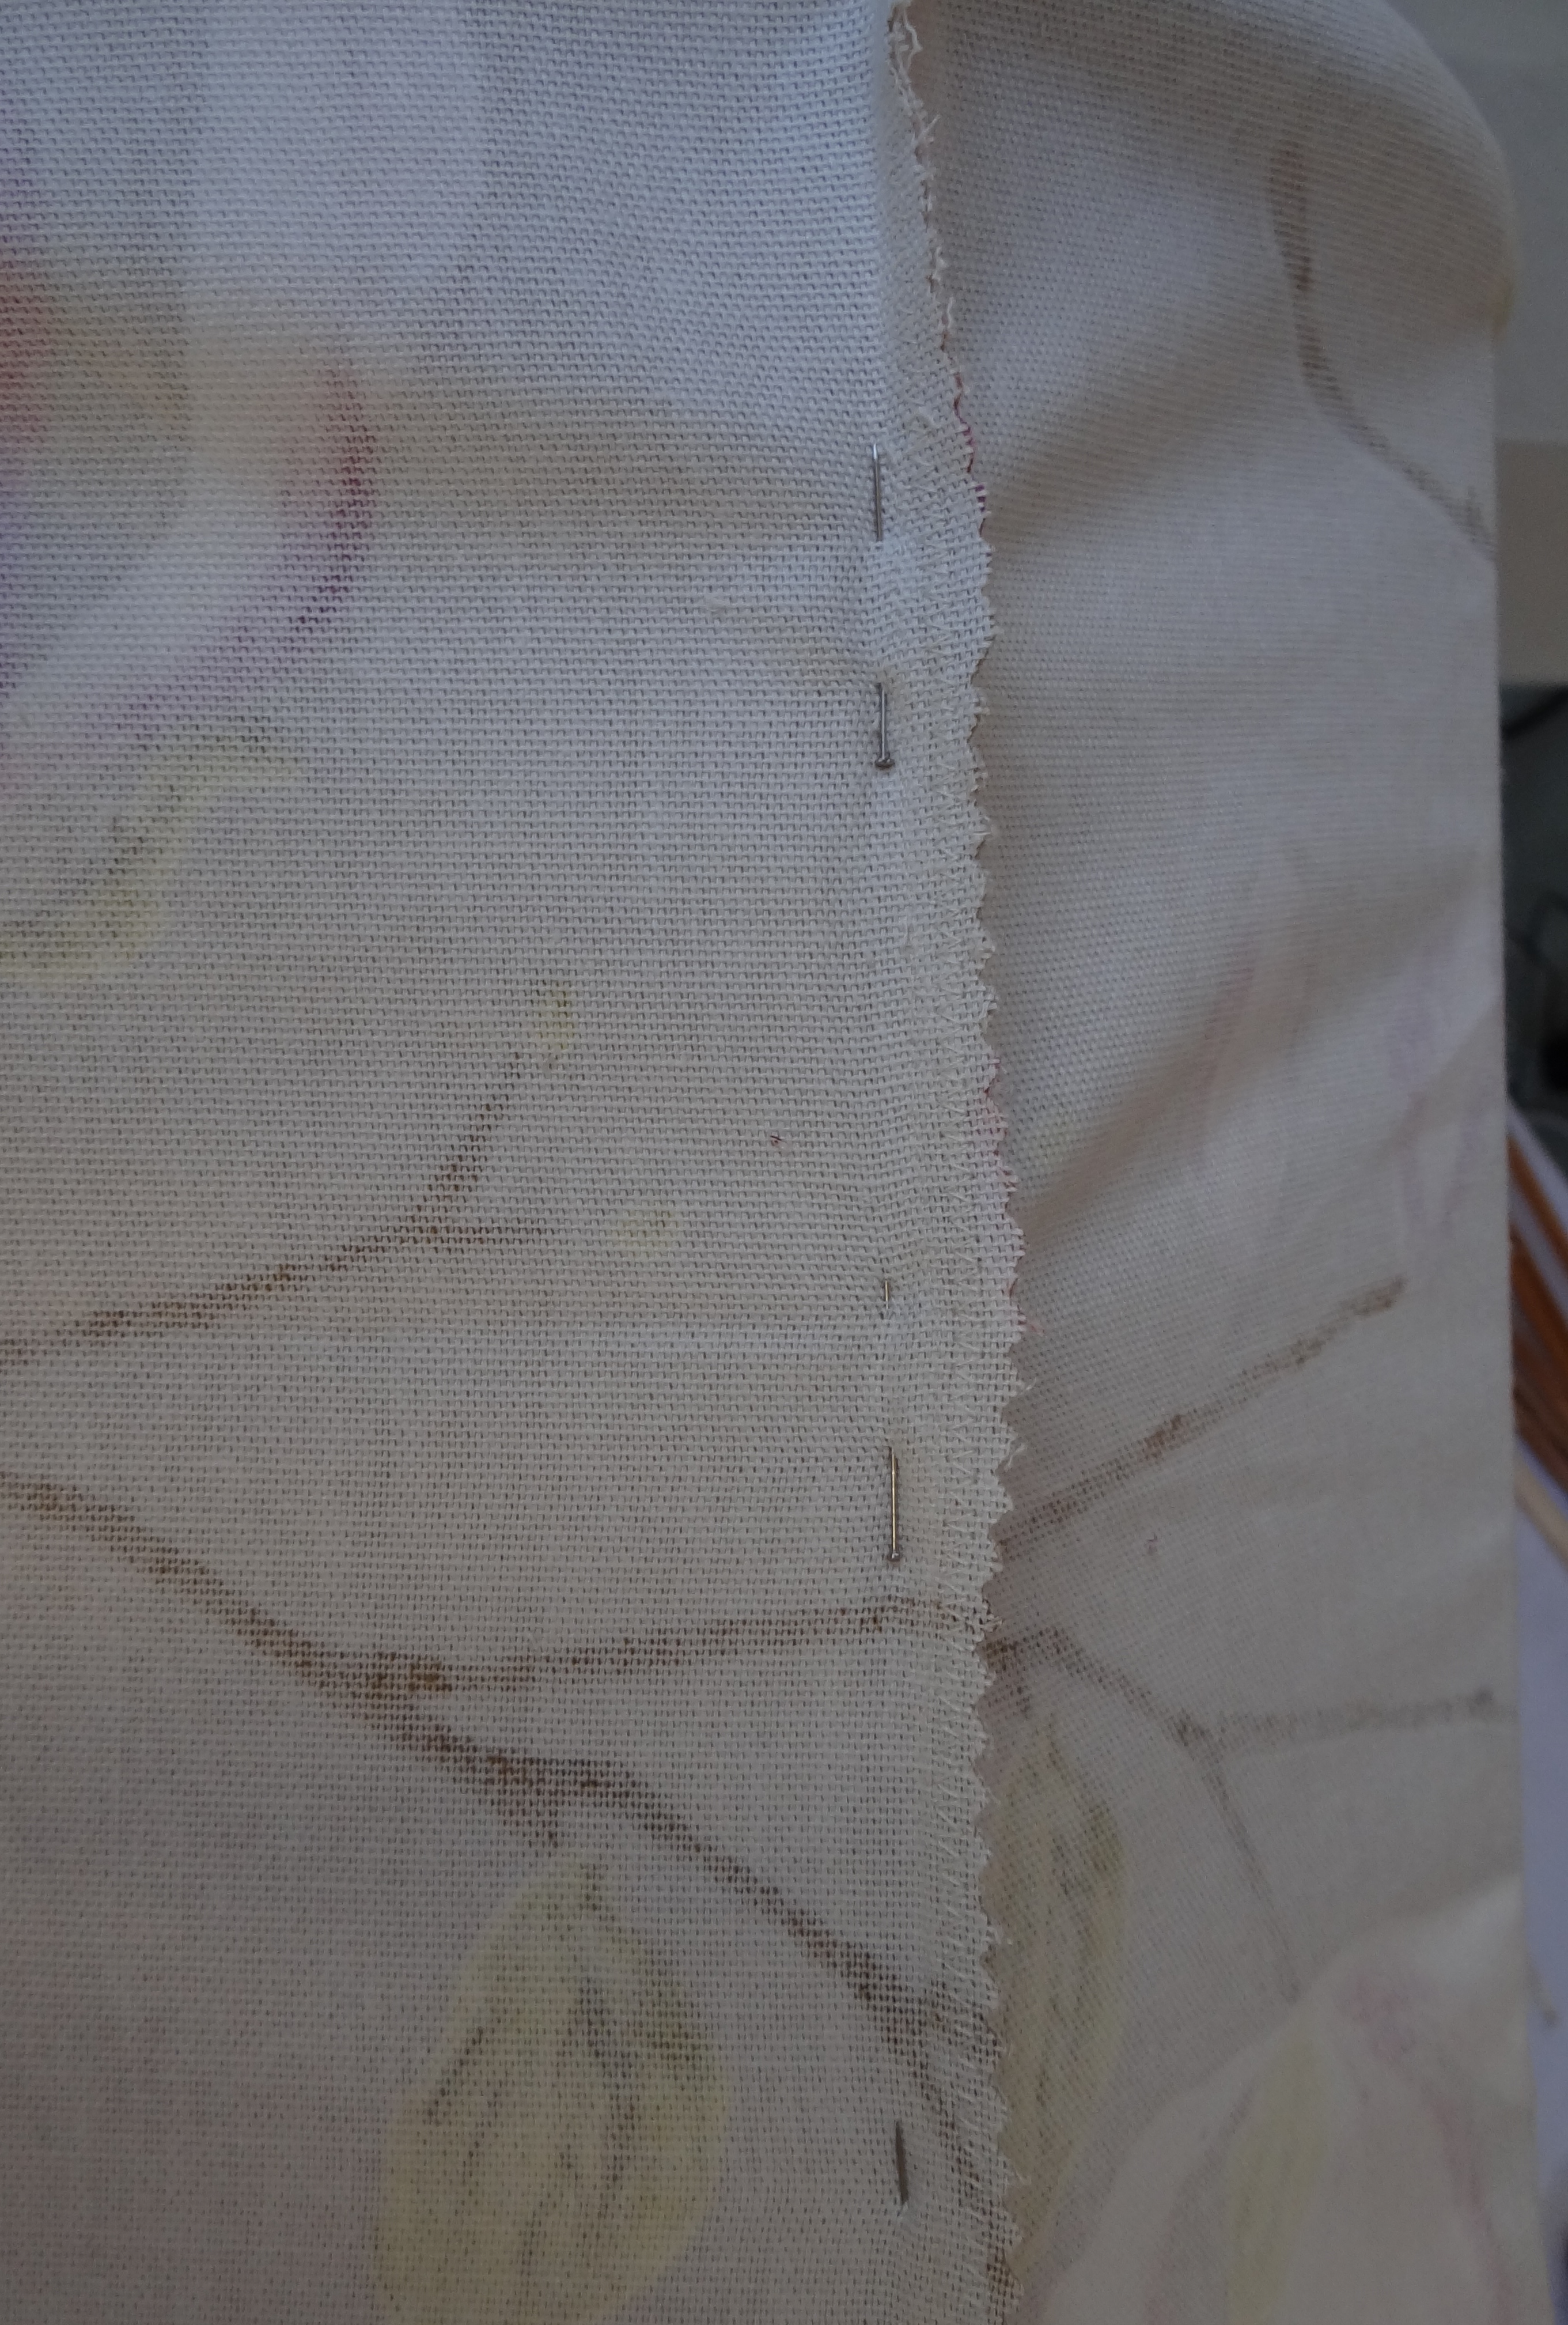
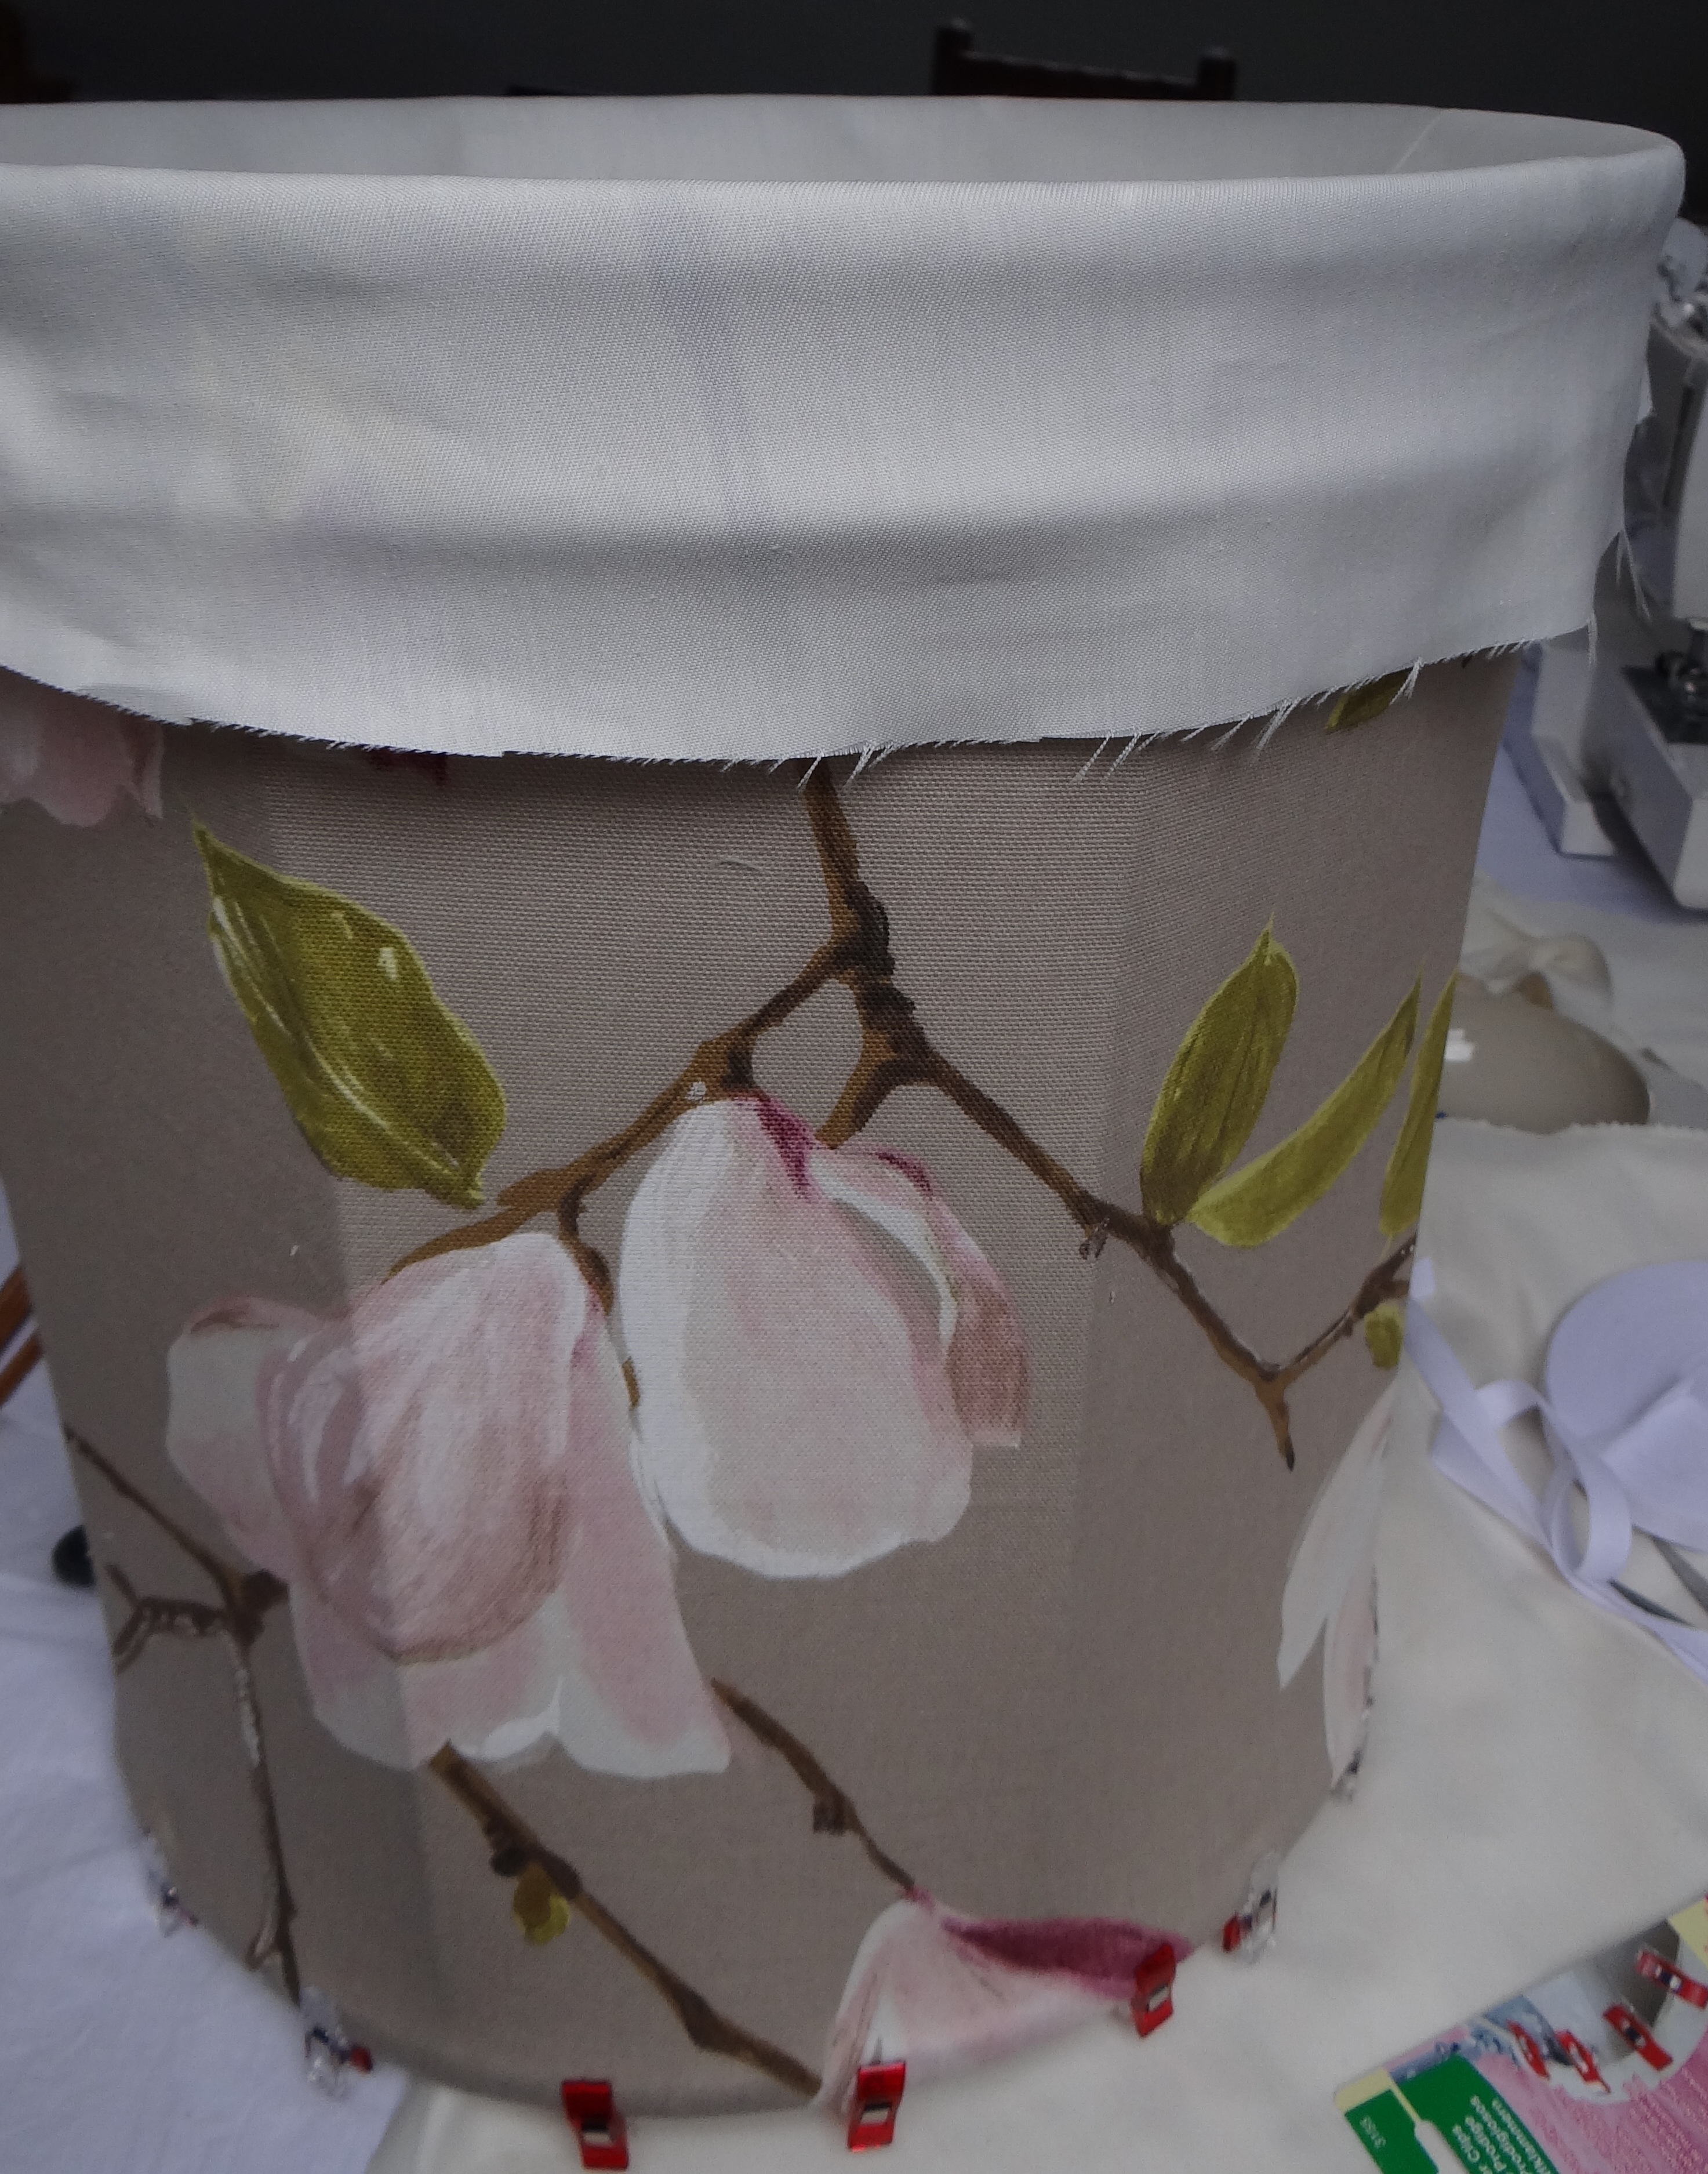
The fabric cover was then turned the right way out and stretched tight onto the frame by pinning it into the fabric seam tape on the frame’s top and bottom edge. Here’s the inside of the frame and the fabric seam tape.
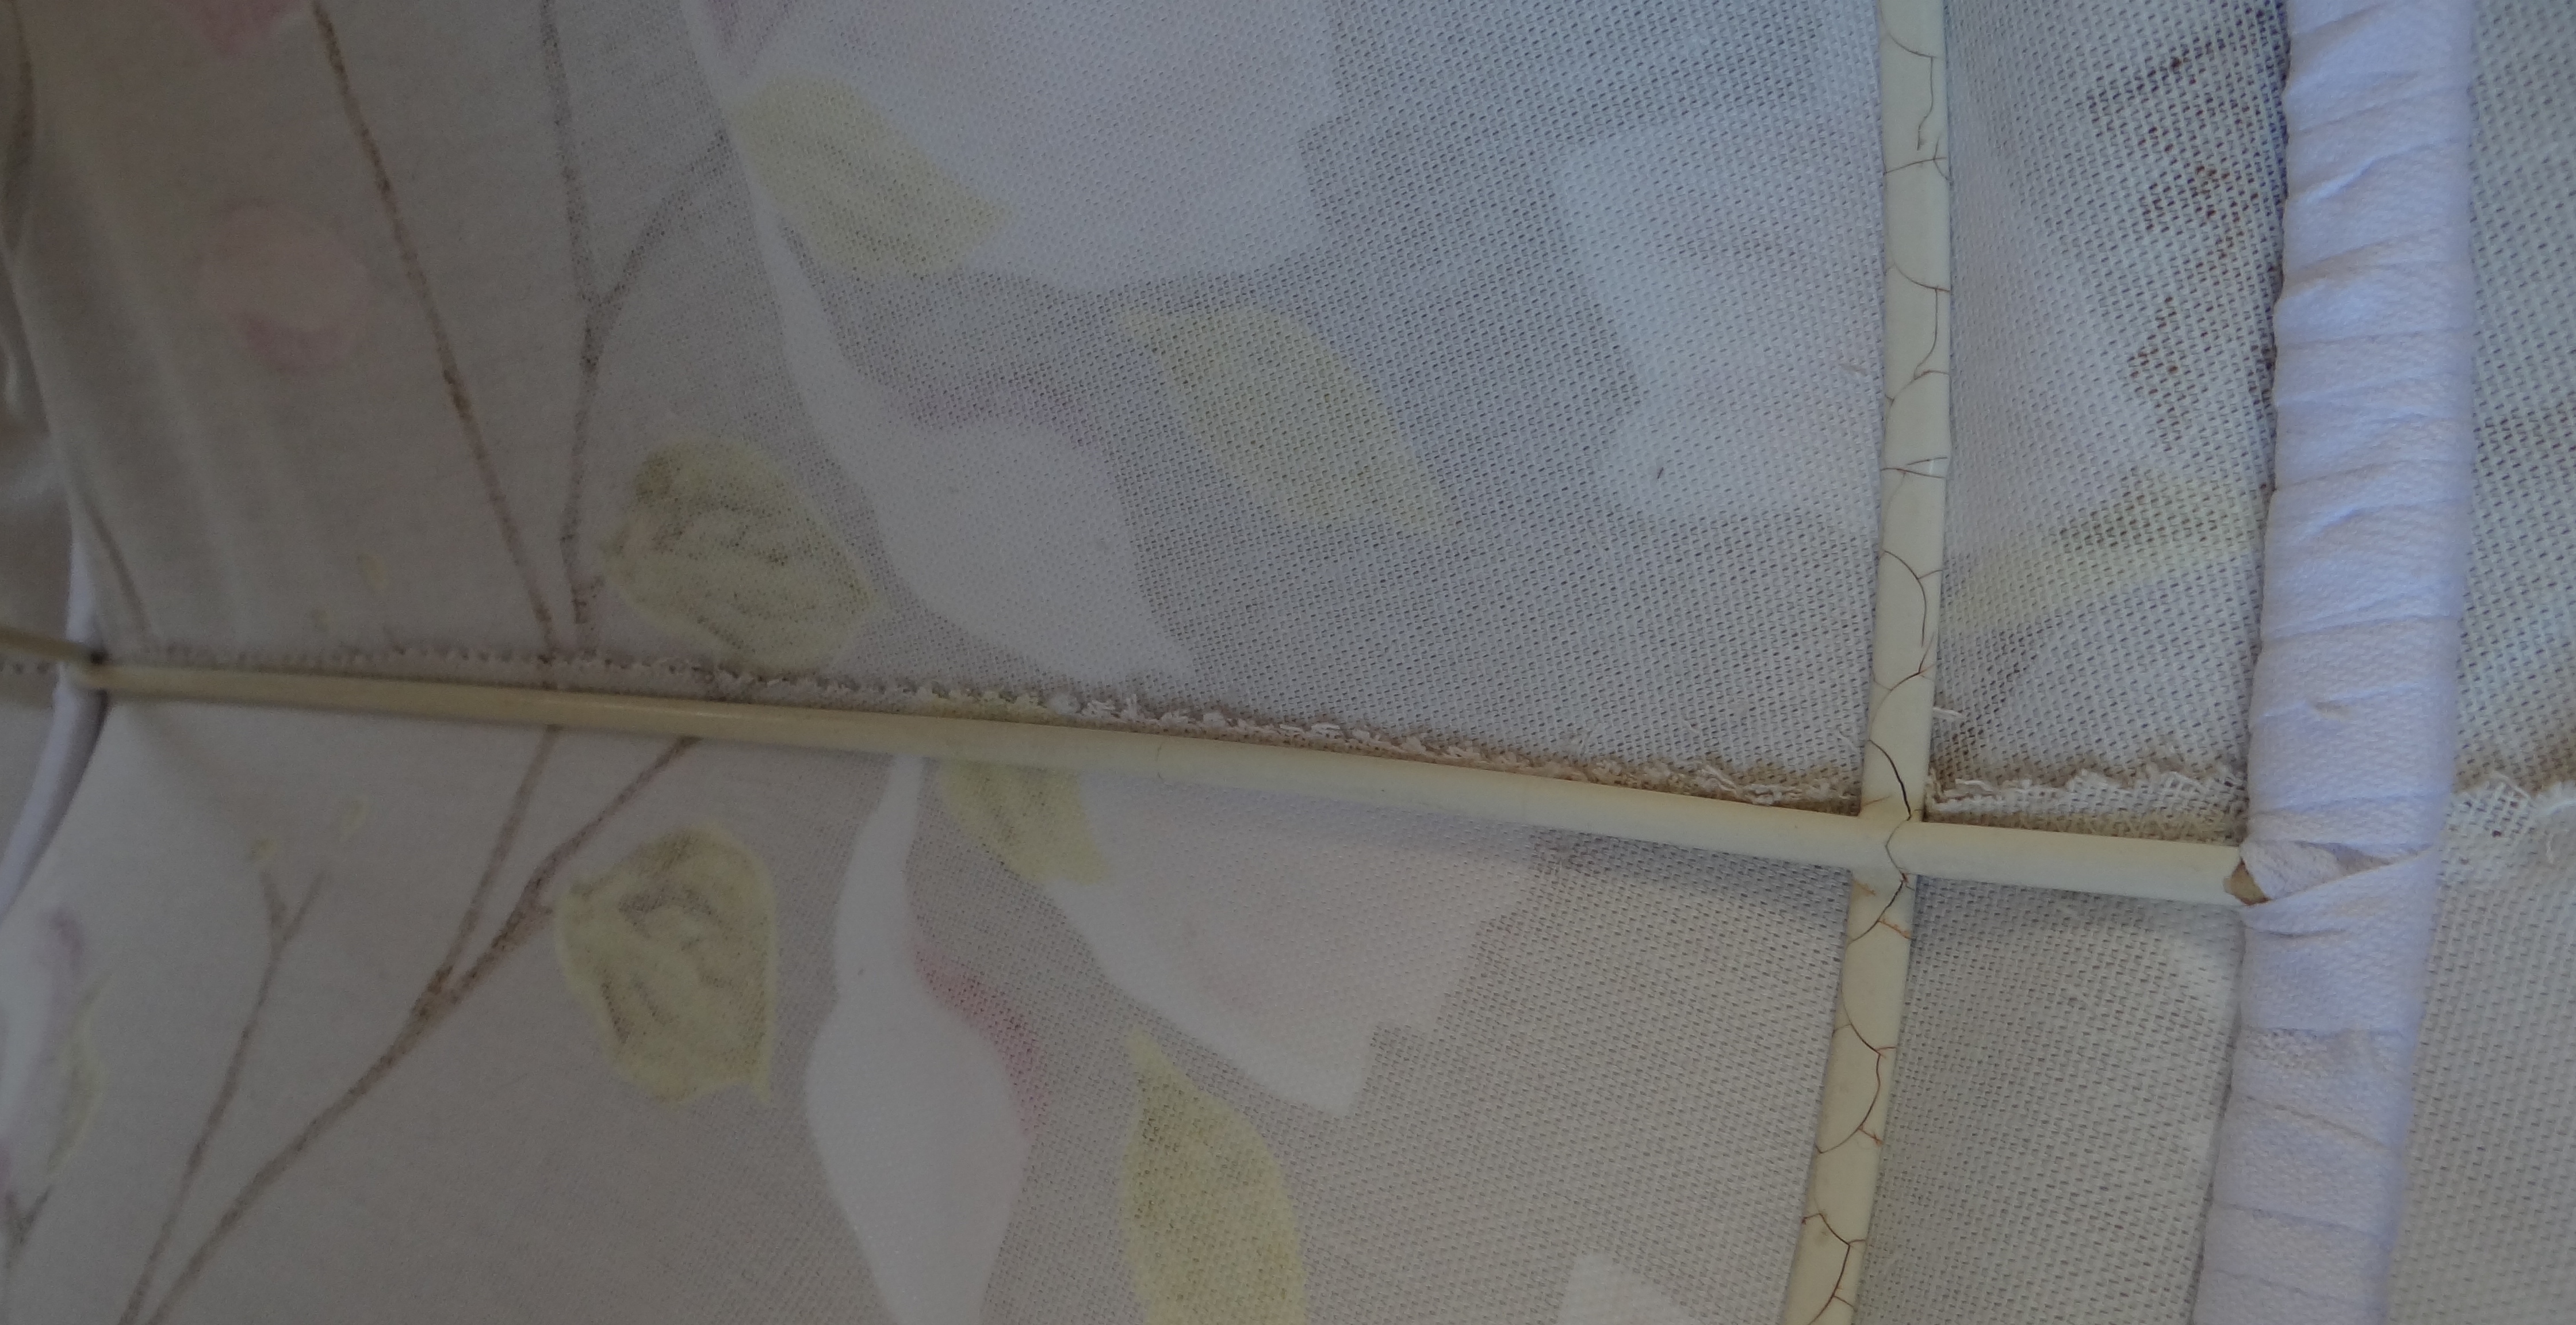
Excess fabric was cut away….

…and then whip stitched into place onto the fabric seam tape.

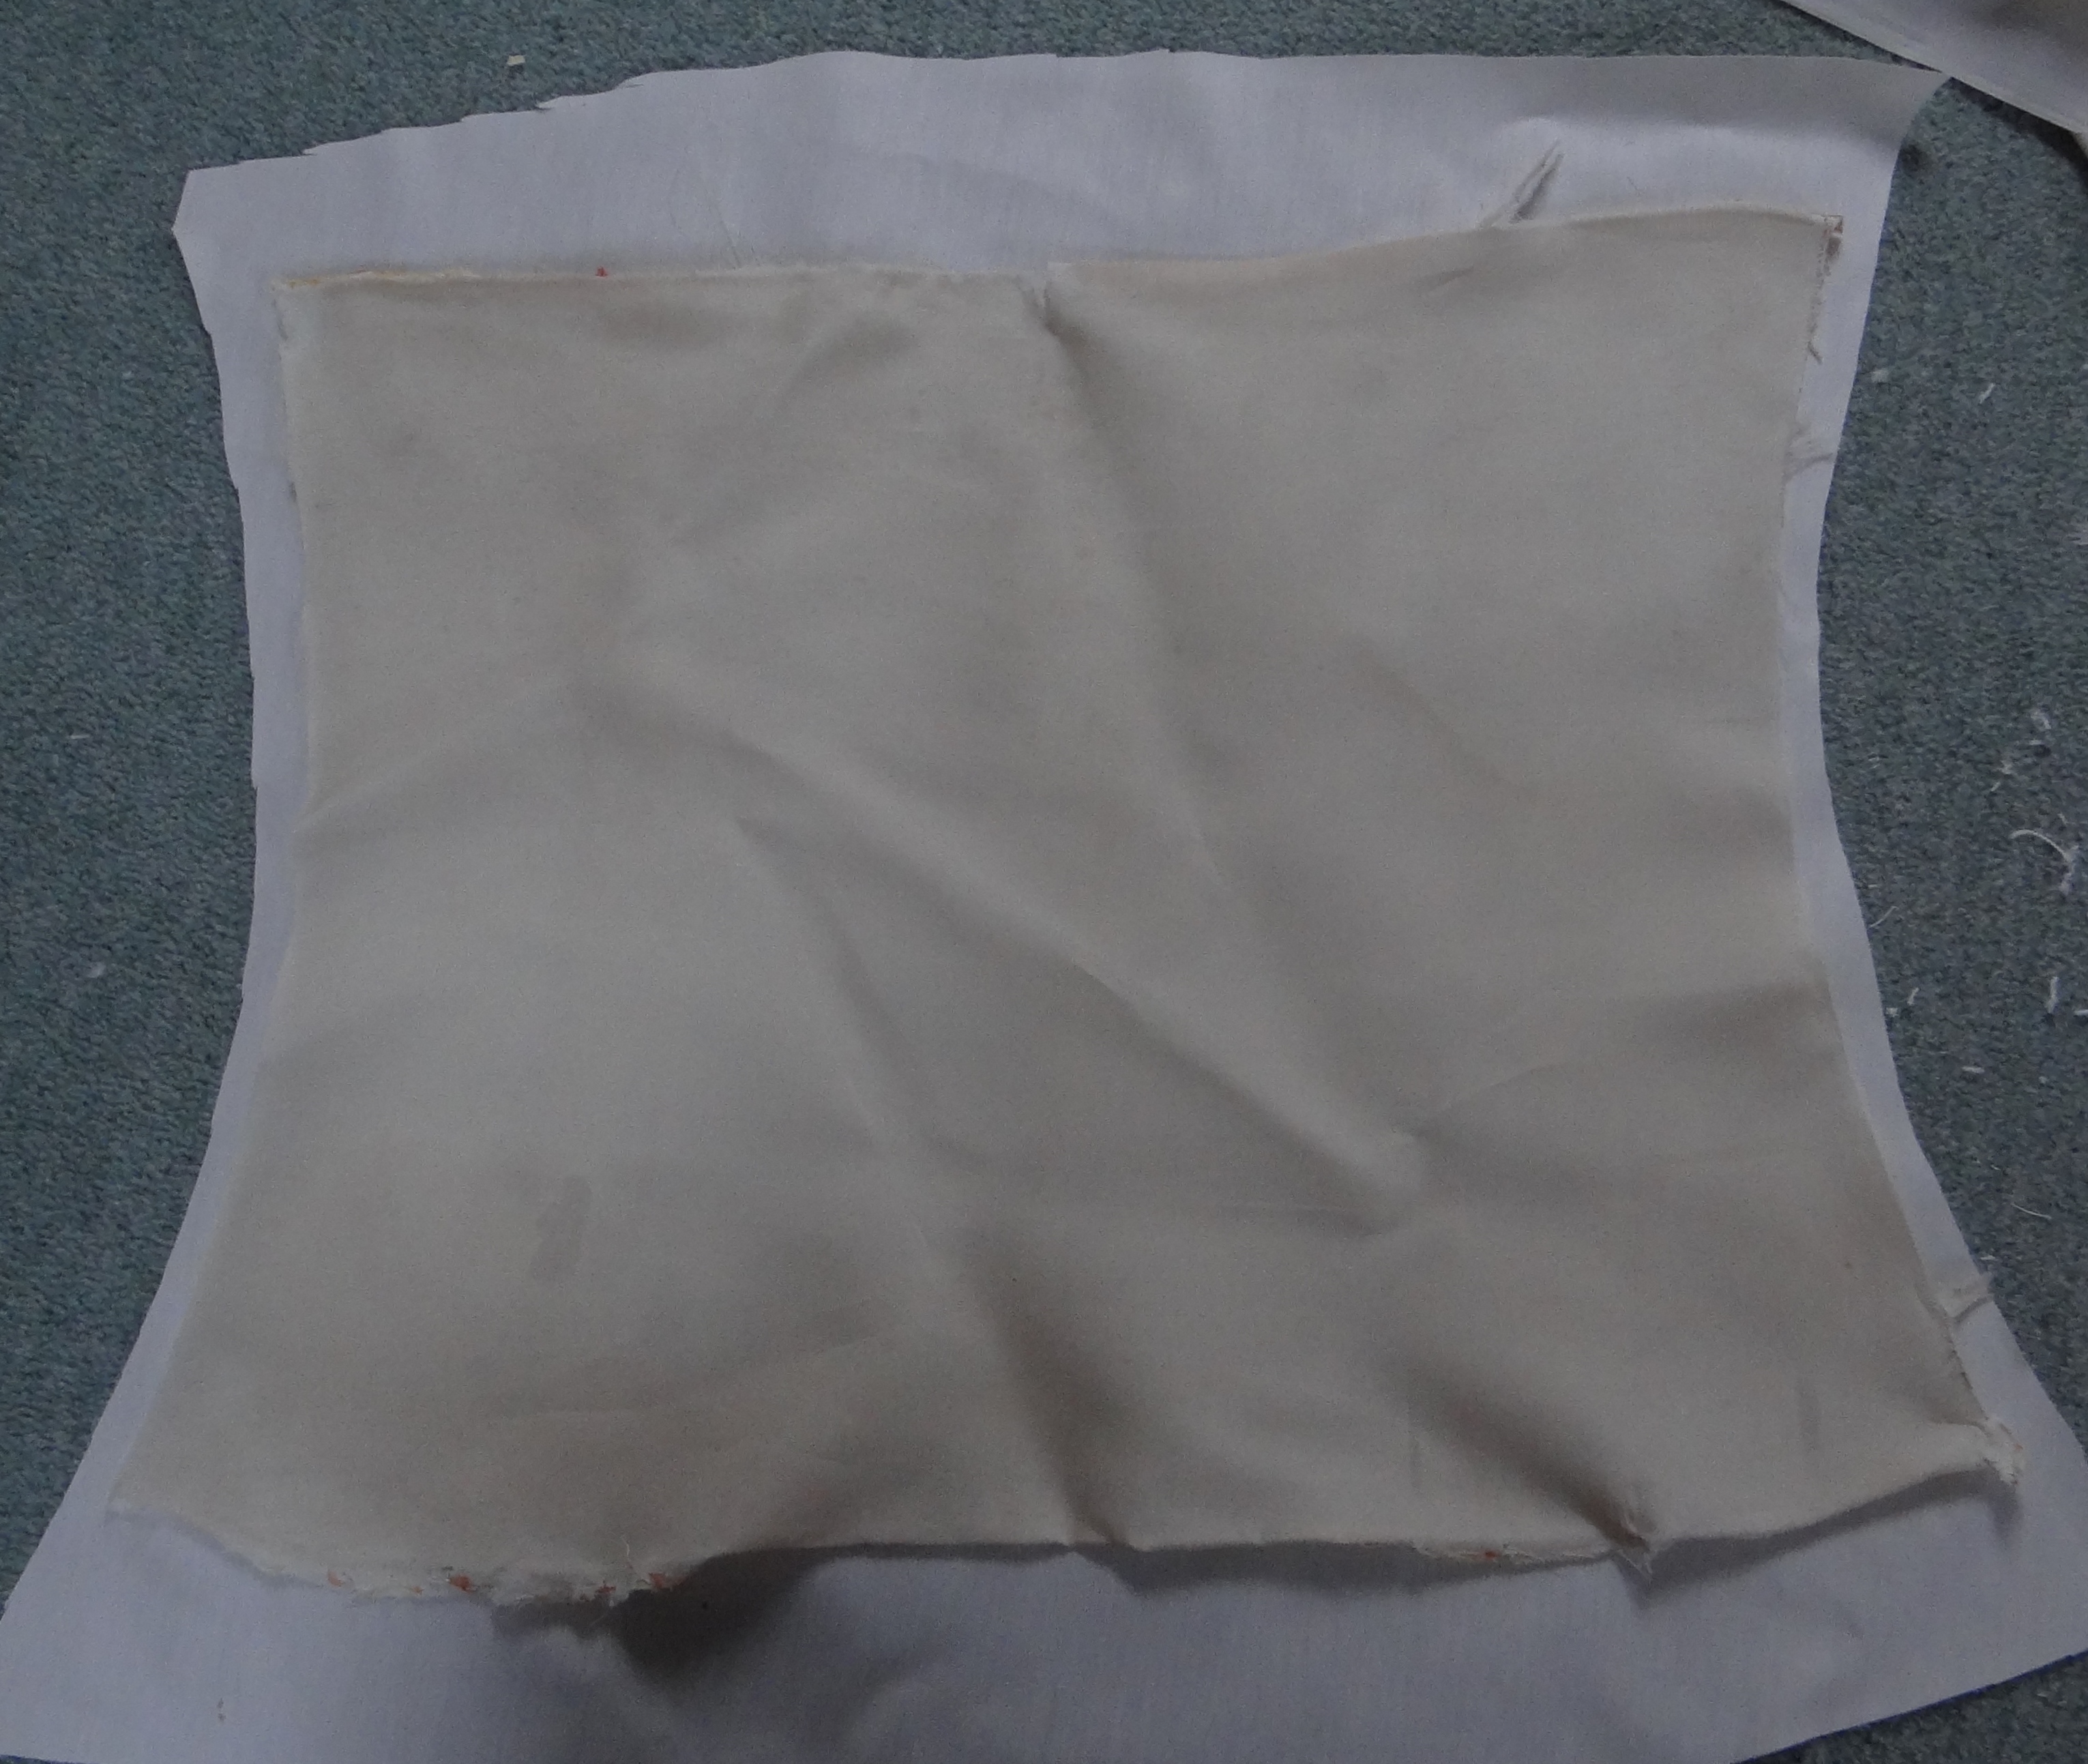
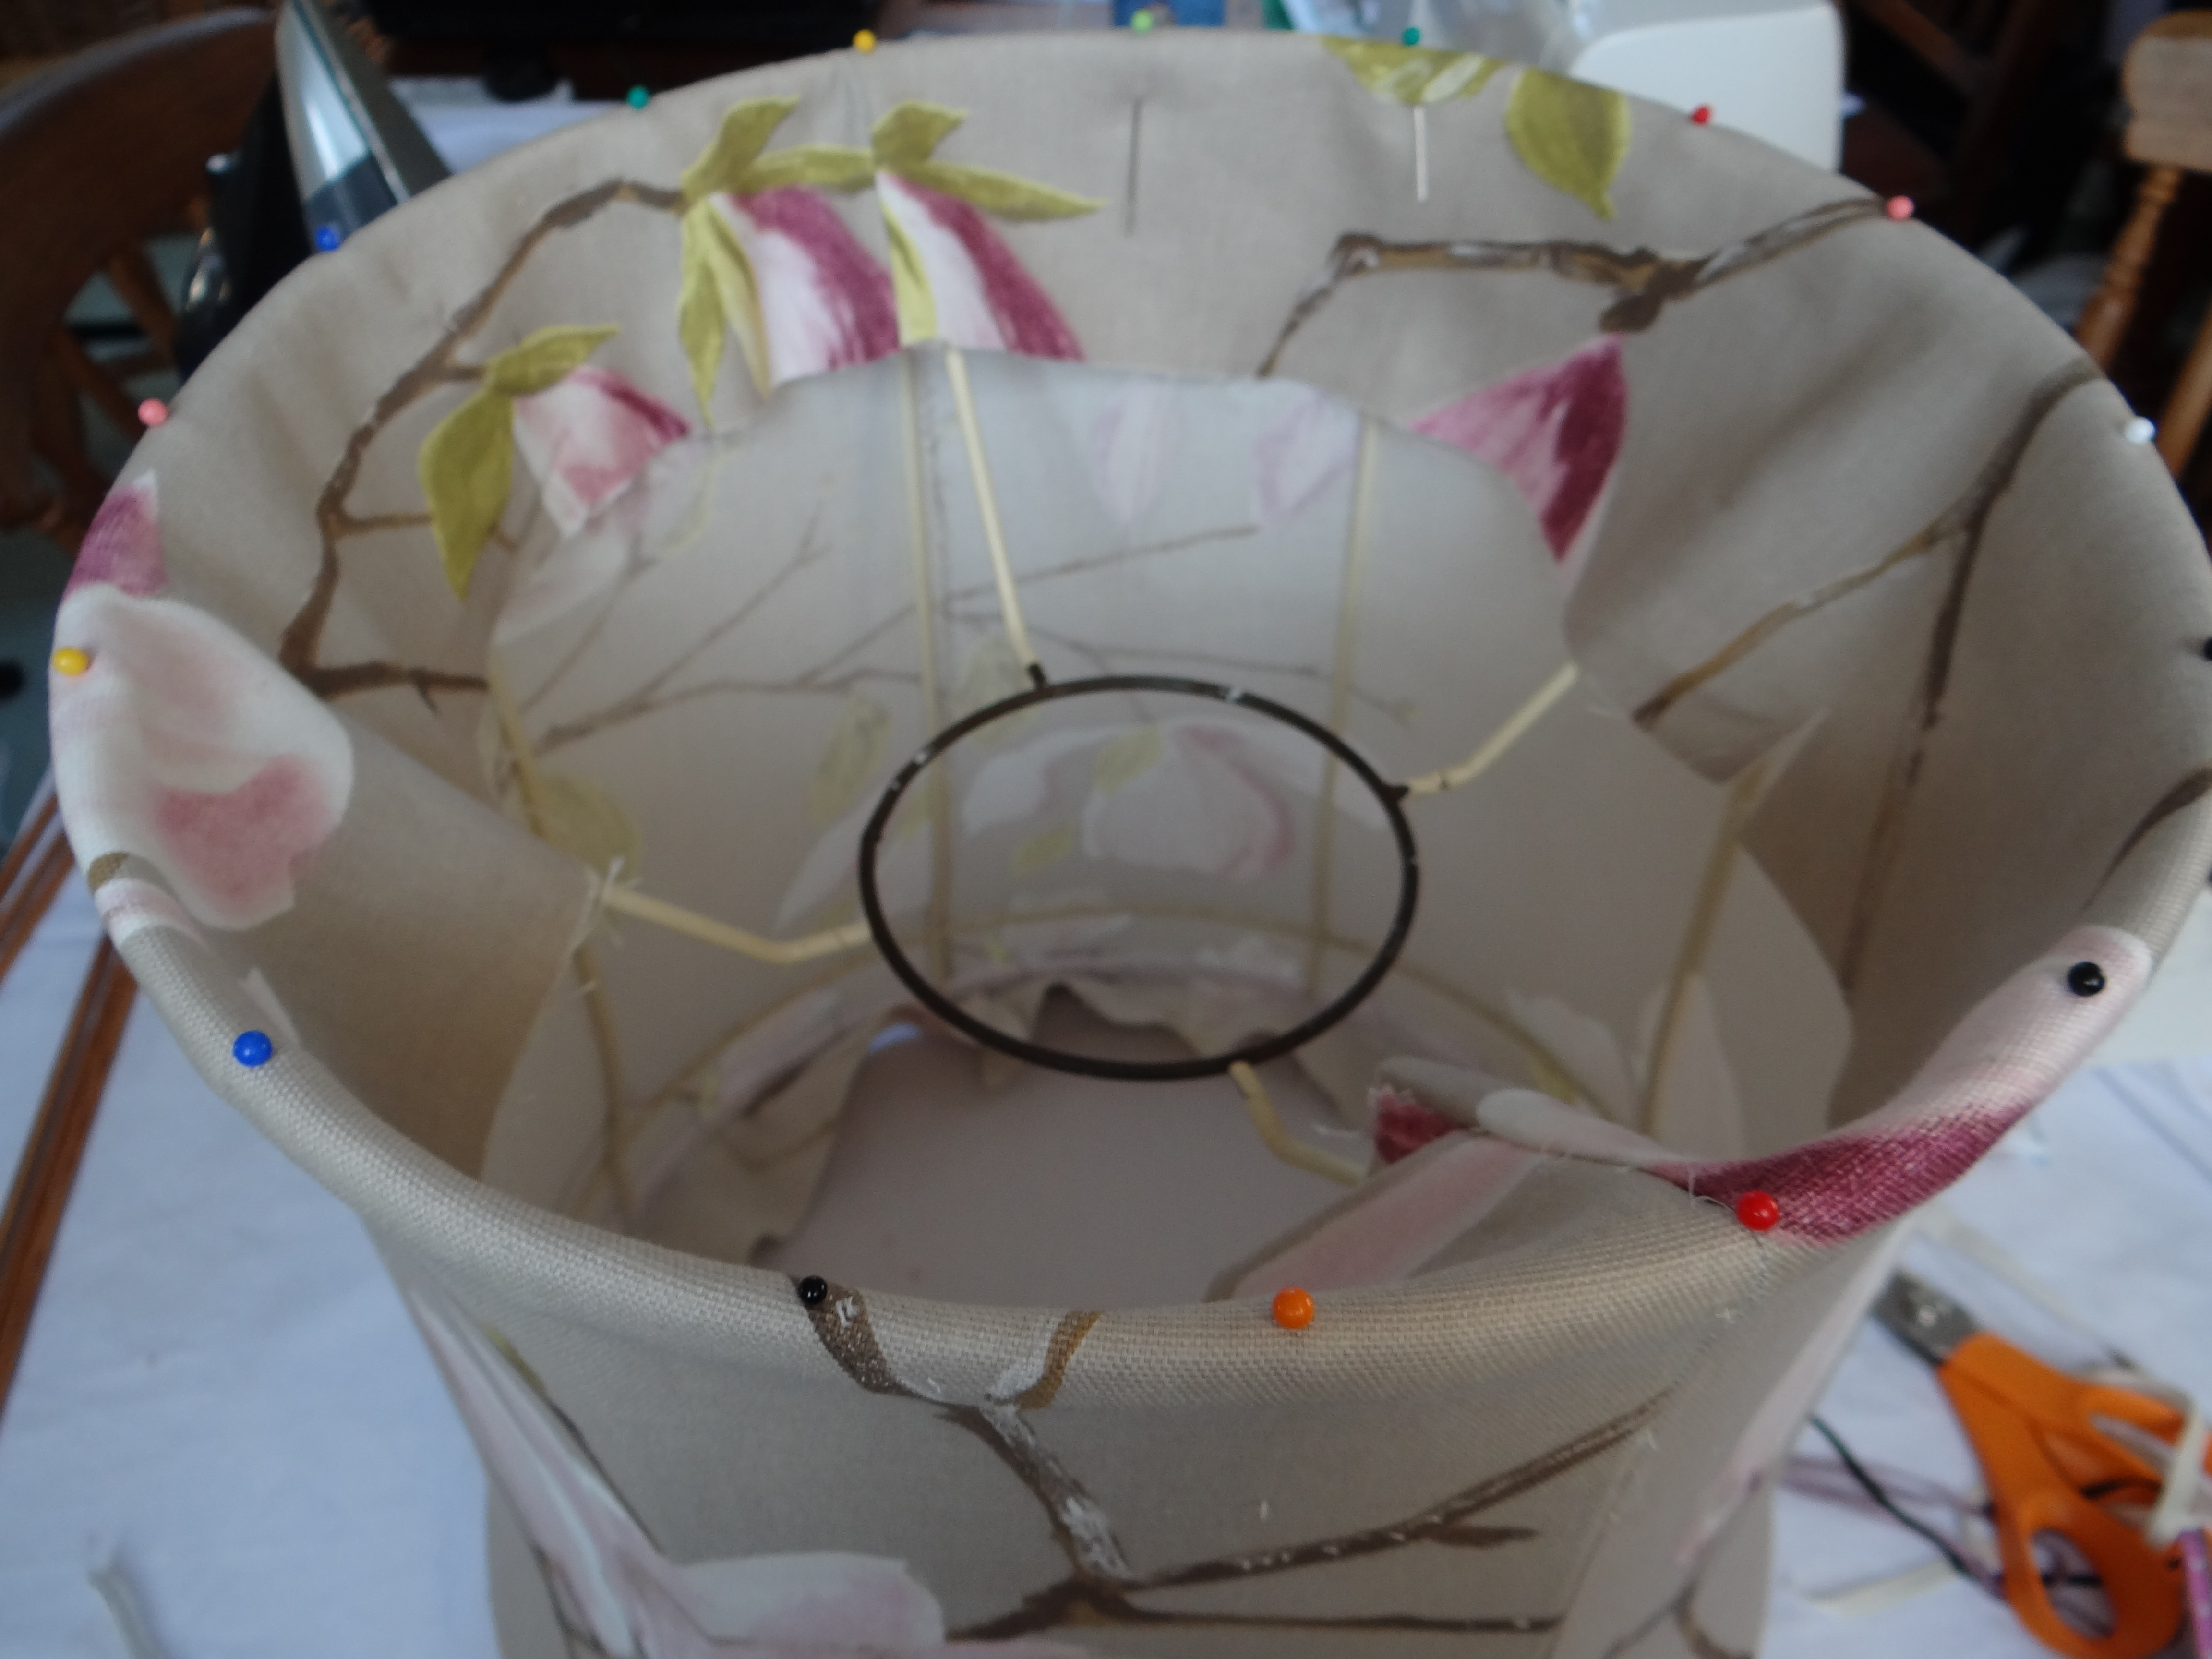
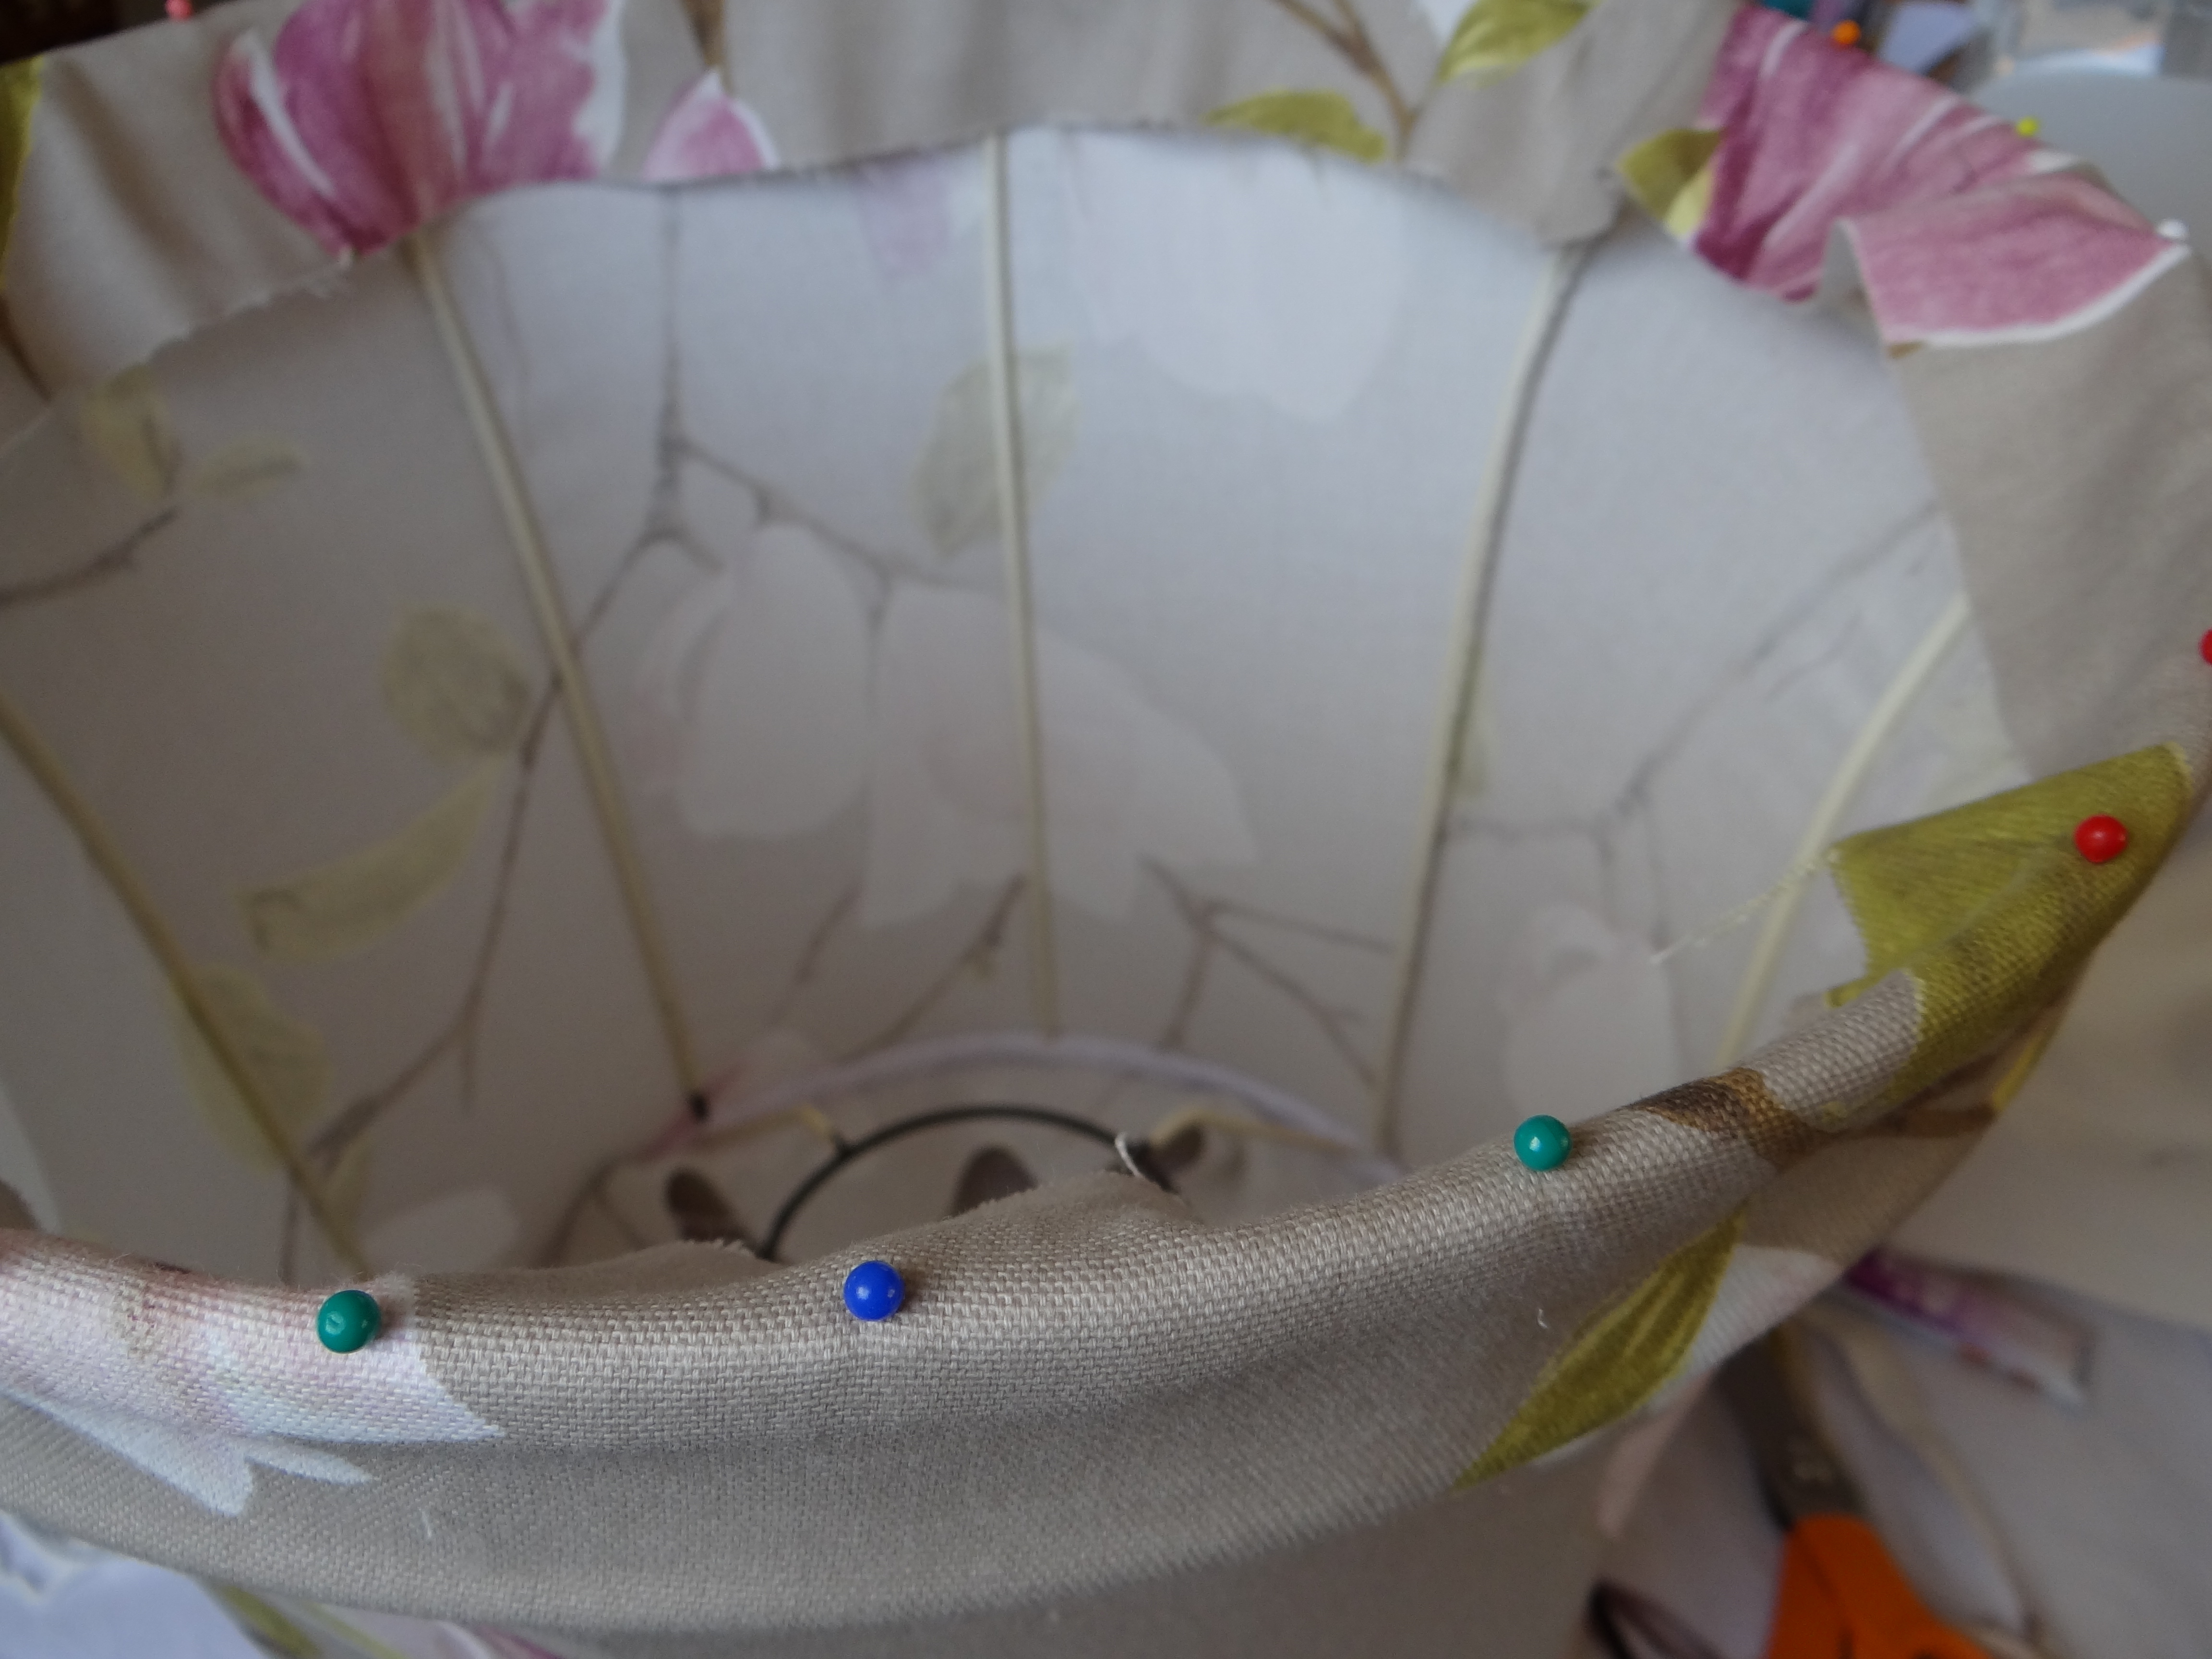
A similar process was repeated with the lining. Once the side seams were sewn it was stretched into place.
This time with some clips (pegs would work too) as I had enough of pin pricks!
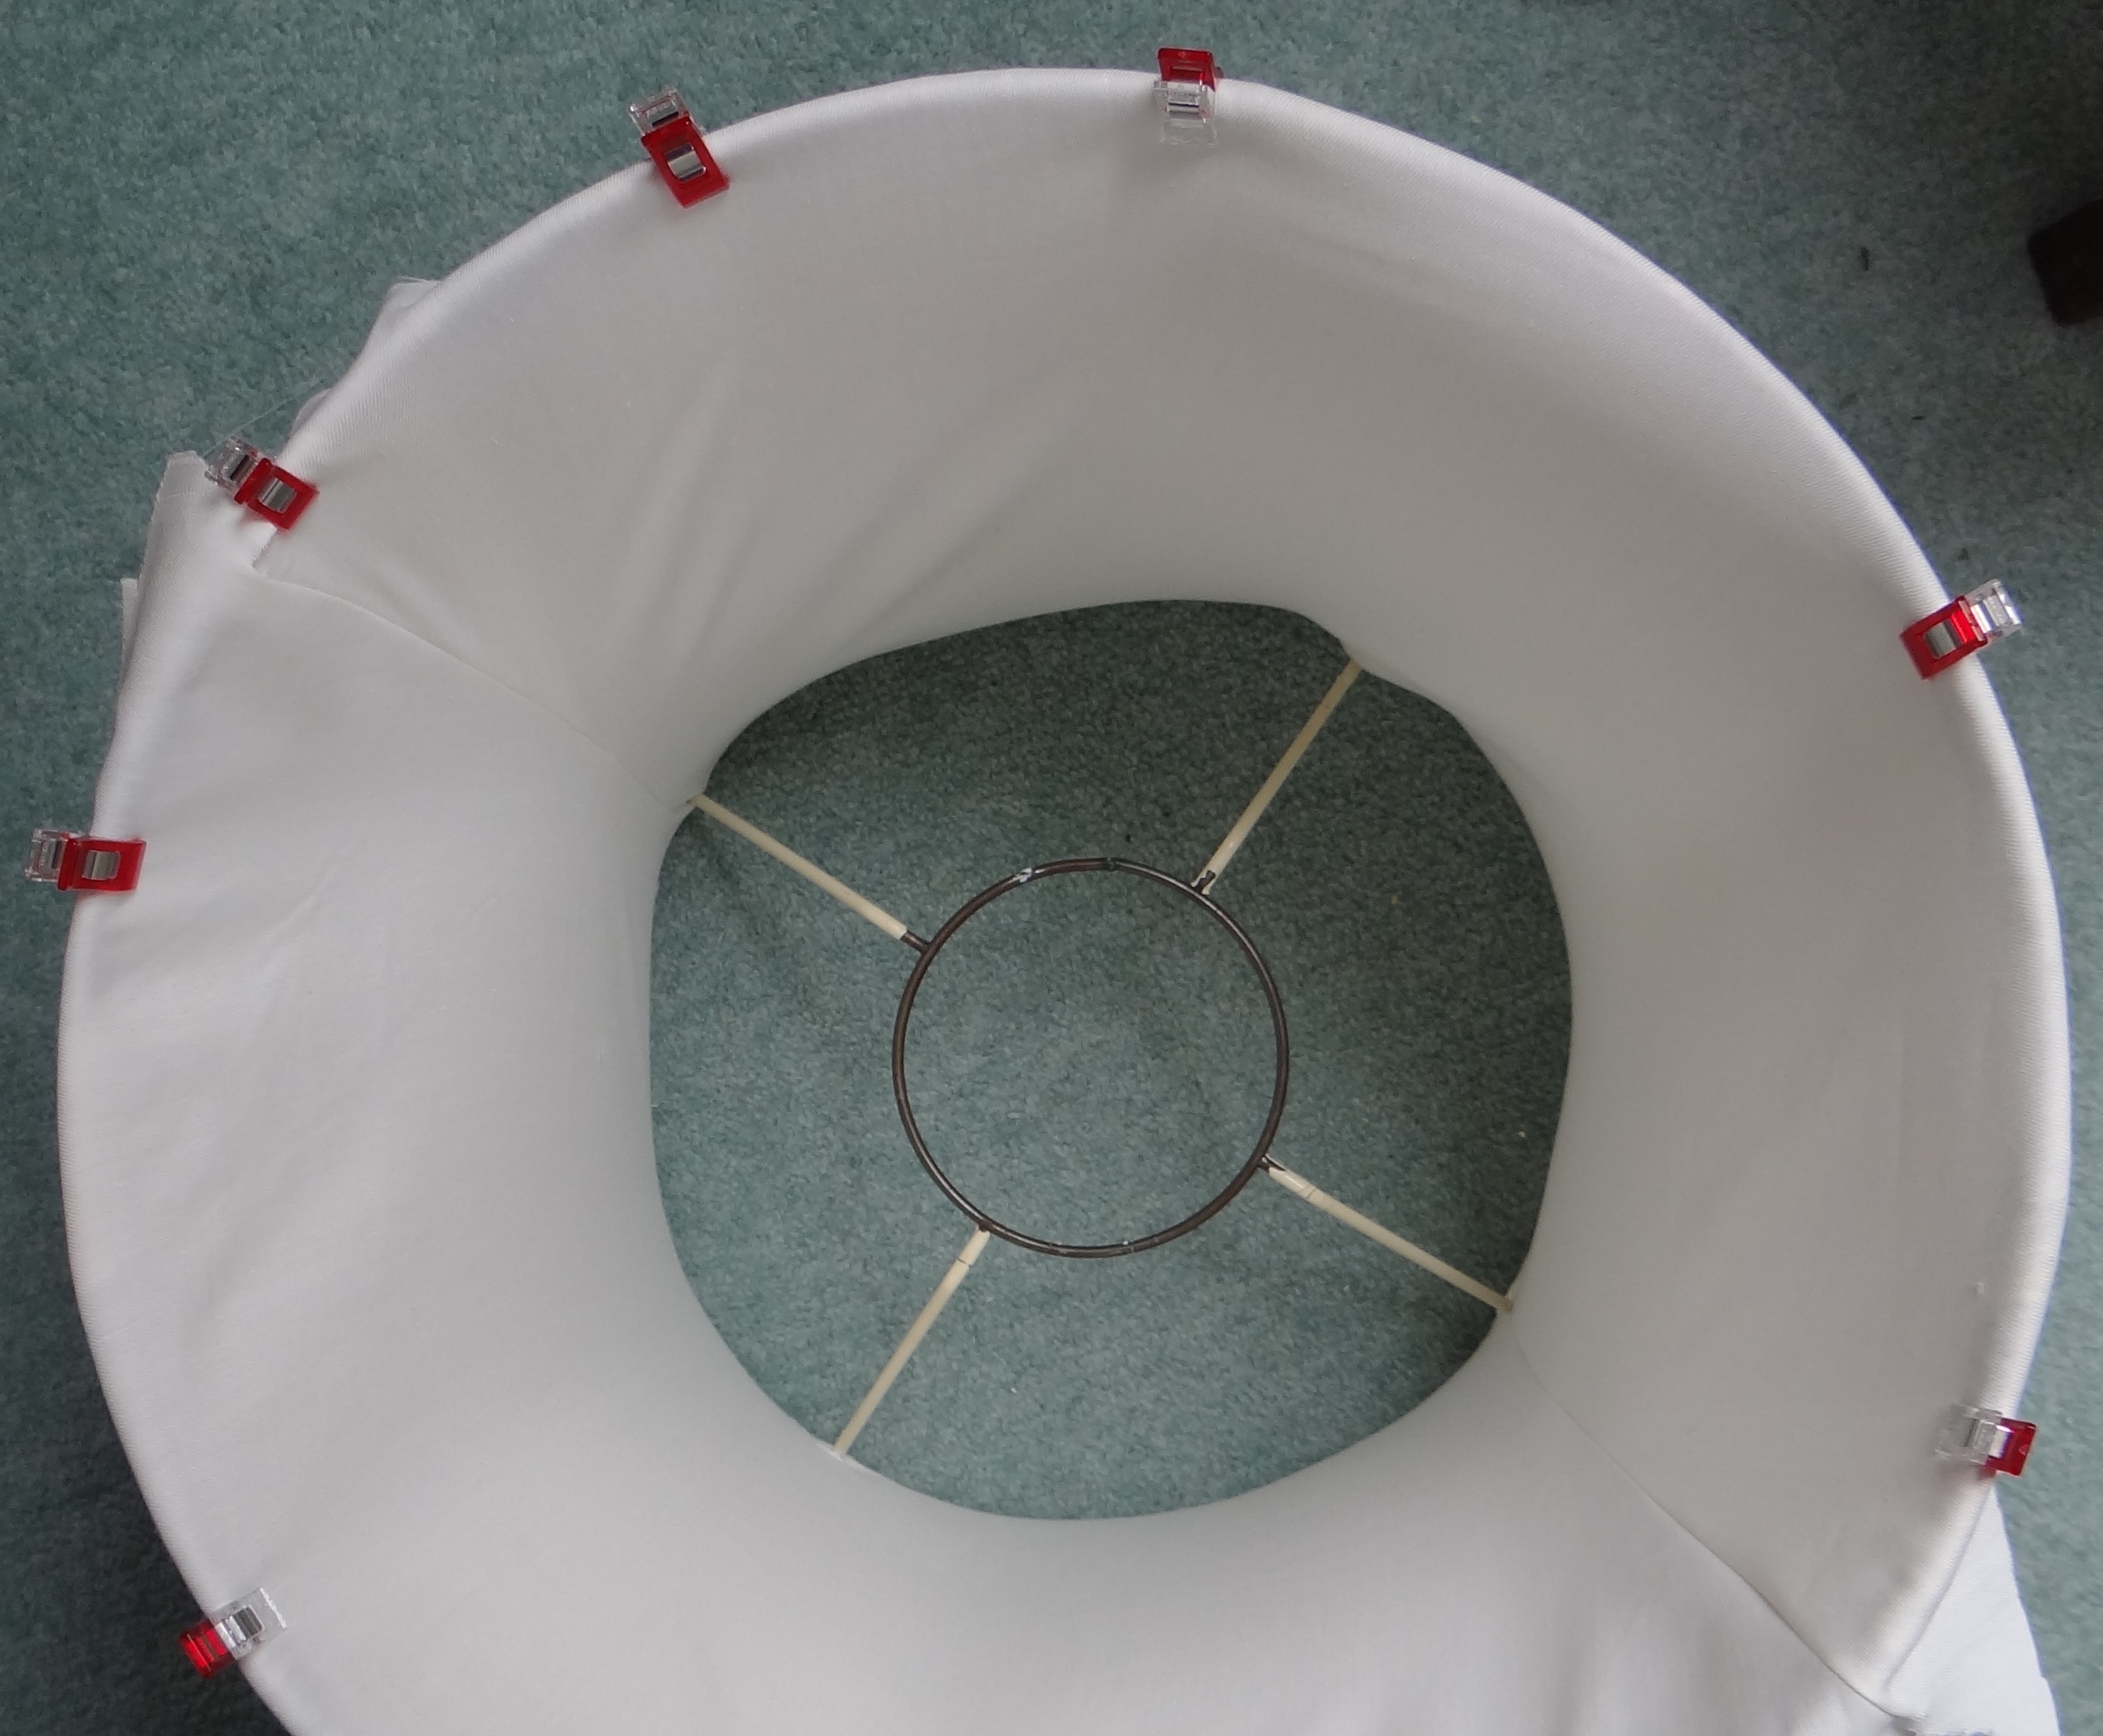
This barrel frame has four arms on the gimbal (that’s the part that attaches to the light fitting), so I undid the side seams a little and made a few extra slits in the lining to allow for the arms.

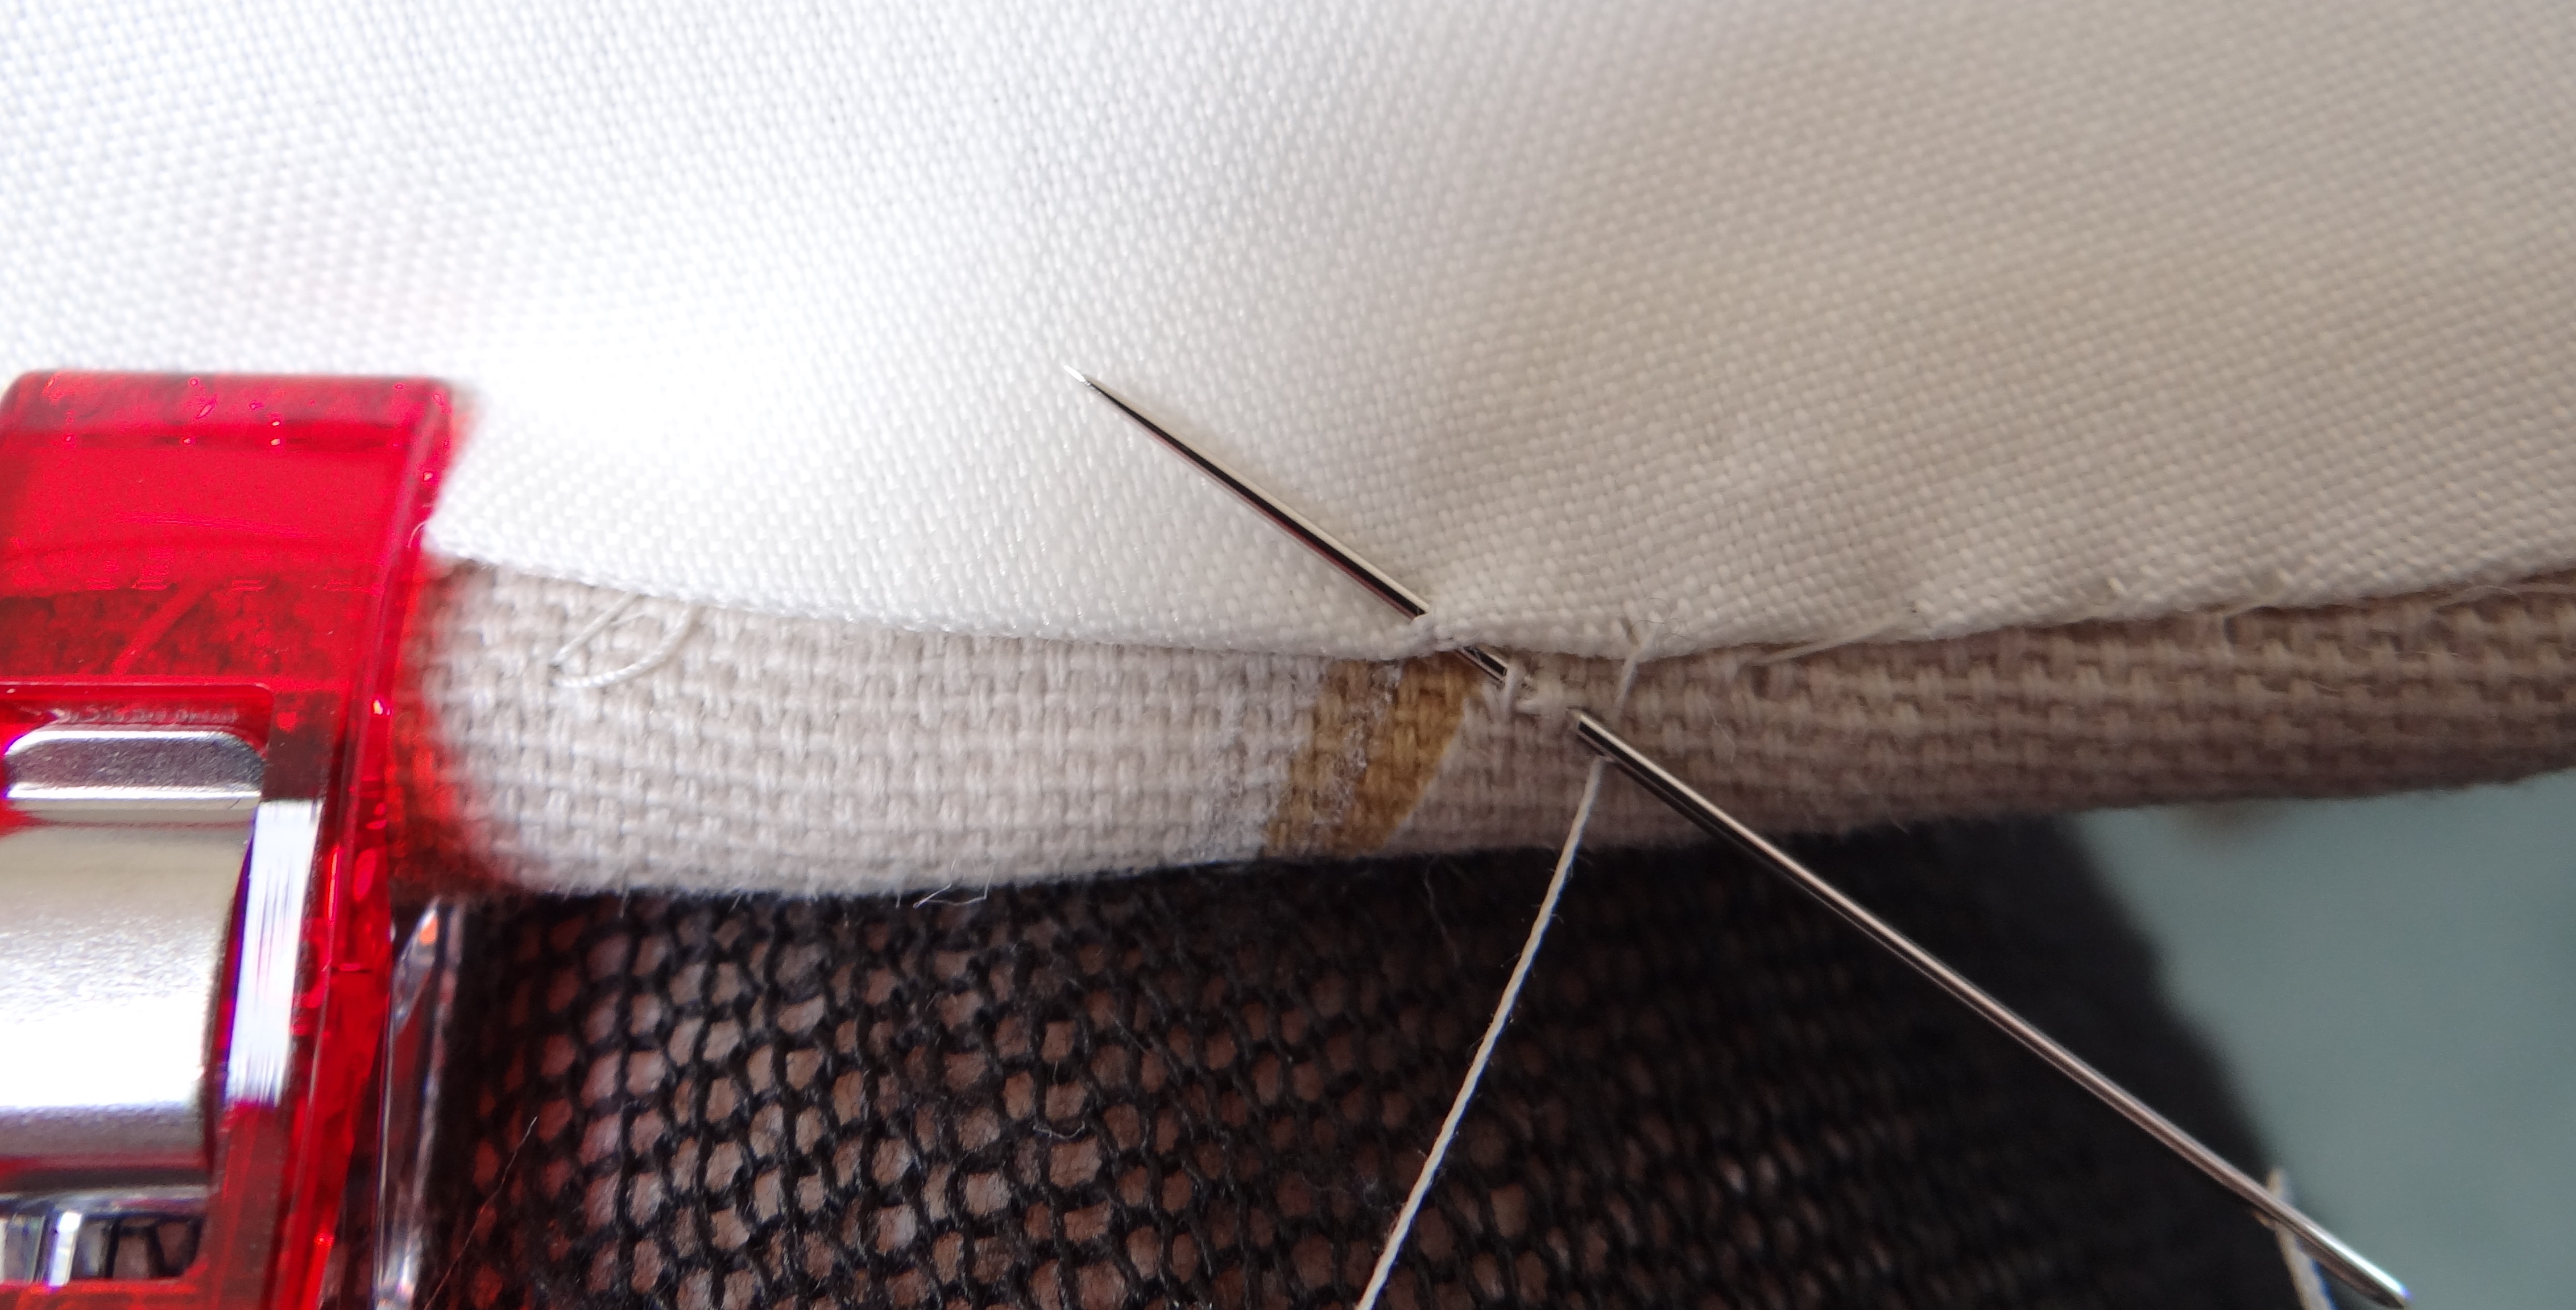
As I wanted to keep my lampshade plain and simple without trim (which is often used to hide stitching on the outside edge), the fabrics were stitched together on the lining side.
Once the light is turned on, the beauty of the lampshade is revealed. I love the way you can see the frame shape and how it reflects the delicate Magnolia tree branches.
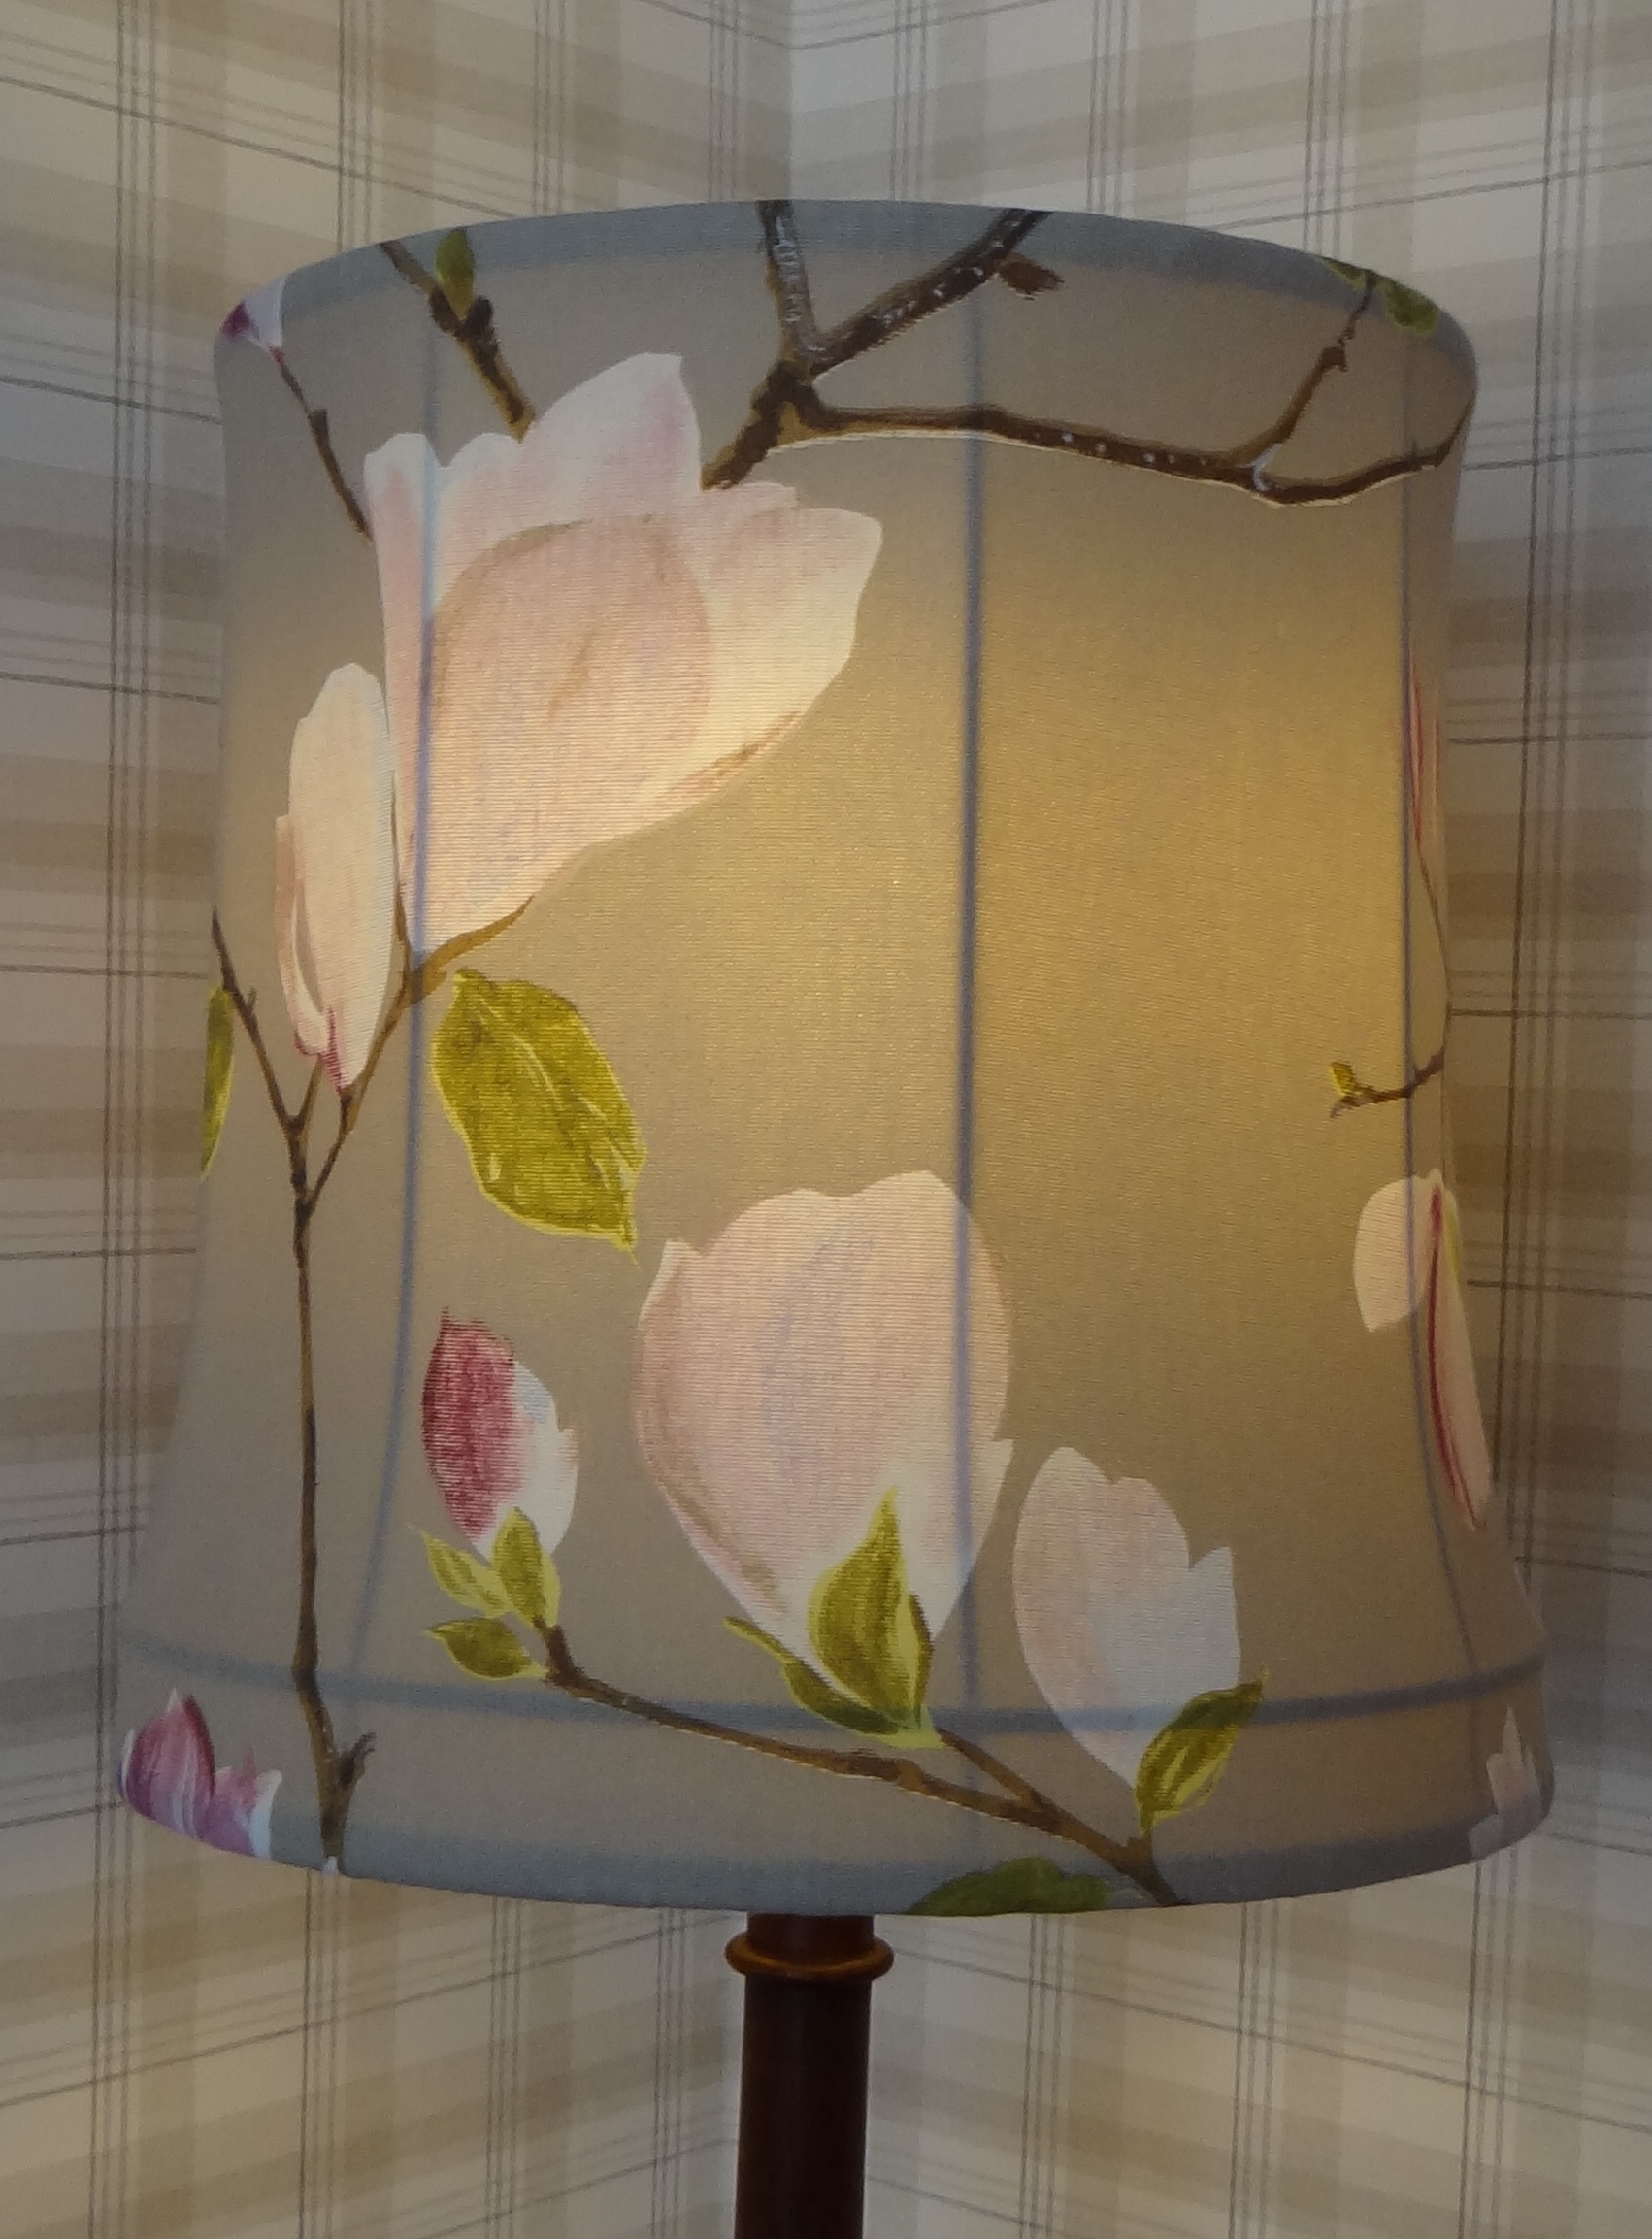
On a health and safety note – I’ve used an energy saving blub in the light as it gives off less heat than a regular one and made sure it doesn’t touch the inside of the shade.

Lovely! I notice that you did not cut your fabric on the bias, did it make fitting the fabric to the fame tricky?
I am currently enjoying making soft shades and finding lining tricky in terms of ensuring getting it very tight with no pulling – so was interested in your helpful article.
I think cutting the fabric on the bias would of been better for stretch – I used mine on the straight grain as I wanted to pattern to match by curtain direction.
Does anyone know where I can buy the stretch lining for lampshades? I can’t find it anywhere.
How did you attach the seam binding? Did you wrap it around and around overlapping or sew it on? Single seam binding? How much did you use? My shade looks similar to yours. I am going all out and covering mine in silk w a lining.
I brought a roll of the binding so I’m not sure how much I used. Sorry. I secured the end with a little stitch then wound it round and round the wire and secured the other end with a little stitch. Silk sounds a beautiful covering. x
Your informative site has inspired me this wet weekend to get started on a large old lampshade I bought from the UK to NZ this year after finding it in a charity shop. Lamp stand has been stripped and repainted this week and now your project has given me the confidence to go for it with the shade. Thank you
Your welcome, I’ve just repainted the base of mine too! Would love to see a photo of how your lamp turns out.
Beautiful job. Thank you.
Thanks Rita, that’s really King of you. X
Pingback: Recovering Lampshades | Mostly Knitting Blog
can you tell me what fabric you used for the lining, please? Thanks. Carole.
I just used some curtain lining, but made sure I only used a lower energy bulb to reduce the fire risk.
As always your photos and explanation are so clear. I love the finished lamp – gorgeous.
Thank you, I loved making it! I have just found a bell shaped one at my local charity shop, I can’t wait to get started! X
Love this! Must’ve taken you ages! Well done, I would love to be able to do that! Making one of your sick monkeys right now. Turning out badly…
What a stunning makeover! I love it!
Thank you Hannah, I’m really pleased how it turned out. X
Wow, it looks fantastic! I love a bit of upcycling and knowing how much Laura Ashley charge I can only say that yours is far better and must have cost less! You also can’t put a price on the pleasure of creating something beautiful yourself x
Thank you. I’ve got so many ideas for my next one too. Can’t wait to get started! X