
 This is a step by step guide for making a Yoga Mat Bag or a lovely round bottom drawstring bag. It’s also pretty handy for other things too like storing wrapping paper!
Ok, are you ready?
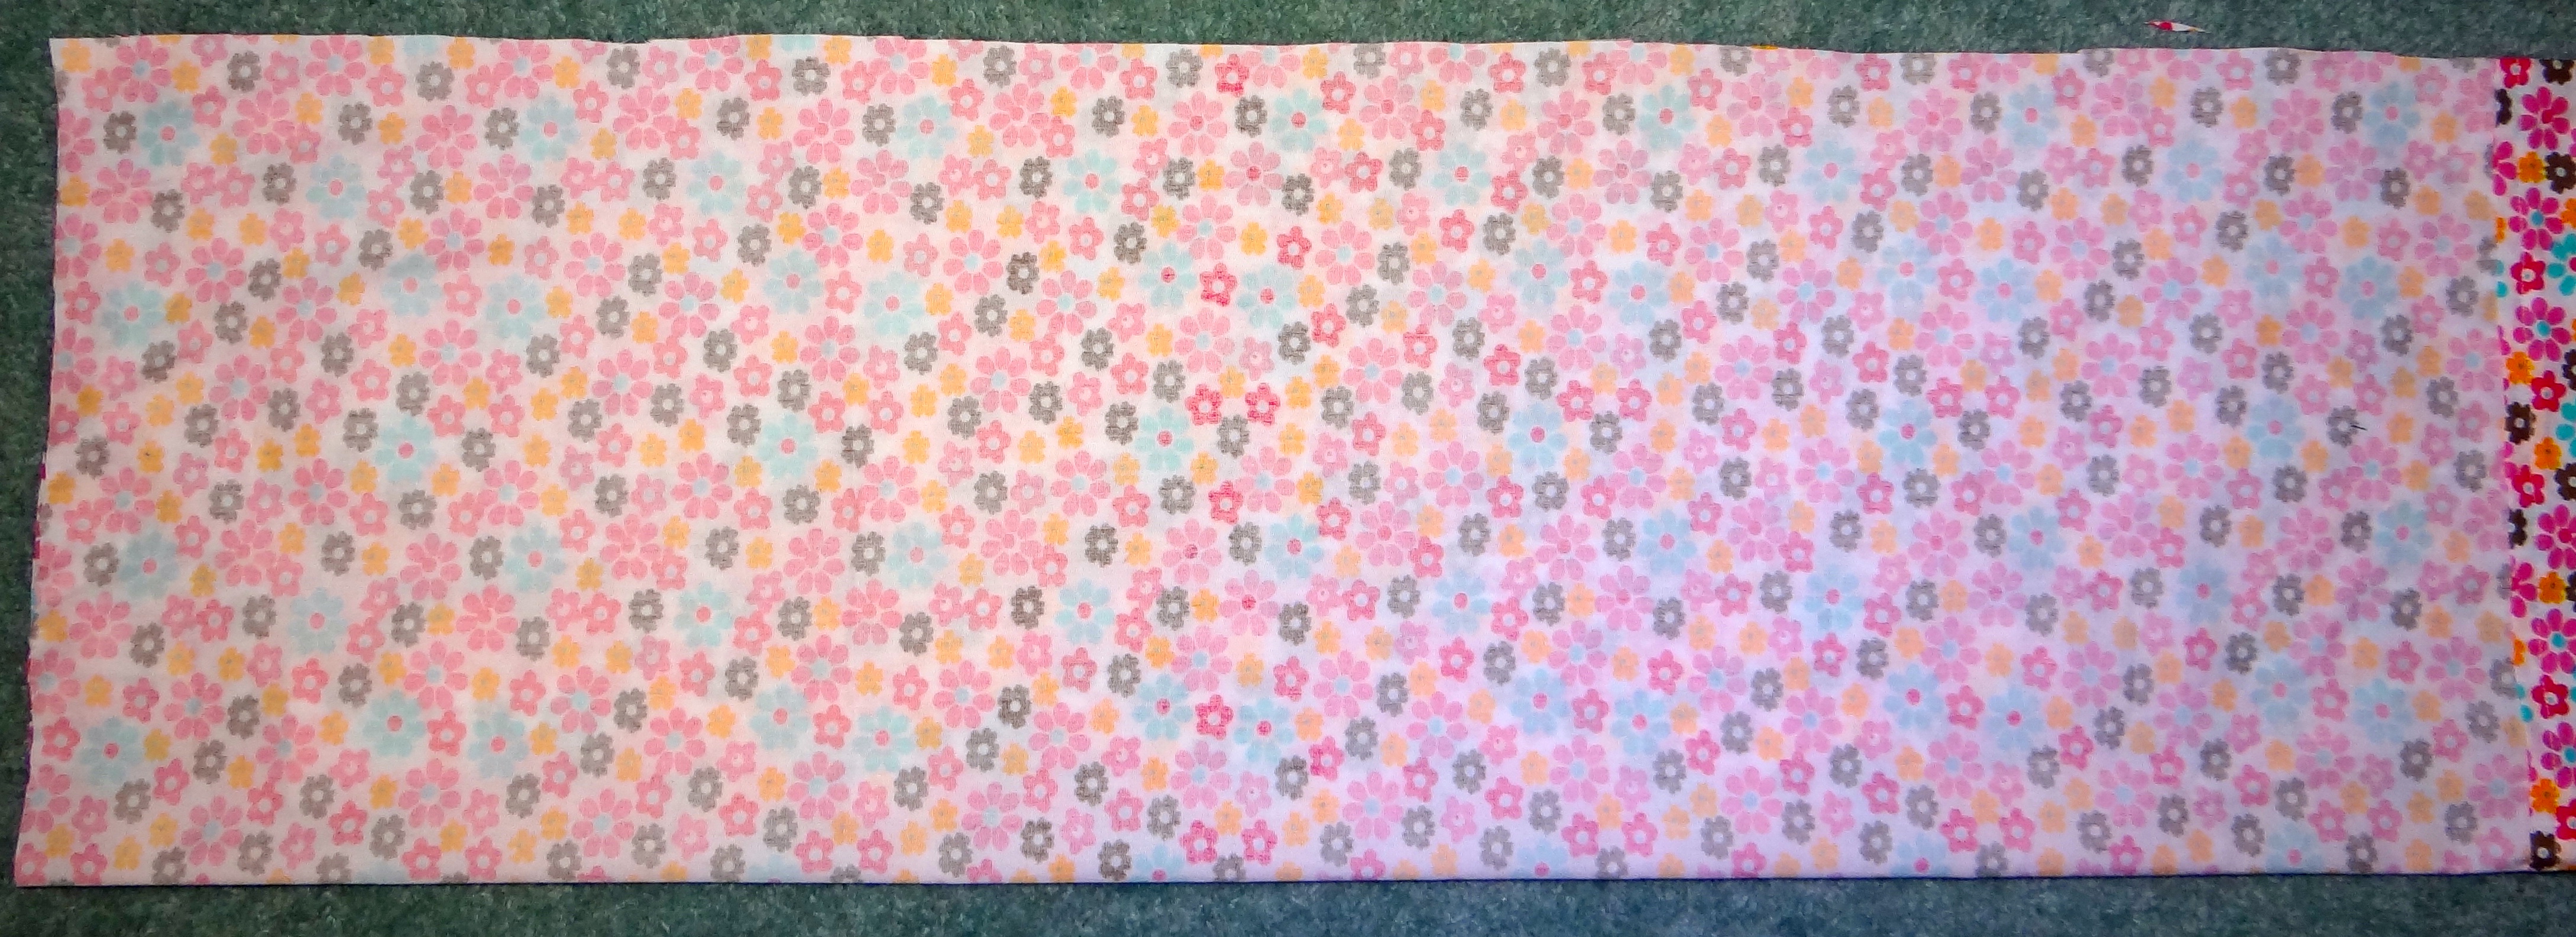
The bag itself is made out of 2 pieces of fabric – a circle for the bottom and a rectangle which forms the sides of your bag.
Step 1: Calculate the size of your fabric pieces.
Roll up your Yoga Mat and measure its rolled up length (60cm) and diameter (14cm).
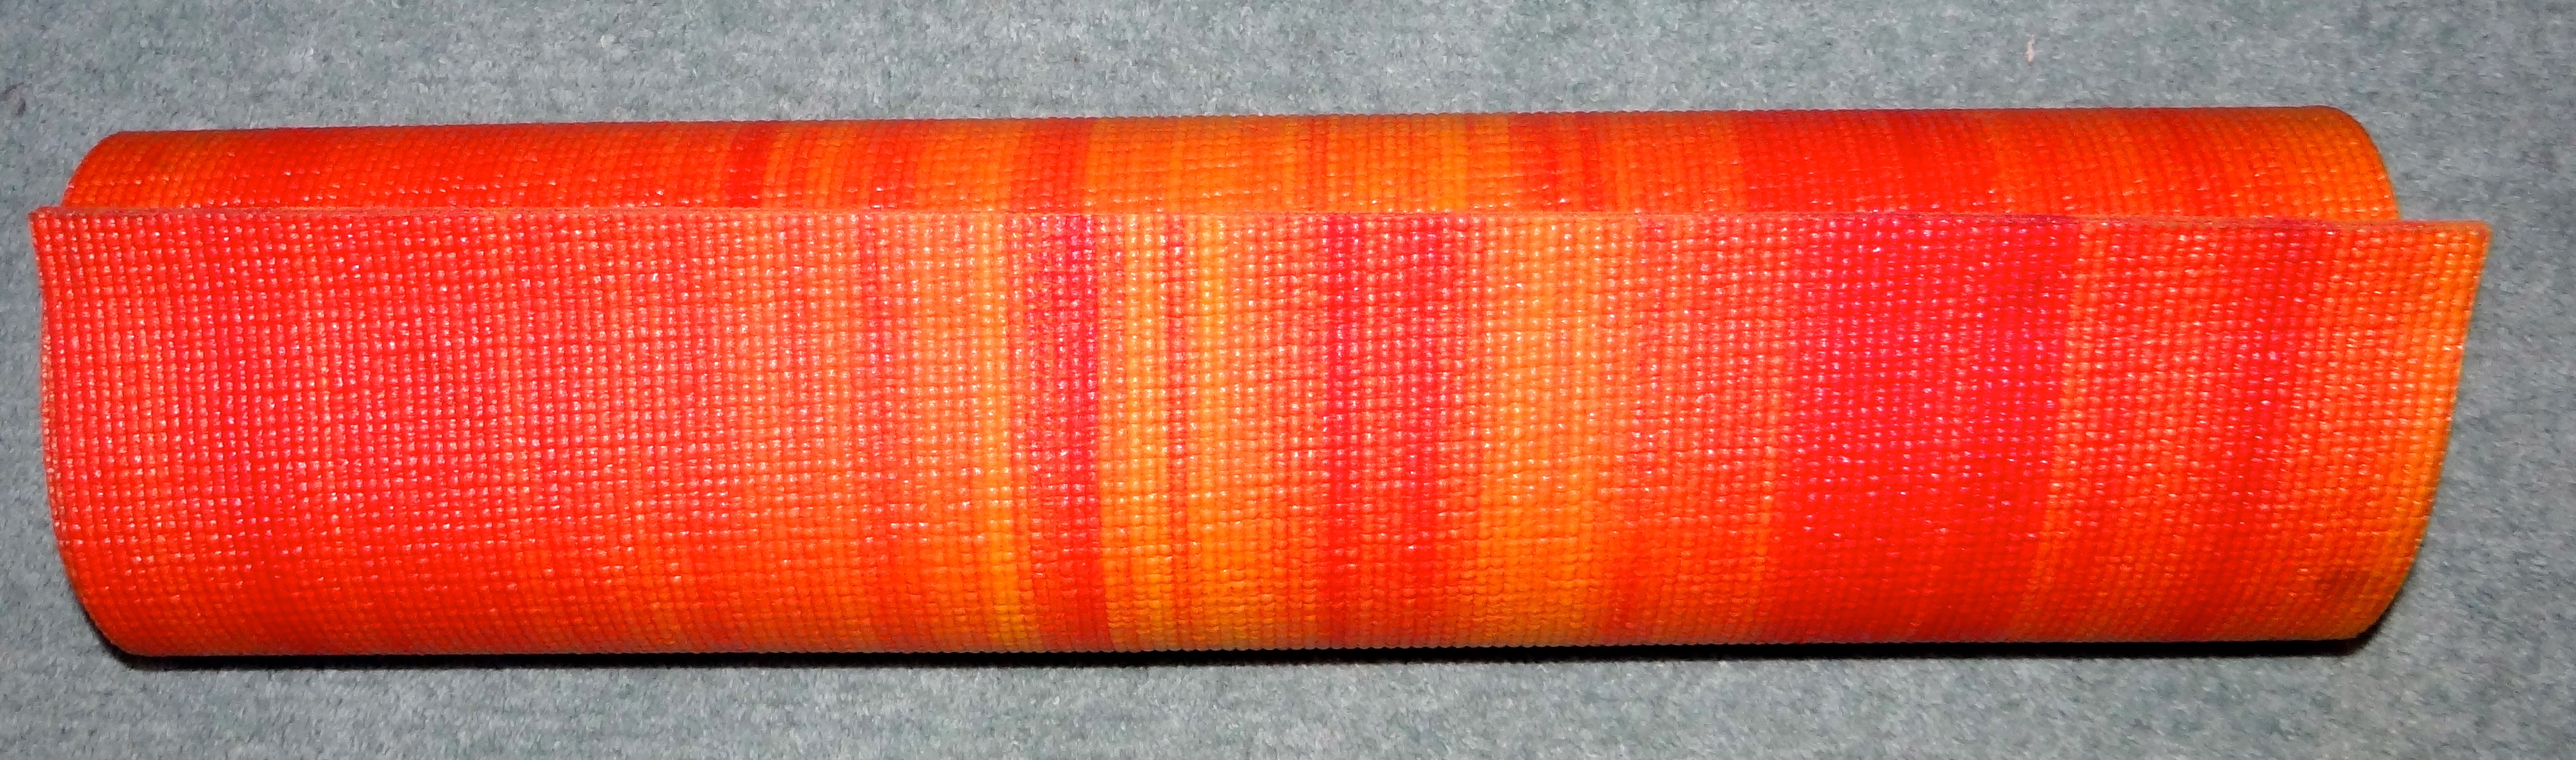
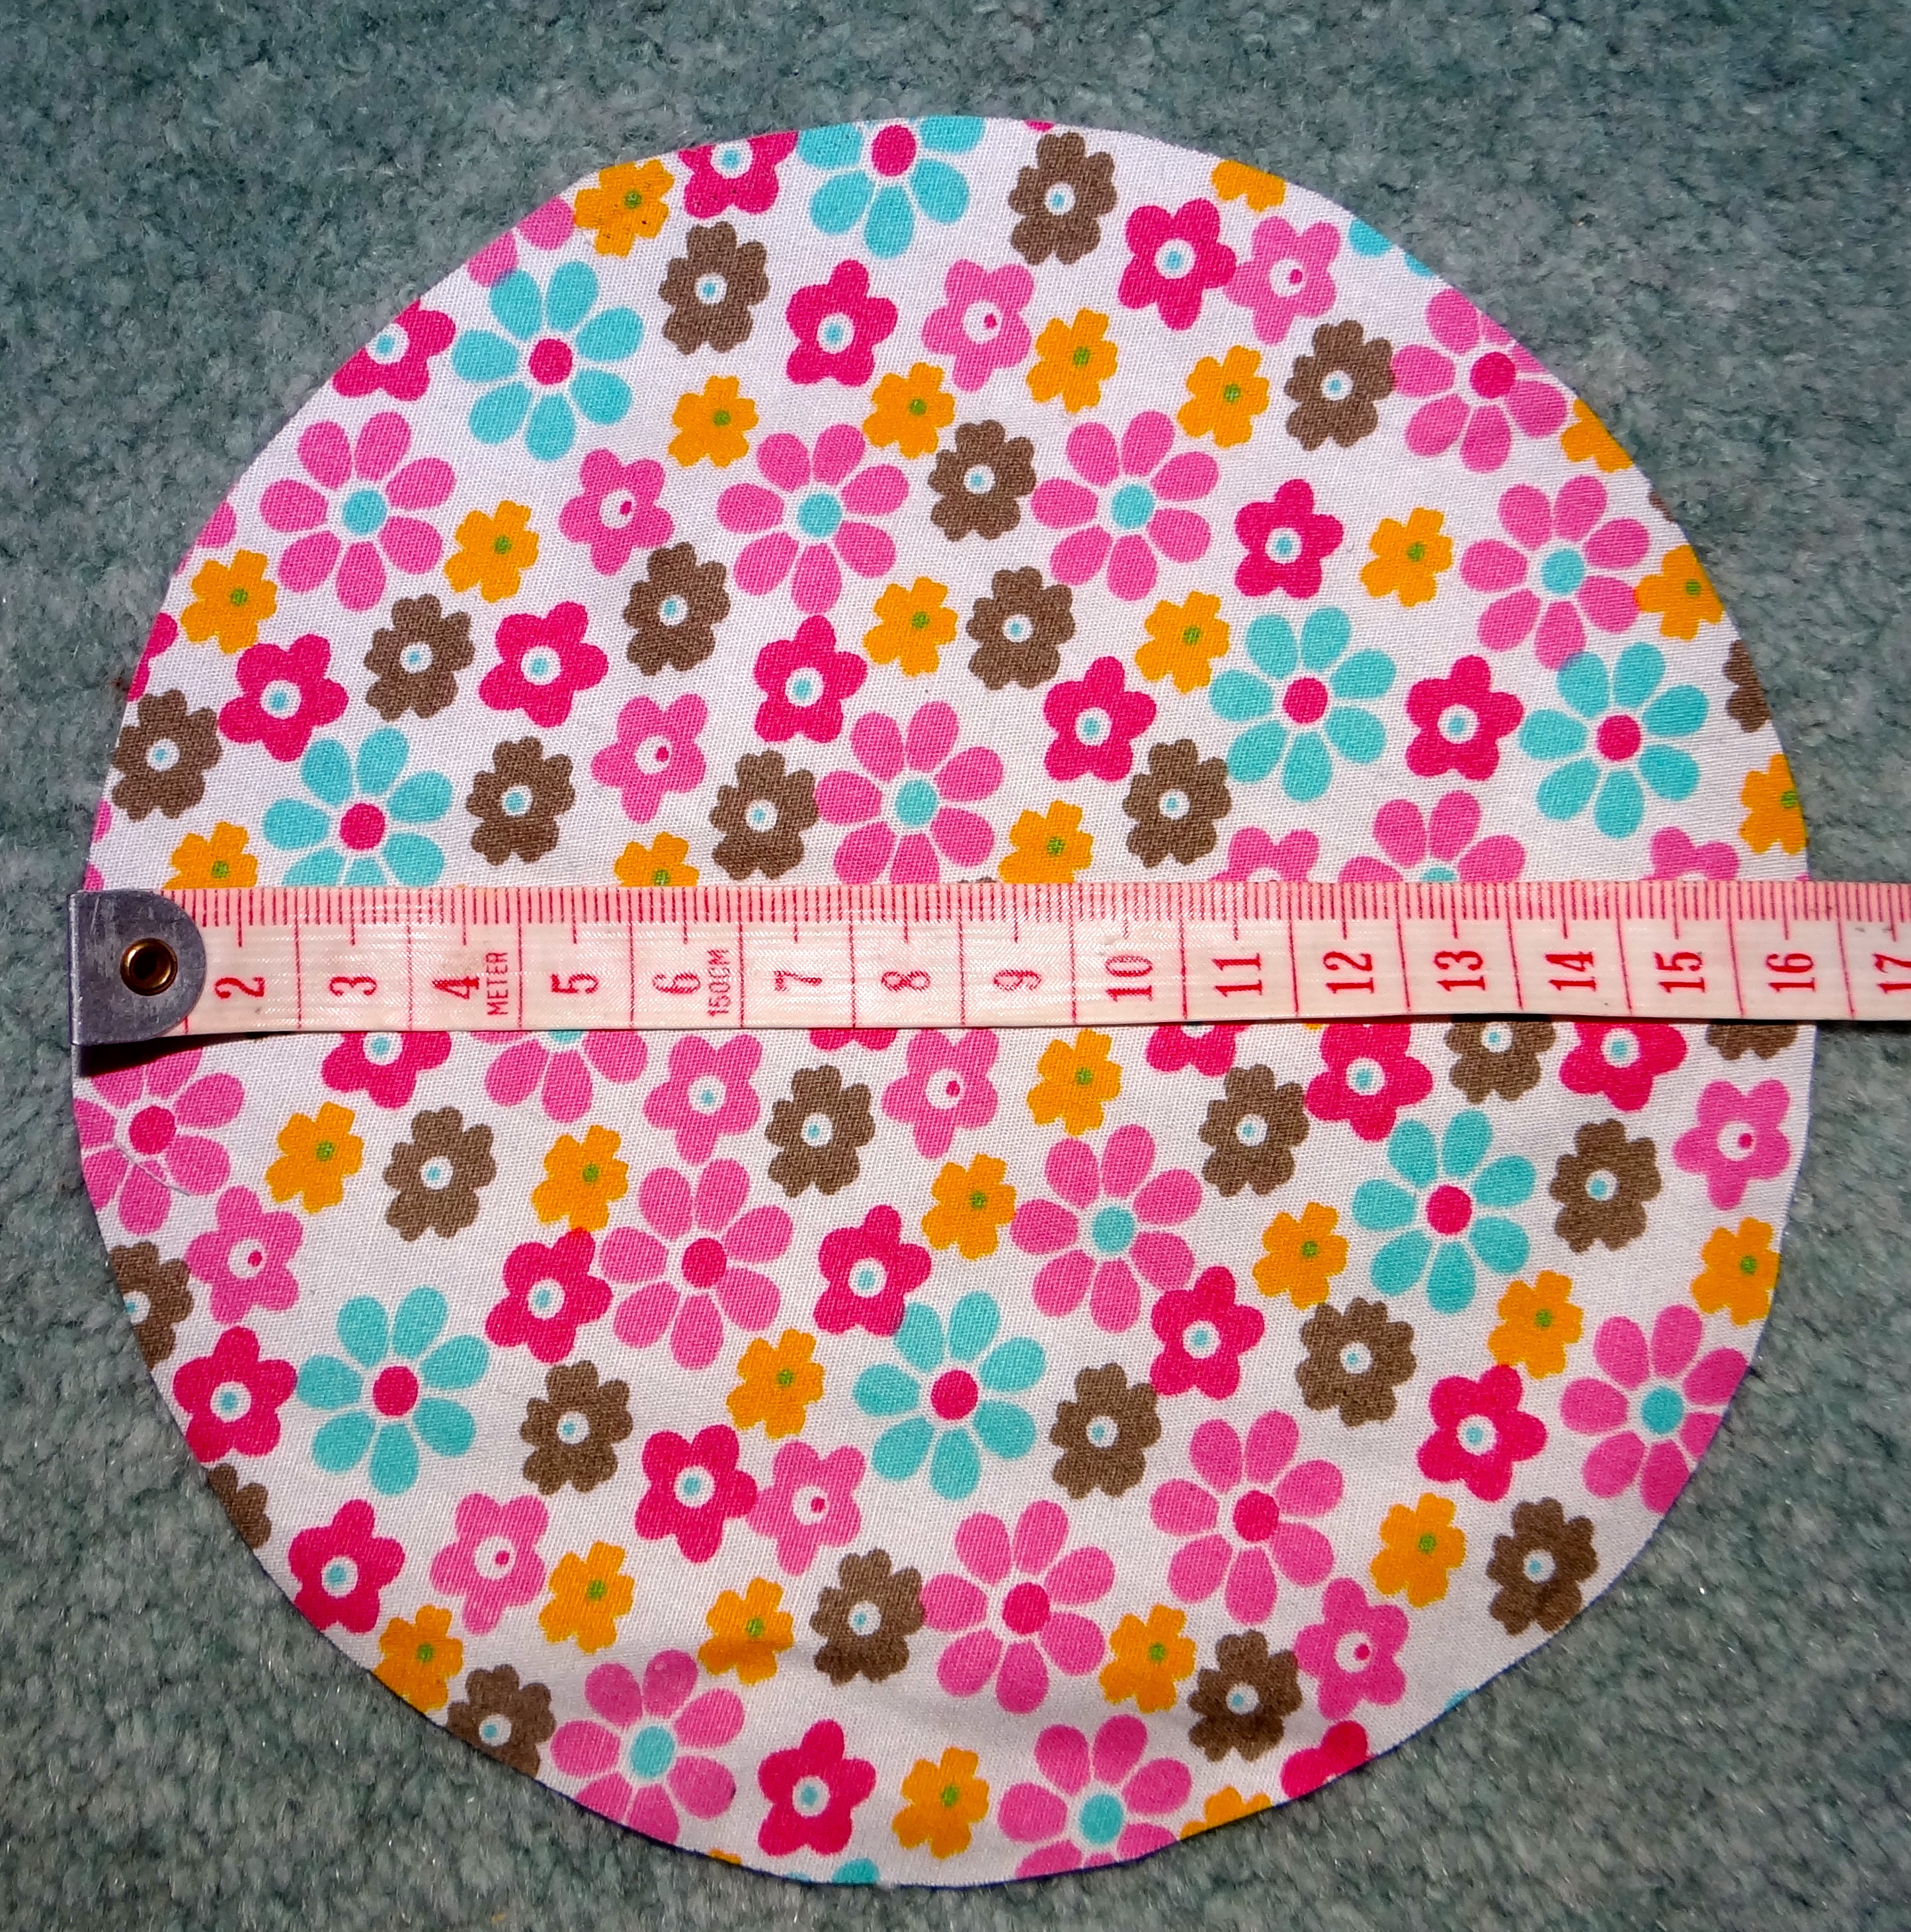
Draw a fabric circle which is the mat’s diameter + 2cm – this will give you a 1cm seam allowance. A compass or piece of string and pen can really help with this. My Yoga Mat has a diameter of 14cm when it’s rolled up, so I’m cutting a 14 + 2cm = 16 cm diameter circle.
You next need to work out how wide and long your rectangular piece of fabric needs to be.
The length is pretty easy to calculate. Length of your mat (60 cm for me) + 16 cm (for seam allowances and a draw string top).
For the width, you are going to need to remember back to those Maths lesson! Can you remember how to calculate the circumference of a circle? That’s right, it involves that pi symbol π! The circumference of a circle is π x diameter. For those without the π button on their calculator, π roughly = 3.14.
In terms of the bag this means:
Circumference = π x diameter of your fabric circle minus 2cm (because of those 1 cm seam allowances), so in numbers for me:
Circumference = π x 14 = 43.98 so rounding up this gives me 44cm.
Once you know the circumference (in my case 44cm) you need to add back in those seam allowance to get the final width of your fabric panel. ie, 44 + 2 = 46cm.
Phew! Once you know the measurements of your rectangle (e.g. 46 cm wide x 76cm long) cut out the fabric.
You should have one circular piece of fabric for the bottom and one rectangular piece which will form the sides of your bag.

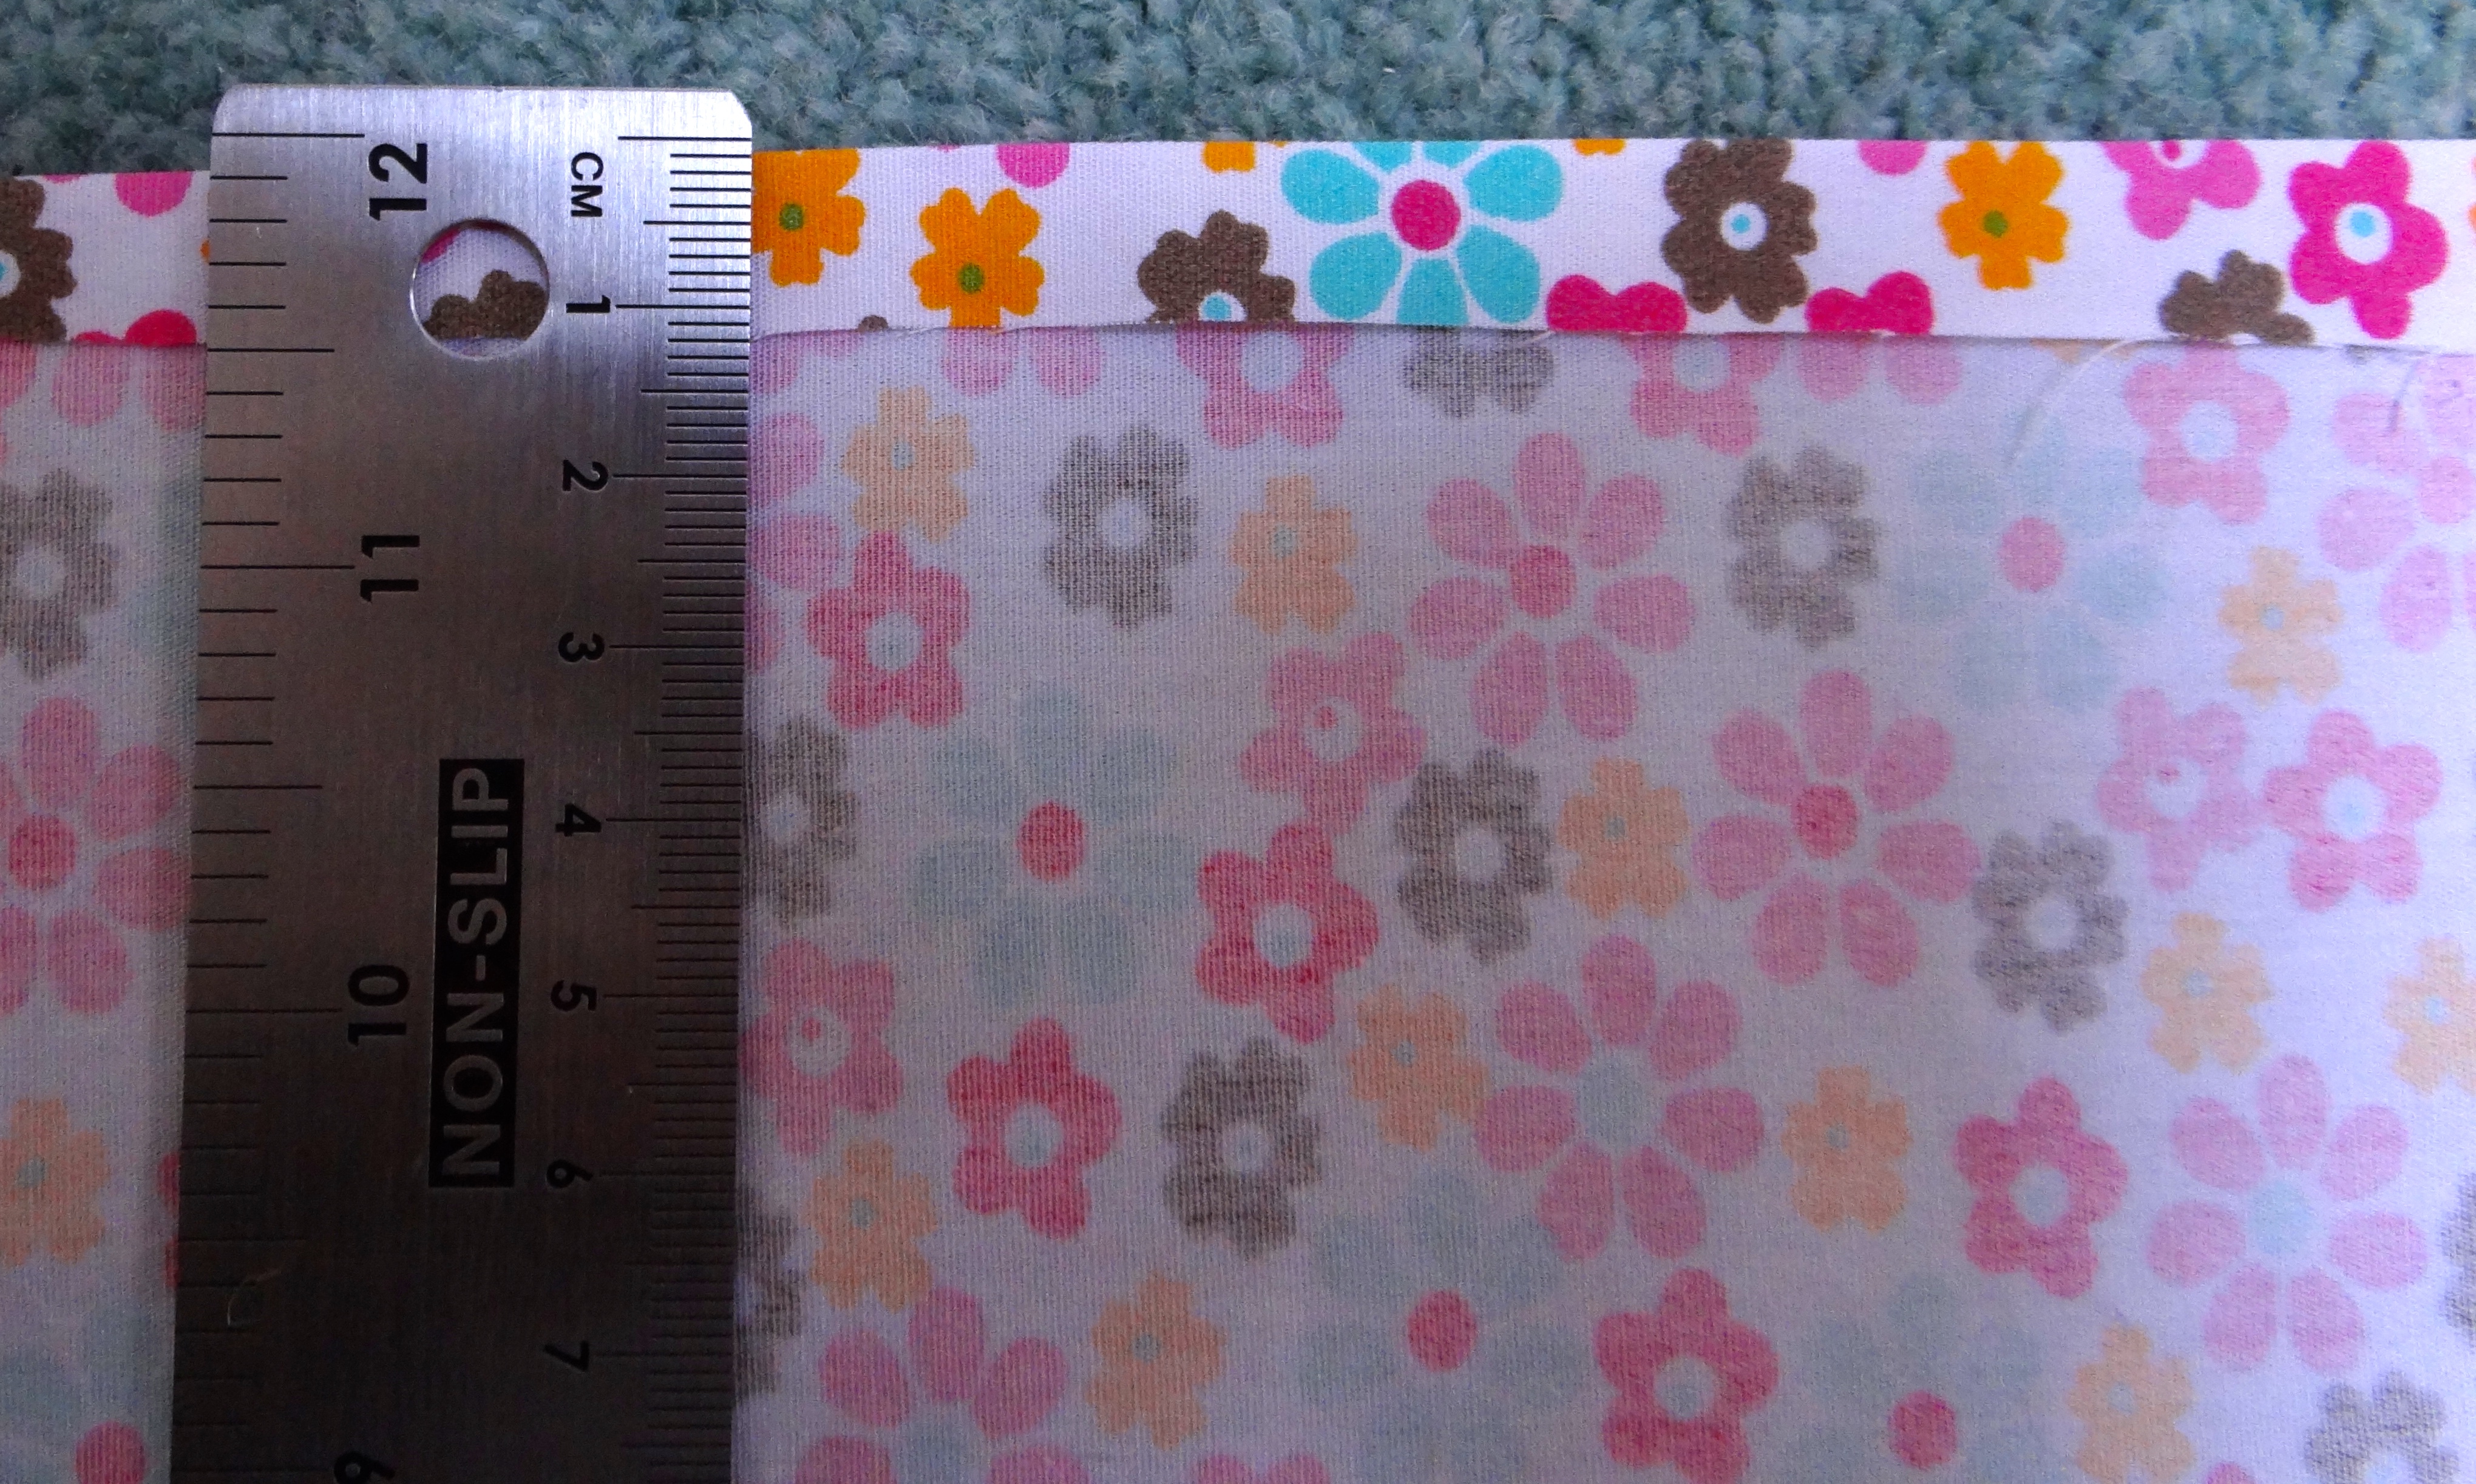
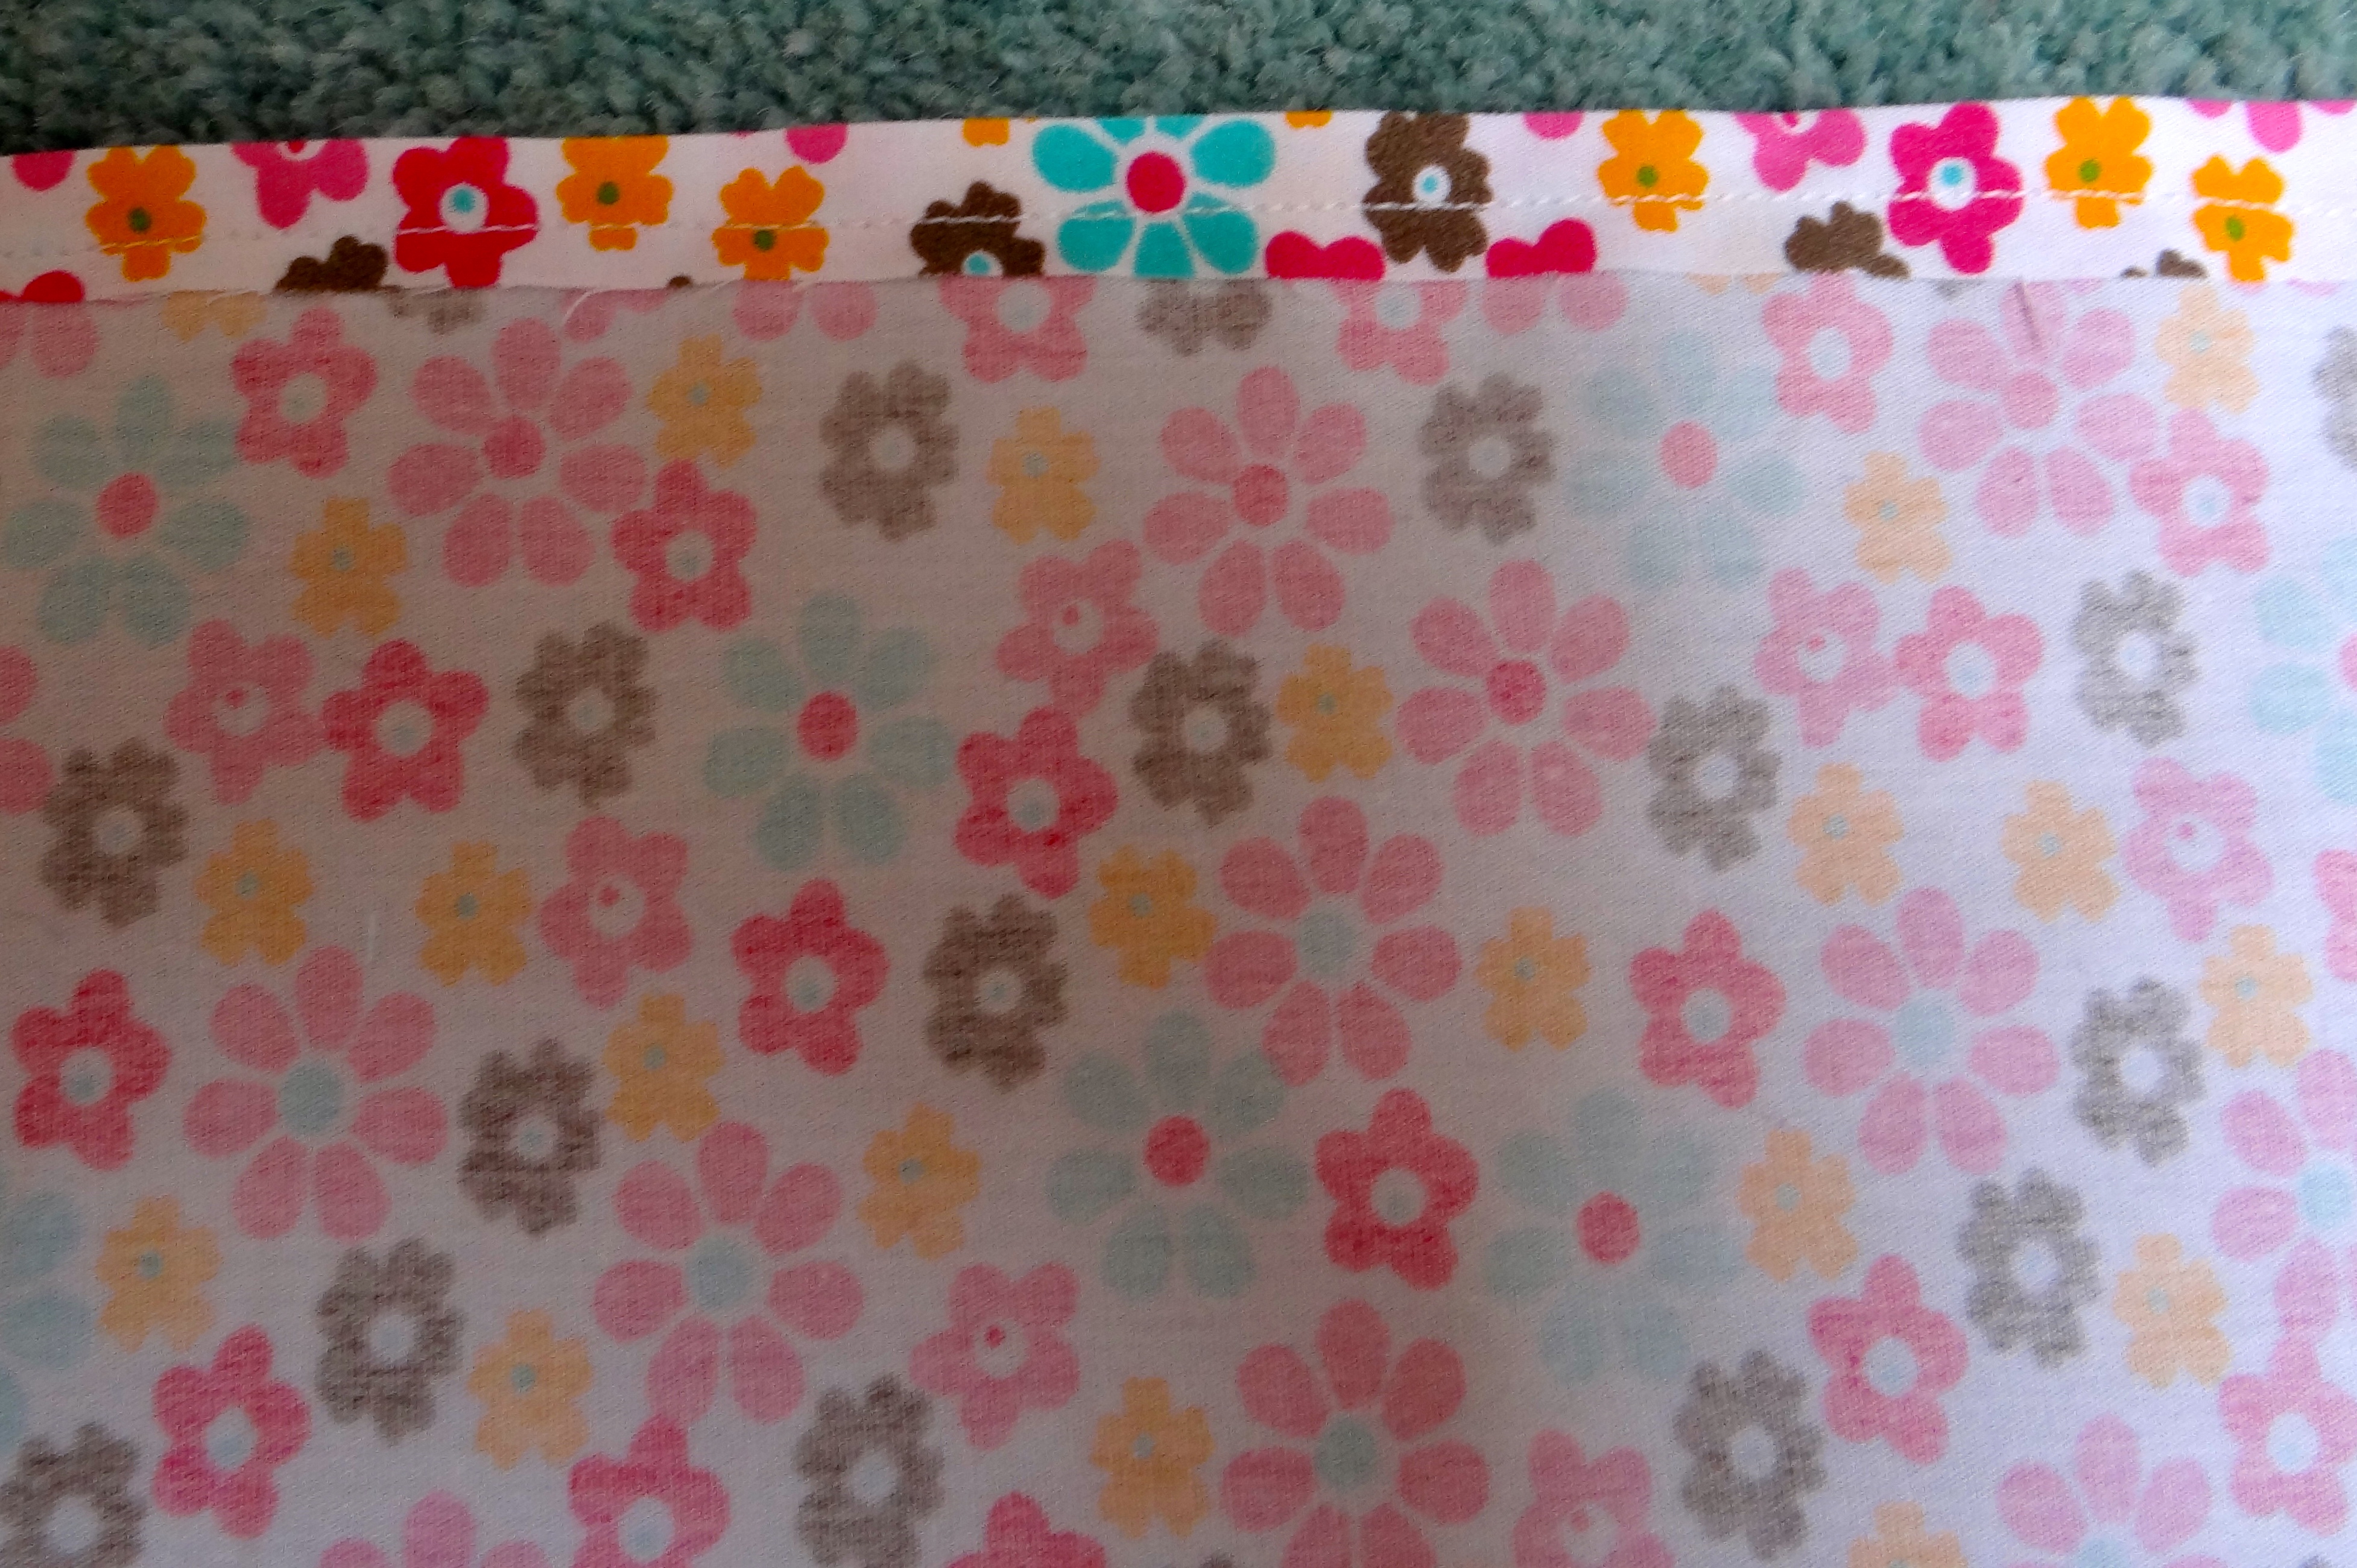
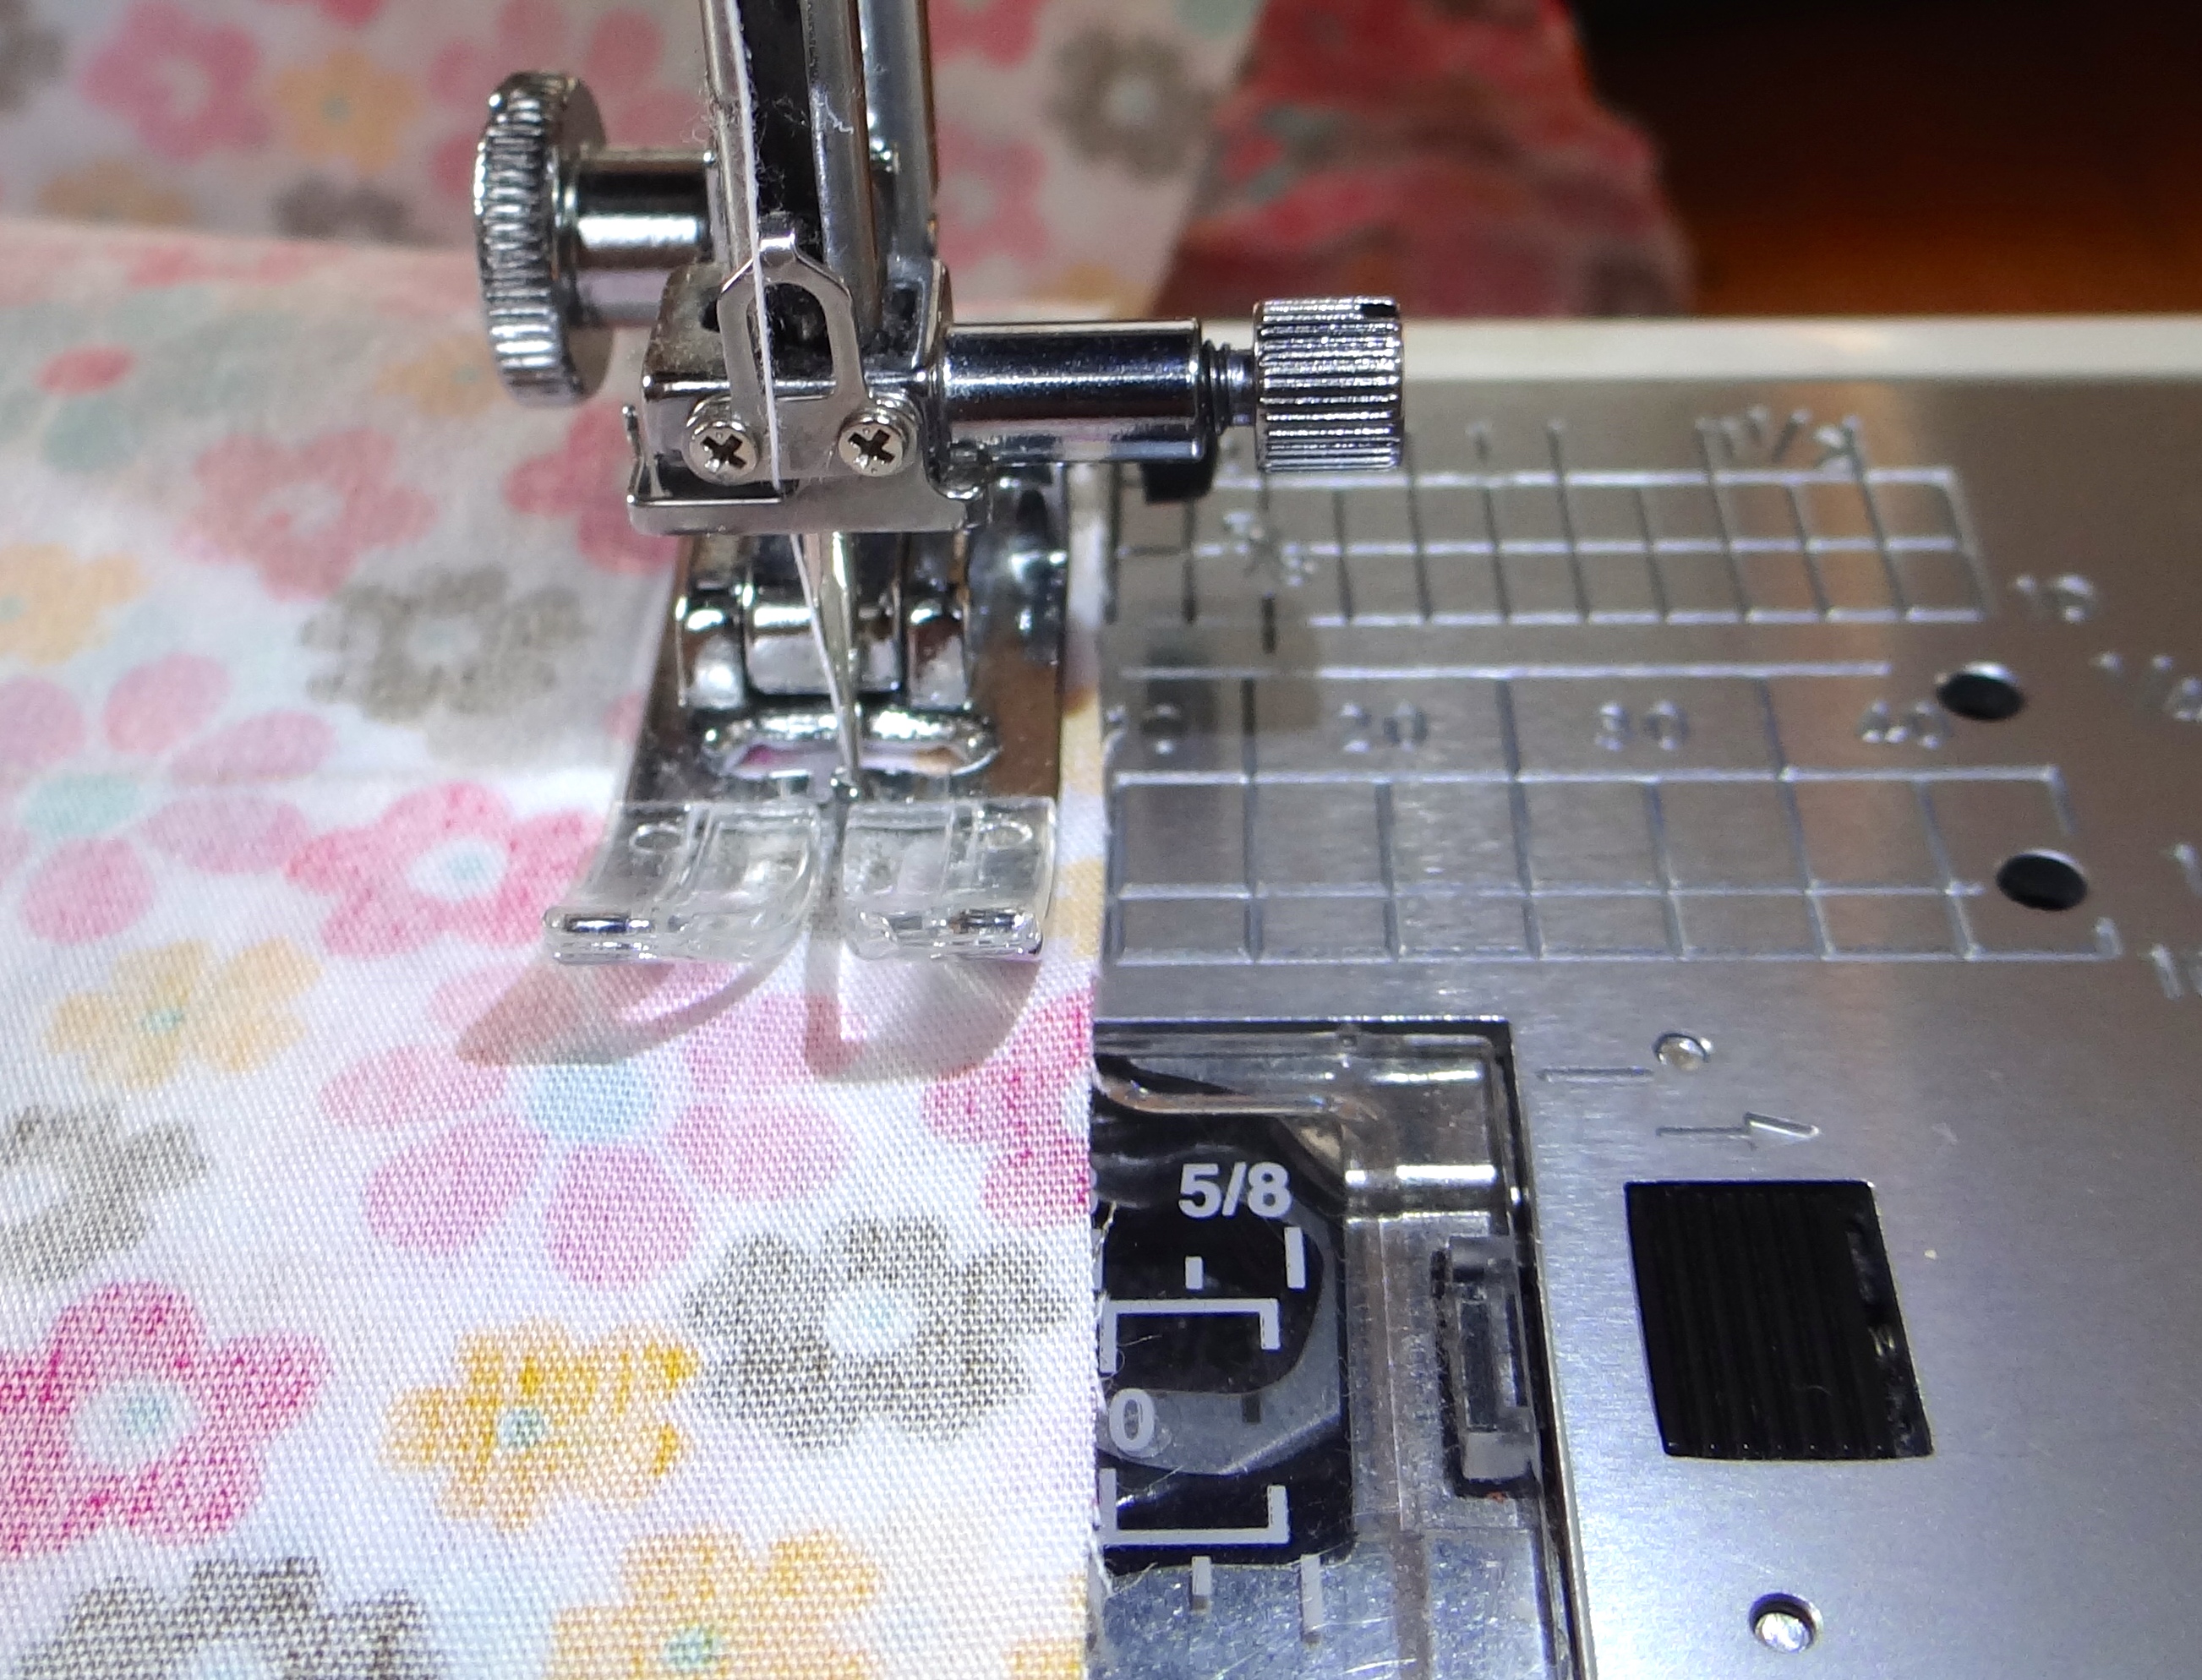
Step 2: Make a turned edge.
Take the rectangular piece of fabric and lay it flat with the wrong side facing up. Fold over a 1cm seam allowance at the top of the fabric (along the width) and press towards you. Sew in place with a line row of straight stitches to form a turned edge.
Step 3 – Add a handle.
If you would like your bag to have a handle it’s time to add it now. As I wanted a handle big enough so I could sling the mat over my shoulder I cut a long piece of fabric (50 cm x 16cm ) and made it into a tube. Each end was secured to the bag with a machine stitched cross bordered by a square.

Step 4: Pin for stitching.
Next fold the rectangular piece of fabric in half along its length with its right sides together to form the font and back of your bag. Pin the side seam together.
Step 5: Stitch the side seam.
Starting approx. 15 cm from the top (your turned edge), join the fabric together with a line of straight stitches (remember you have a 1cm seam allowance). Make sure you double / stay-stitch the start and end of this row so its nice and strong.
Step 6: Making the side opening.
Use an iron to press open the seam all the way to the top of the bag. To make the top of your bag nice and neat top stitch the pressed seam open. To do this sew down one side of the seam from your turned edge, across the bottom of the seam from one side to the other (across the where the fabric is joined) and back up the other side to the top of the turned edge.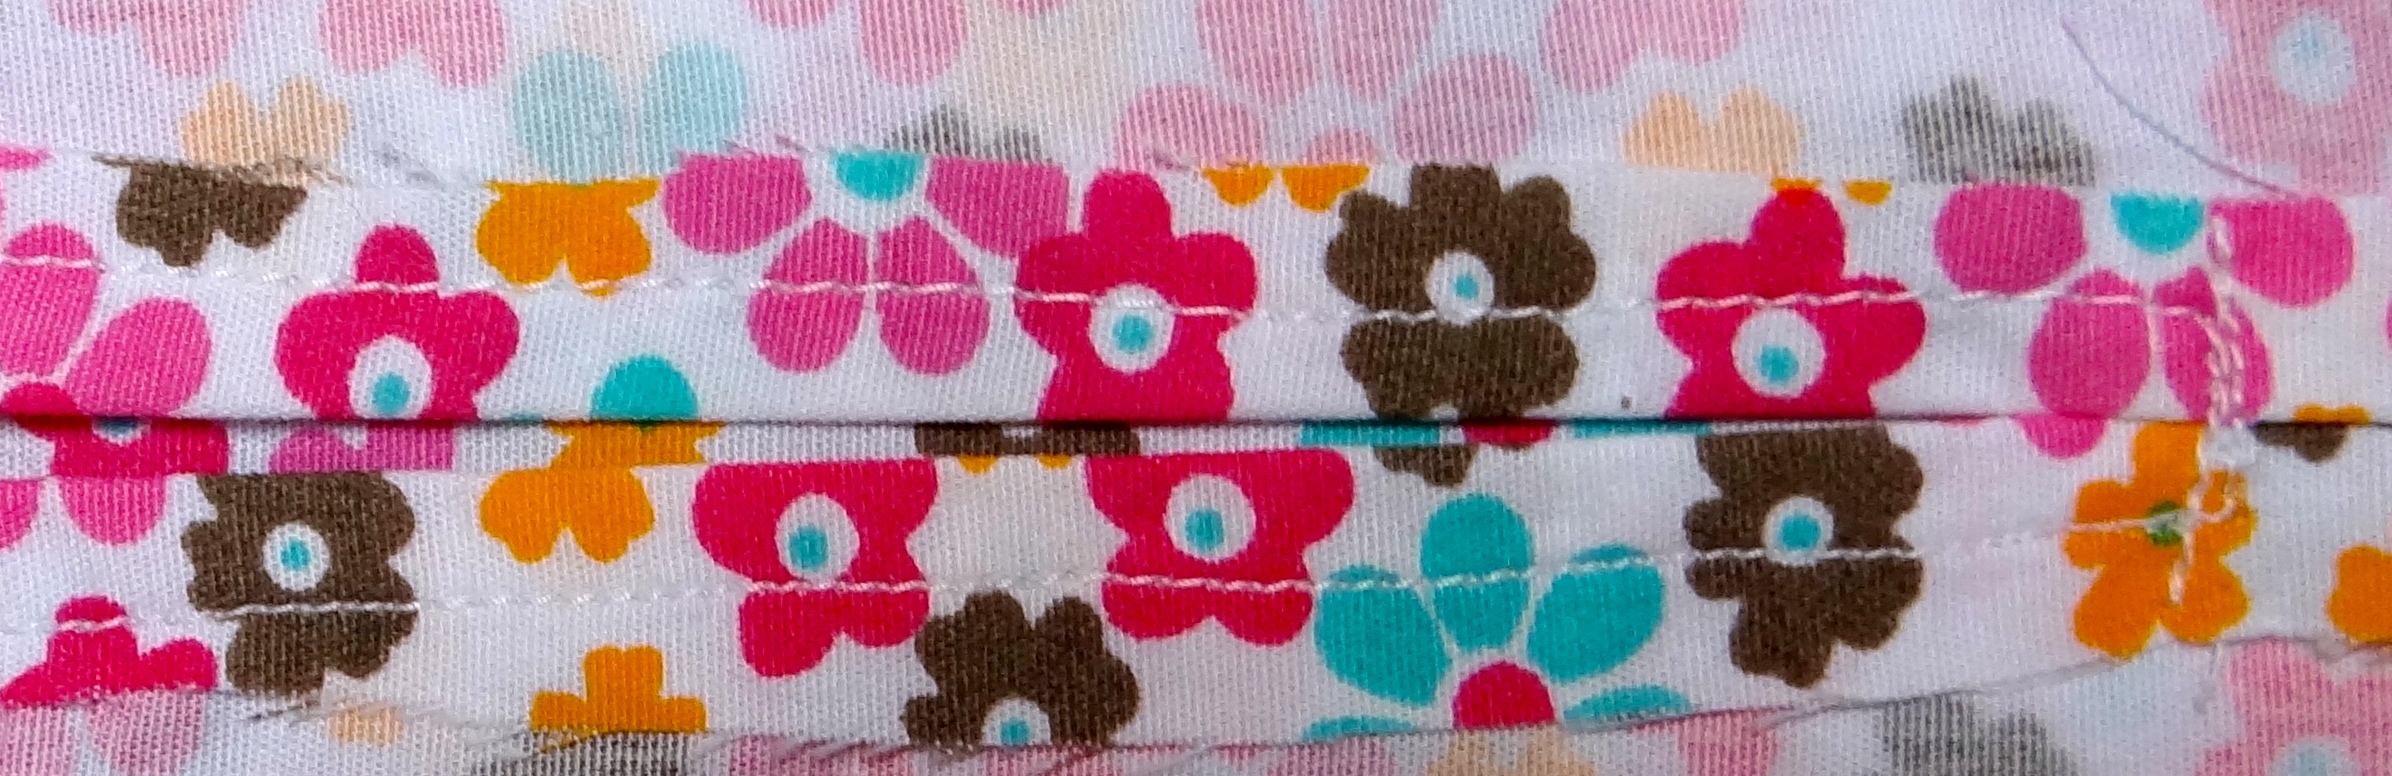
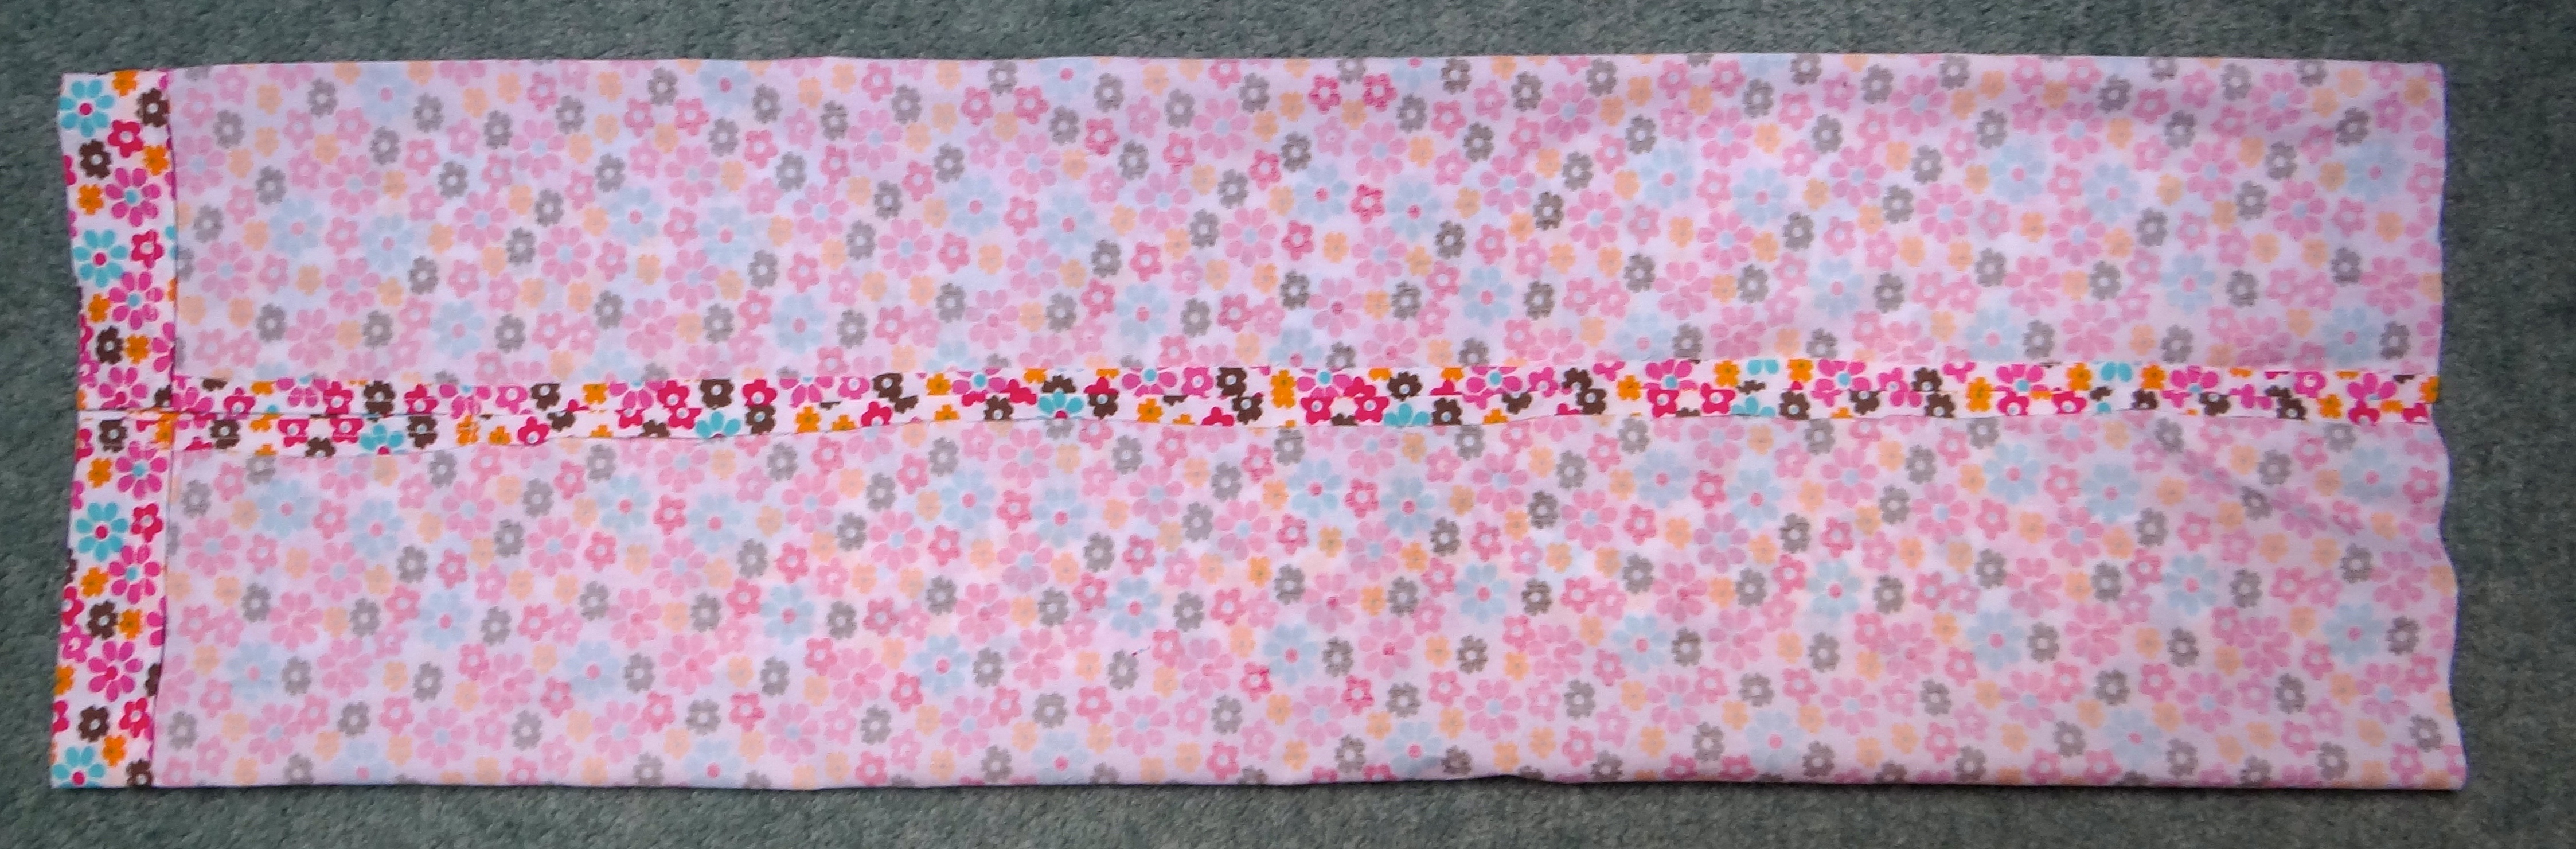
Step 7. Creating the drawstring channel.
To make the channel for your drawstring fold the turned edge over again by 1 inch (2.5cm) so you can no longer see the raw edge of your fabric (it should be tucked inside). Sew along the inside edge of this fold all around the top of the bag to create a channel for your drawstring. It really helps if you have a “sleeve” arm on your sewing machine when you are doing this so you don’t end up sewing through all the layers.
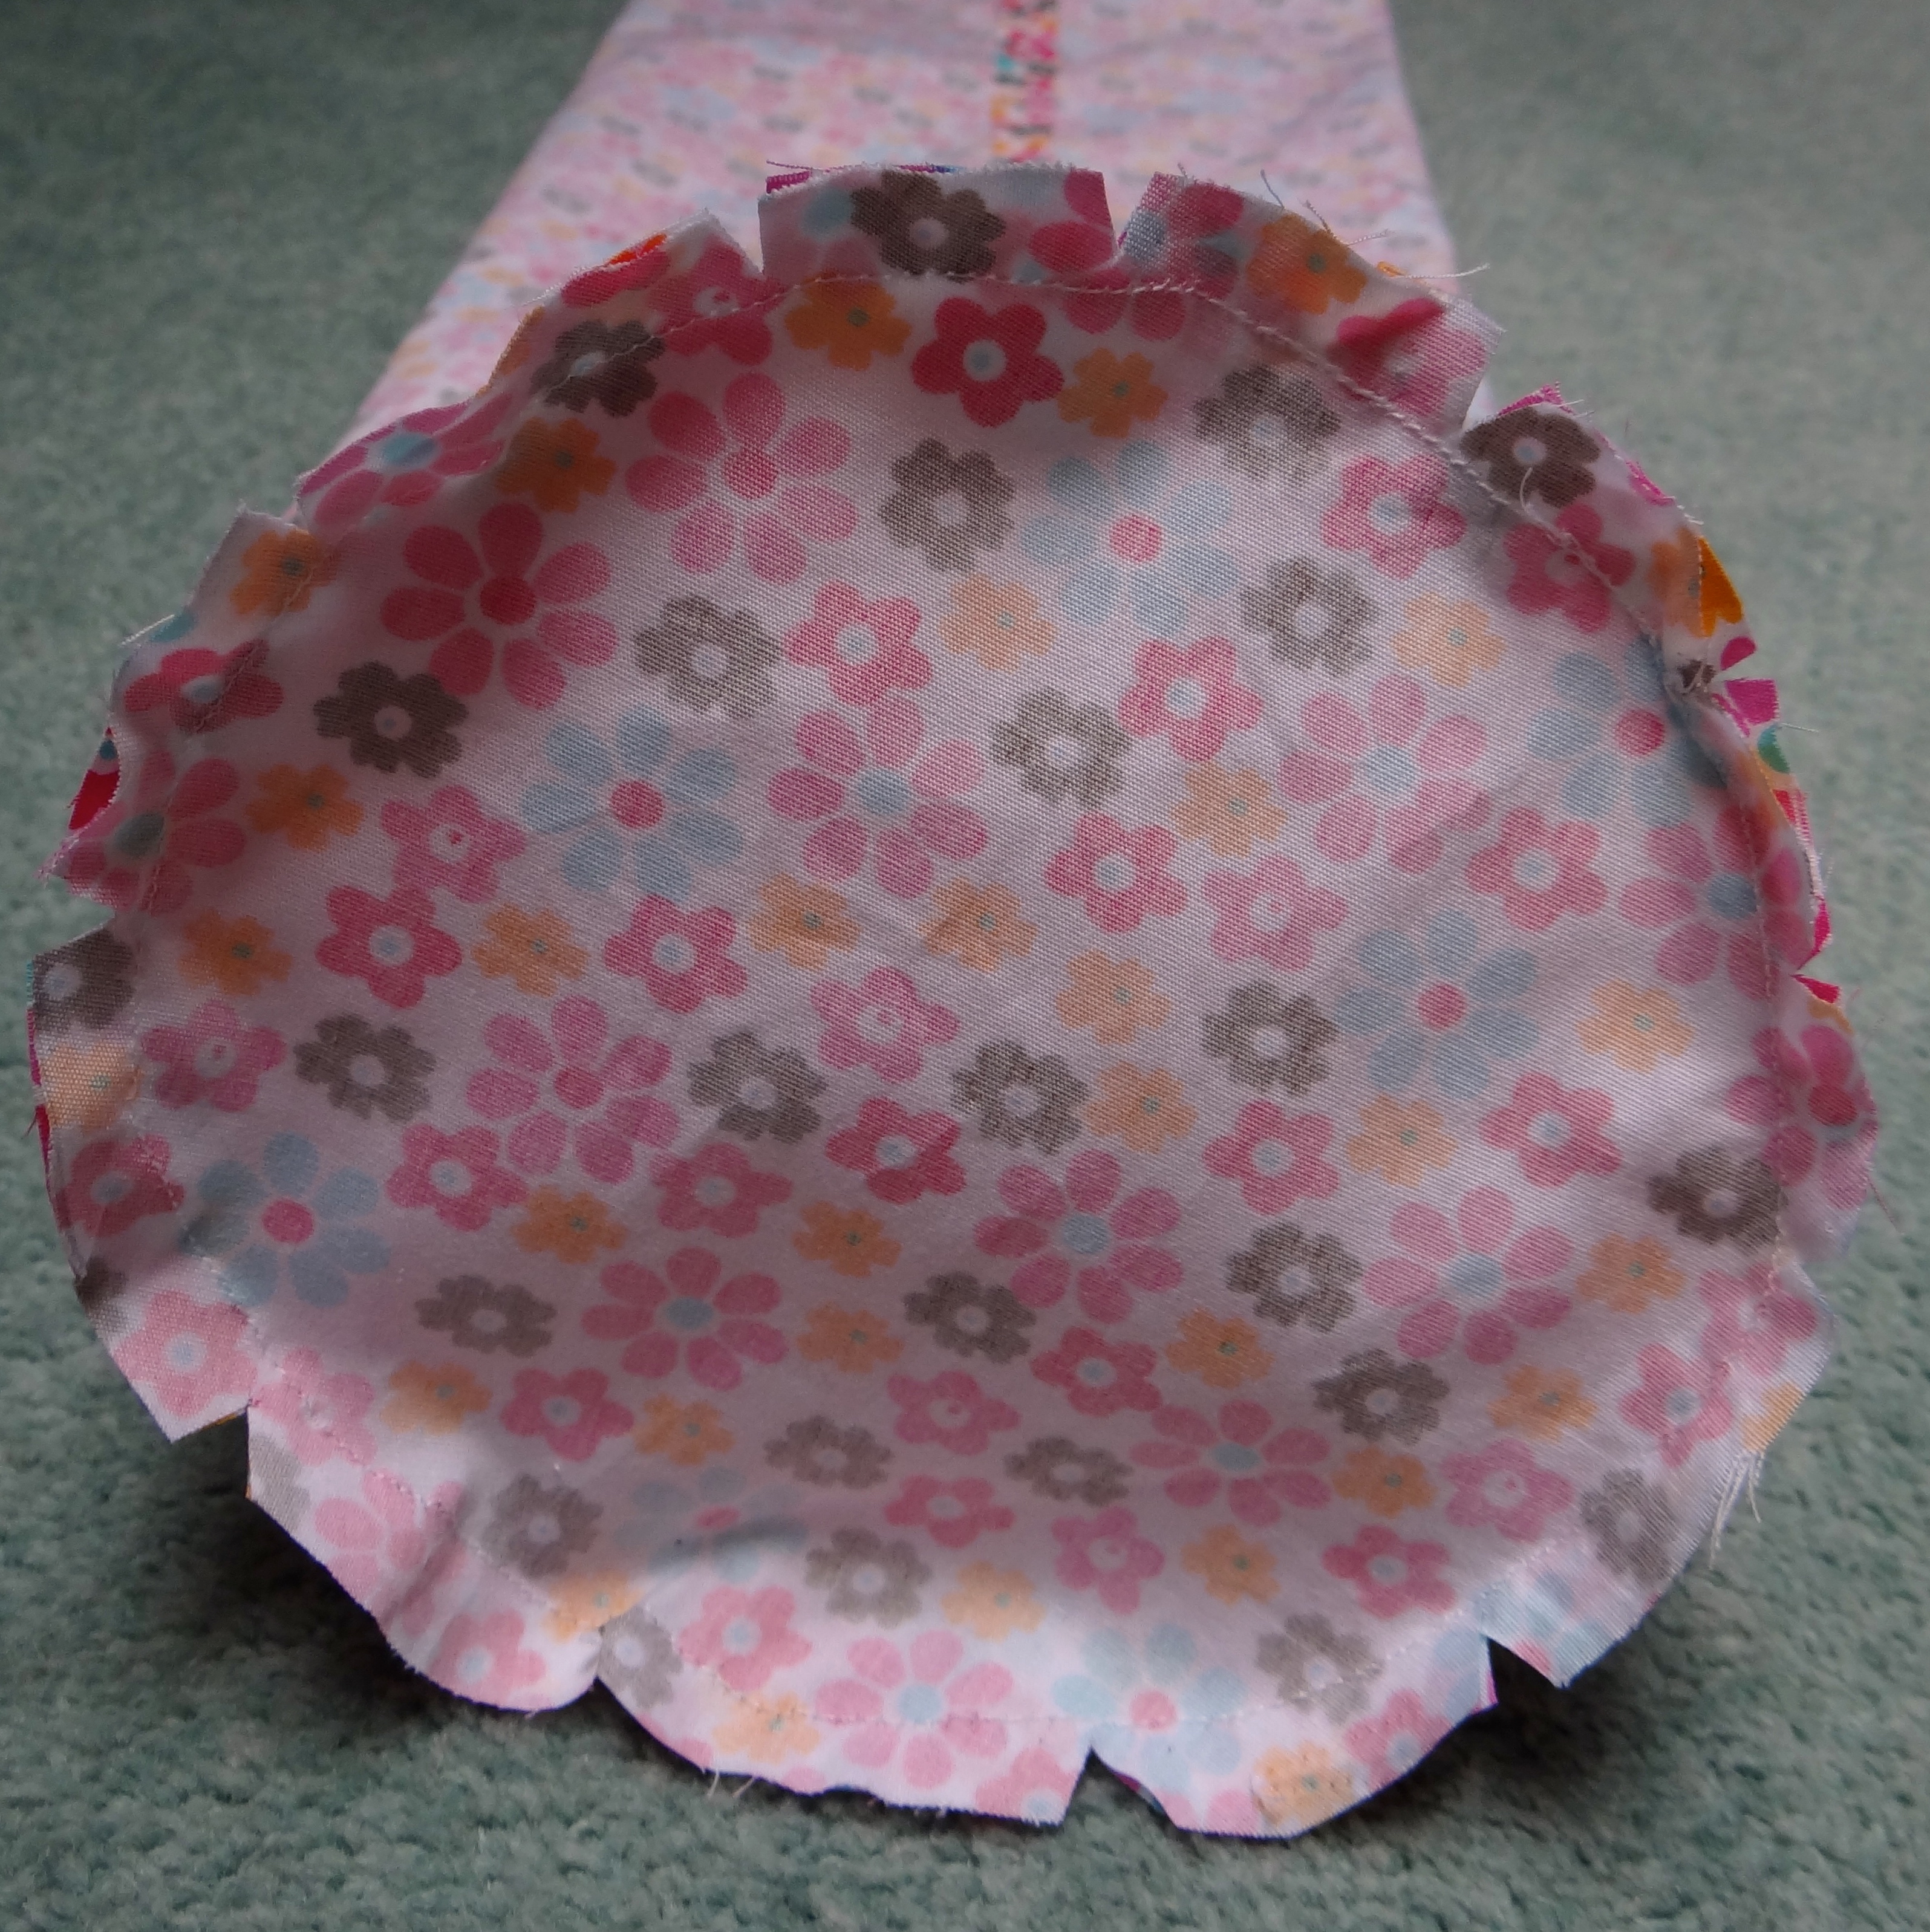
Step 8. Adding the bottom.
Take your fabric circle and pin it in place to the bottom of the bag. It may take a couple of attempts to align the fabric pieces so they match.
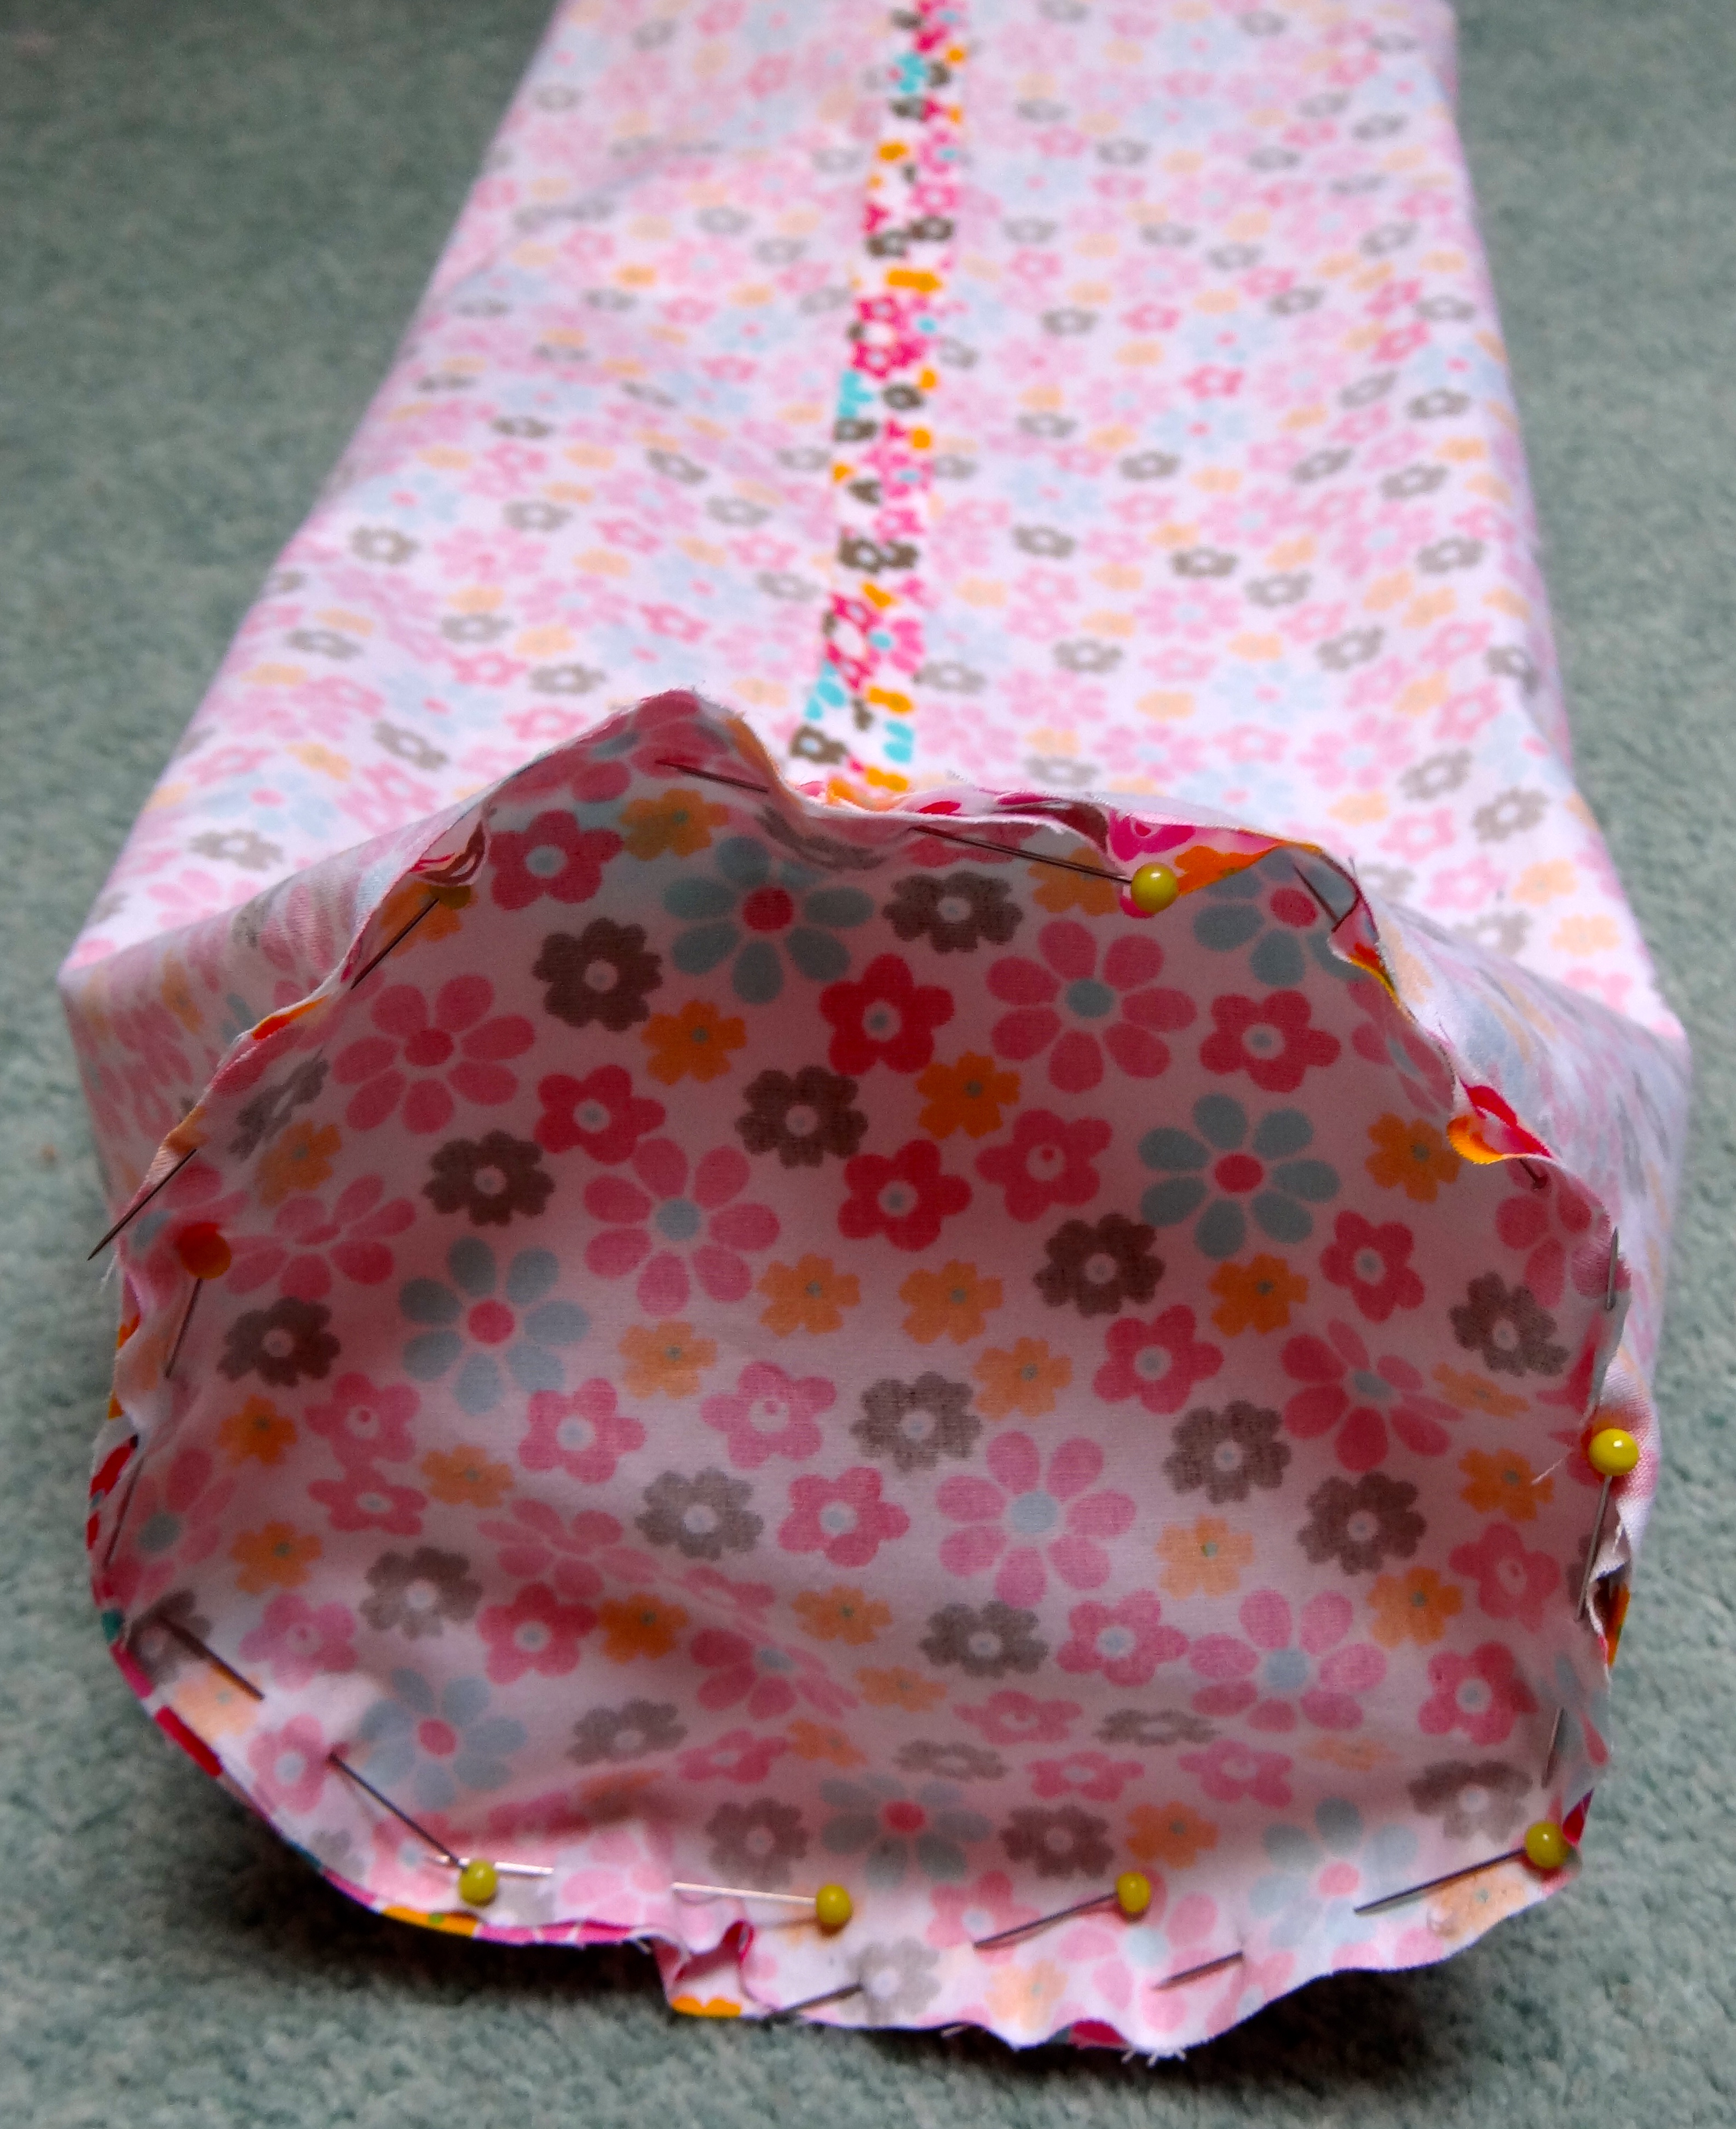
Stitch the bottom of your bag in place. It may help to create some notches as you sew to give your fabric pieces a little give / ease.
Step 9. Almost there!
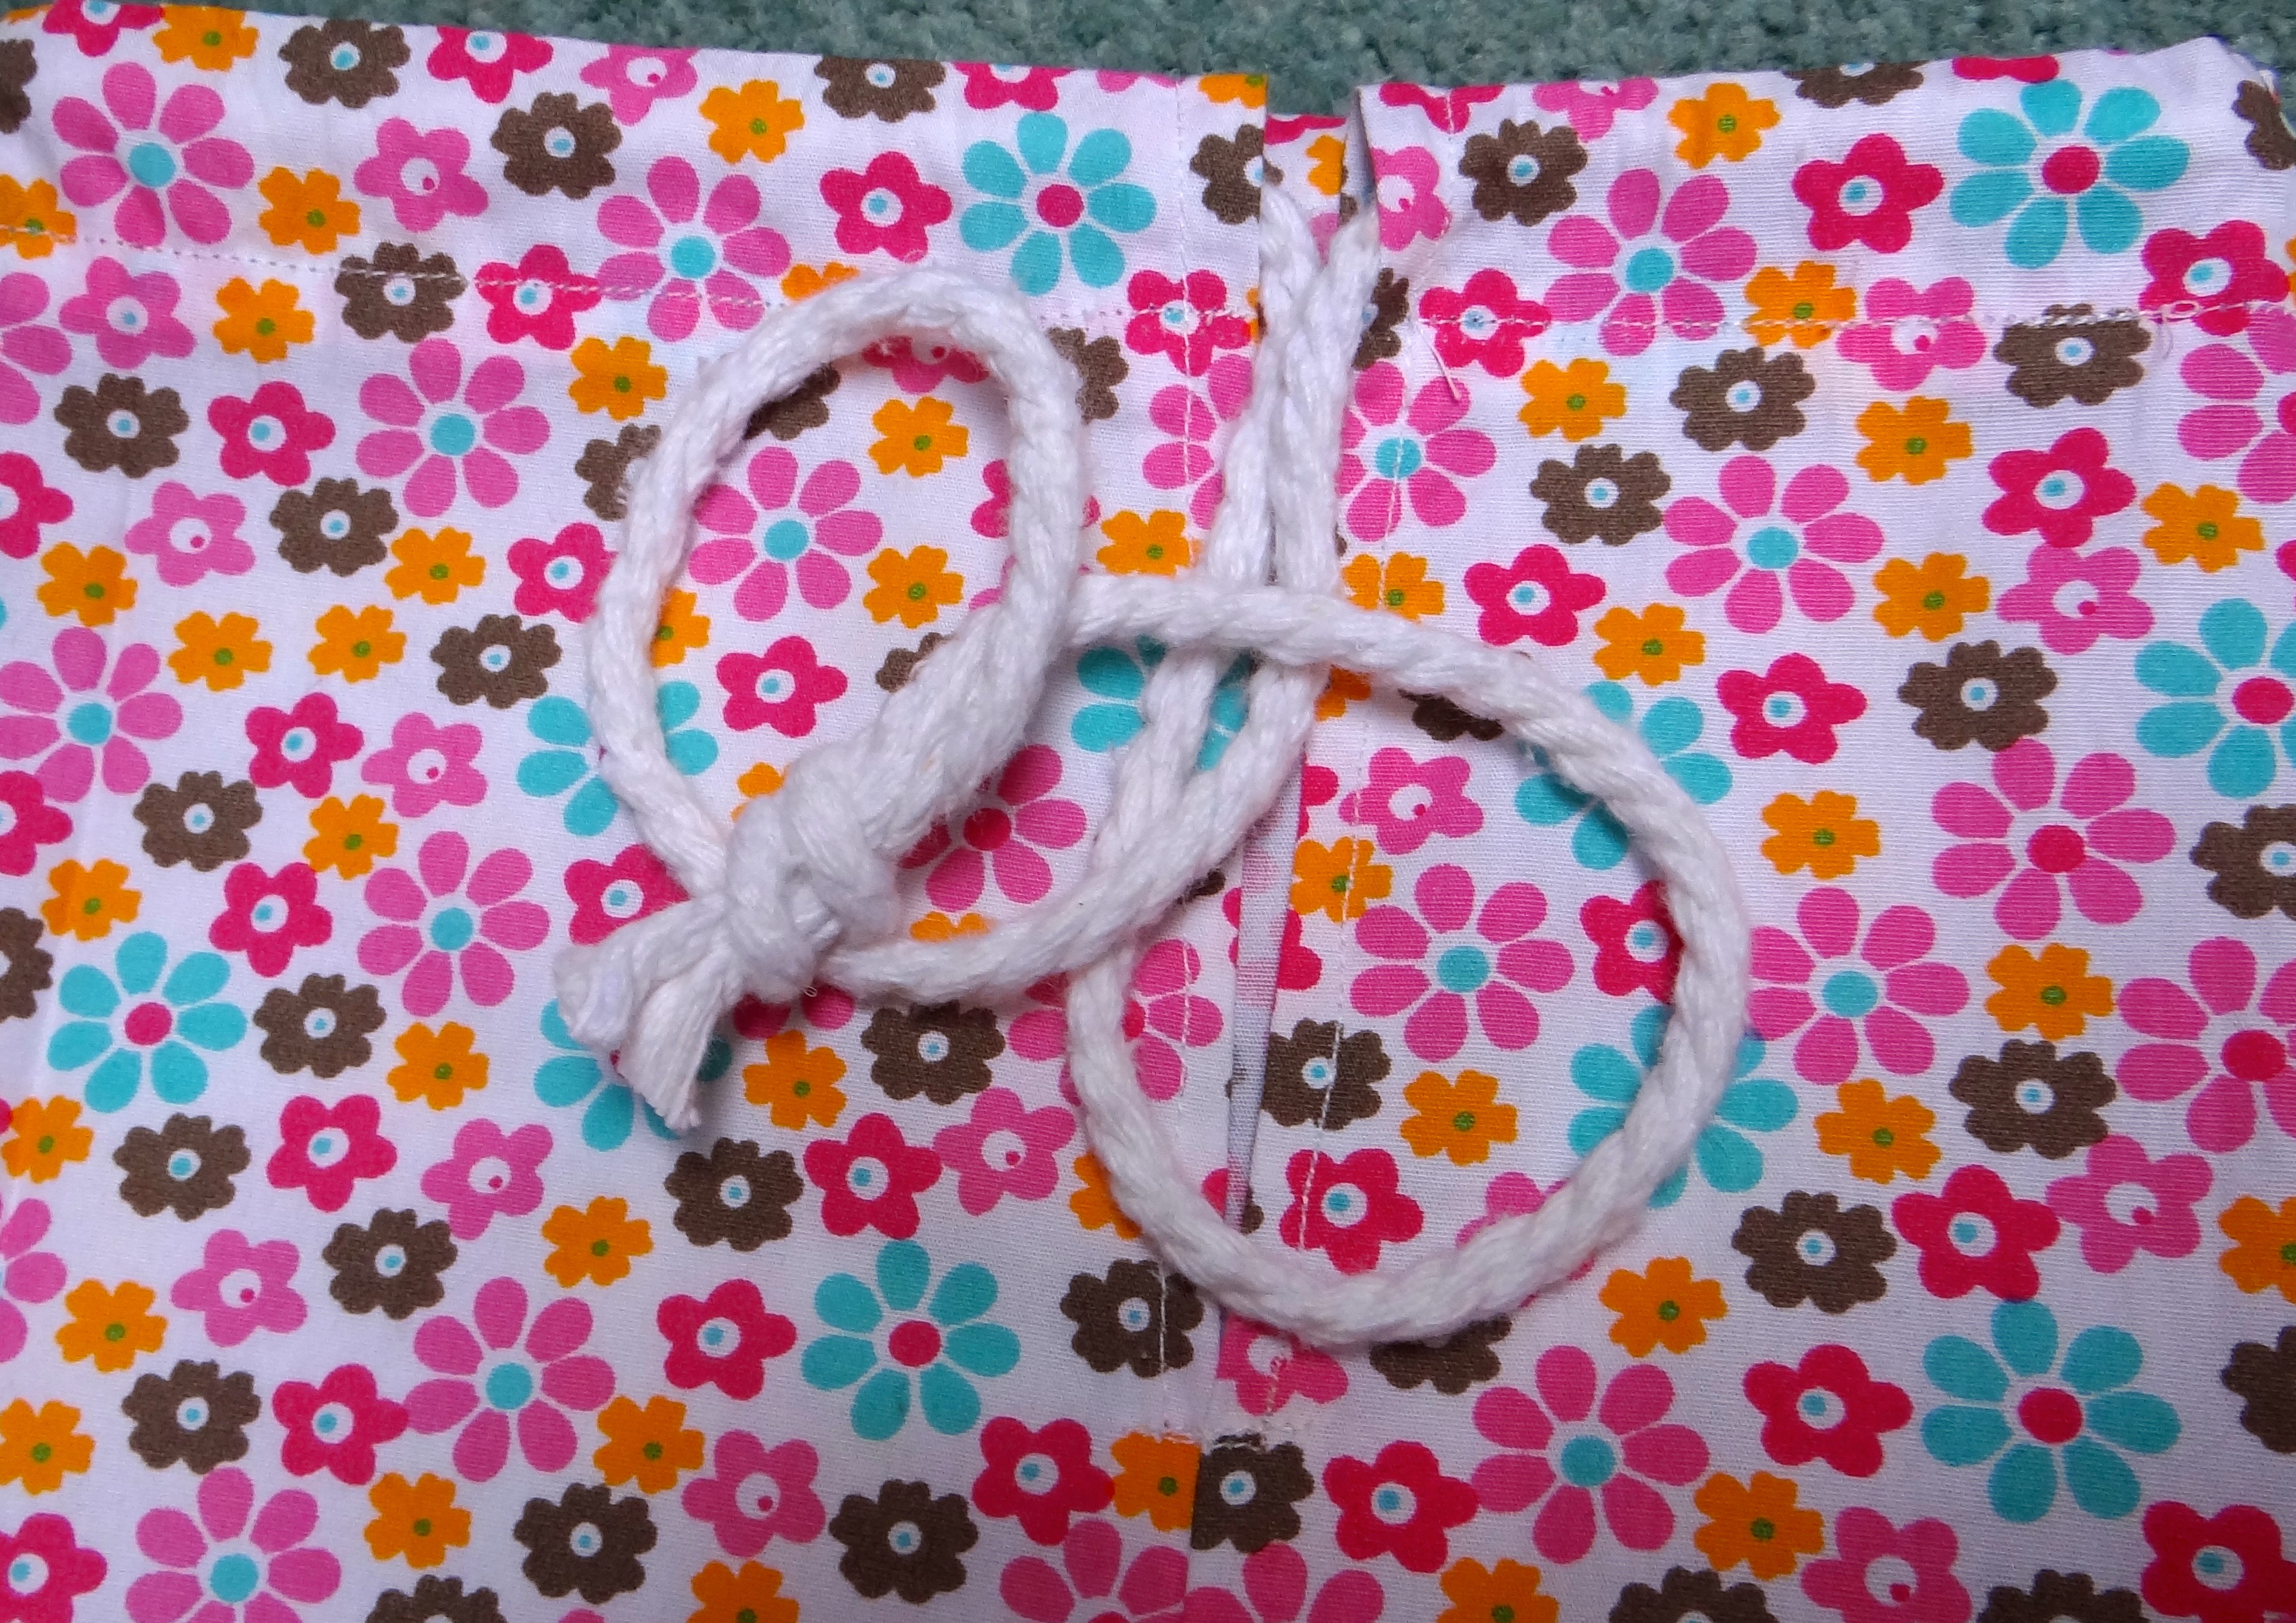
Turn the bag the right way out and thread a piece of cord or ribbon all the way through the channel. It really helps if you attach one end of the cord / ribbon to a small safety pin when you do this. Tie the ends of ribbon / cord together to stop them finding their way out of their little pocket!
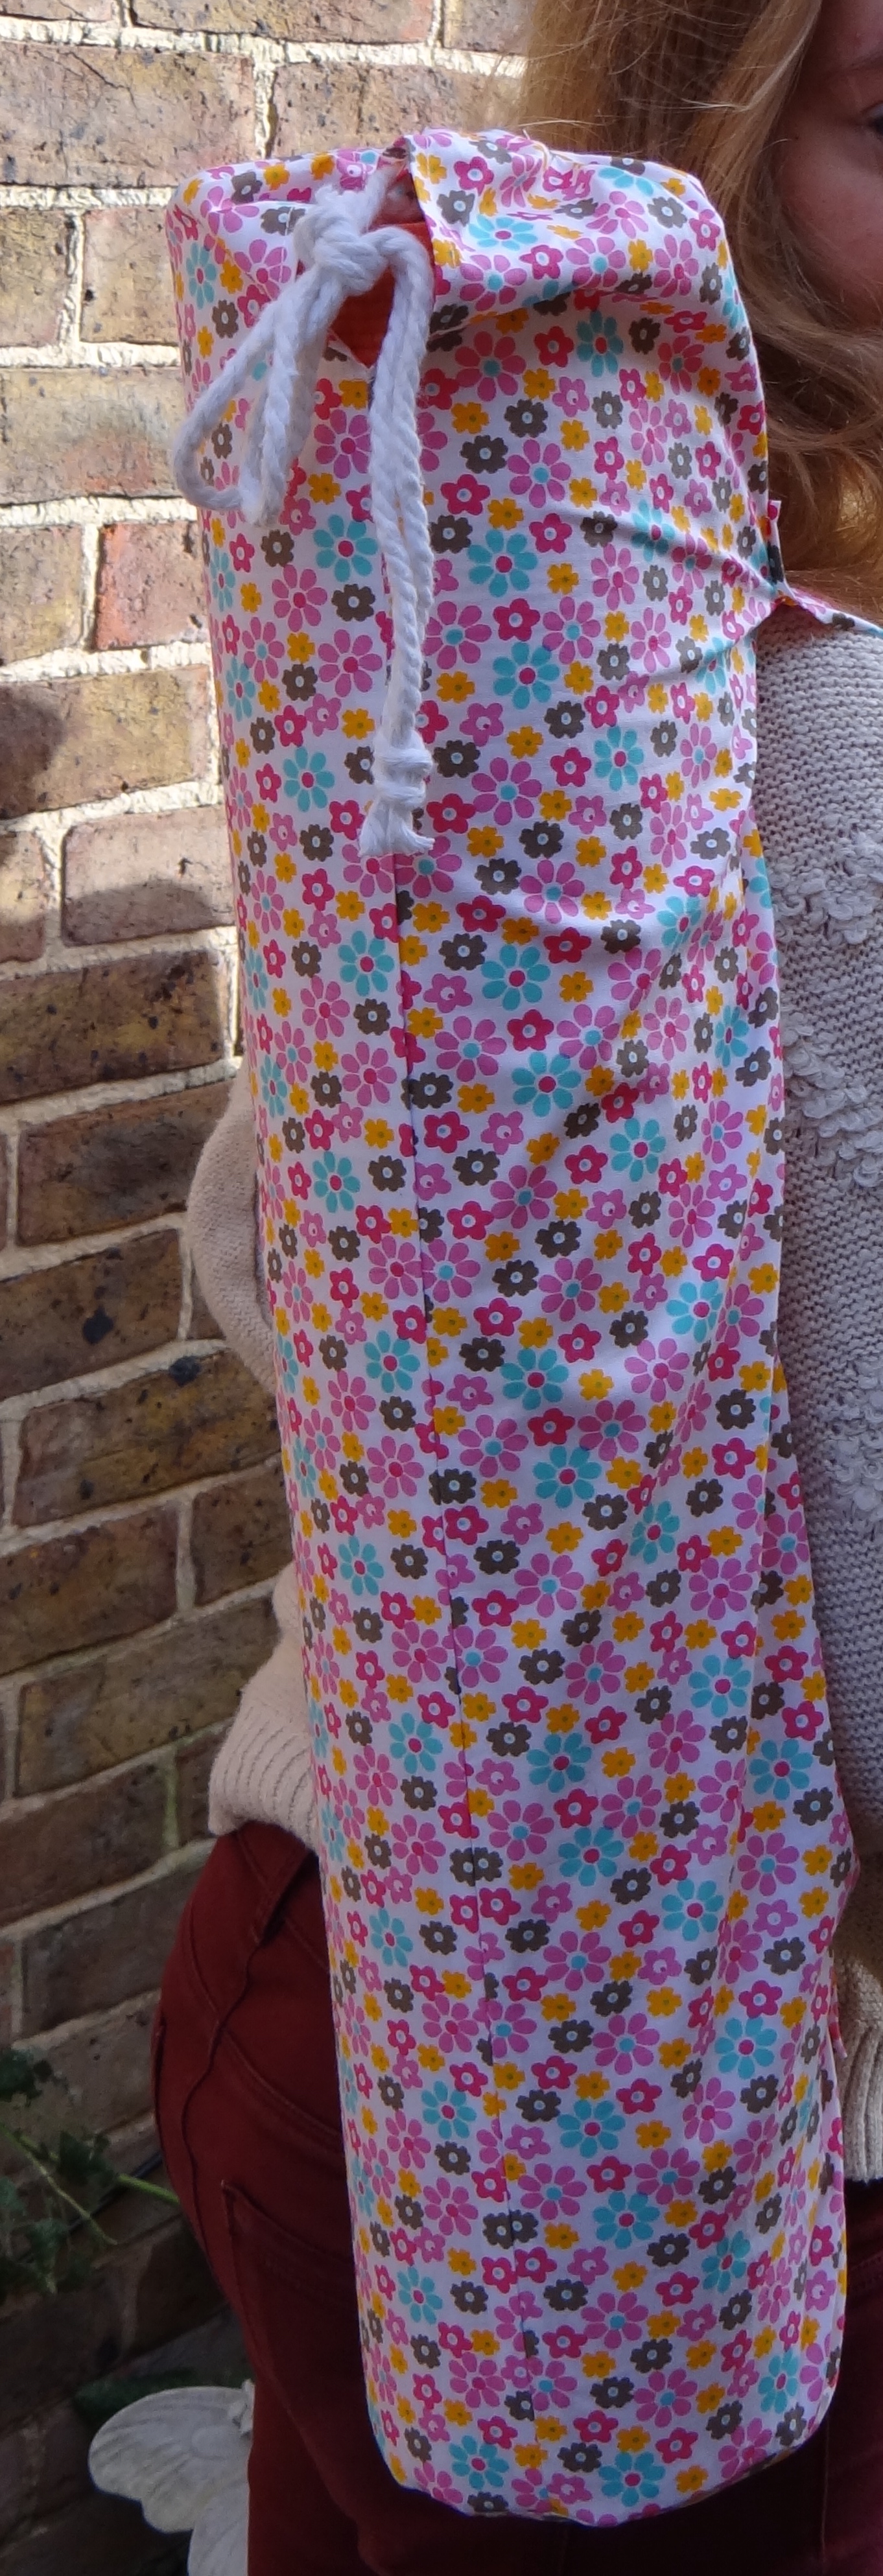
You’re bag is now ready to go!

What I would like to know is why I ever thought that I had to buy one of these?! Duh! Thanks for the idea, I’ll be whipping one up soon!
This is excellent – your instructions are always so clear. I have sent a link to this Post to some of my yoga / sewing loving friends!
Thank you so much for sharing the link. I Just love to help people make things! X
Great tute & fabric choice – I’m tempted to make one for my tent poles! 🙂
What a fabulous idea – I might even get my machine back out and make one of mine too! x