
 Fancy a crafty throw-back session? Get out that tissue paper and make some paper flowers.
All you need is some tissue paper, florist wire, scissors and if you want to be accurate a pen and ruler!
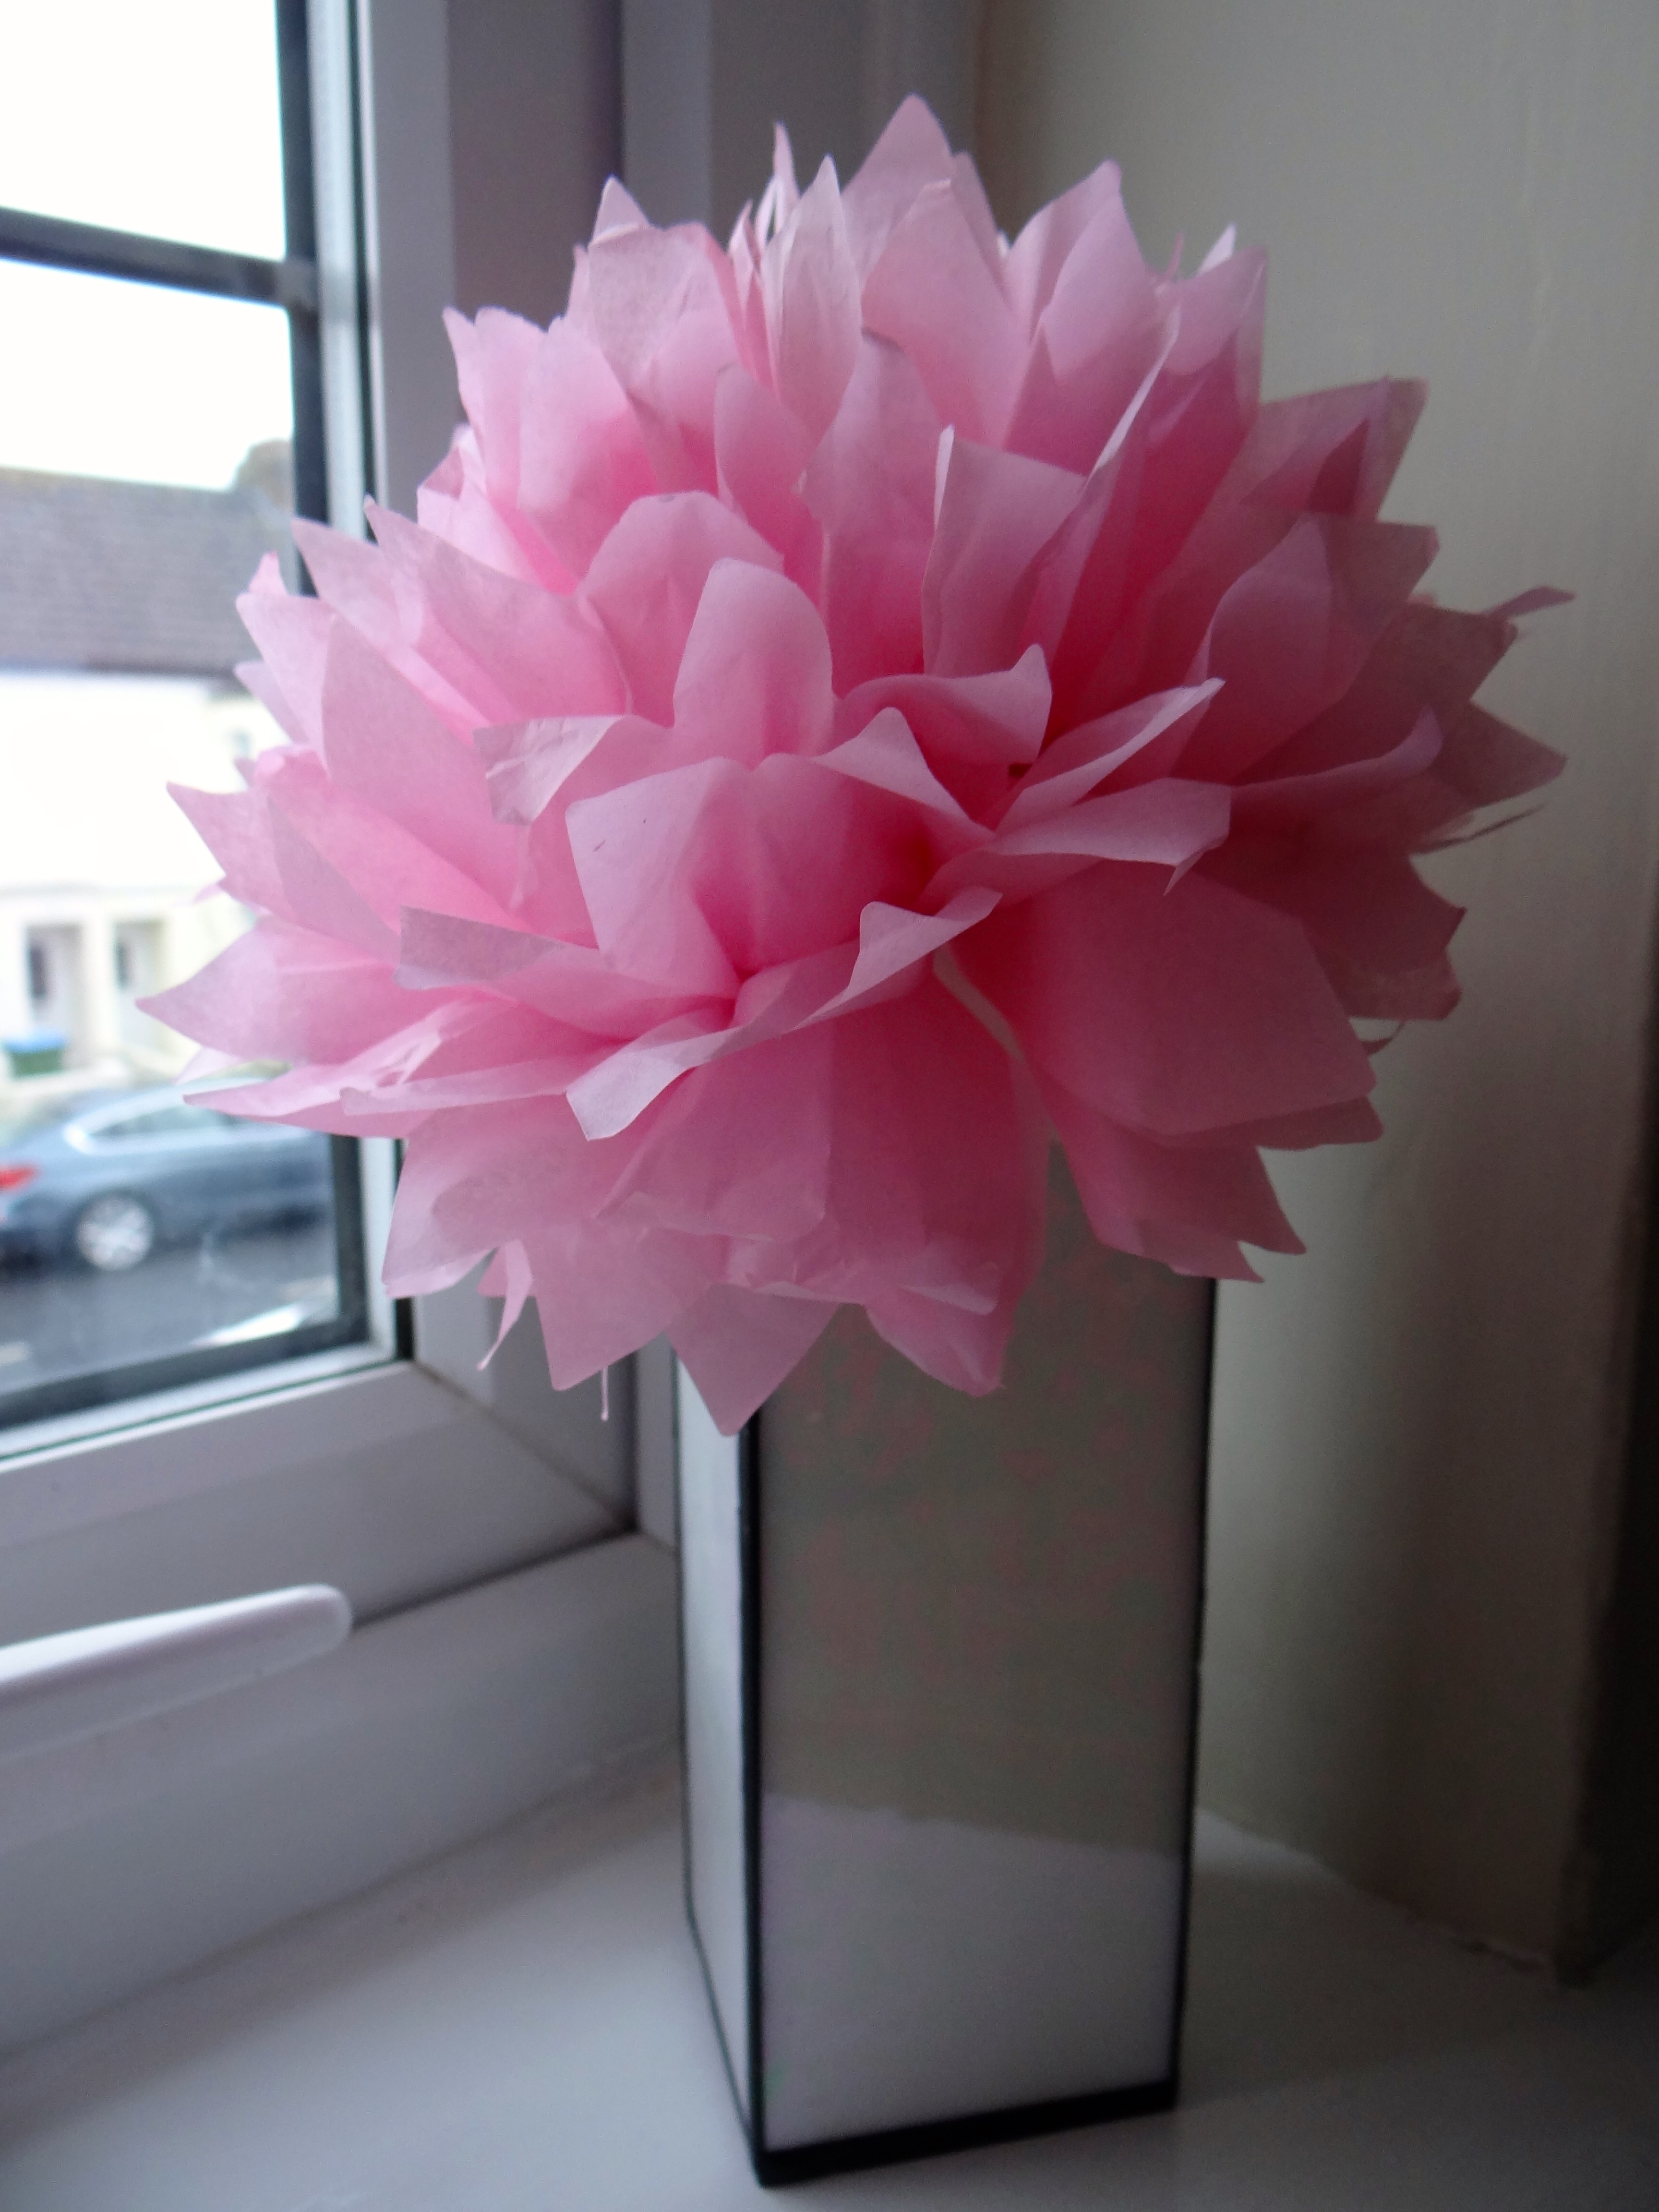
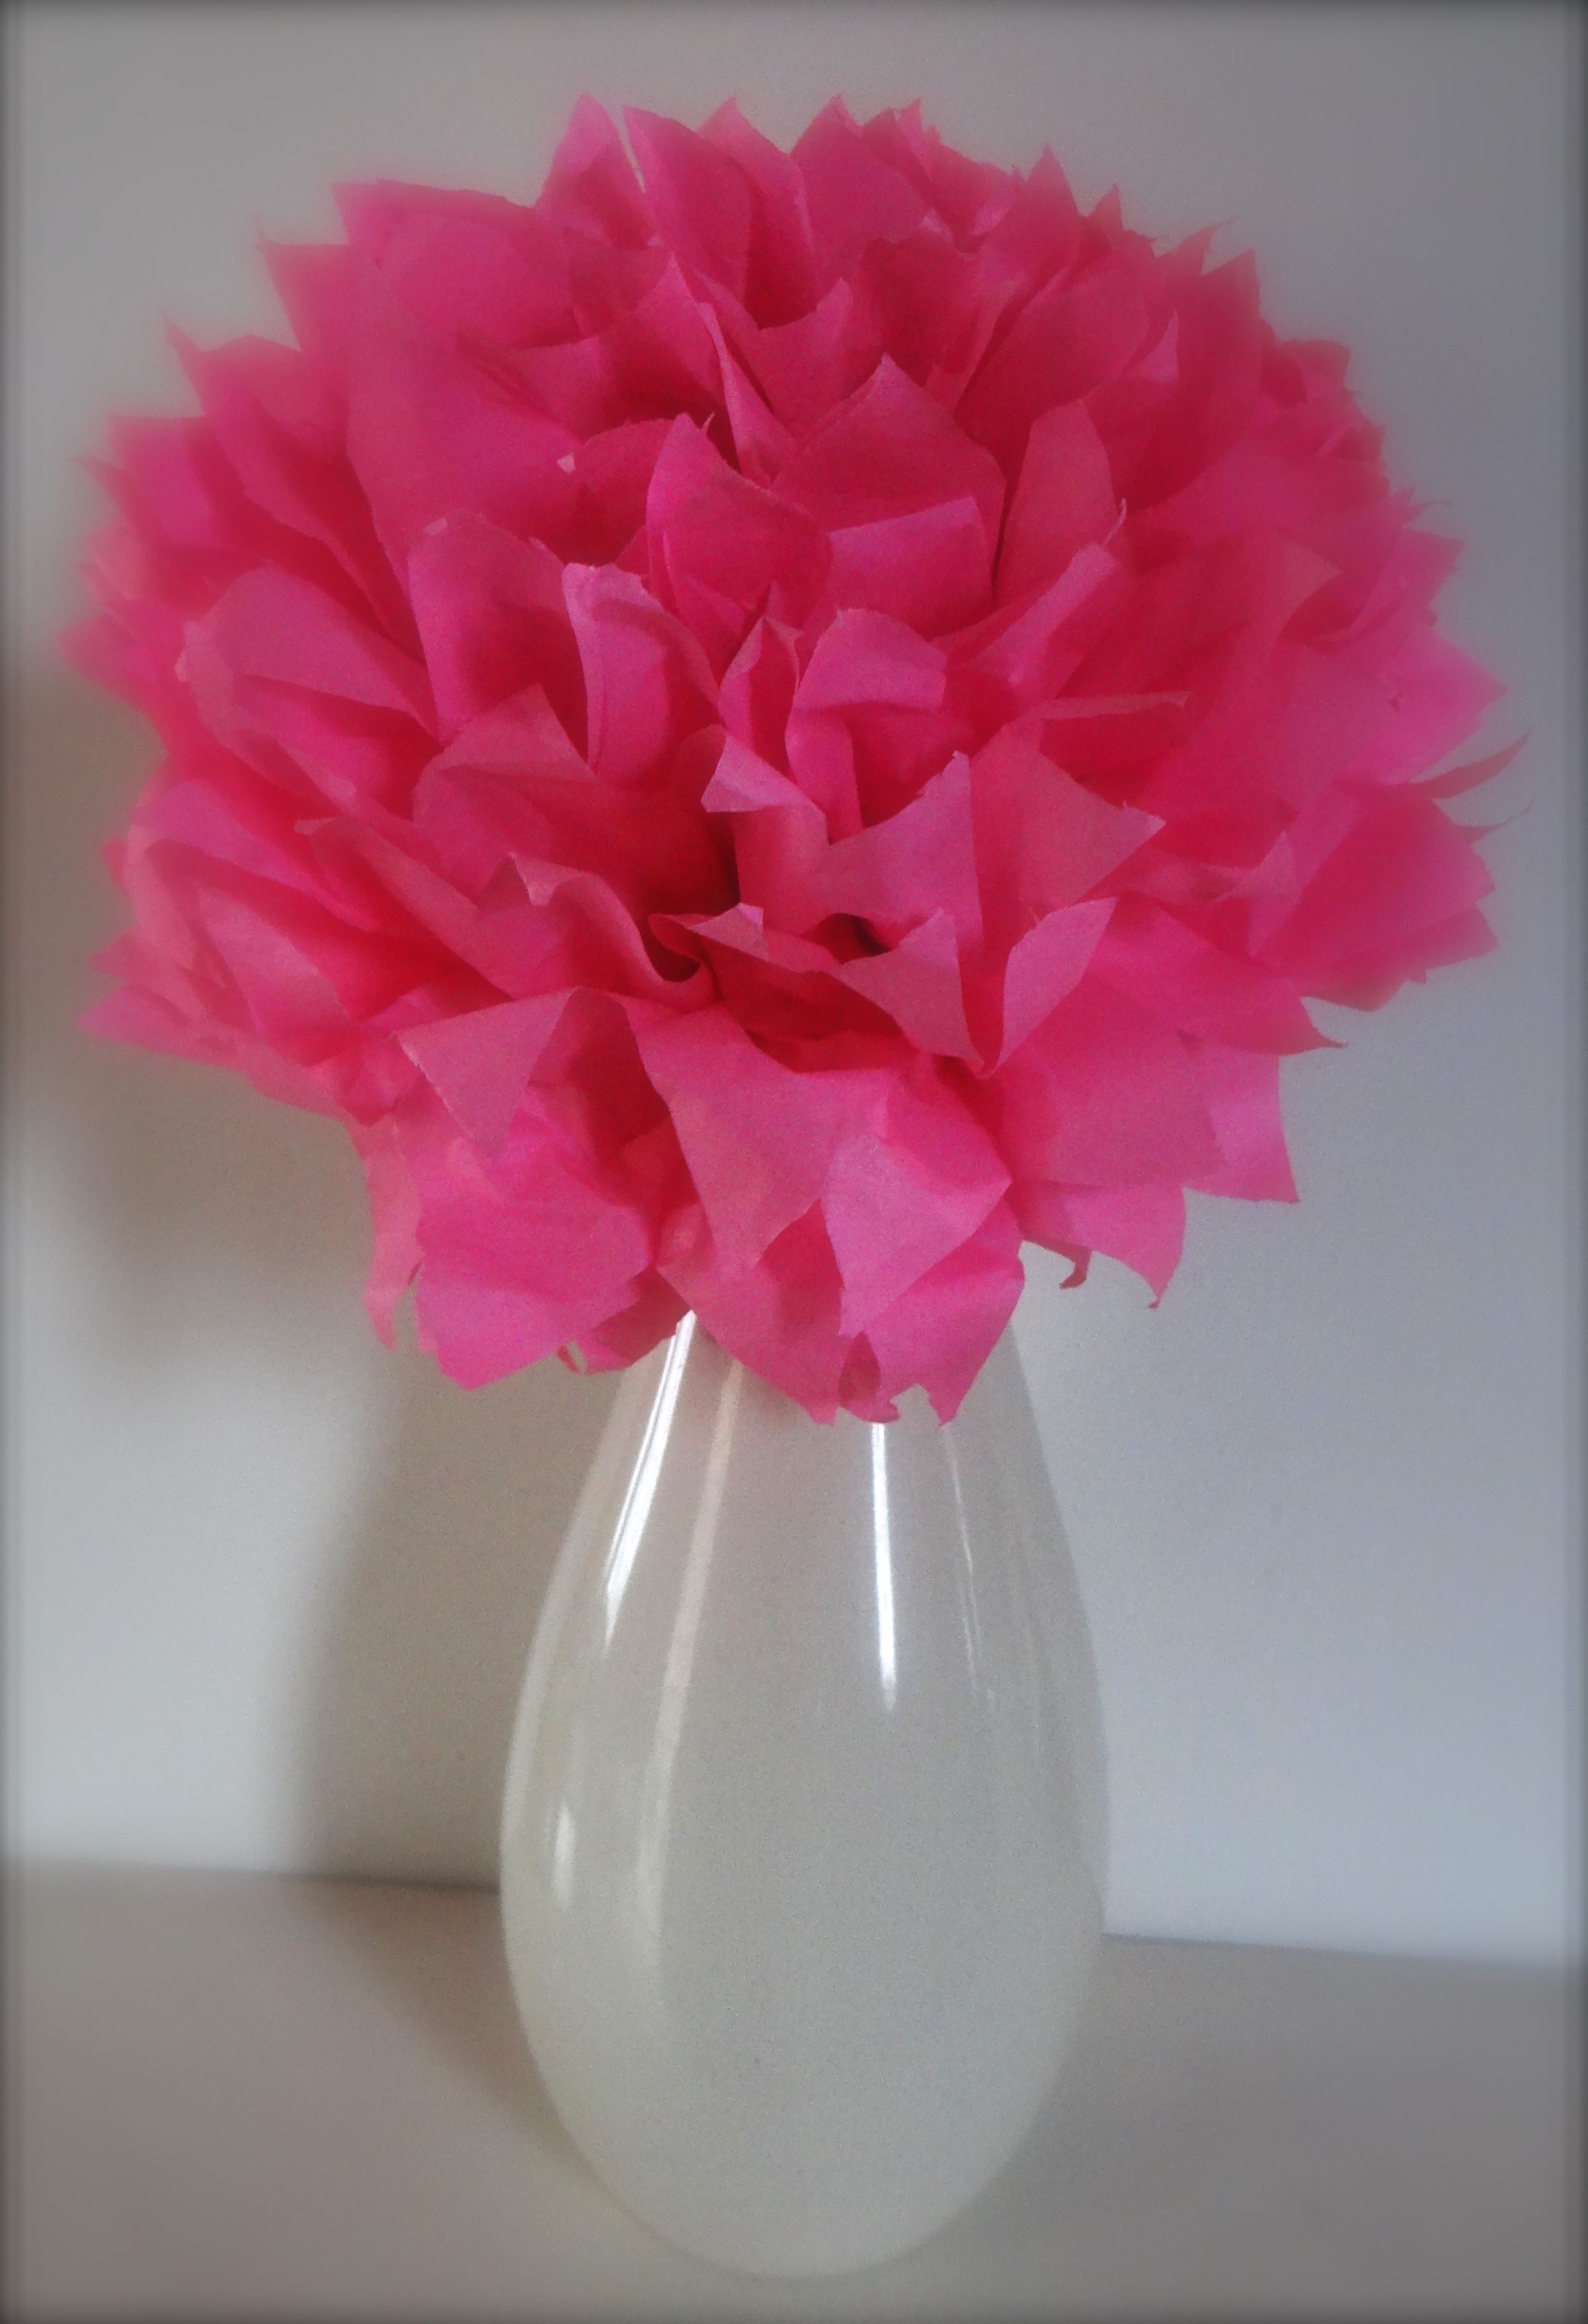
I’m just loving the way these flowers turn out – they remind me of a garden Peony.
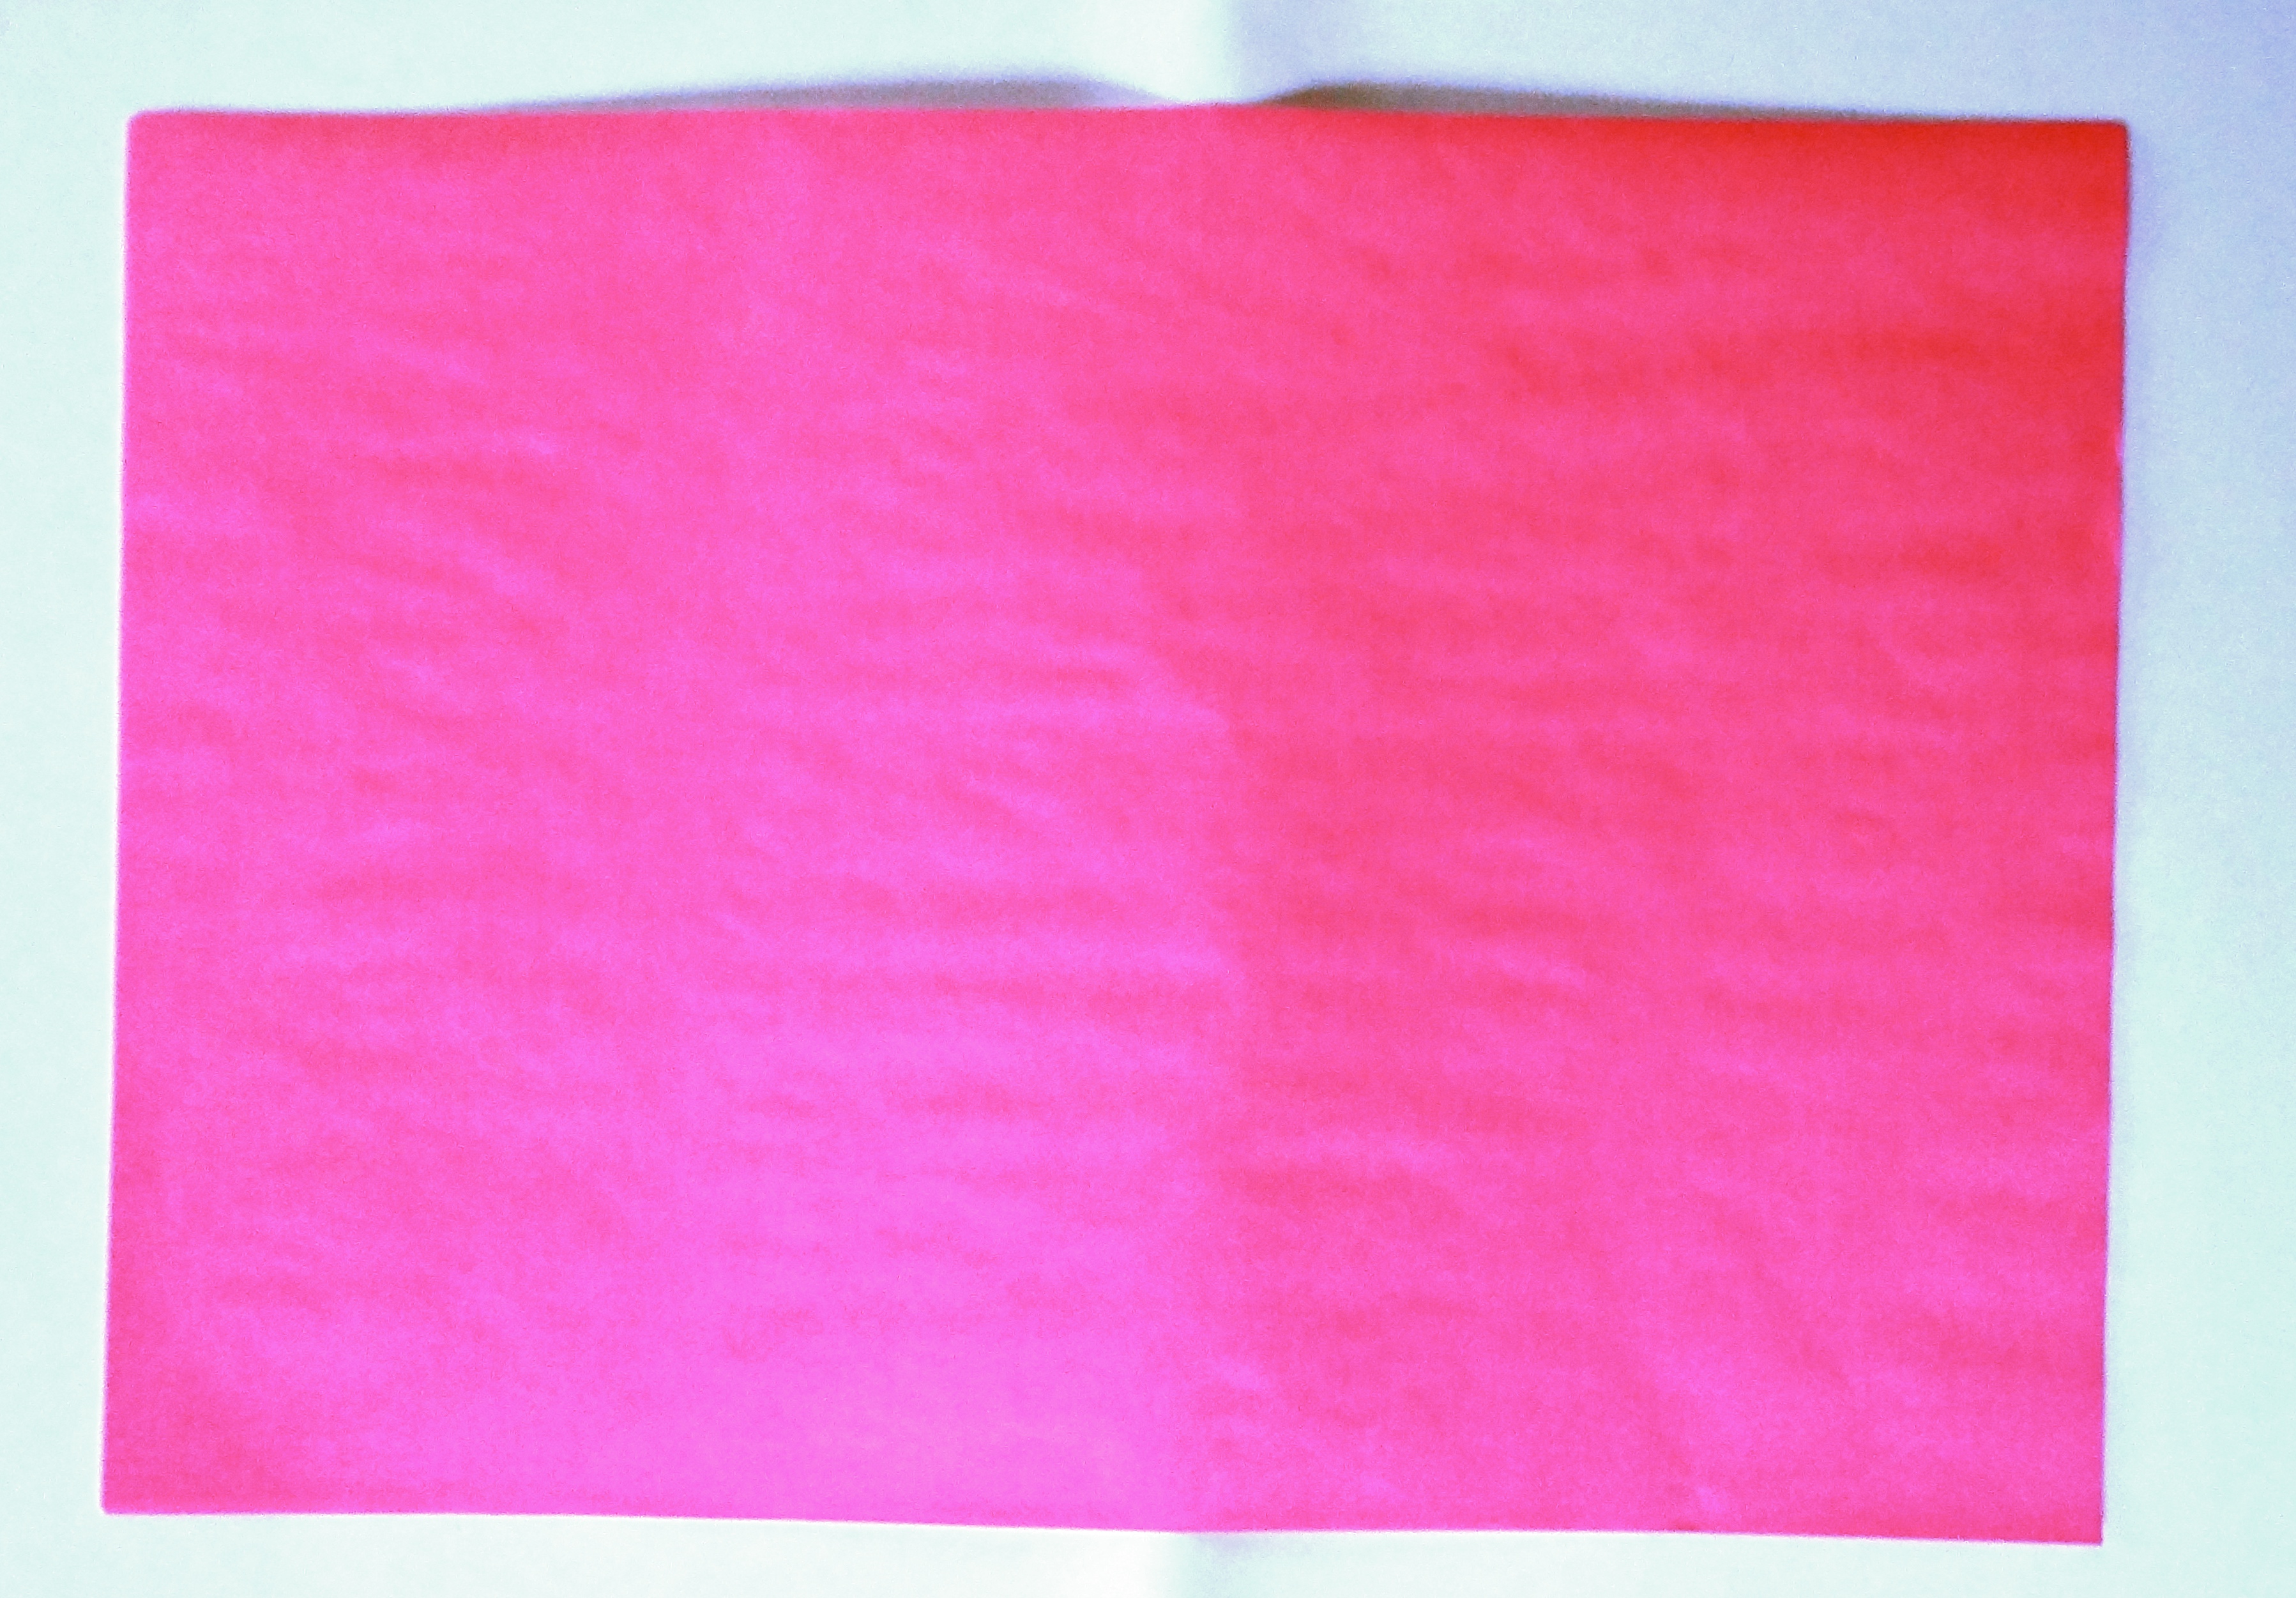
Step 1 – Grab yourself some tissue paper sheets – I’m using 8 sheets of A4 straight out of the packet.
Lay the 8 sheets of tissue paper on top of each other.
Use a ruler and pen to mark 1 inch sections down the longest sides of the paper.
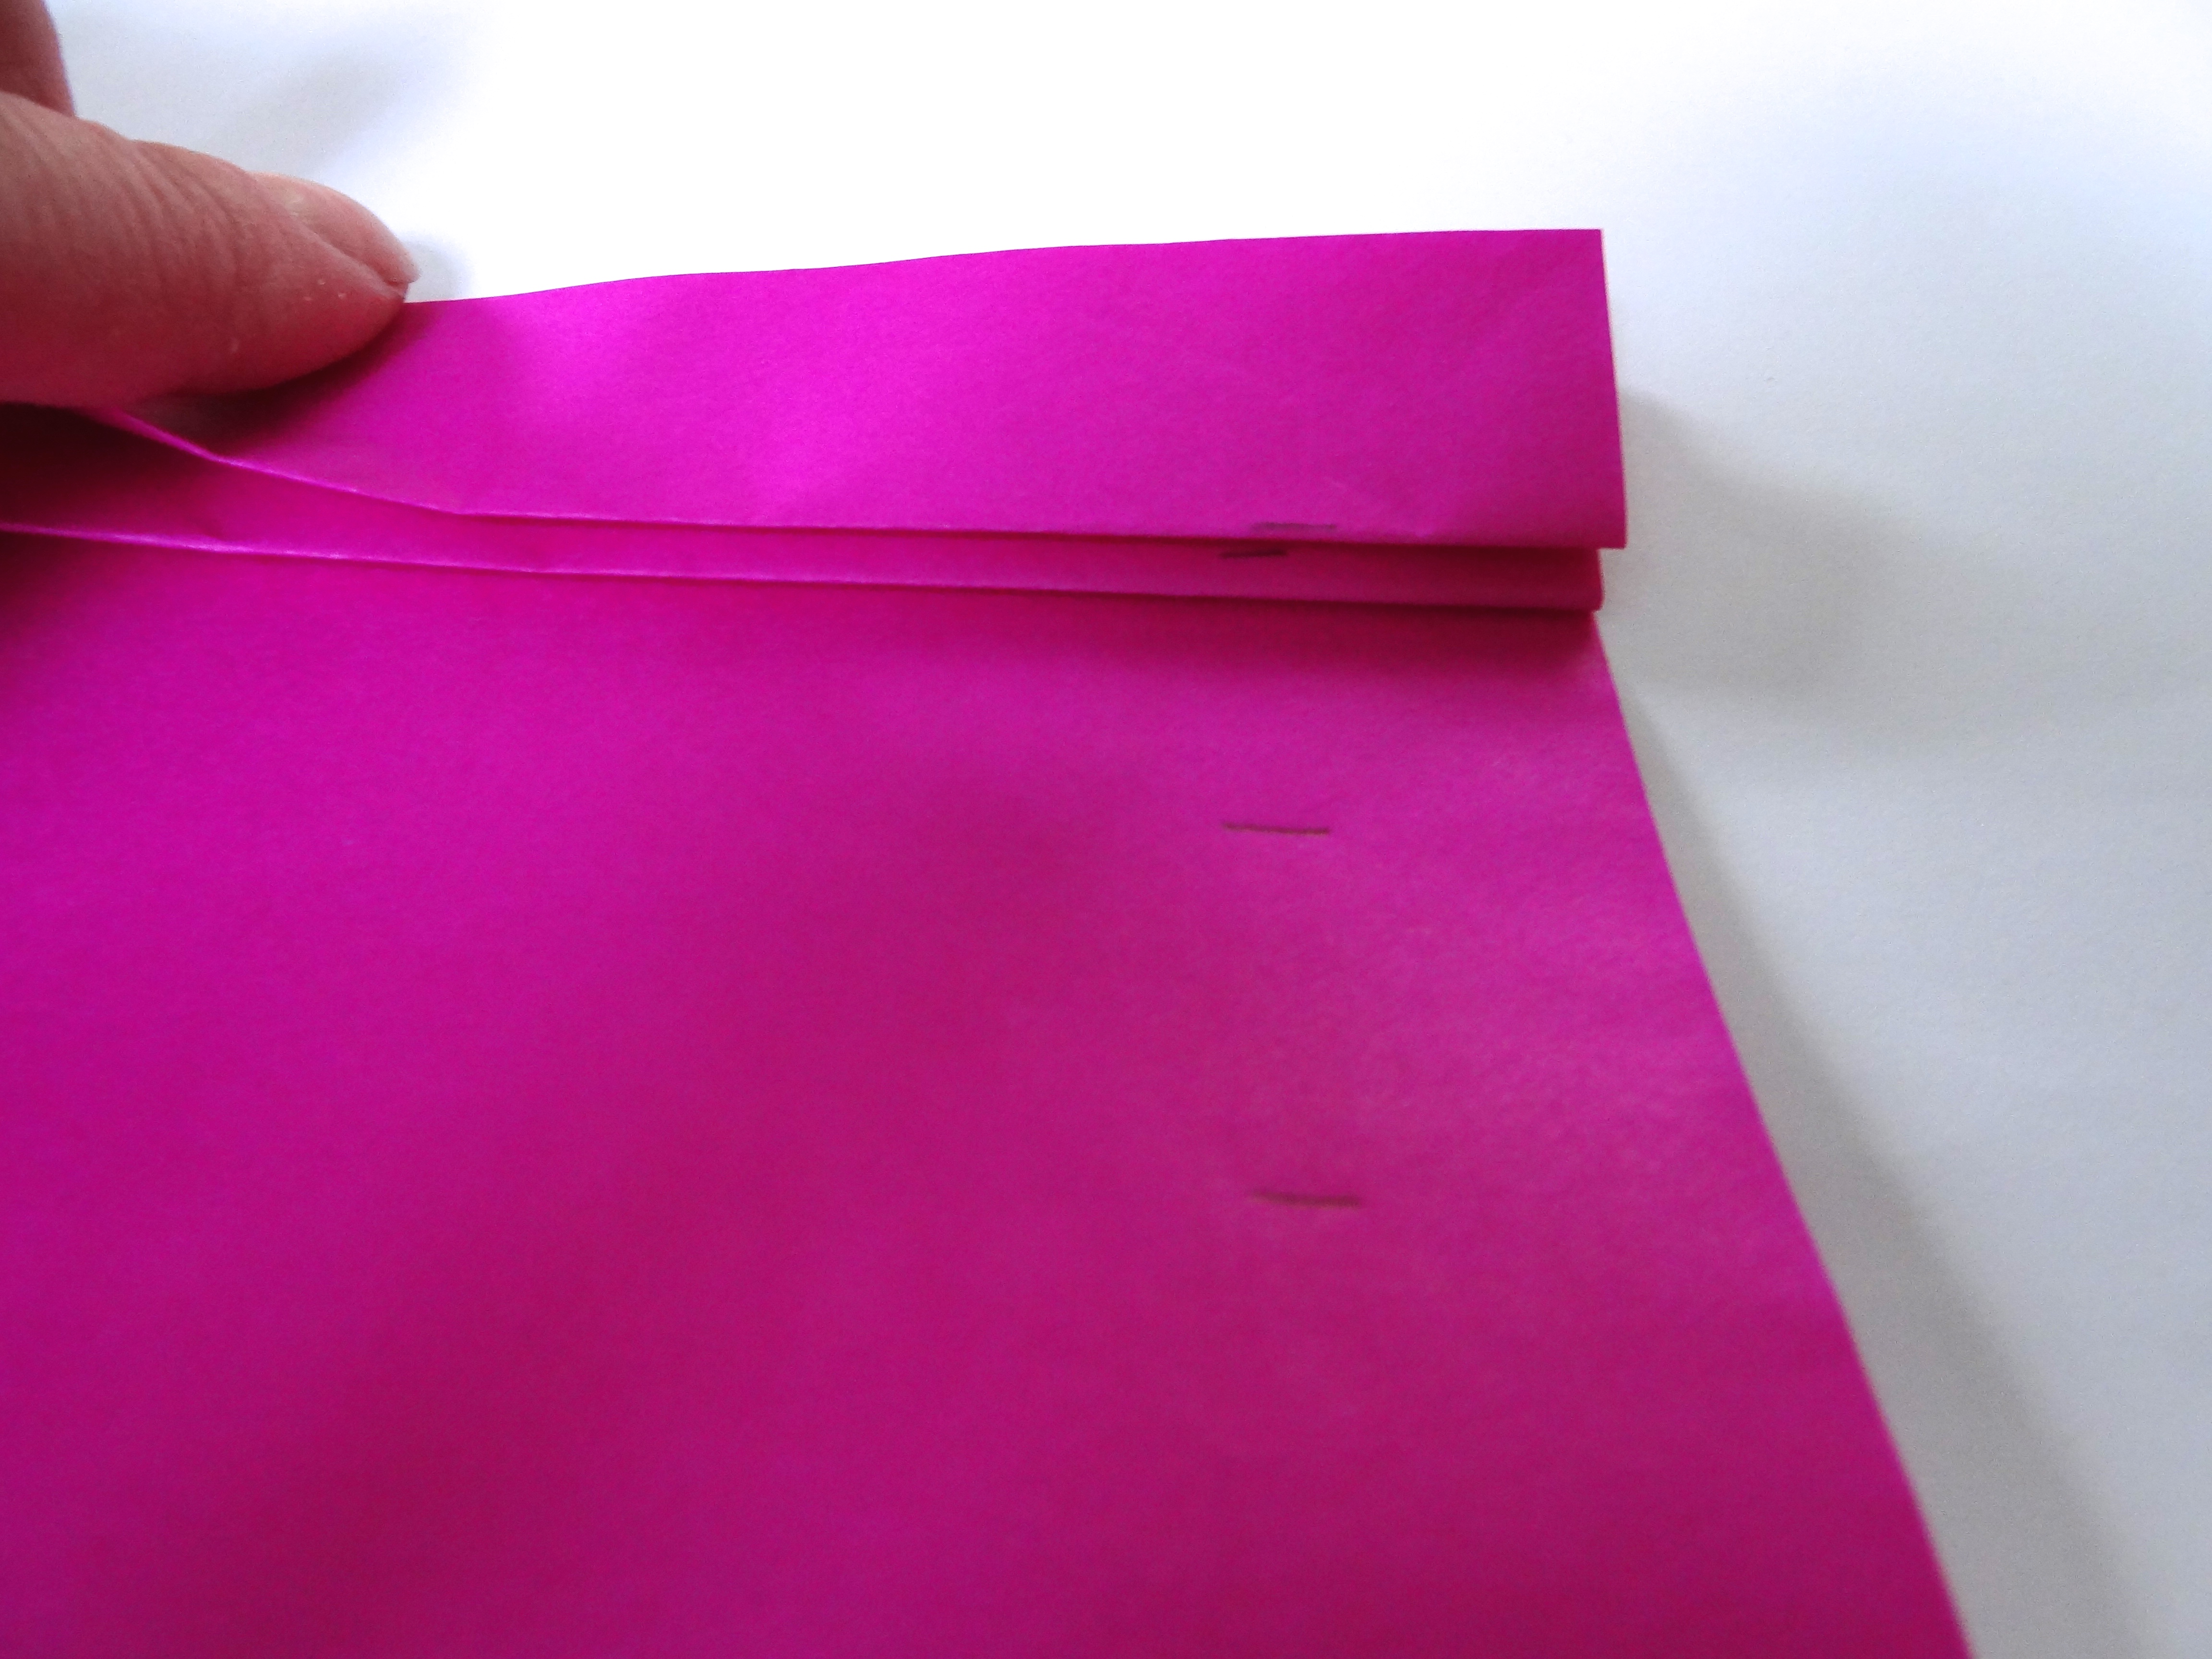
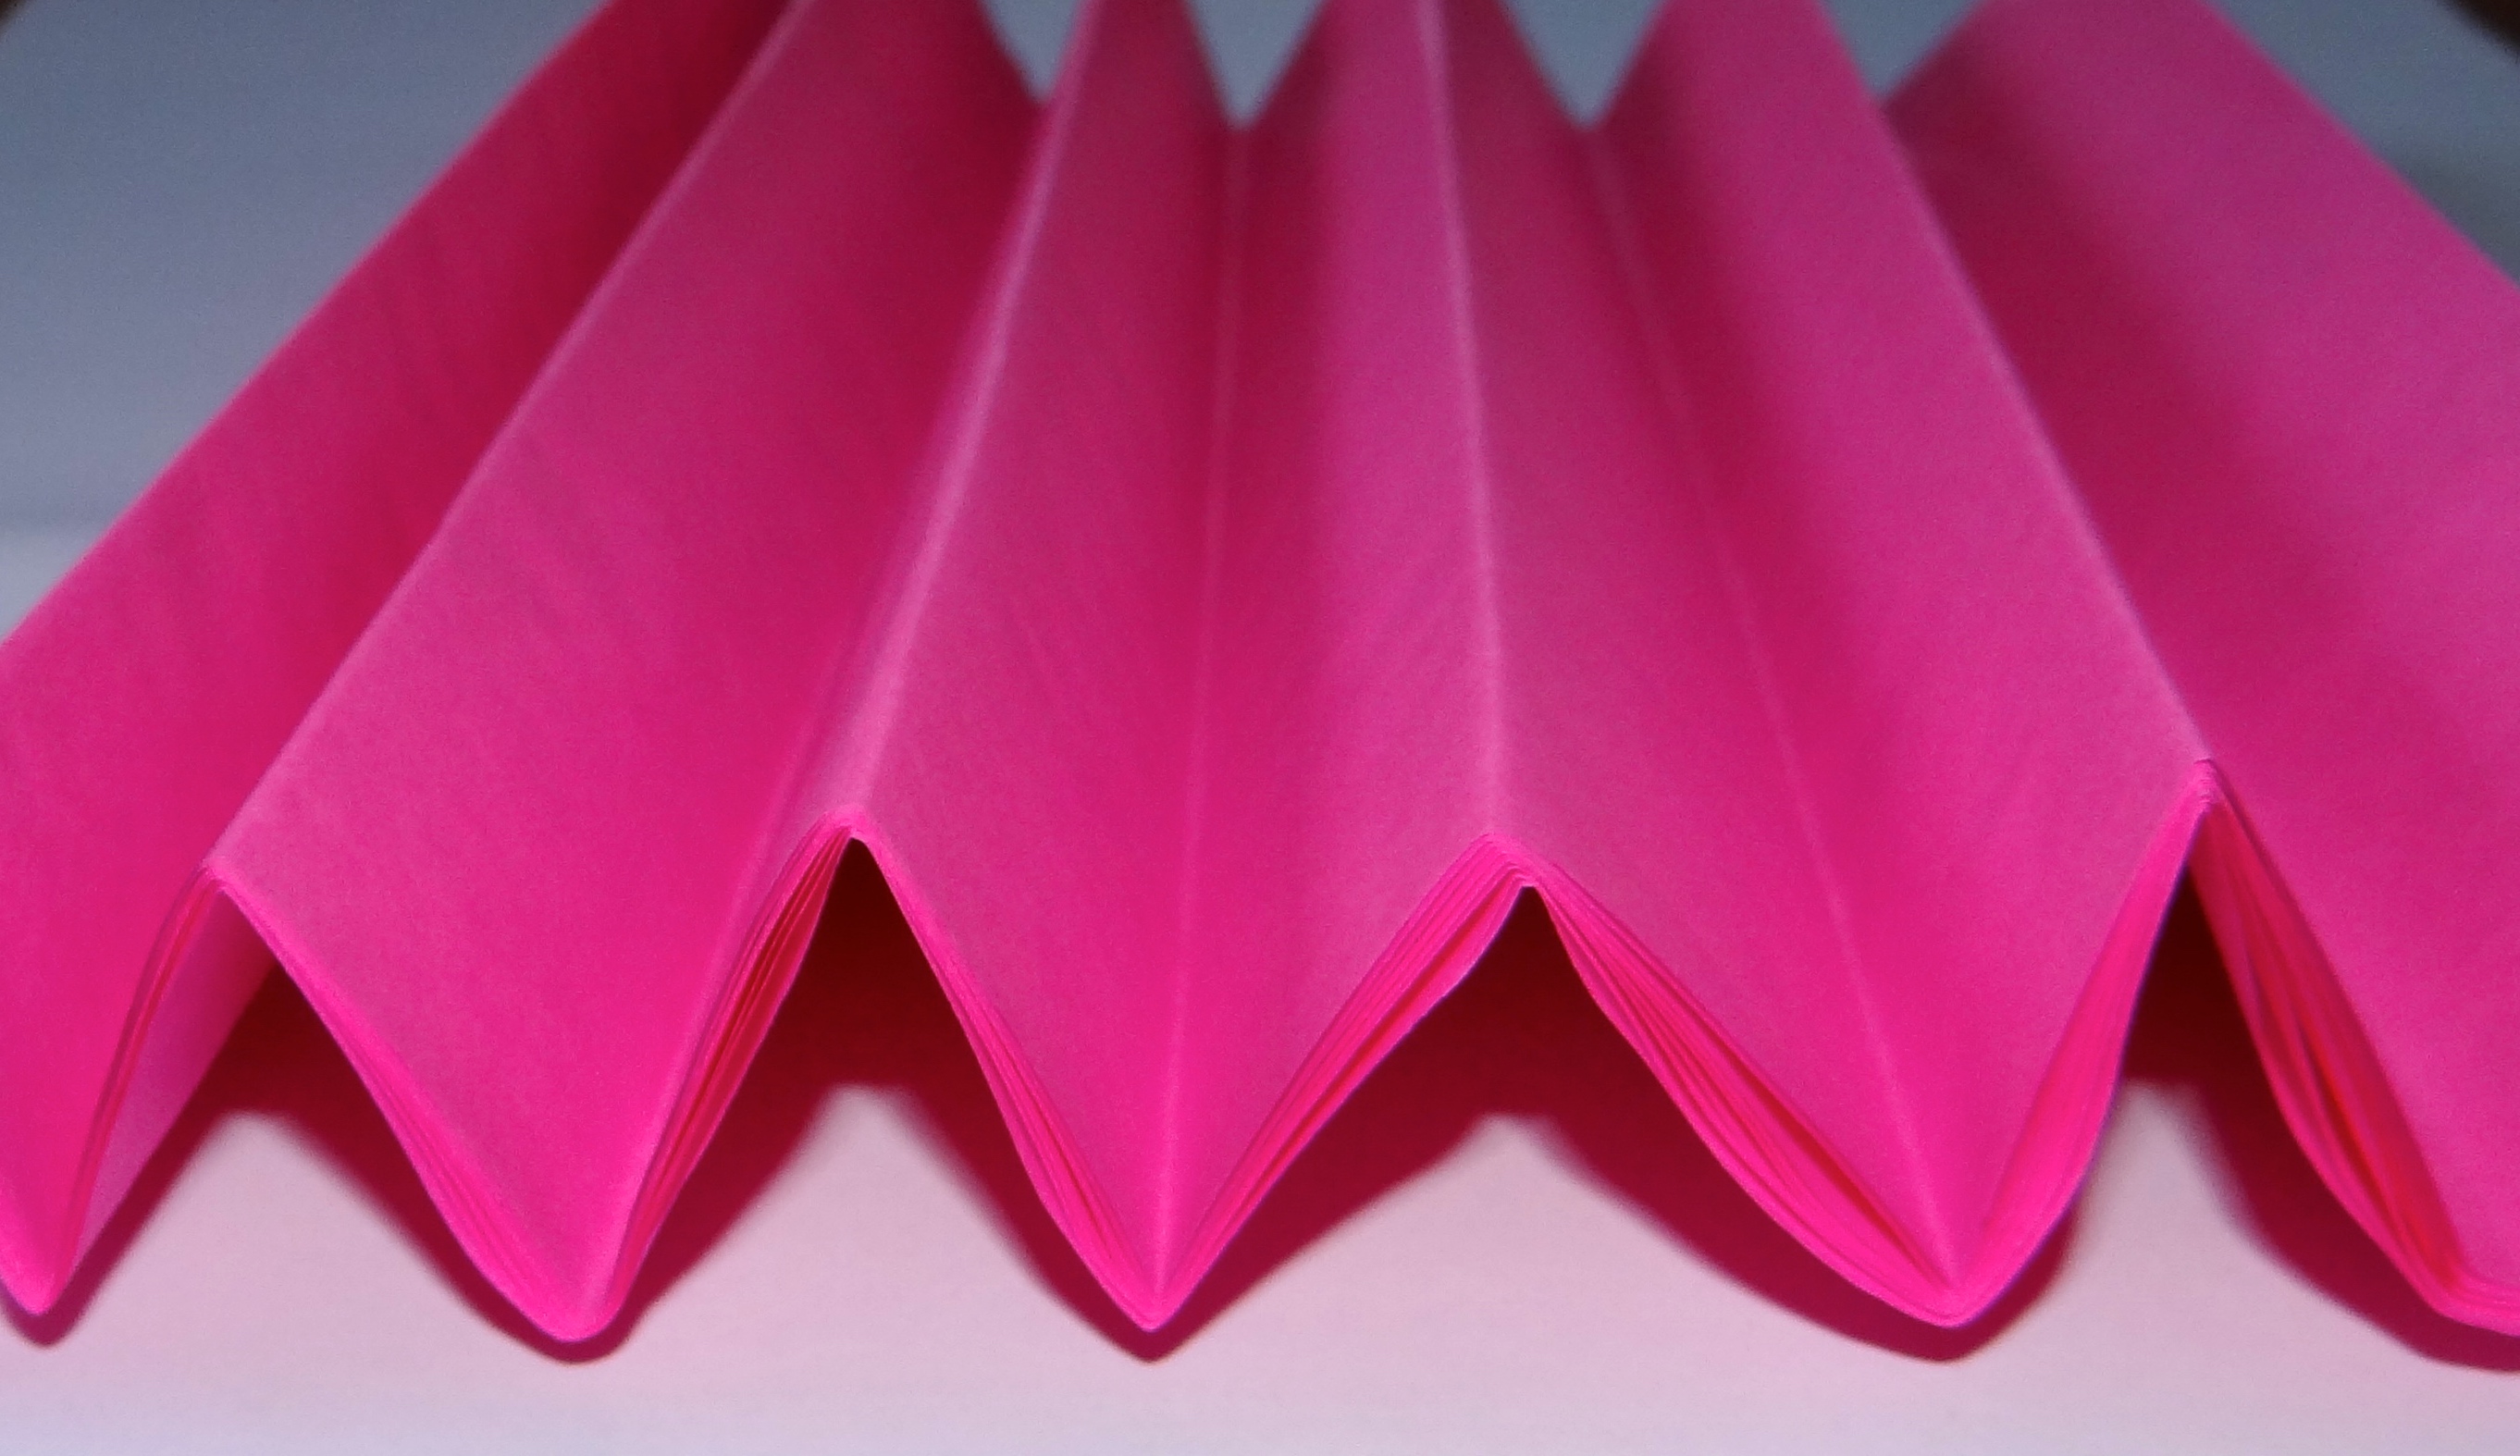
Fold your paper back and forth along these marks to concertina the paper – just like you would to make a fan.
 Hold the gathered tissue paper sheets together and wrap a piece of florists wire around the centre to secure.

Don’t cut the end of the florist wire as this will form your flowers stem. Cut the tips of the tissue paper into a pointed shape.

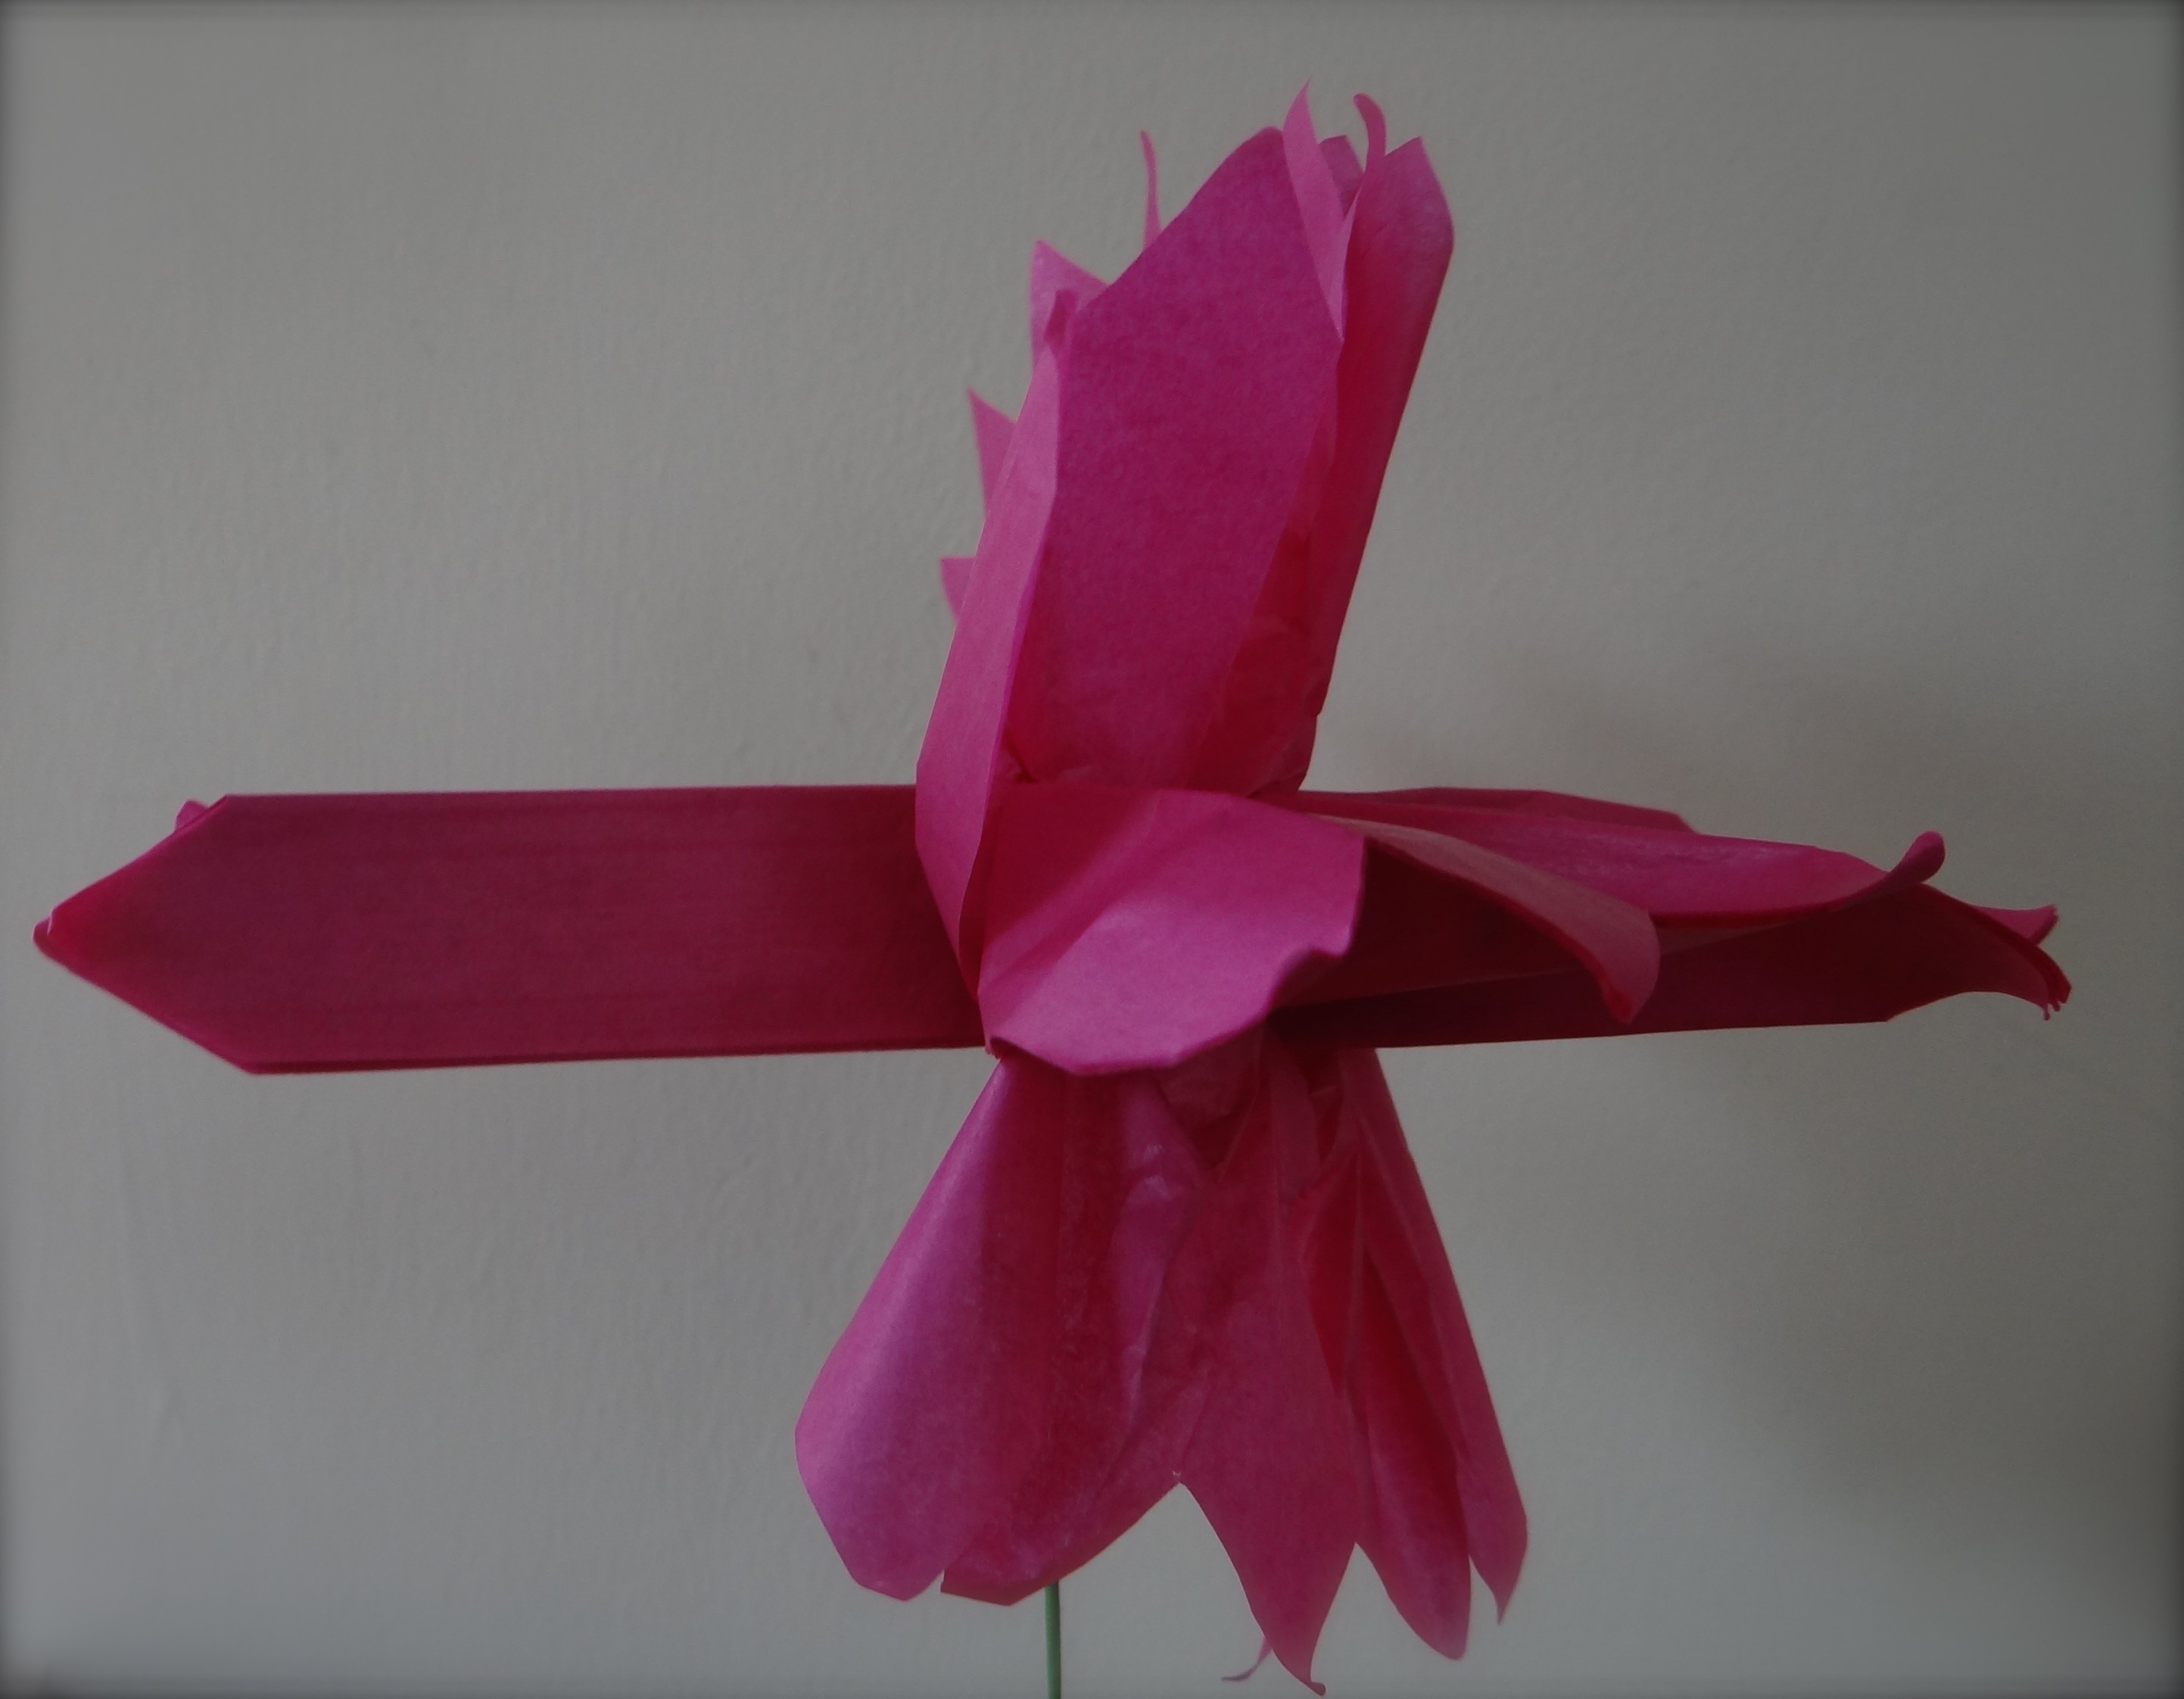
Now comes the fun part. Holding your flower by the stalk begin to peel apart the layers of paper to form the petals. It’s easier to start with the outside (top and bottom layers) and do one side at a time.
Would you like to see the flower appear?
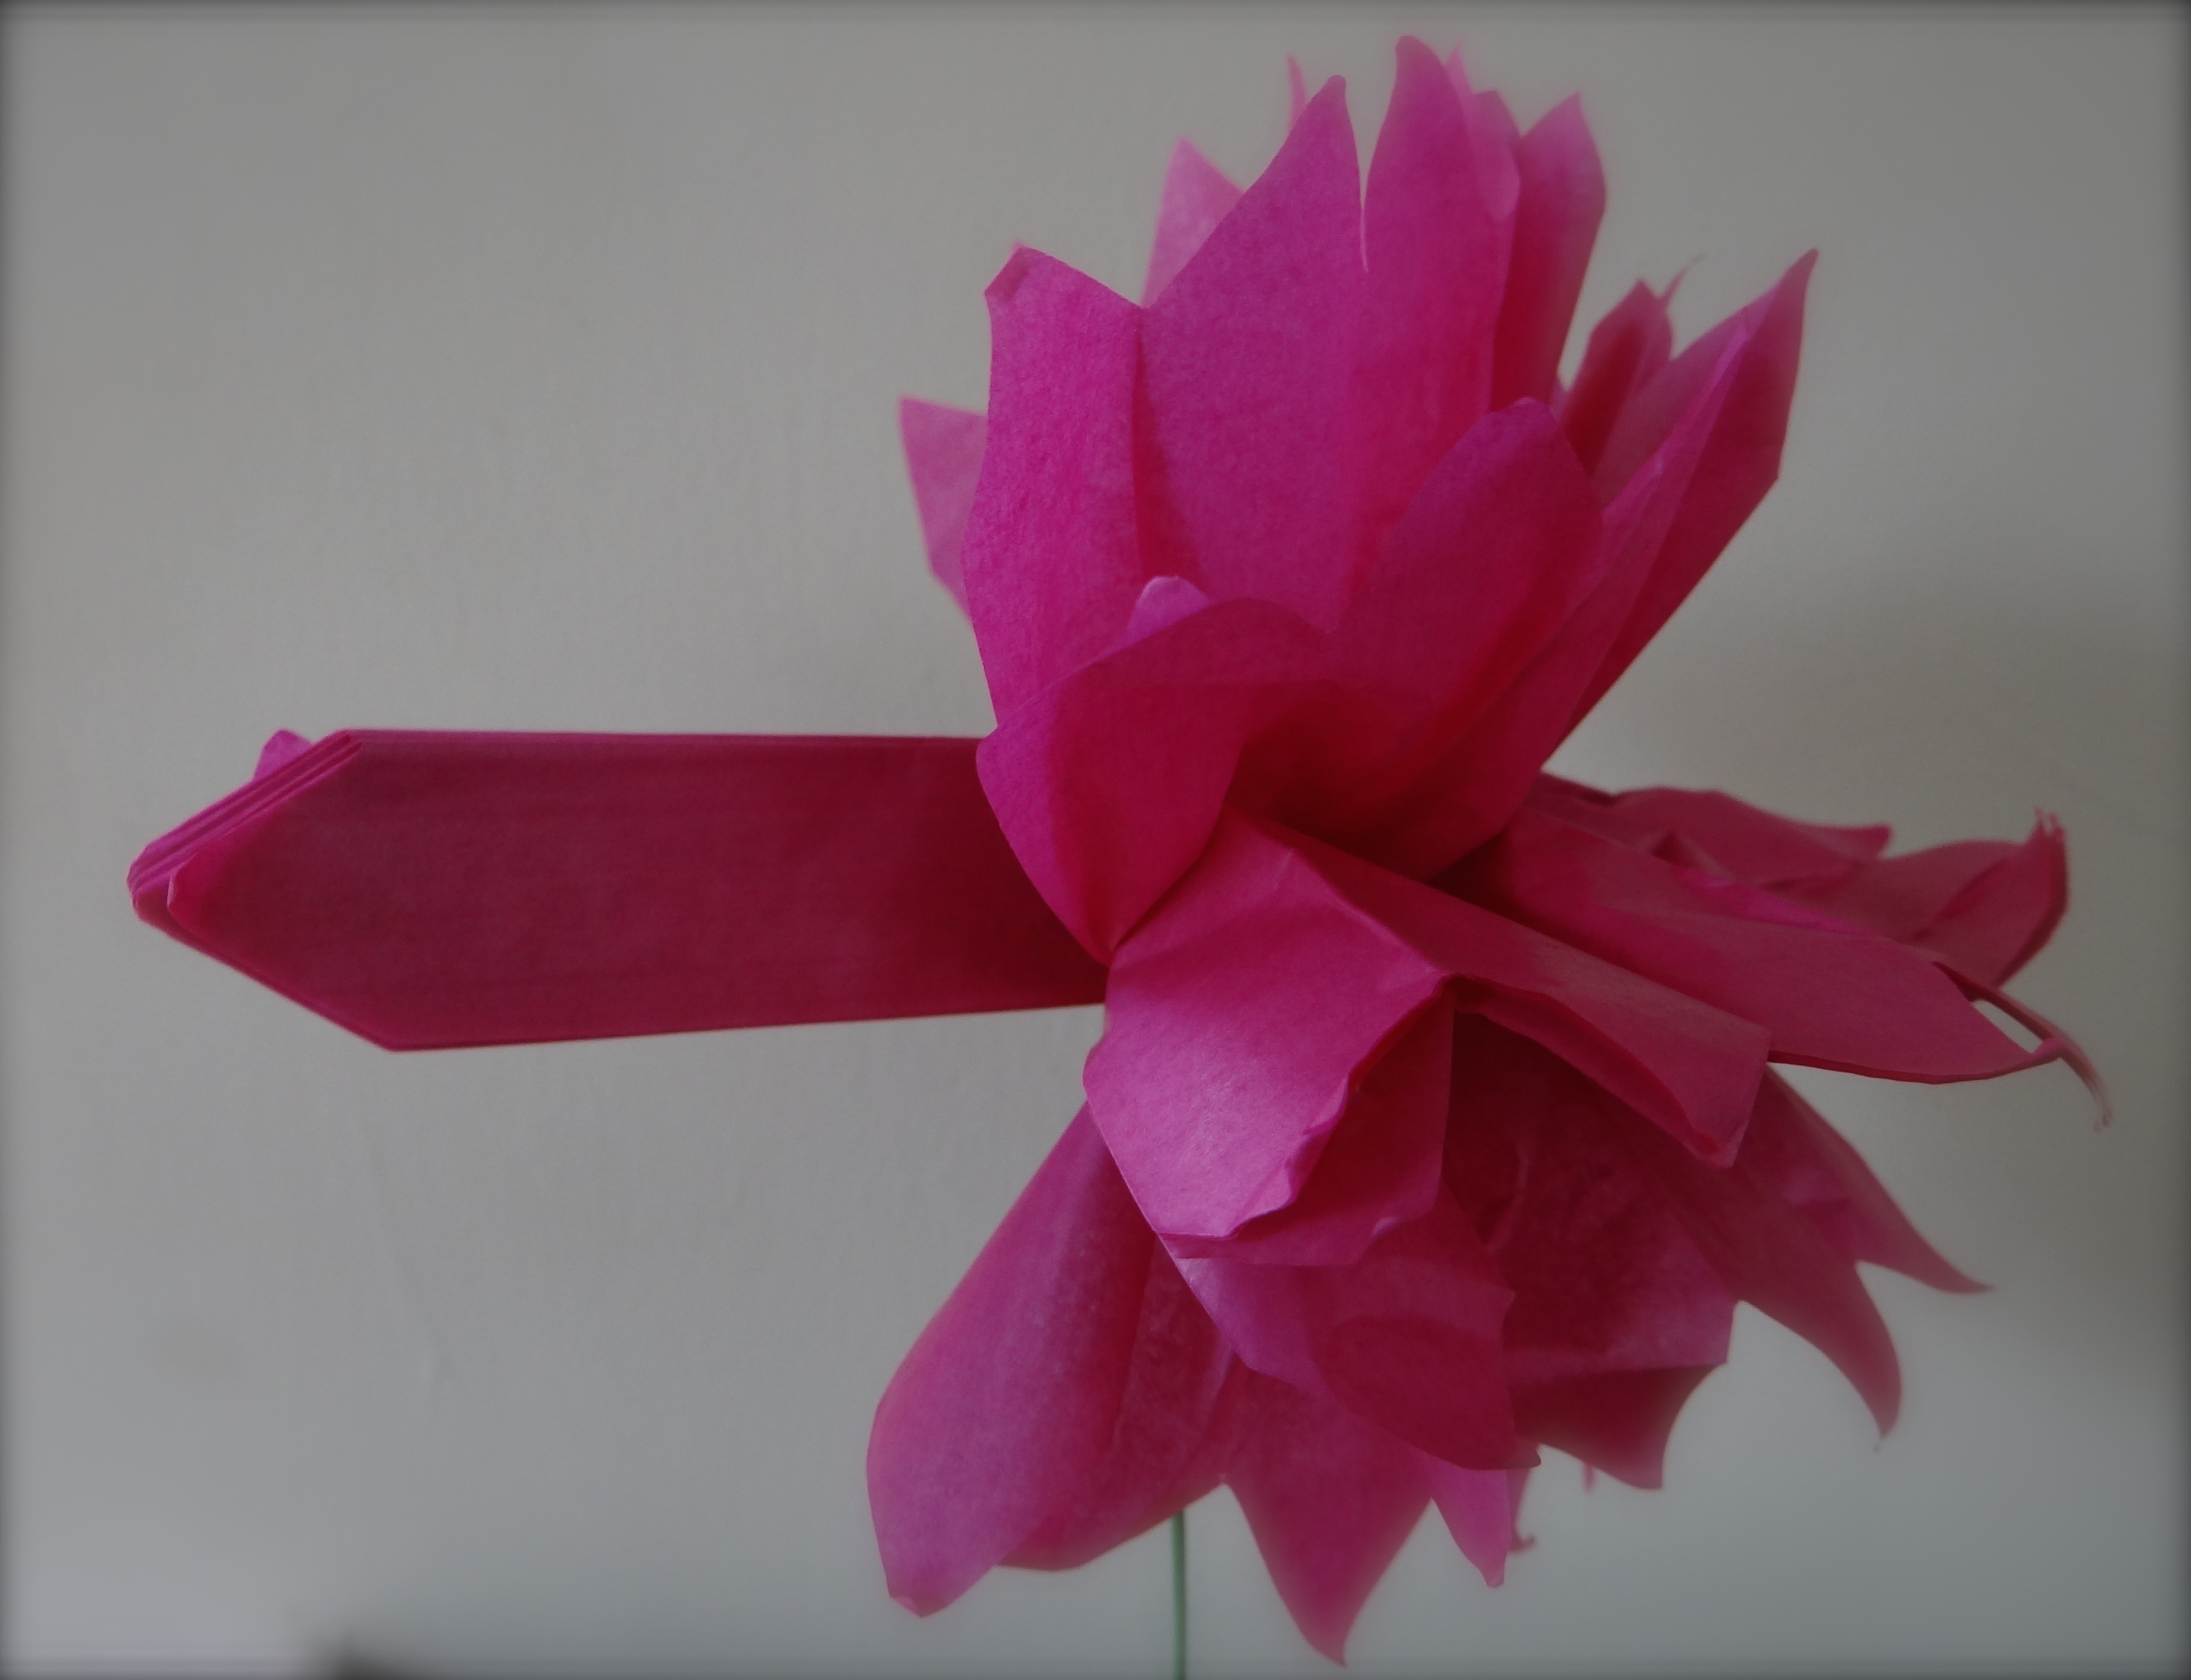
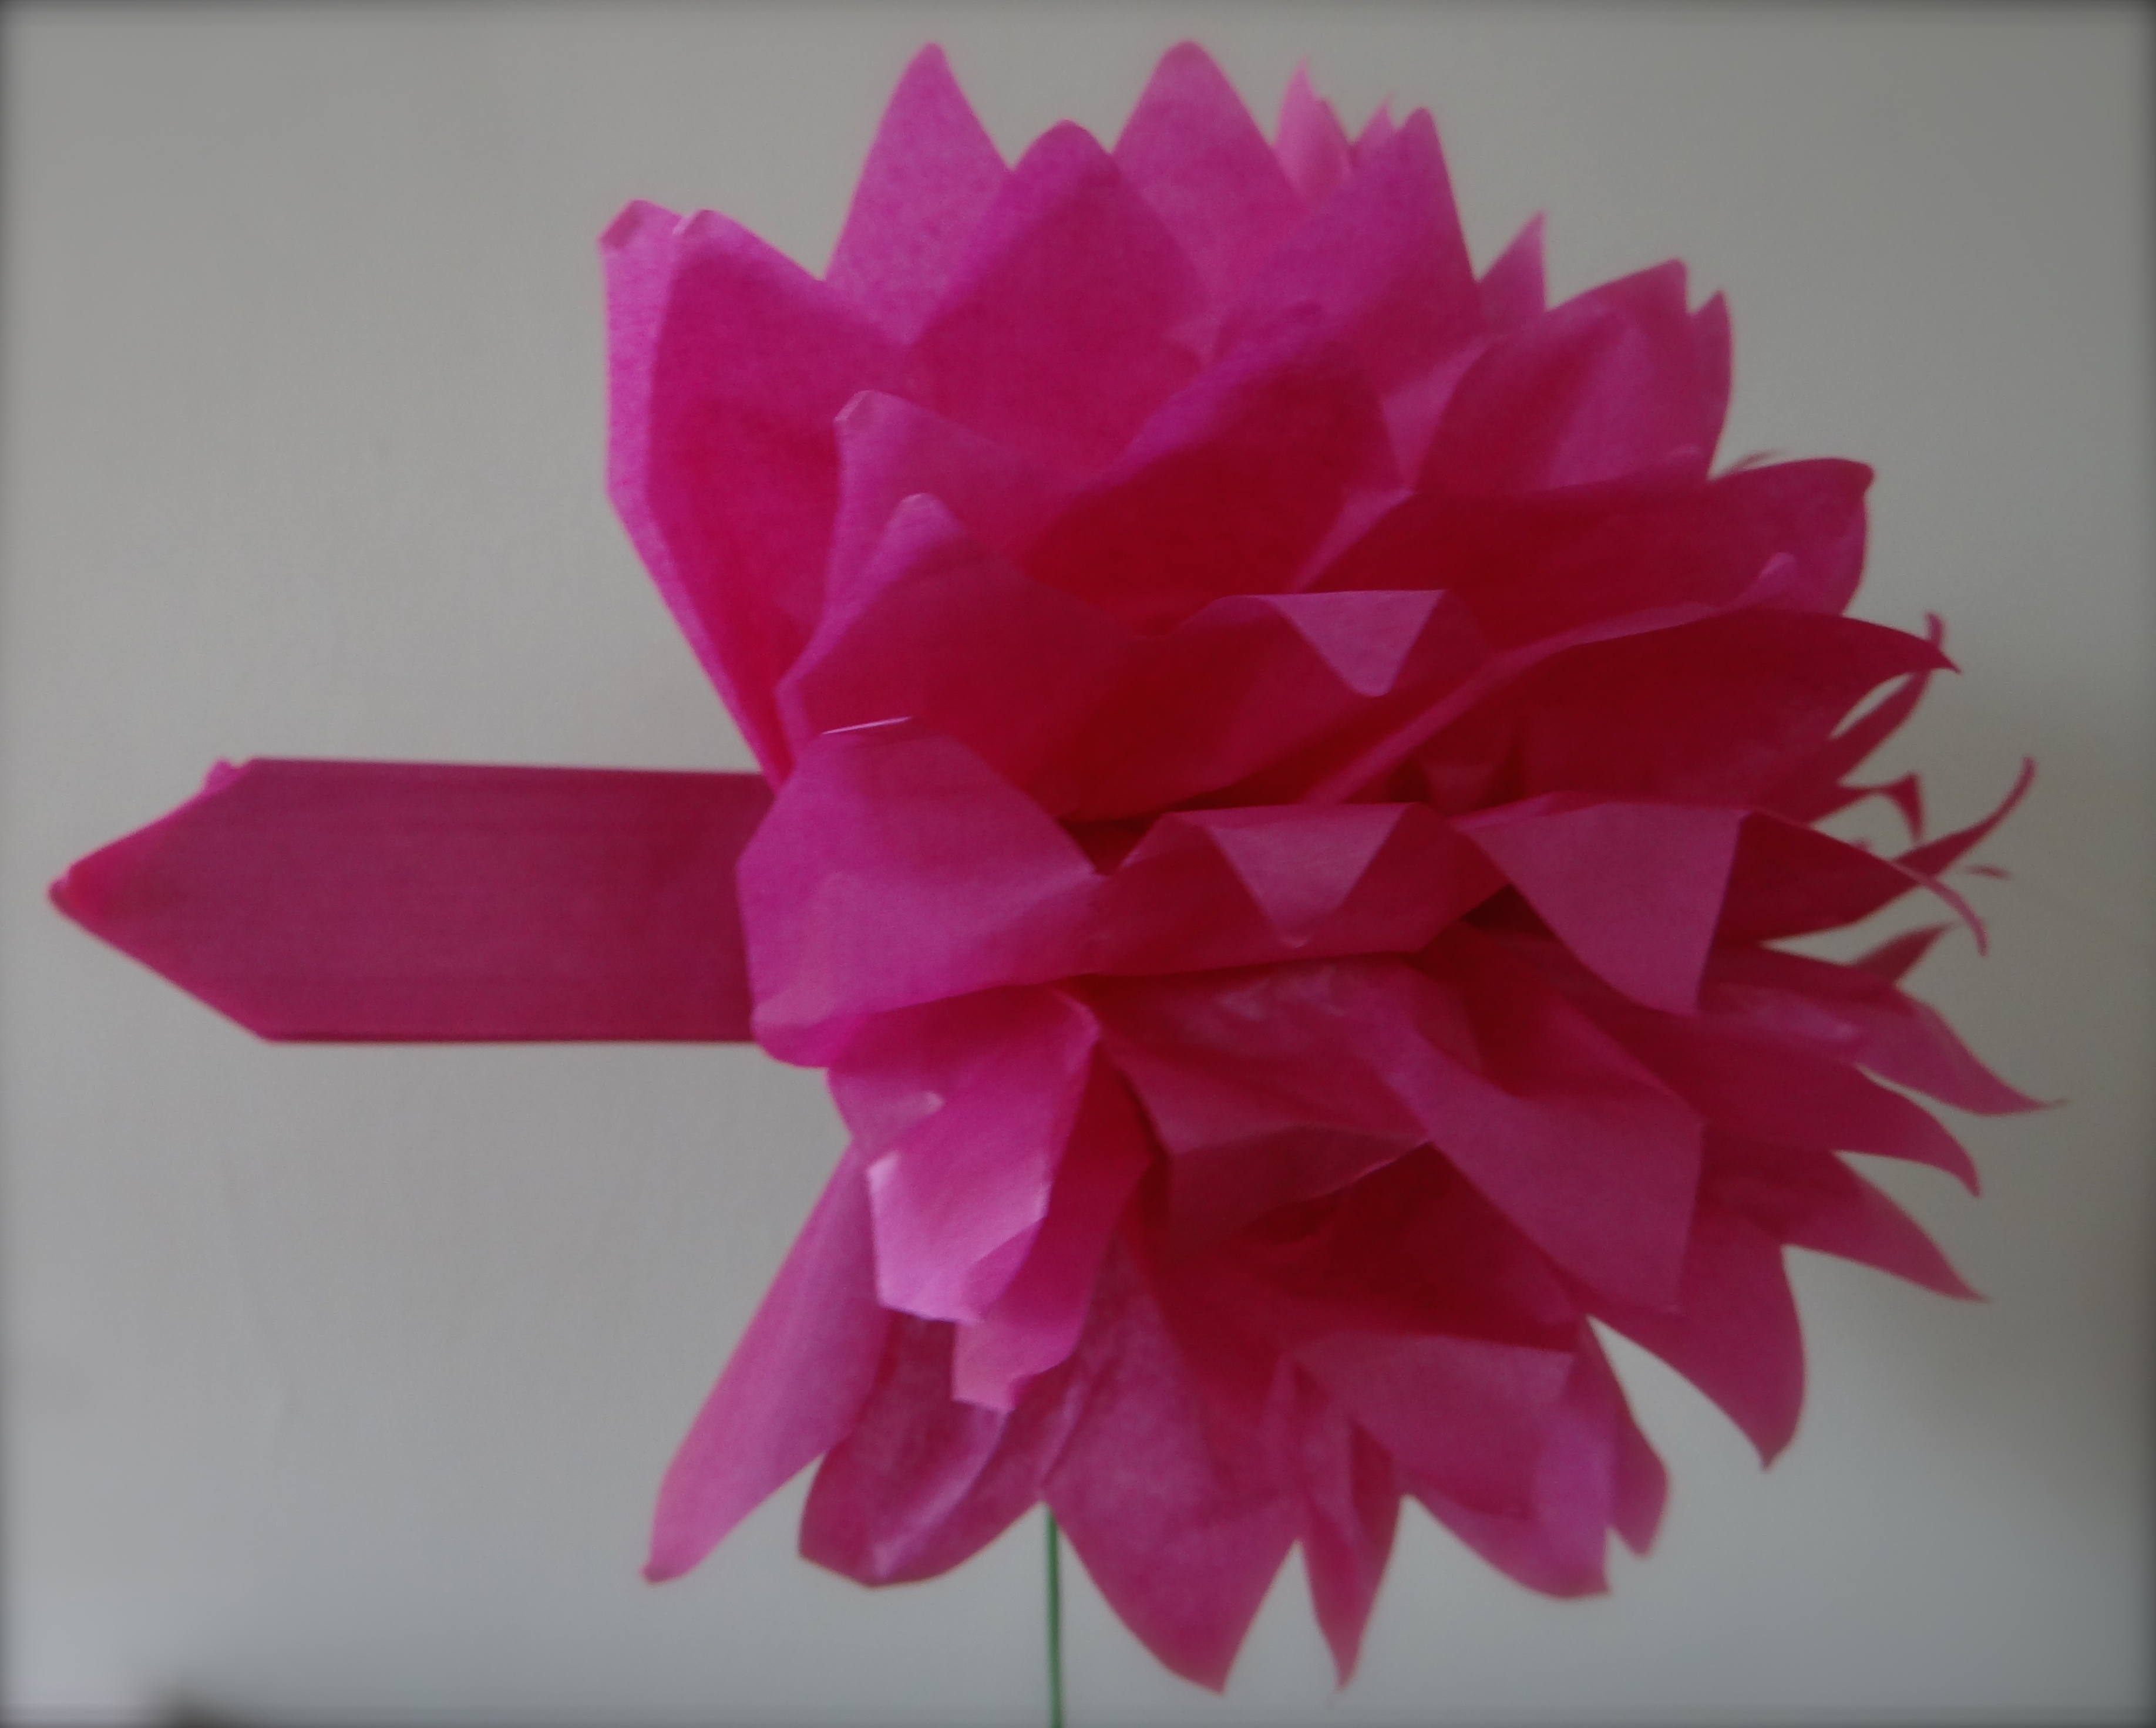
It’s just like magic! Once you have finished one side, flip the flower round and start on the other.
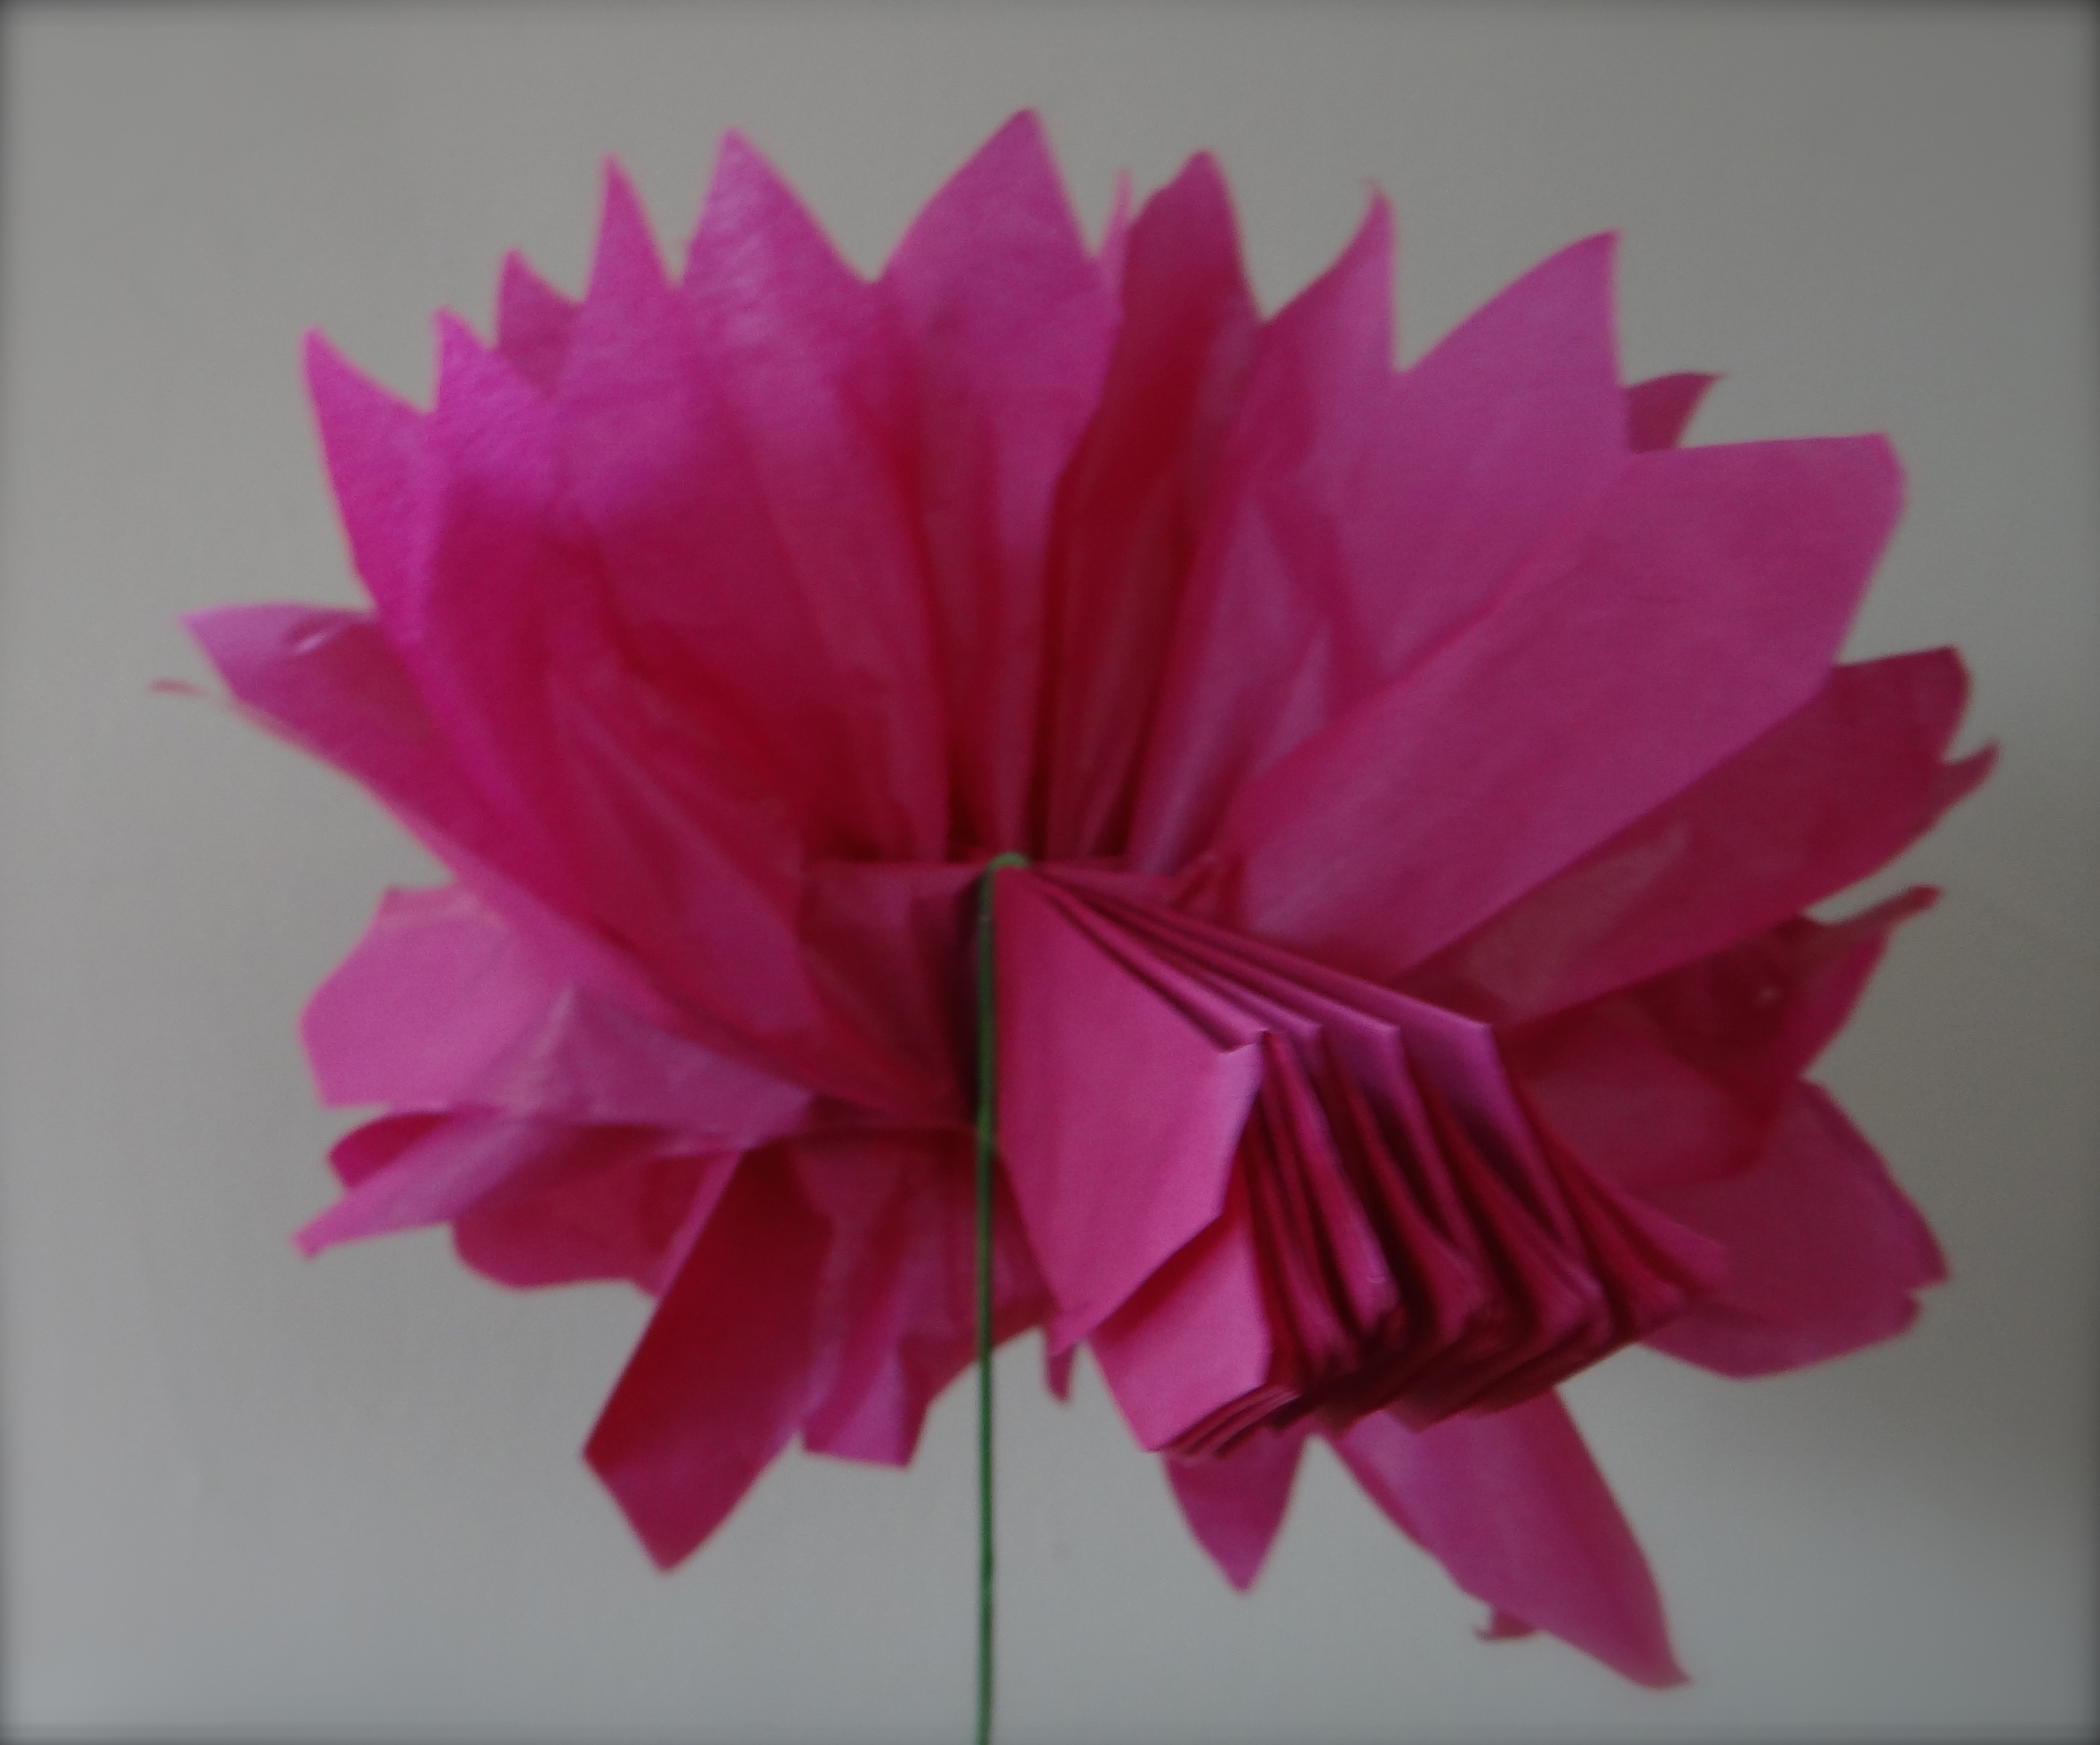
Don’t you just love them? I think they would make a beautiful posy for a special day.

Pingback: Celebrate St David’s Day by Making a Paper Double-Daffodil | thestitchsharer
These are lovely, so bright and cheerful for these winter days!
Thank you. X
OMG! haven’t seen these in years! We used to use these for dances/banquets back ‘in the day’ at school. Thank you for the tutorial; will save to show my granddaughter-she is going to think we invented something new!
You’re welcome, my daughter has made one for her bedroom, hopefully your granddaughter will love them too!
Gorgeous!
Thank you. X
It looks like it’s a lot easier than I had thought! Thanks very much.
You’re welcome, it’s such good fun. I’ve just made a daffodil too! X