
 I was walking past my local charity shop when I saw a gorgeous retro duvet cover hanging on the rail. With a bargain price of £2 it was an upcycling treat……just perfect for a new Mini Pinny!
I’ve put together this “StitchSharer’s Guide to Mini-Pinny making” for those of you who want to join in the fun. Hope you enjoy!
Step 1: Cut your Pinny Panel
Cut yourself out a paper template for the Pinny’s main panel (my one is 50 deep cm x 70 wide cm), lay onto your fabric and cut out.

Step 2: Make the ties
As I wanted a bit of a ‘new-meets-old’ vibe, I used a different fabric for both the waist band and ties.
For the ties, cut 2 strips of fabric approx 5 inches (12.5cm) wide by 37 inches (94cm) long.

Fold each strip in half lengthways, so the right sides of your fabric are together and approx 2.5 inches wide. Sew a seam along your long open edge. Across one end of your tie sew a diagonal line (leave the other end open for turning). Trim off any extra fabric.
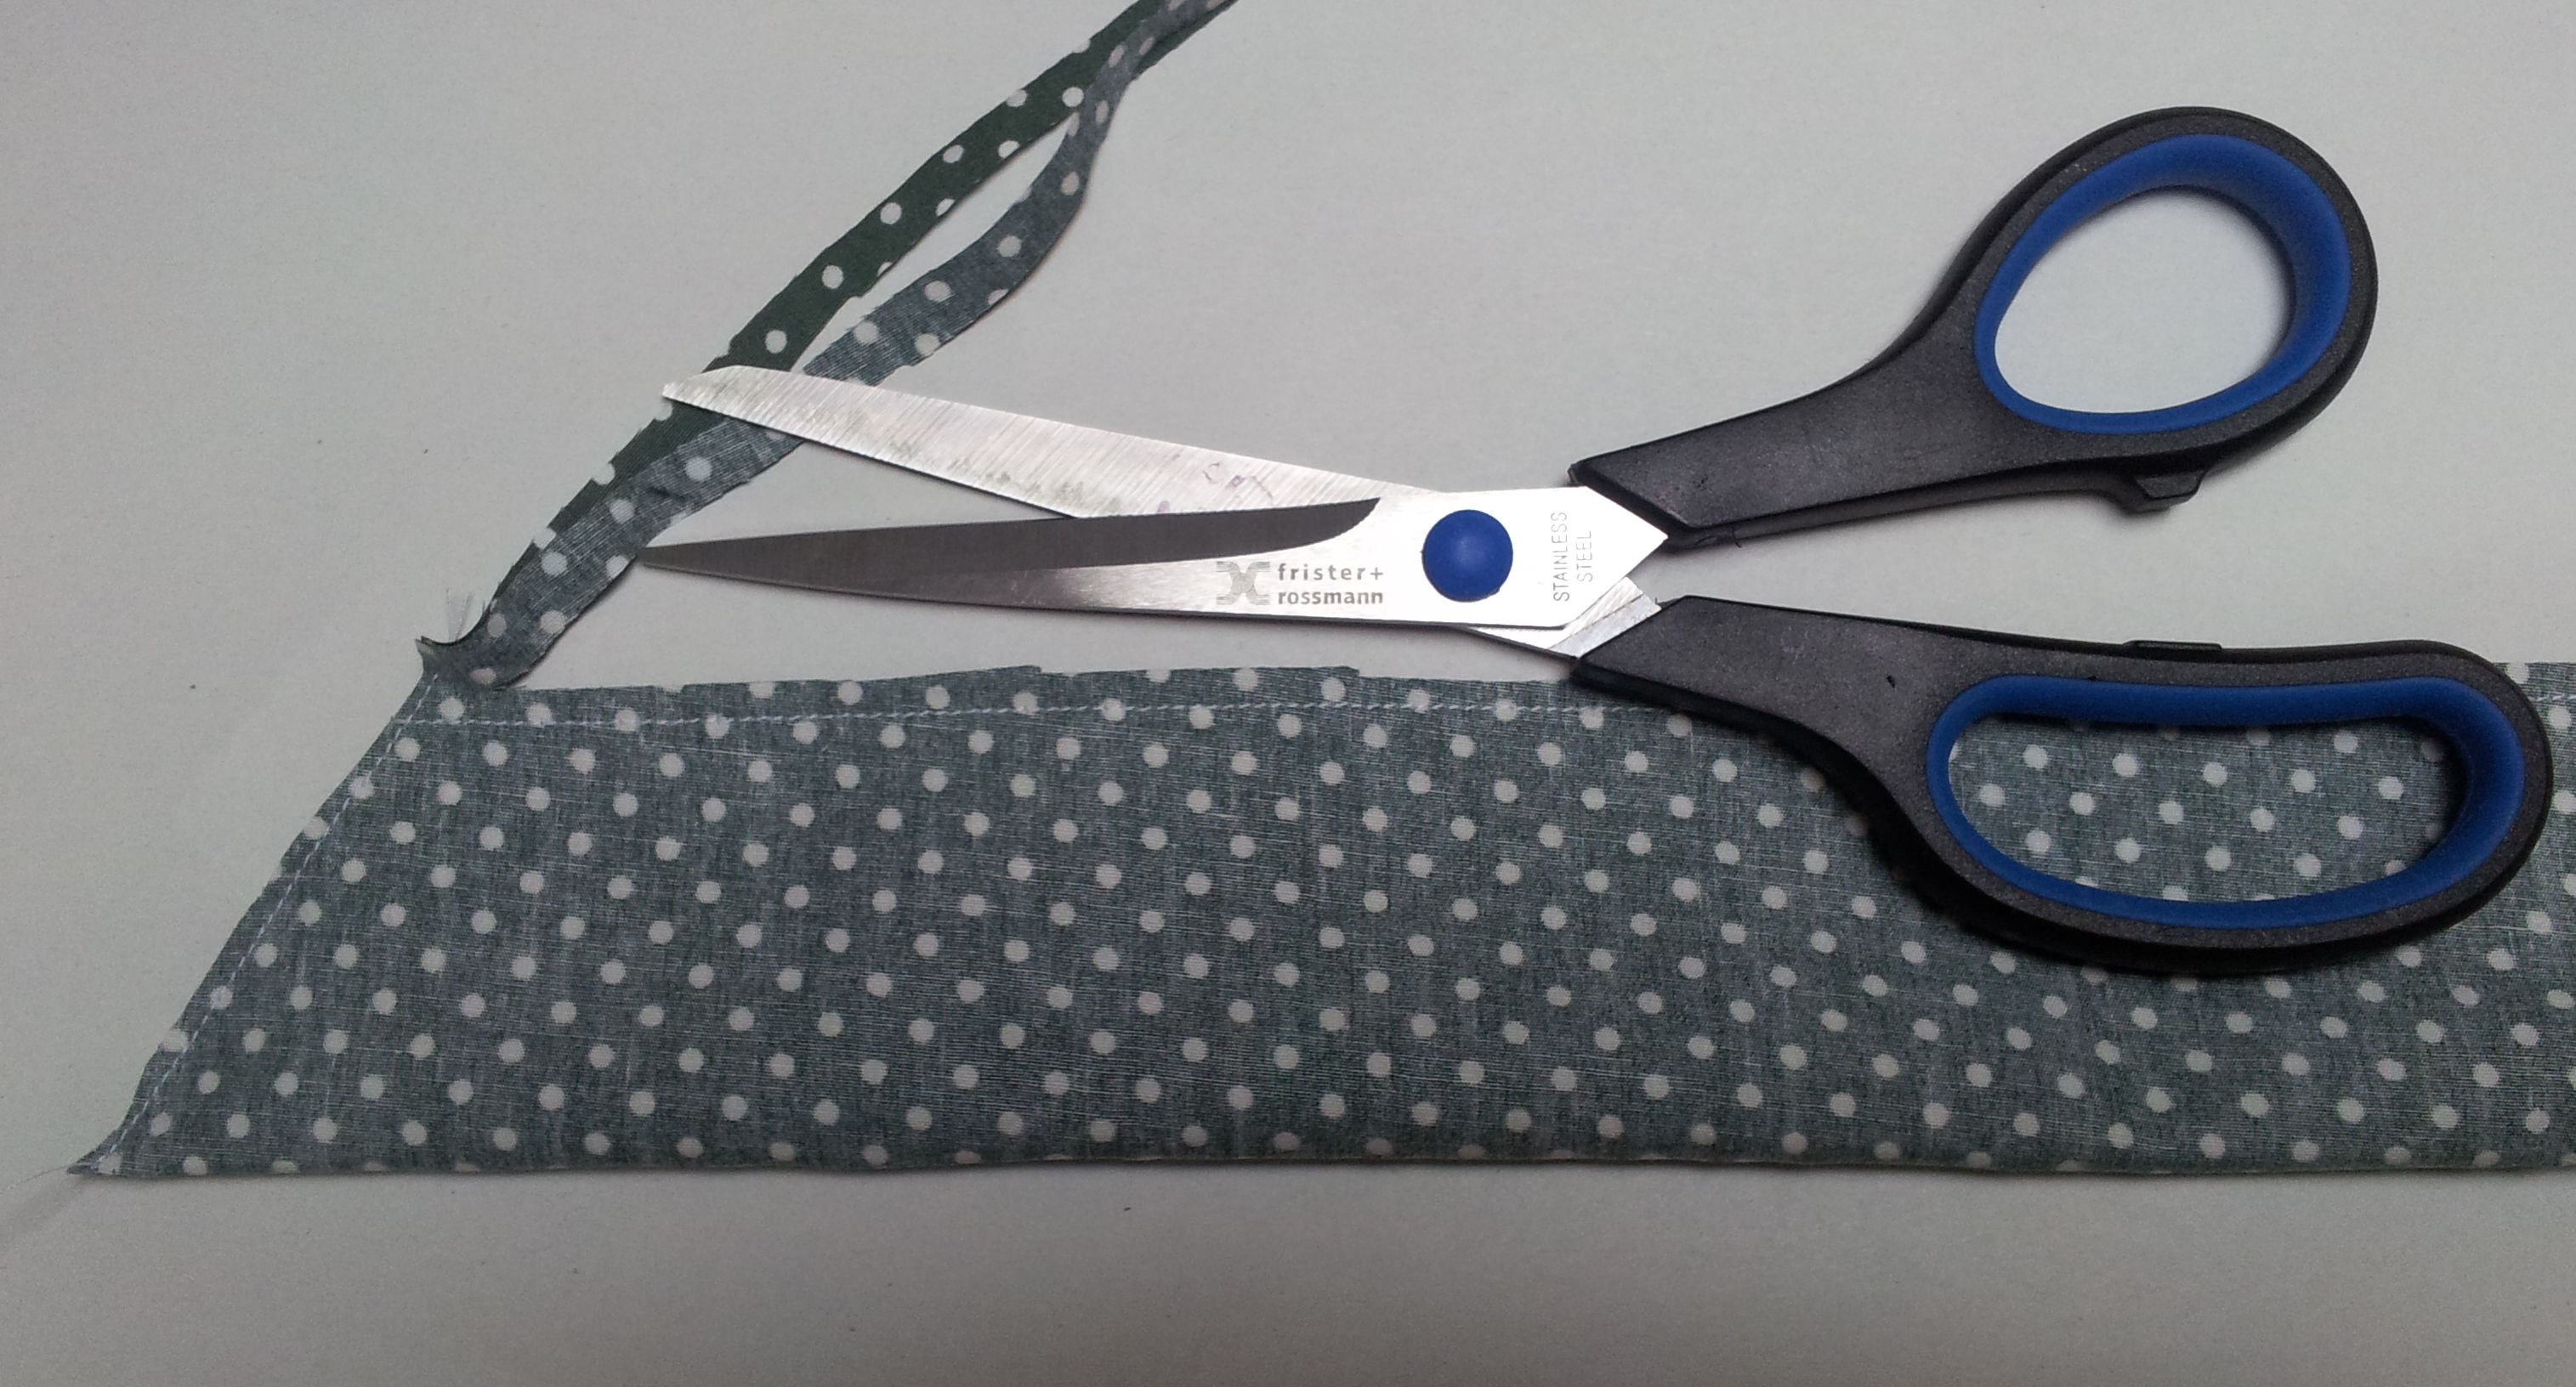
Turn your strip so the right sides are facing out. Press flat with an iron.

Step 3: Make the Waist Band
For your waist band, cut a piece of fabric 10 inches wide x 18.5 inches long (25cm wide x 47cm long). My design is for a high-waisted Mini Pinny – if you want a smaller waist band just cut a narrower piece.

Fold in a half-inch seam allowance around the edges of your fabric. Press.
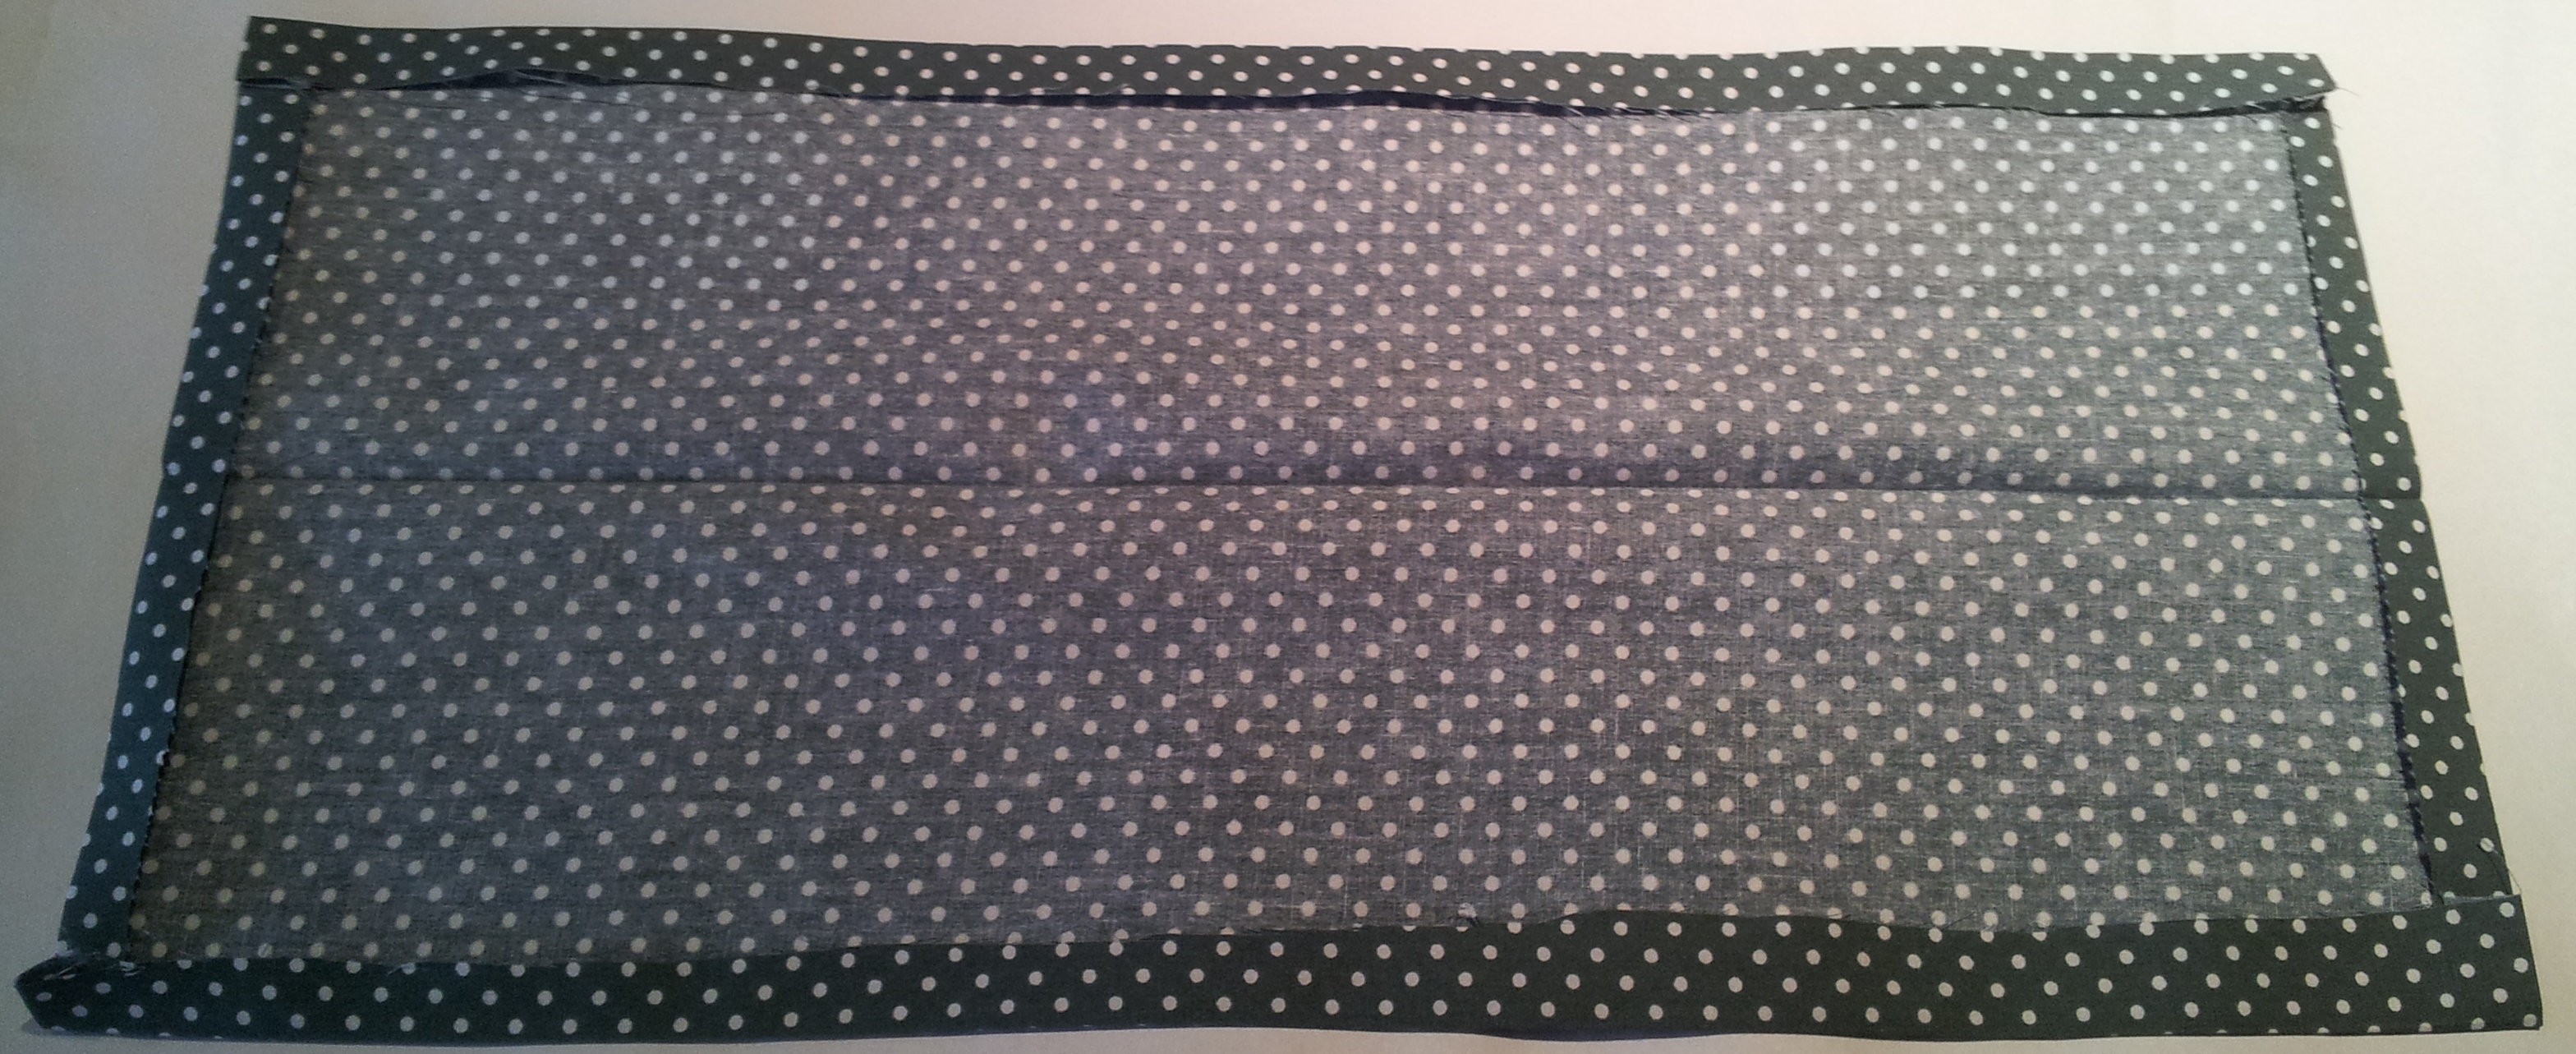
Fold your fabric in half (wrong sides together) so your waist band is approx 4.5 inches high. Press.

Step 4: Prepare your Pinny Panel
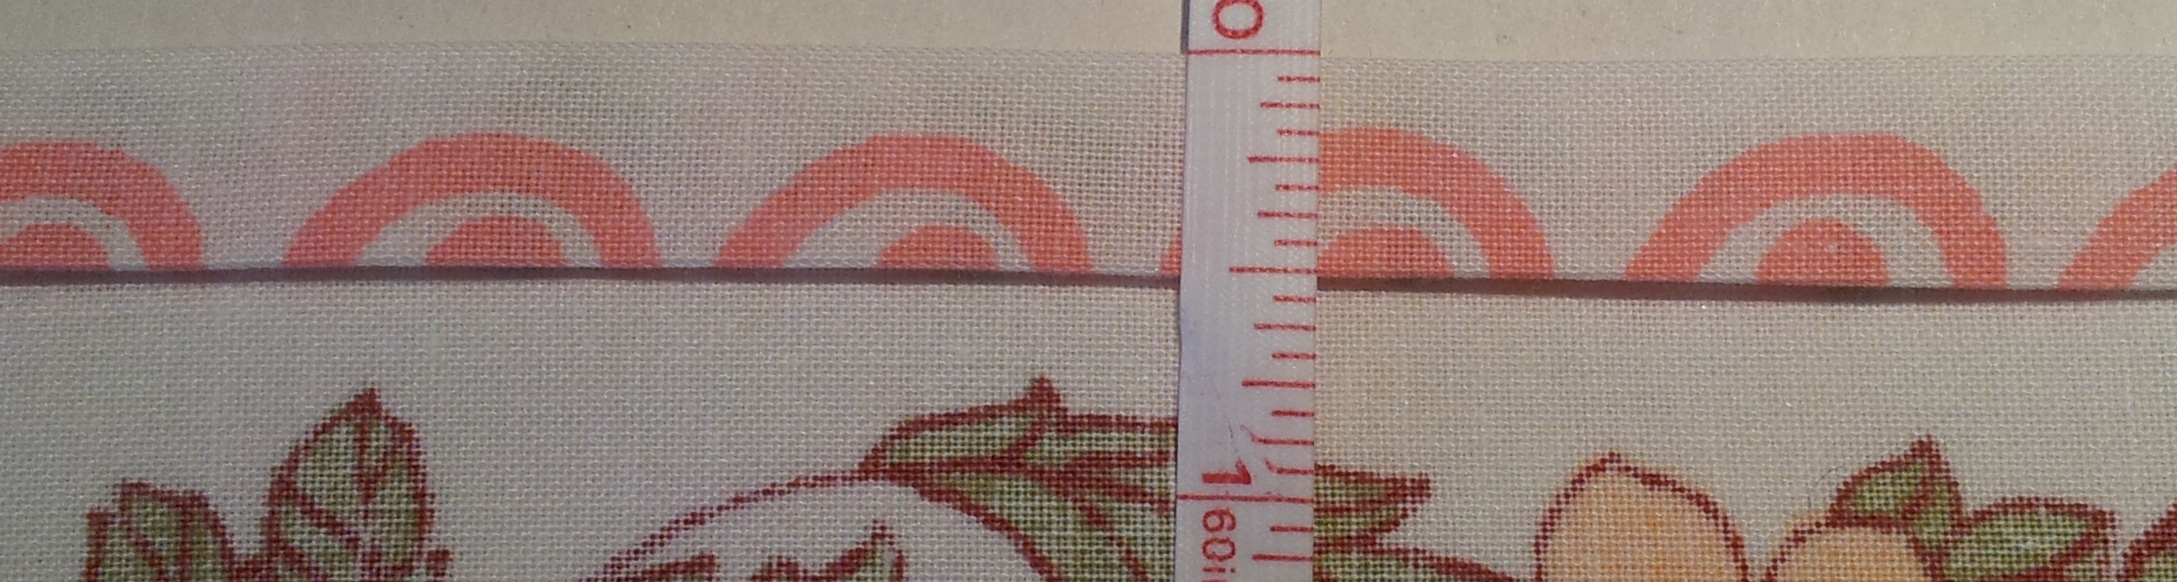
Find your Pinny Panel and turn in a double hem on the side and bottom edges. To do this, first press in a 1 inch (2.5cm) fold.

Next tuck the raw edge of your fabric under again so the cut edge sits inside your seam against the fold – the bit of hem you can see measures half an inch. Press flat.
Sew your double hem in place.
The next thing to do is to gather the top edge of your Pinny Panel. You can either do this by hand with a long running stitch or use a sewing machine.
To create a gathering stitch on your machine, loosen your machine’s thread tension and set your machine to create a long running stitch (my machines tension is at 1 and stitch length 5).

Sew 2 parallel lines of long running stitches.Take either your bobbin threads or stitching threads (not both!) and pull to gather the fabric.

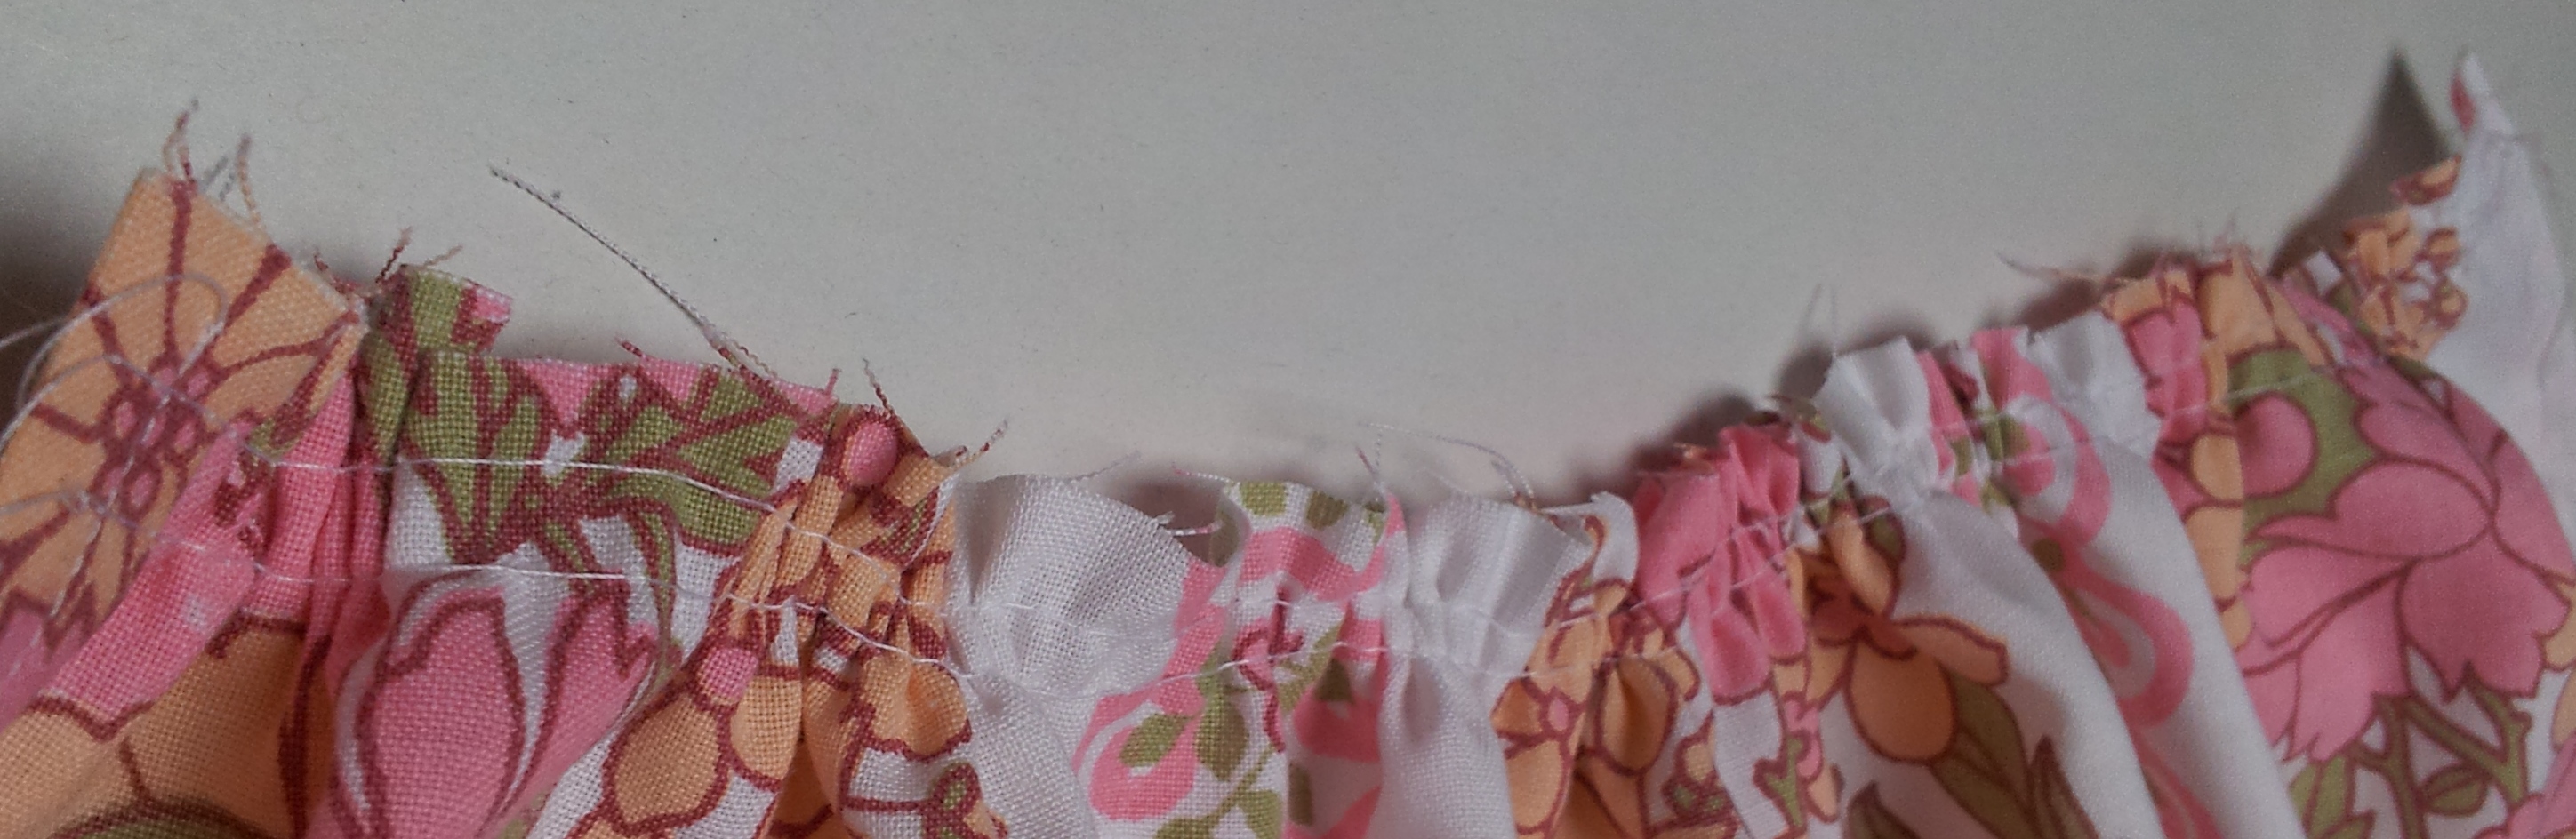
Pull your fabric in until the width or your panel is slightly shorter than your waist band width.
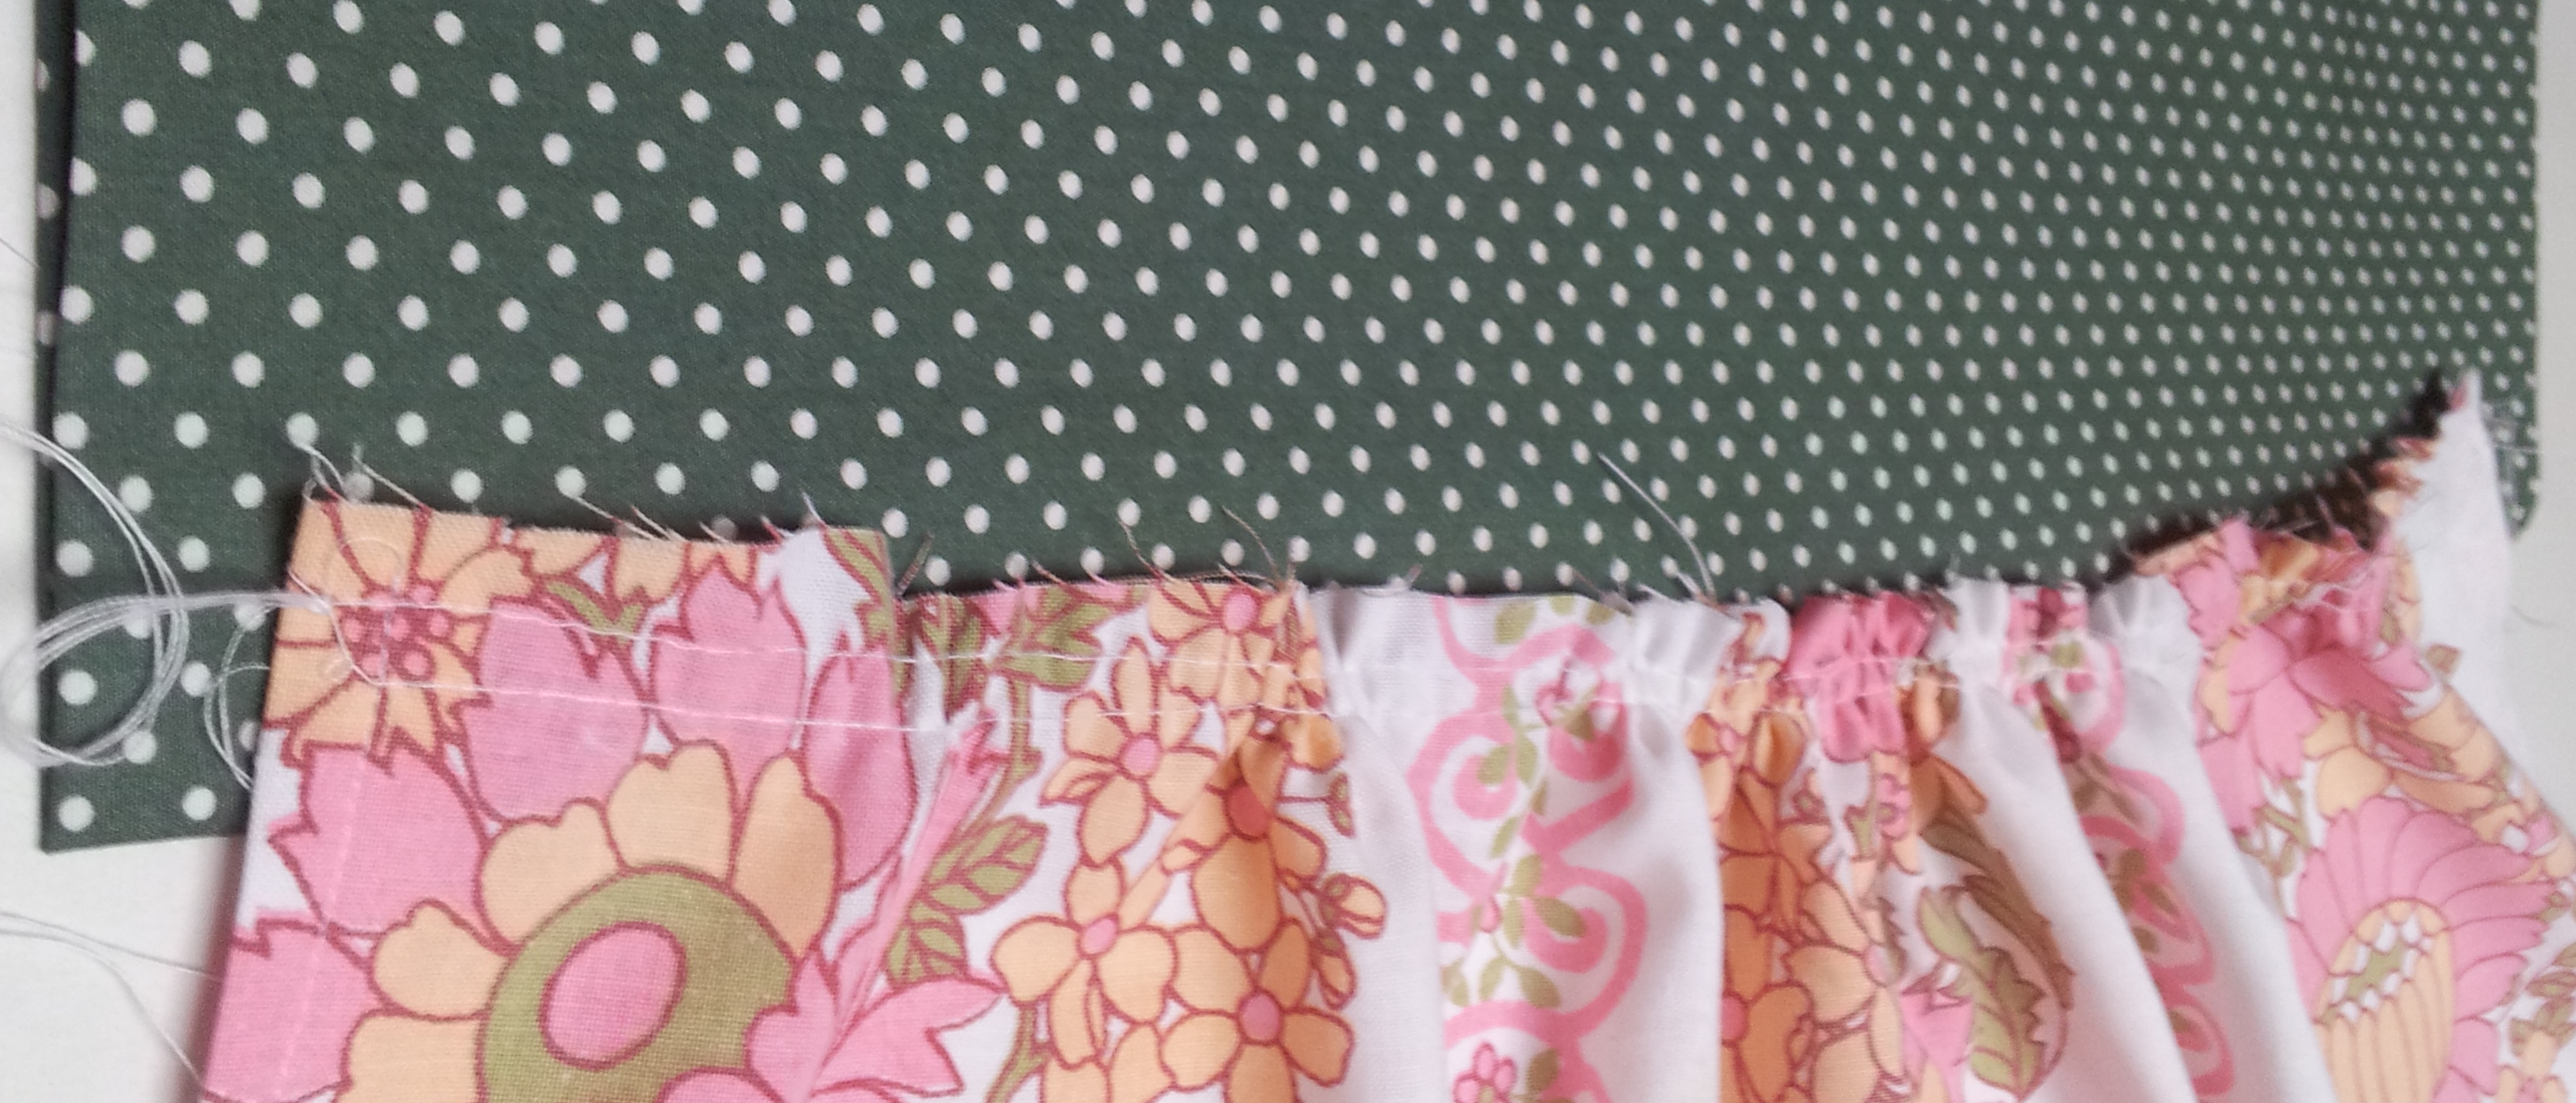
Step 5: Join your waist band and Pinny panel together
Lay your waist band behind the top of your pinny panel. The right side of your waist band will lay against the wrong side of your pinny panel. Sew in place.

Fold your waist band over your Pinny front so it covers the raw edges of your main panel. Pin in place.

Before you stitch, check the position of the pins on the wrong side of your apron to make sure they go through both sides of the waist band.

Turn your Pinny back to the right side and sew the waist band onto the front along your pinning line.
Step 6: Attache your ties
Tuck the open end of each tie into the side of your waist band. Secure in place with 2 rows of stitching.

Voila! One finished Mini Pinny.

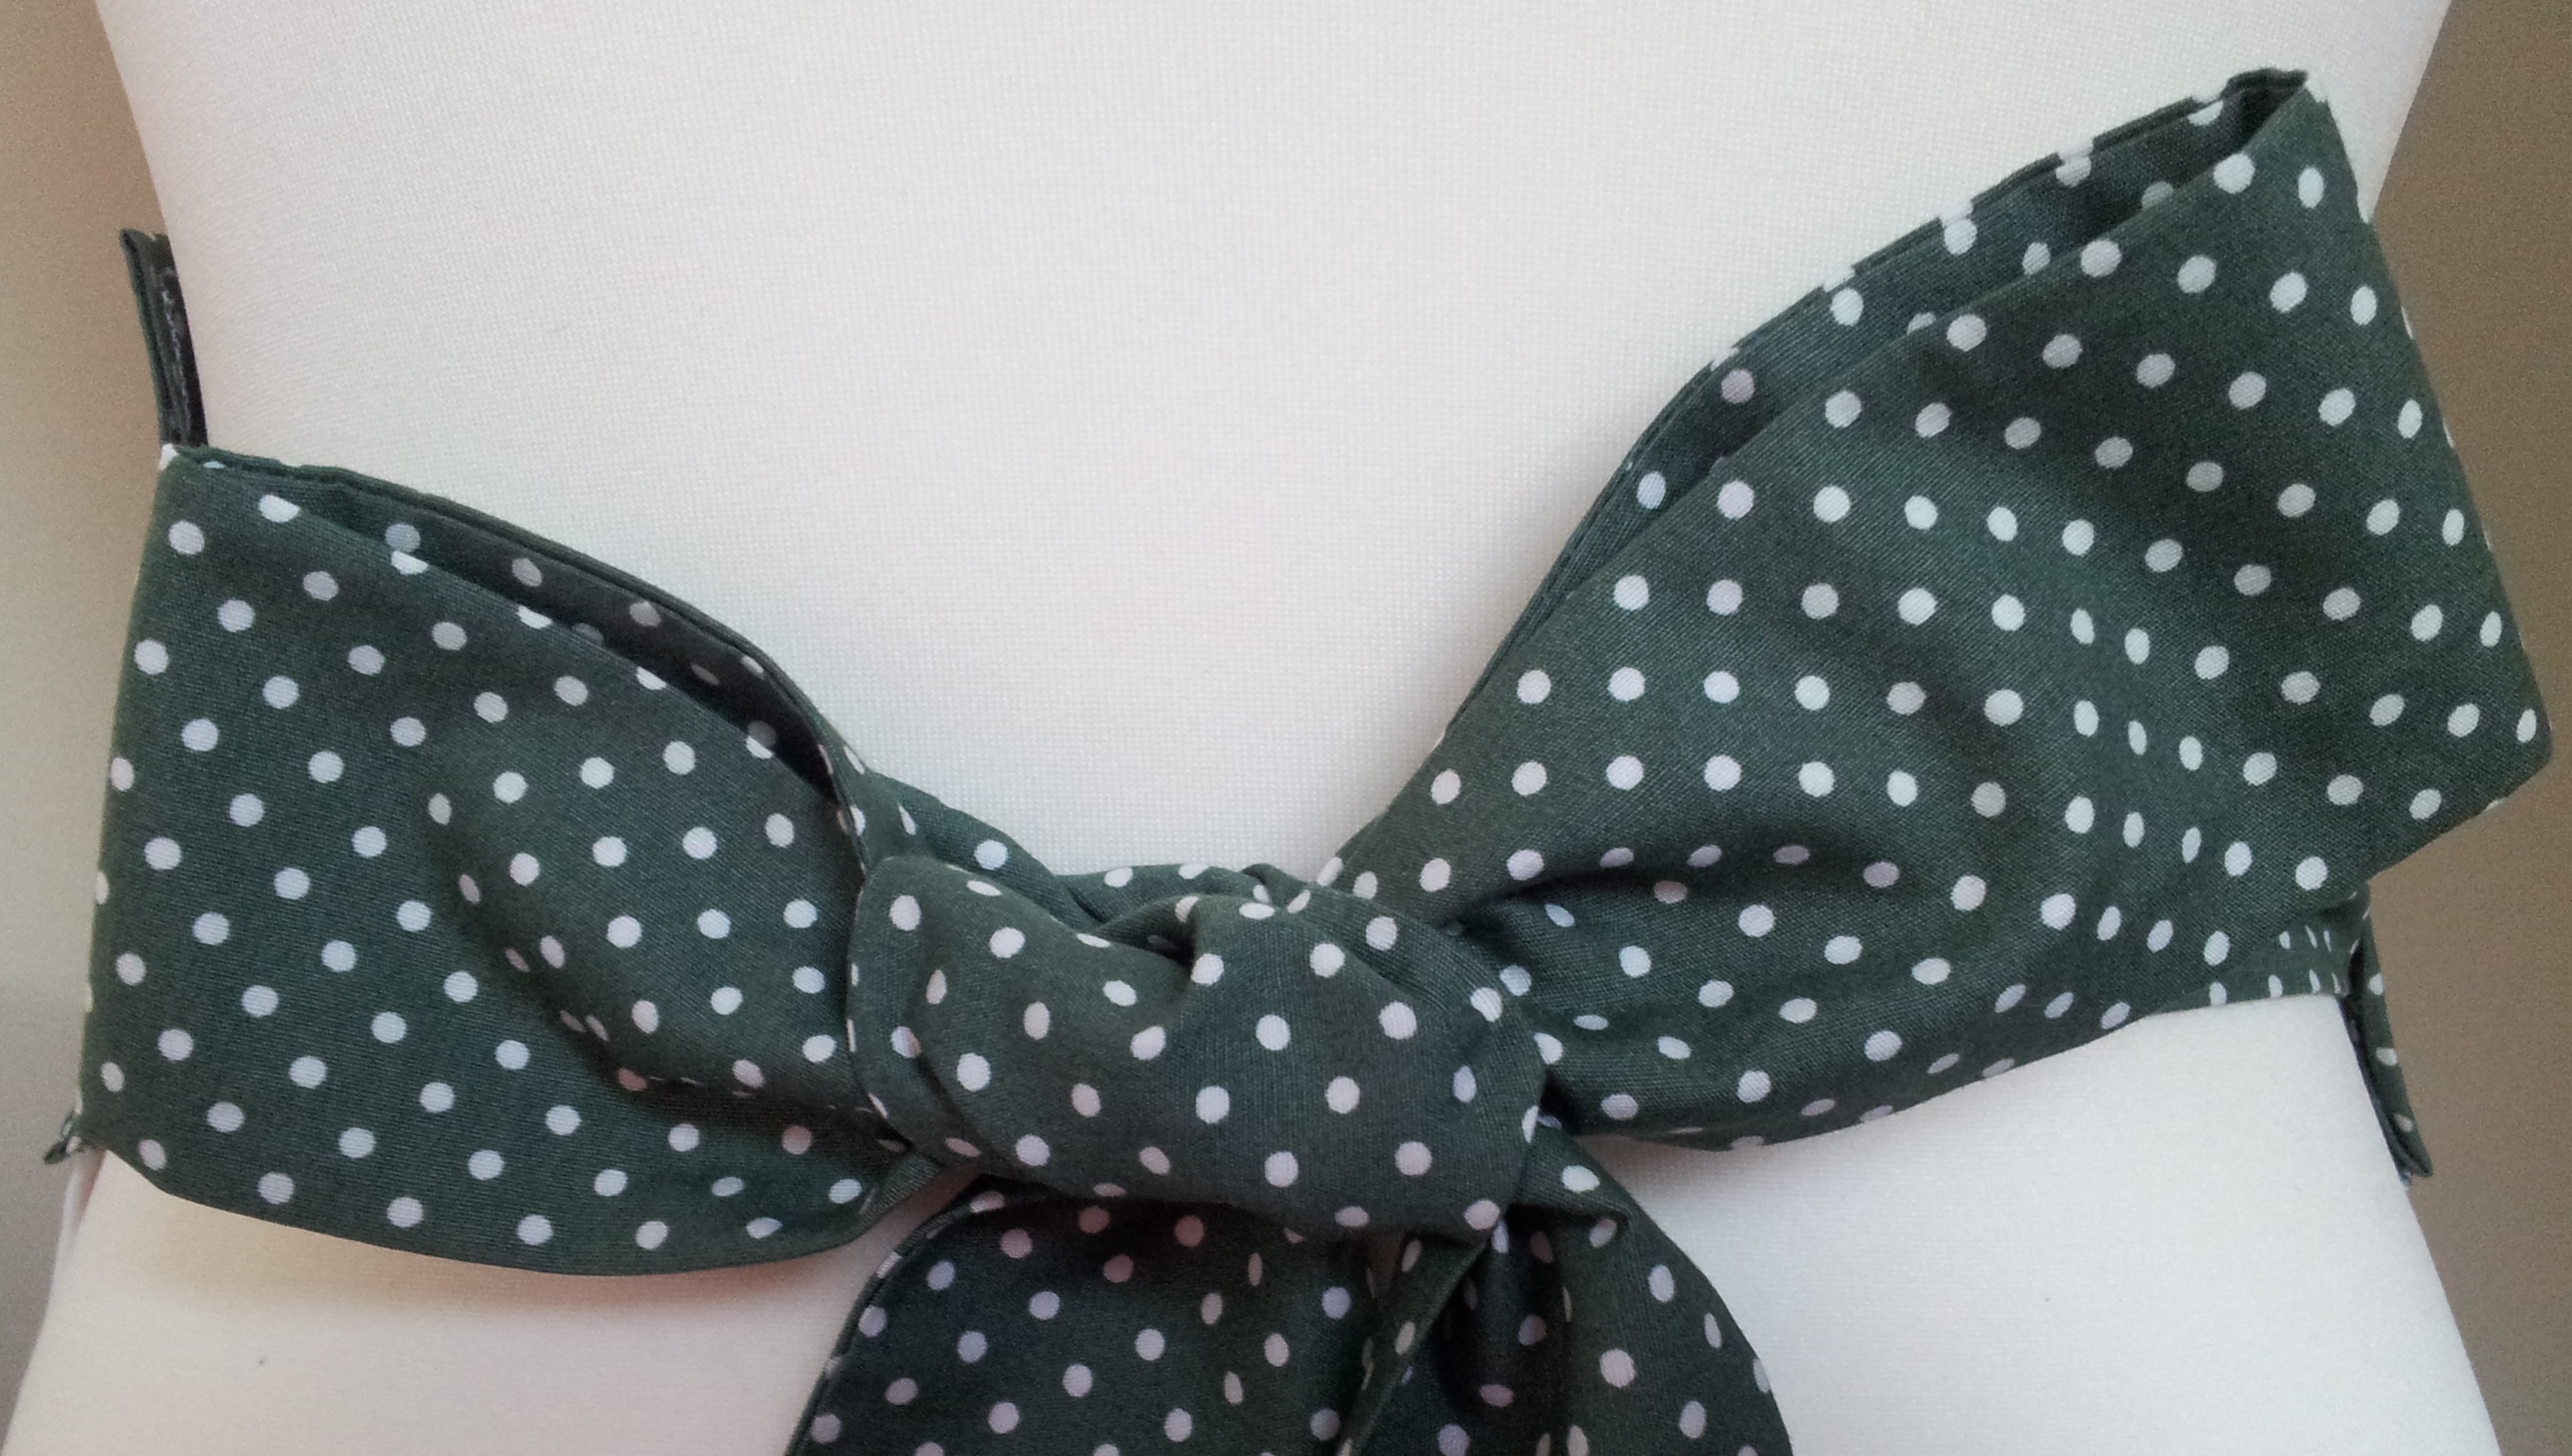

Stunning! The fabric, the bow, the whole thing, just love it! Now if only I could figure out how to work a sewing machine without losing an arm…
Pingback: How to Make your Mini Pinny / Apron Unique! | thestitchsharer
Pingback: Delighted! | woolhogs
OOOOh how wonderful, well done!!! Thank you for entering the Made It, YAY!!
It’s a great competition, very excited to of found it. X
Retro is bag and I love your apron
Thank you.x
Great Fabric, I have a retro style vintage sheet that I am trying to decide what to do with, I might try a pinny (such a great word pinny!)
Fab word…. Must start campaign to call all half aprons mini Pinnys! Much more fun!
Lovely!
Thank you. x
LOVE this 🙂
Thank you. x